
A good Halloween snack board is a self-serve grazing tray with a clear theme, a few filling savory anchors, crunchy snacks, fresh items, sweets, dips in small bowls, and easy refills nearby. Keep messy or chilled foods contained, leave room for guests to reach, and use Halloween color through the food instead of loose decorations.
The fastest way to ruin a Halloween snack table is to make it look cute but impossible to eat from. Guests should not have to dig through plastic spiders for crackers, balance sticky candy beside ranch dip, or ask where the napkins are while the host is still opening the door.
For this Halloween snack board, the goal is edible atmosphere: spooky enough to feel fun, practical enough to refill, and organized enough for kids, adults, or movie-night guests to serve themselves. The ideas below focus on color, board size, snack balance, make-ahead prep, dips, labels, drinks, and cleanup so the setup works in a real kitchen instead of only in a photo.
Top Recommended Products


You Might Also Like These Blog Posts
- 25 Halloween Party Food Ideas for Easy Hosting
- 25 Halloween Movie Night Hosting Ideas for Easy Hosting
- 25 Fall Soup Party Hosting Ideas for Easy Hosting
- 20 Tailgate Food Board Ideas for Easy Hosting
- 25 Apple Cider Bar Ideas for Easy Hosting
1. Choose a Halloween Color Palette
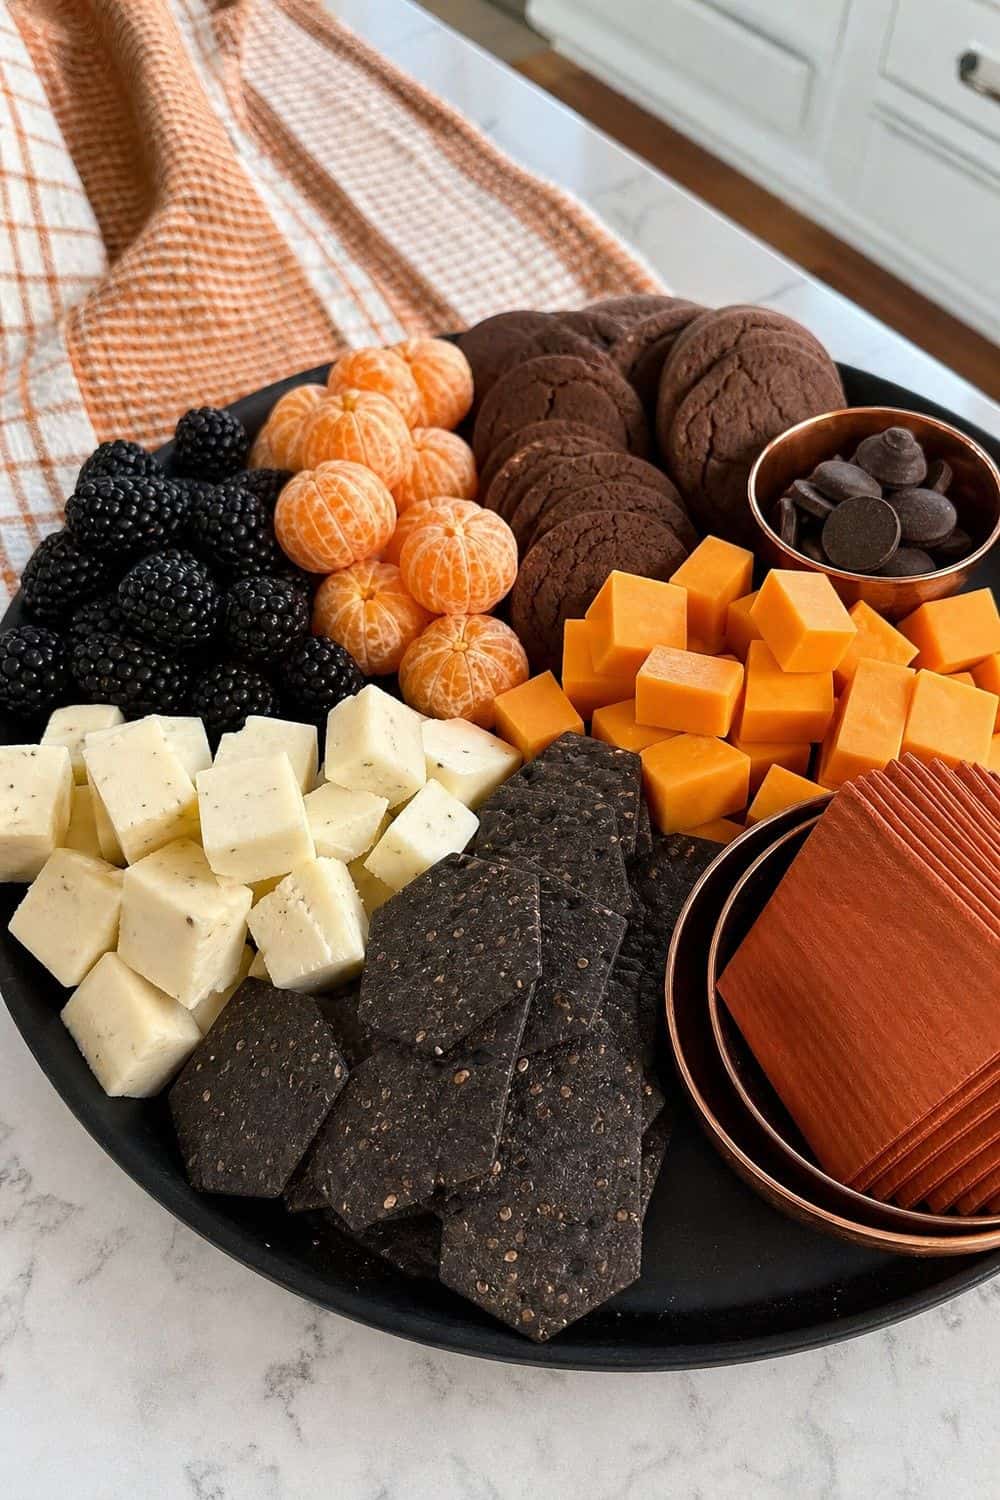
Black and orange is not the only direction that works on a Halloween board. A tighter palette helps the food feel cohesive even when most of the spread is built from grocery-store snacks.
Try black, white, and copper for a cleaner look, purple and green for a witchy table, or orange, cream, and chocolate brown if you want something softer for kids. Let the food carry most of the color instead of buying a pile of decorations. Cheddar cubes, clementines, candy corn, blackberries, dark chocolate, green grapes, pretzels, white cheddar crackers, and pumpkin-shaped cookies can do more work than plastic spiders scattered across the board.
2. Add One Festive Focal Point
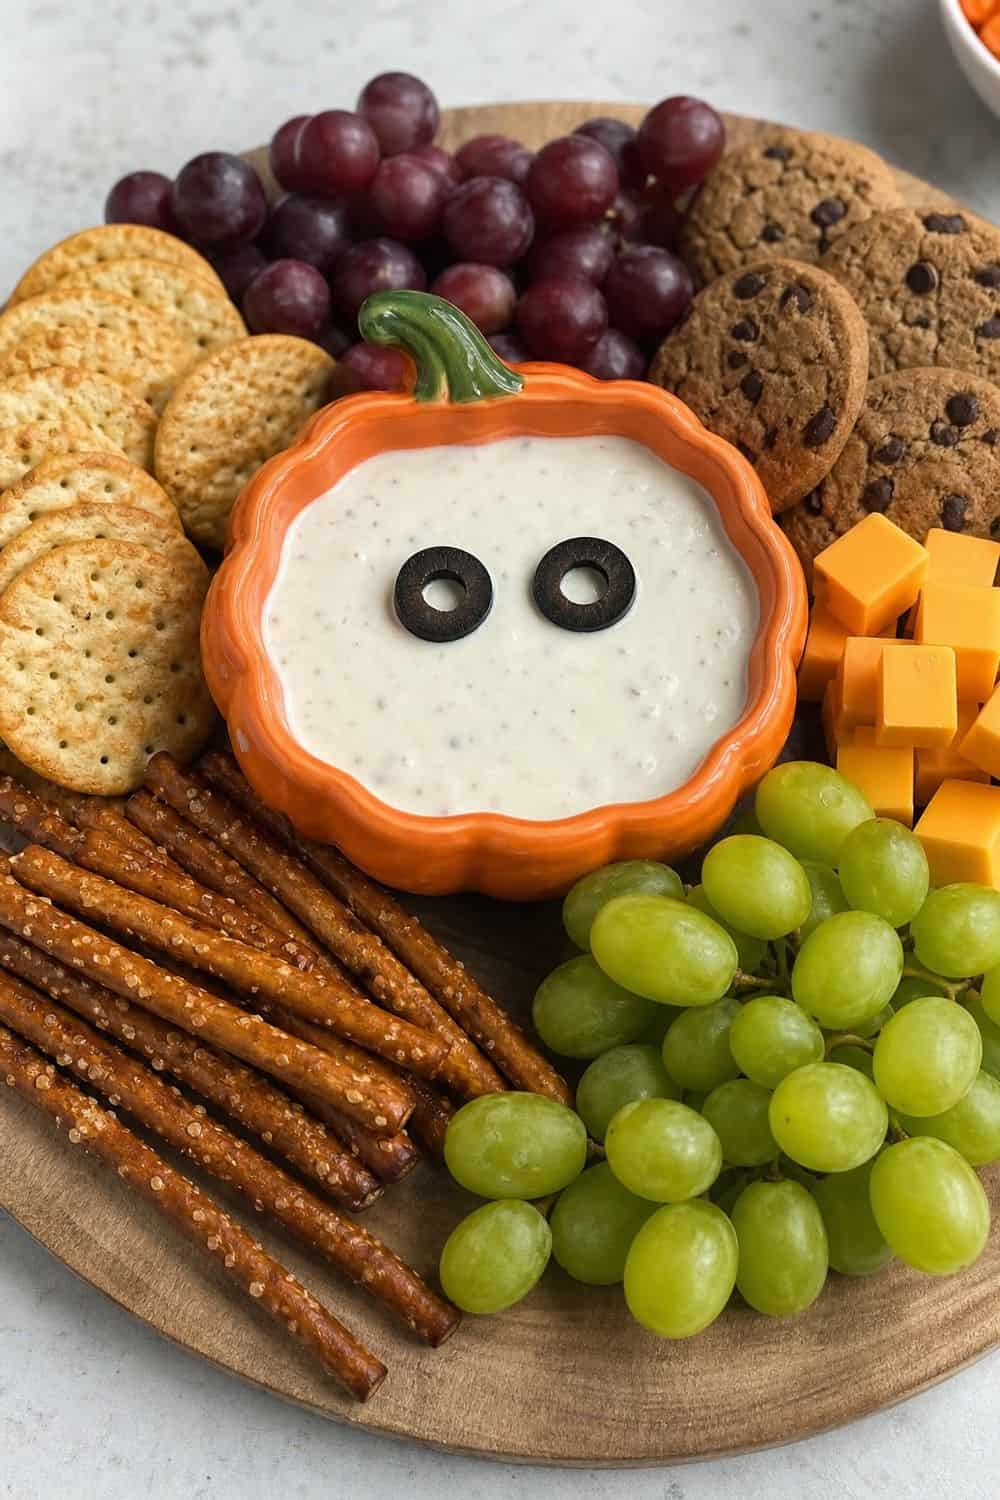
One strong Halloween detail is usually better than a dozen tiny decorations fighting with the food. Place a small pumpkin bowl, a ghost-shaped dish, a skull dip bowl, or a cluster of decorated cookies near the center, then build the snacks around it.
The focal point should be useful or edible whenever possible. A small bowl of ranch dip with olive eyes, a stack of bat-shaped tortilla chips, or a cake stand with brownies gives guests something to serve themselves from, not just something to look around. Avoid anything glittery, fuzzy, or hard to clean near loose snacks.
3. Plan Make-Ahead Halloween Food
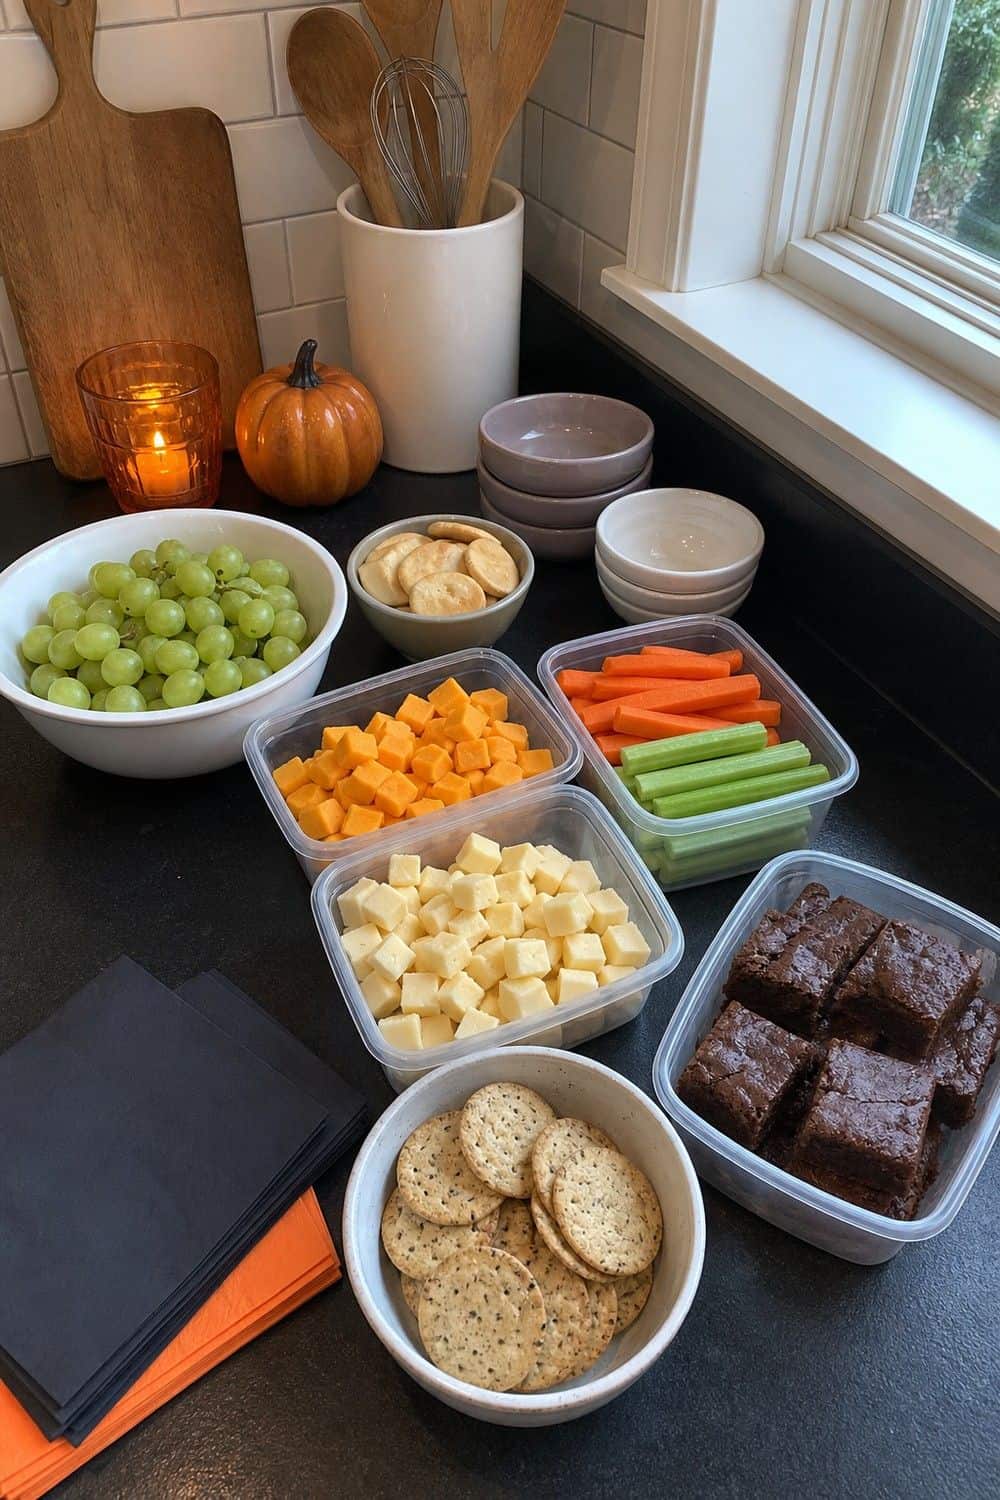
The easiest Halloween snack board starts the night before. Wash grapes, portion candy, cube cheese, slice sturdy vegetables, bake brownies, and set out the serving bowls so assembly is mostly arranging rather than cooking while guests are arriving.
Choose foods that hold their shape. Cheese cubes, pretzel rods, popcorn, crackers, cookies, salami slices, grapes, carrots, olives, mini muffins, and wrapped candies all behave better than fragile pastries or anything that turns soggy quickly. Keep wet or creamy items separate until the last minute. Dips, salsa, caramel, hummus, ranch, and chocolate sauce belong in small bowls with spoons or dippers nearby.
4. Use Themed Labels Lightly
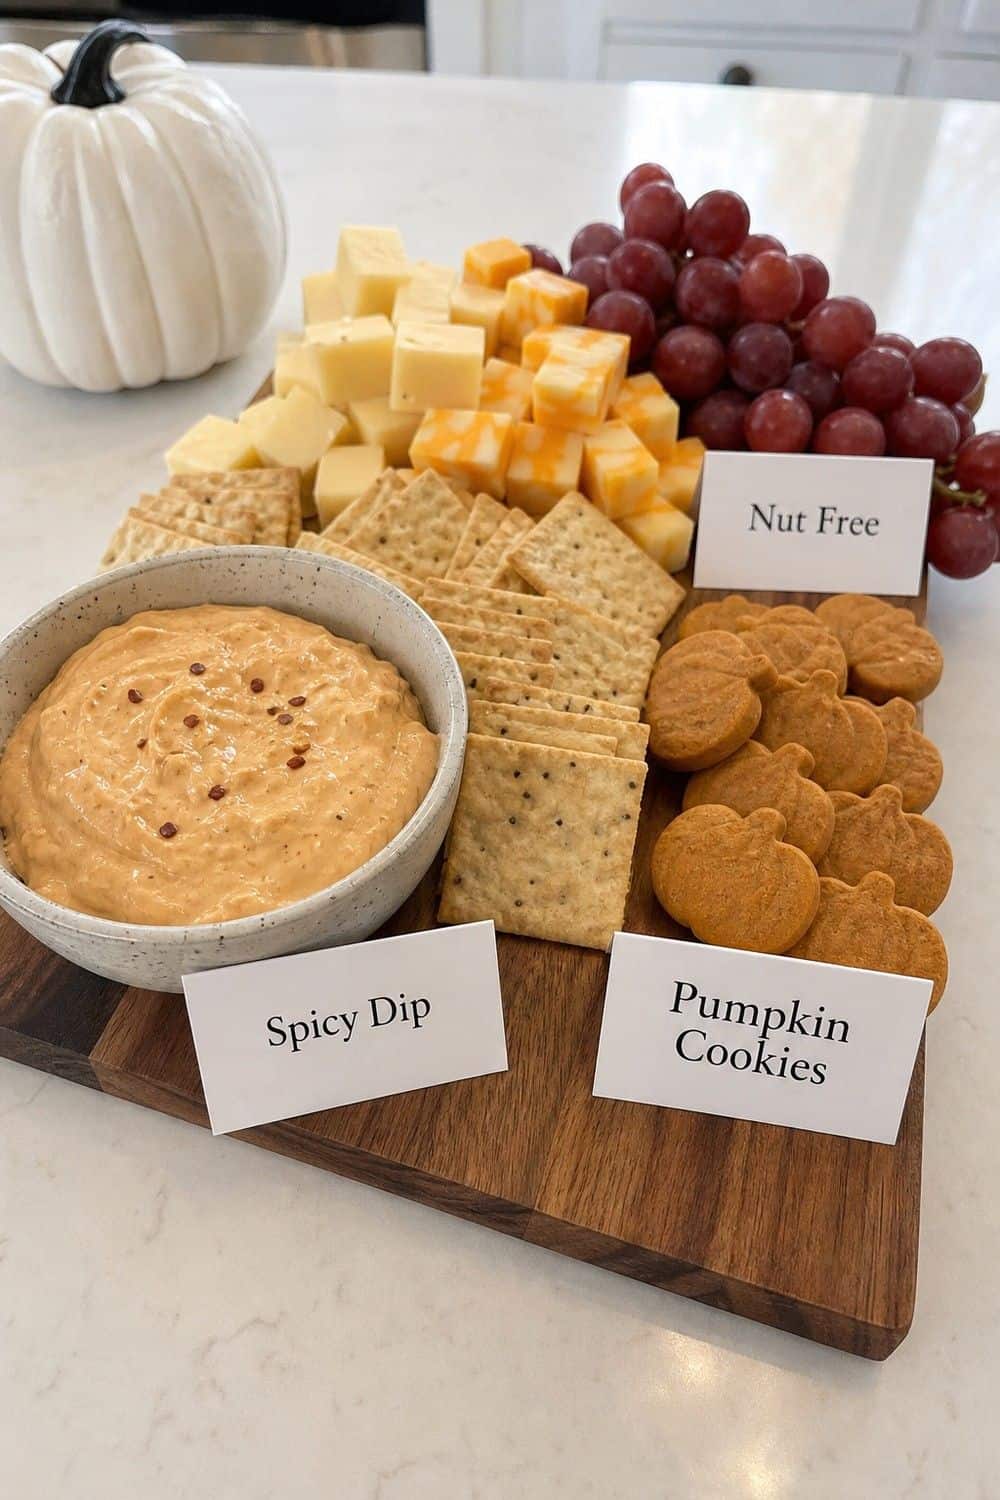
Labels help most when guests actually need information. Use them for spicy dip, peanut candy, gluten-free crackers, vegetarian bites, or a drink that looks like cider but has alcohol. That kind of label prevents questions and keeps the snack table moving. For the Halloween look, keep the wording short. Spider Dip, Monster Mix, Pumpkin Cookies, or Hot Honey Cheese is enough. Long joke labels can be fun, but they slow people down when the board is crowded. Place labels behind bowls or at the edge of the platter, not in the middle of loose food.
5. Keep Decor off Prep Surfaces
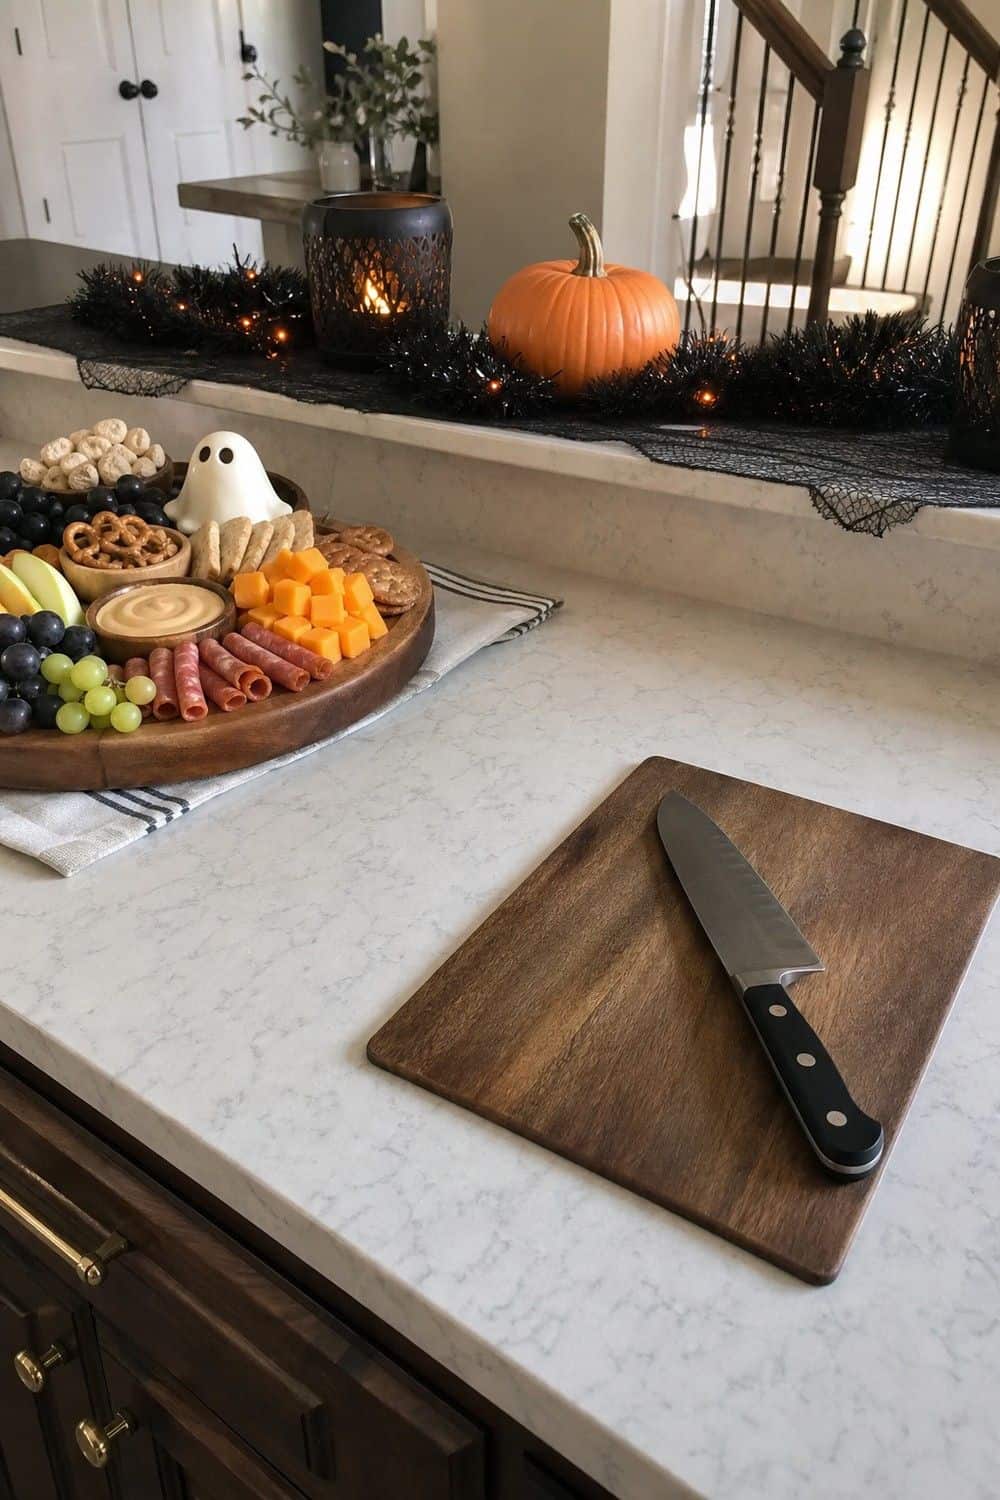
Kitchen counters are working surfaces, especially on Halloween when someone may still be opening drinks, heating pizza rolls, cutting fruit, or finding extra napkins. Keep decorative pieces behind the board, on a runner, or on a shelf instead of letting them take over the food-prep zone.
The board itself can be festive through color, bowls, napkins, and one or two seasonal shapes. You do not need plastic hands, webs, confetti, and candles between the crackers and cheese. Too much loose decor makes the board harder to serve and harder to clean.
6. Choose the Board Size
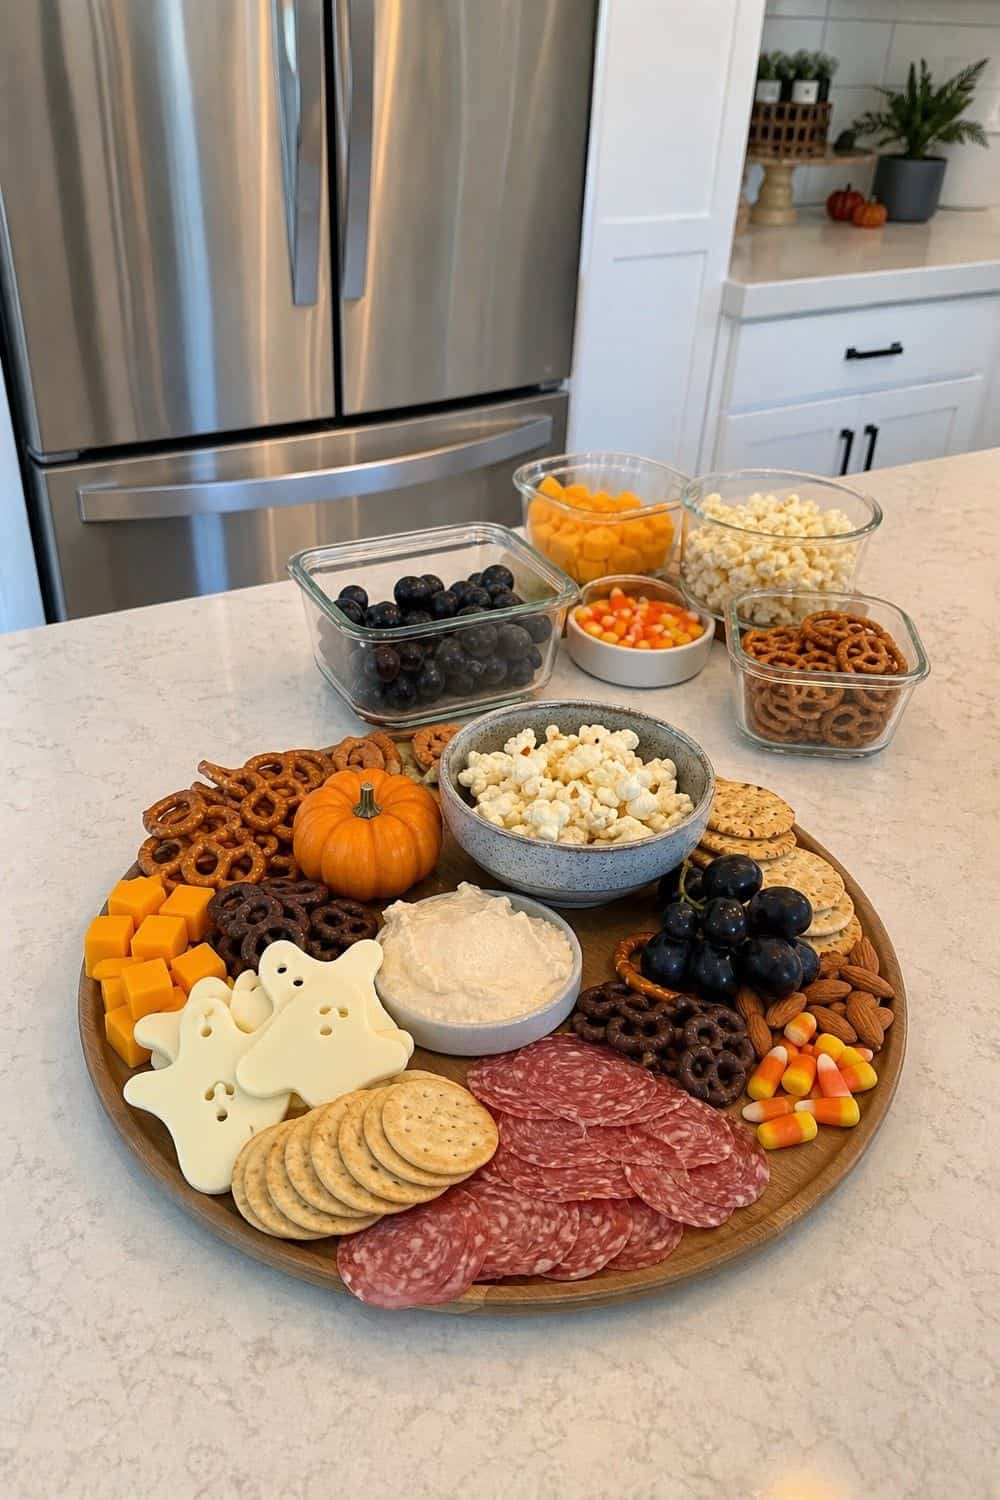
A huge board looks impressive online, but it is not always the easiest way to host. For a small group, one medium platter with refills in the pantry or fridge is cleaner than a giant board that sits out too long and gets picked over.
Estimate by appetite rather than by photo size. If the board is the main snack for a movie night or party, include enough savory food to feel satisfying, not just candy. If it is one stop on a larger Halloween table, keep it smaller and more decorative.
7. Anchor with Three Main Foods
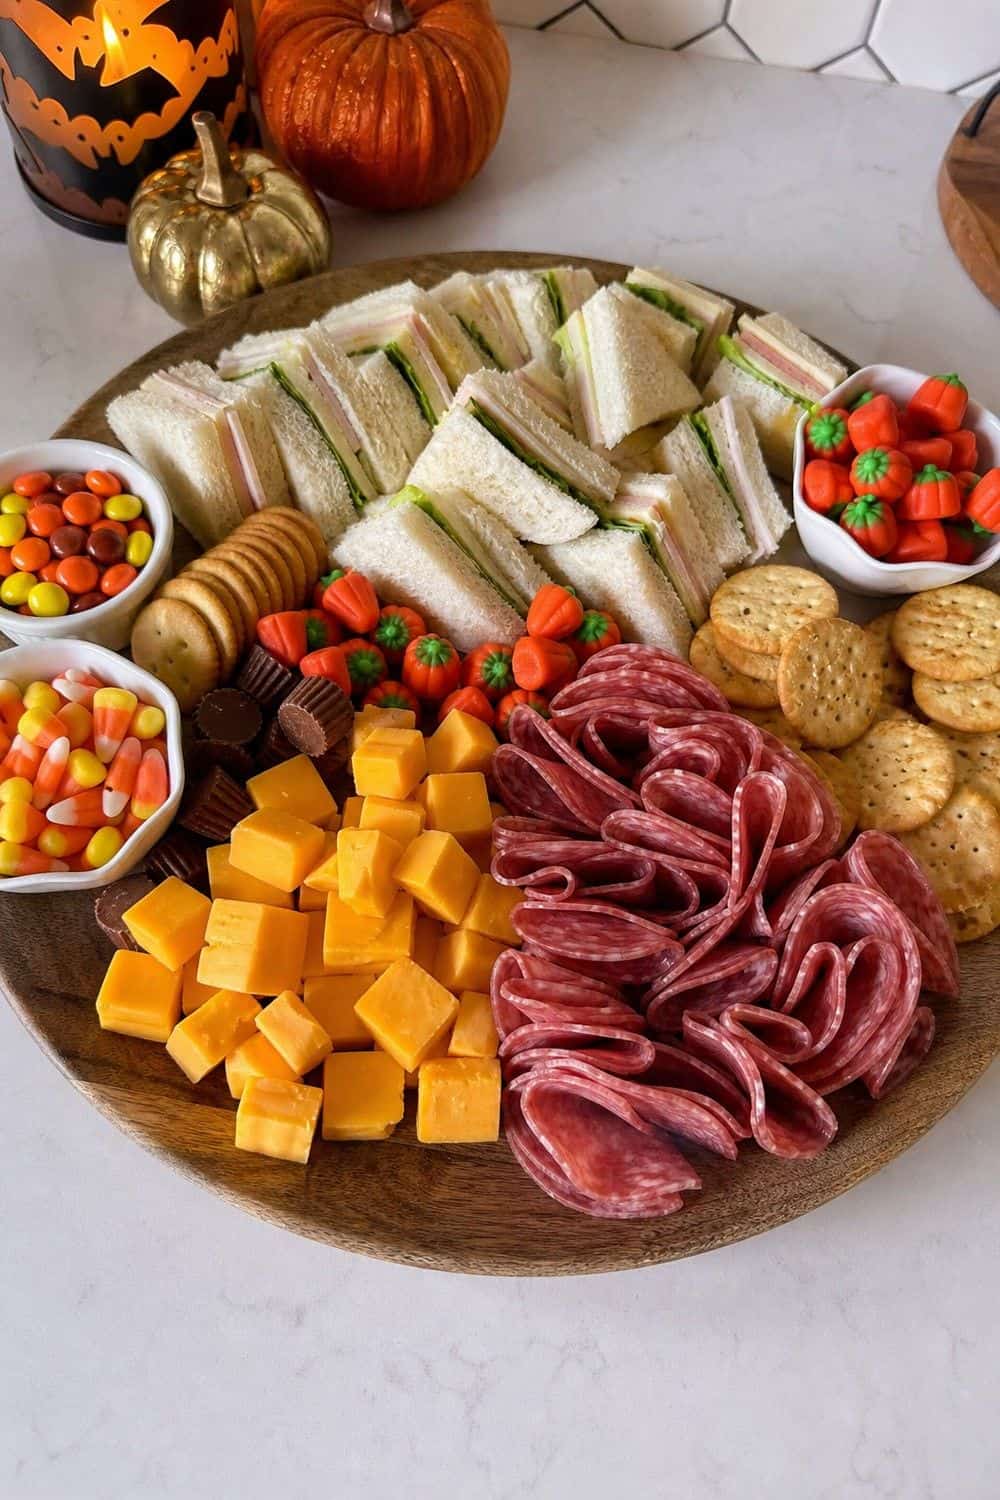
Before adding candy and novelty snacks, choose three foods that make the board feel like actual food. Good anchors include cheese, salami, mini sandwiches, pizza bites, pigs in a blanket, hummus, deviled eggs, quesadilla triangles, or a bowl of chili cheese dip nearby.
The anchors should match the occasion. For a kid-heavy Halloween afternoon, cheese cubes, crackers, fruit, and mini muffins may be enough. For adults before trick-or-treating, add something saltier and more filling so the board is not all sugar. Place the anchors first, spaced across the board rather than clustered in one corner.
8. Add Crunchy Items
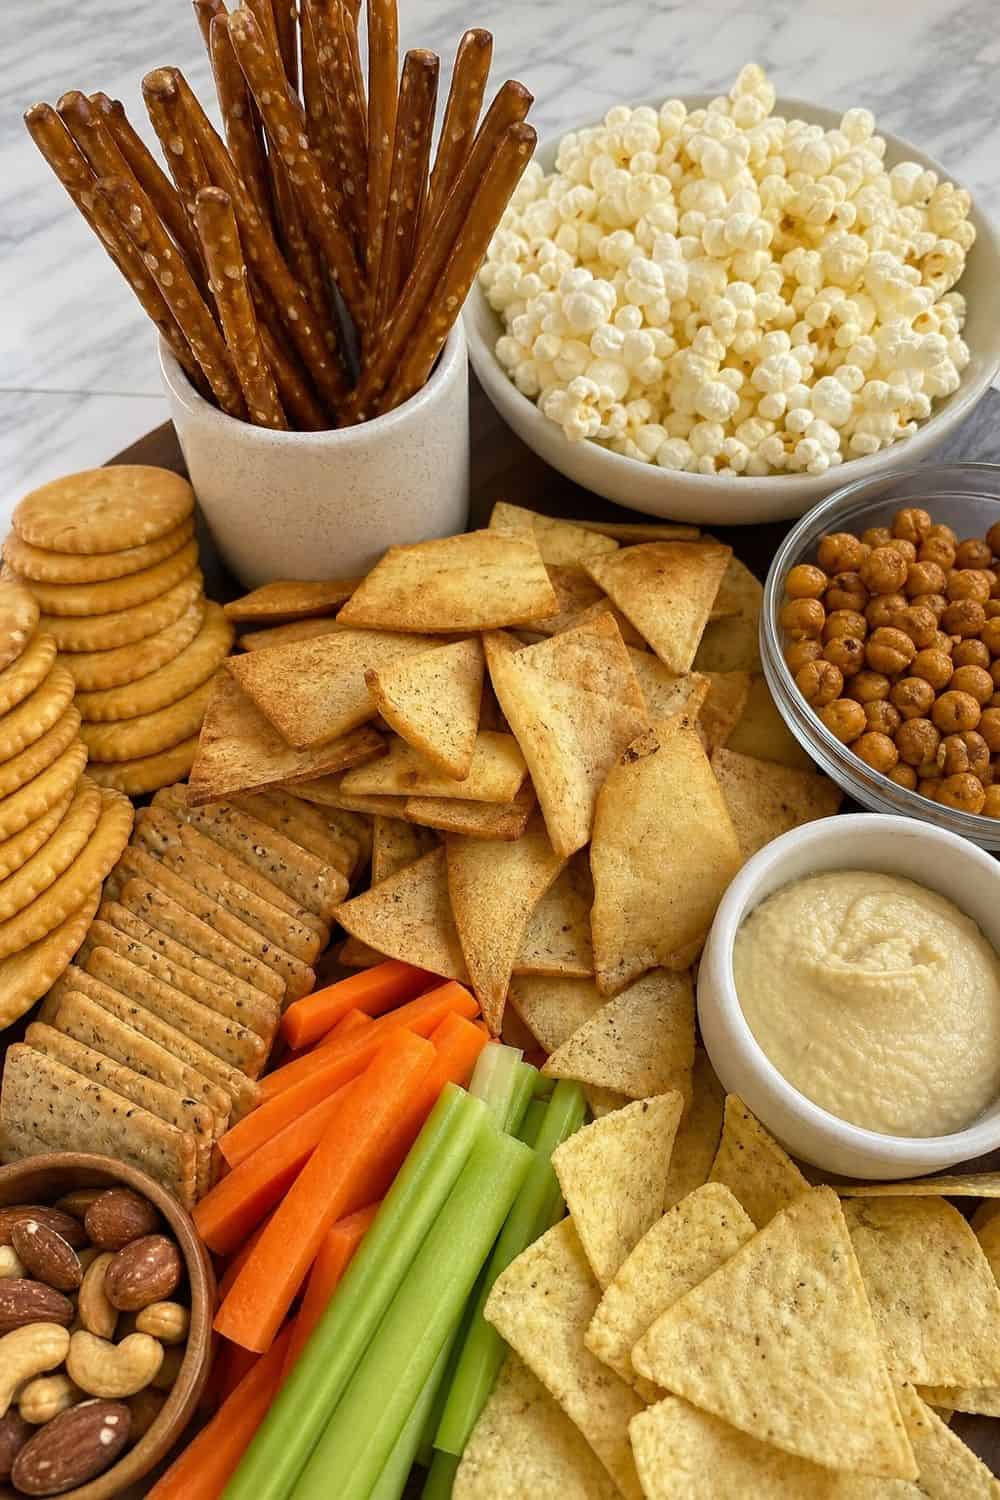
Crunch gives a Halloween snack board the kind of variety people keep coming back for. Pretzels, pita chips, tortilla chips, popcorn, crackers, cheese crisps, roasted chickpeas, nuts, and veggie sticks all break up the softer foods and sweets.
Use different shapes so the board does not look flat. Pretzel rods can sit in a tall cup, crackers can be stacked in short rows, popcorn can fill a bowl, and chips can fan out near dip. Those shapes help guests see what is available without digging. Keep salty crunch close to dips and sweet crunch close to candy or chocolate.
9. Add Fresh Produce
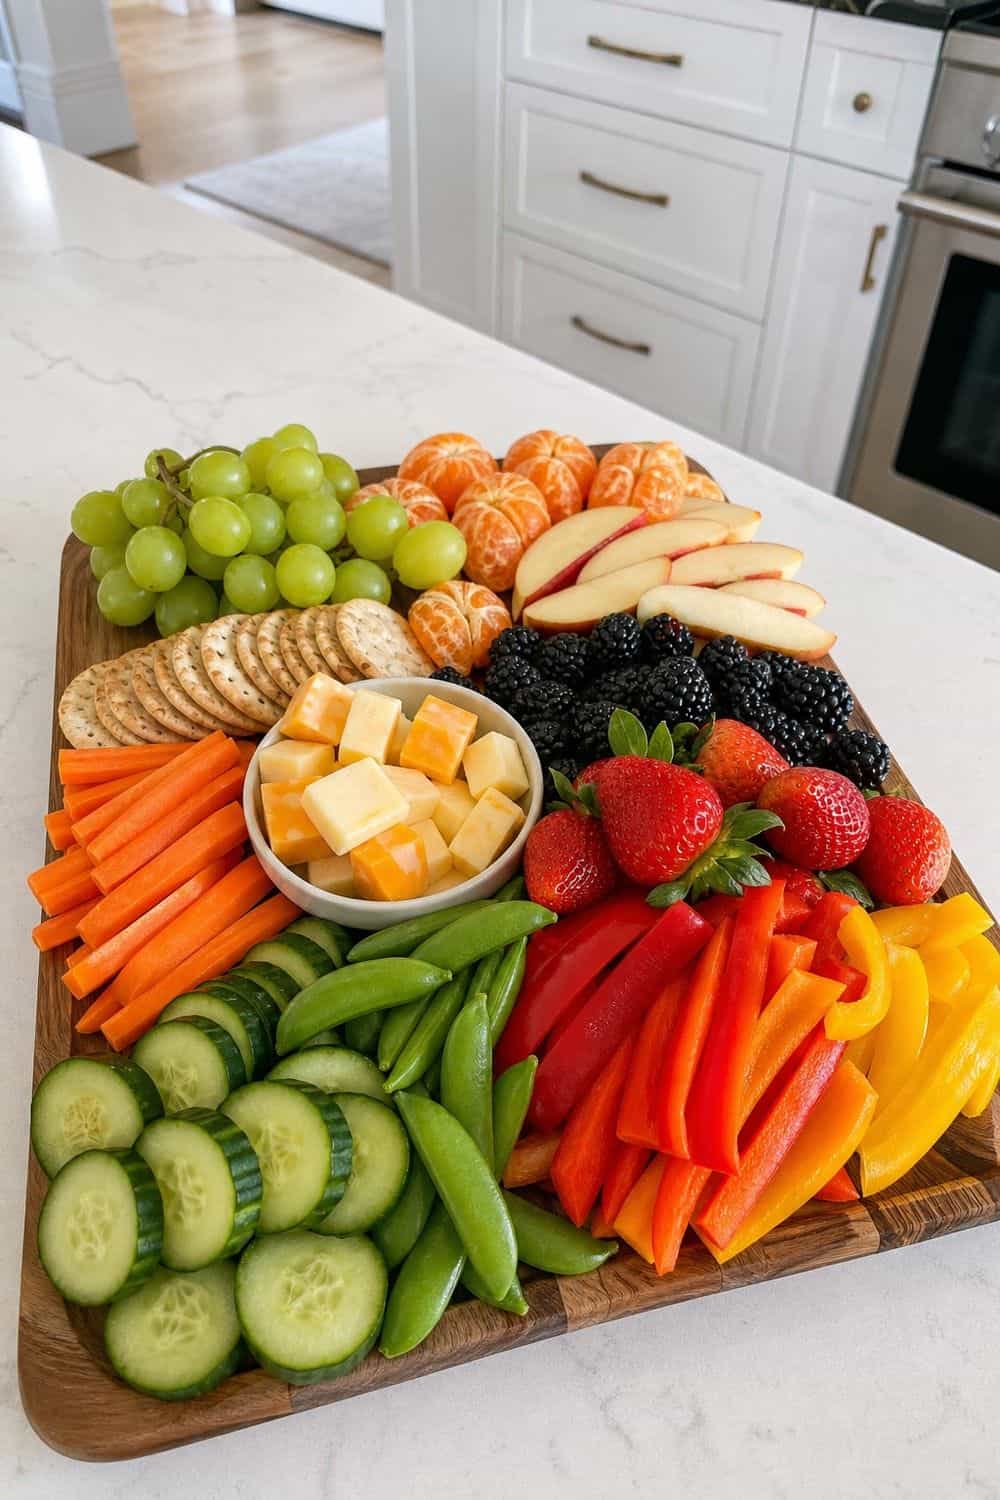
Fresh produce keeps the board from feeling like a sugar tray. Grapes, clementines, apple slices, strawberries, blackberries, carrots, cucumber rounds, snap peas, and bell pepper strips bring color and give guests a lighter option between candy and crackers.
Choose produce that can handle sitting out for a reasonable window. Whole grapes, peeled clementines, berries, carrots, and cucumbers hold up better than bananas or delicate sliced fruit. If you use apples, toss them lightly with lemon juice and keep them near caramel or peanut butter dip. Color can do a lot of Halloween work here.
10. Add Dips or Sauces
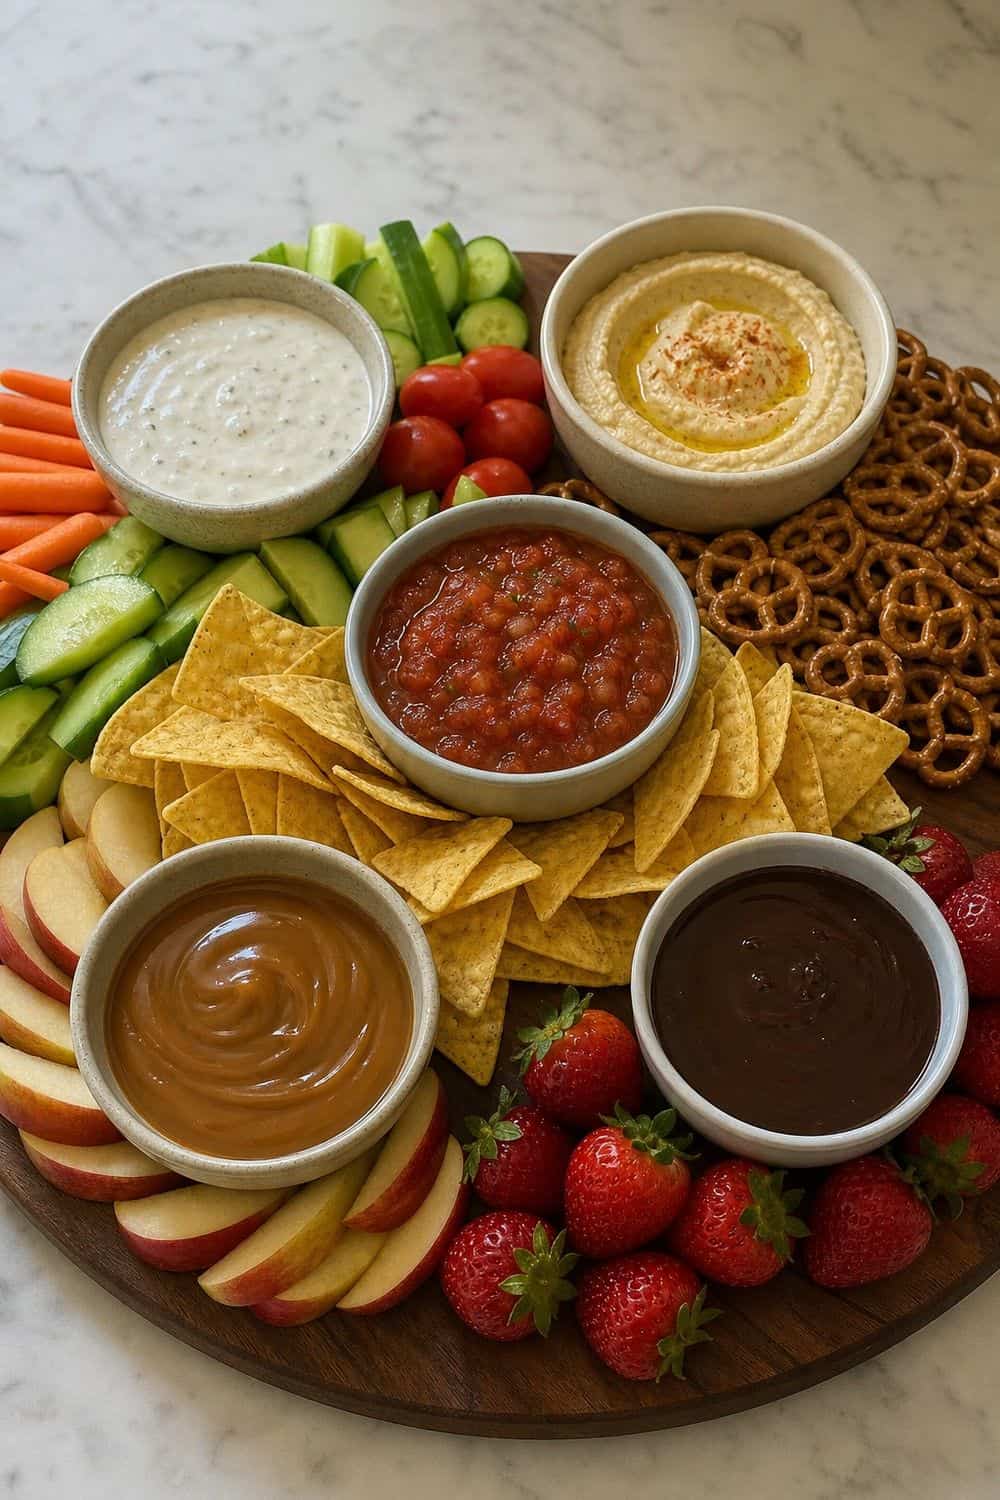
Dips make a snack board feel generous, but they need boundaries. Use small bowls for ranch, hummus, queso, salsa, caramel, chocolate sauce, whipped feta, or cream cheese dip instead of pouring anything directly onto the board. Give each dip its own nearby dippers. Put vegetables and pretzels near ranch, tortilla chips near salsa or queso, apple slices near caramel, and cookies near chocolate.
Guests should not have to drag food across the whole board to find the right pairing. Halloween styling can stay simple: add sliced olives as eyes on ranch, swirl pesto into hummus for a green look, sprinkle crushed cookies over chocolate dip, or use a pumpkin-shaped bowl.
11. Leave Space Between Items
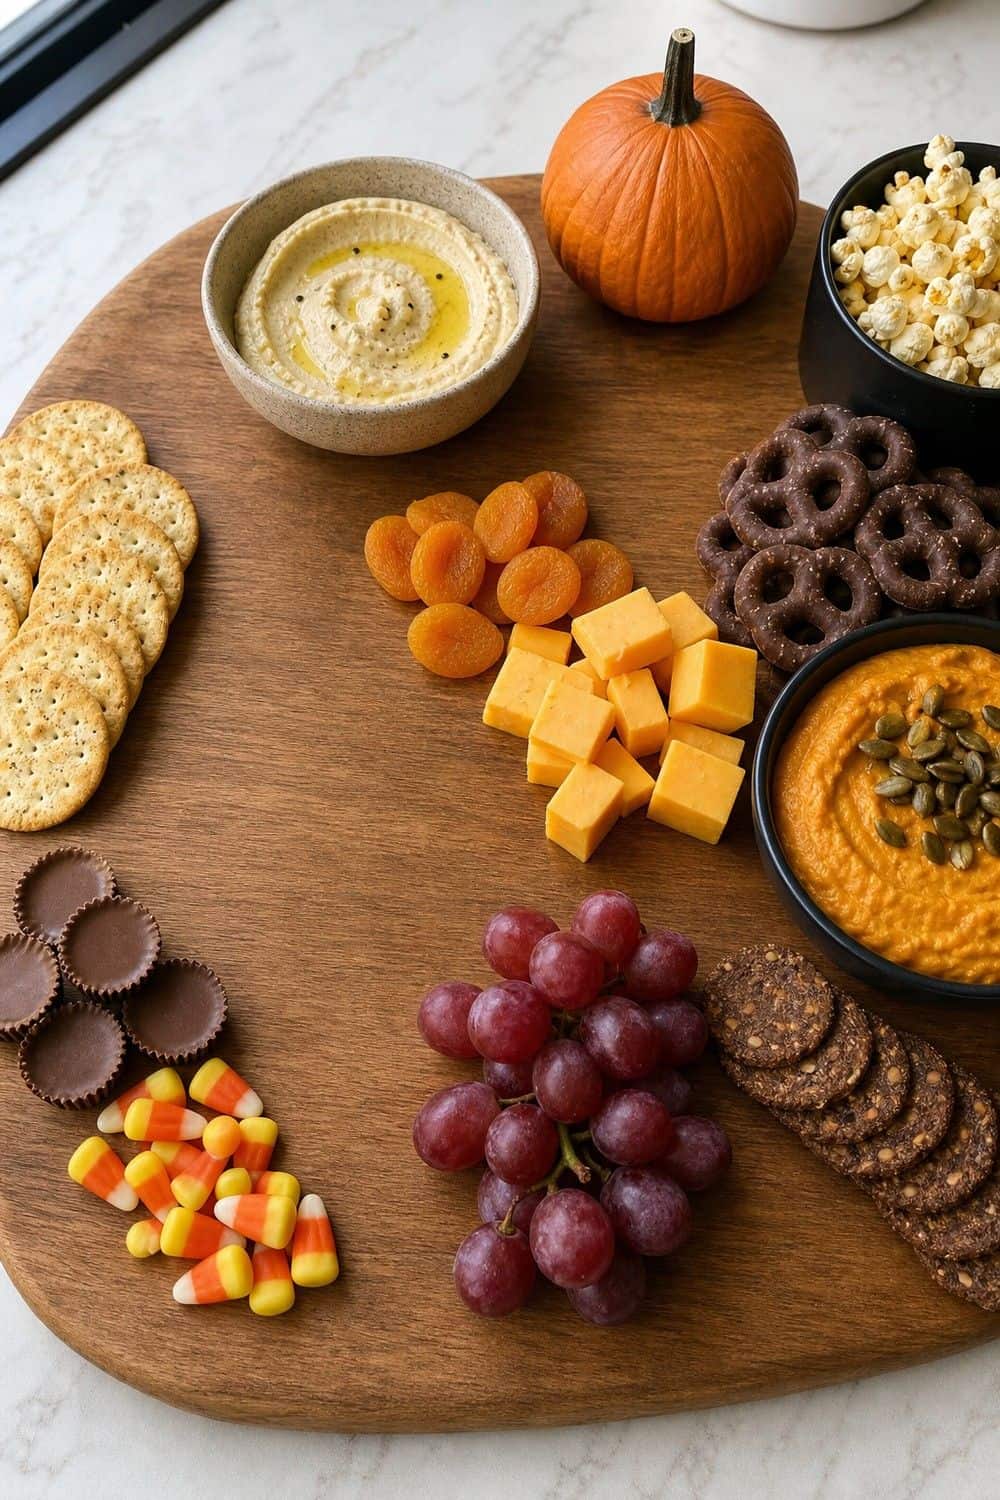
A packed board may photograph well, but it can be frustrating to eat from. Guests need room to pick up cheese, scoop dip, and separate sweets from savory snacks without touching everything around them.
Use small gaps as serving lanes. A narrow open strip beside crackers lets people slide them out cleanly. A little space around dip bowls keeps sleeves and costume pieces from dragging through sauce. Empty spots also give you somewhere to add refills later. If the board looks sparse, add structure instead of more food. Fold napkins nearby, stack mini plates, use a bowl for popcorn, or place crackers in tidy rows.
12. Choose a Clear Halloween Theme
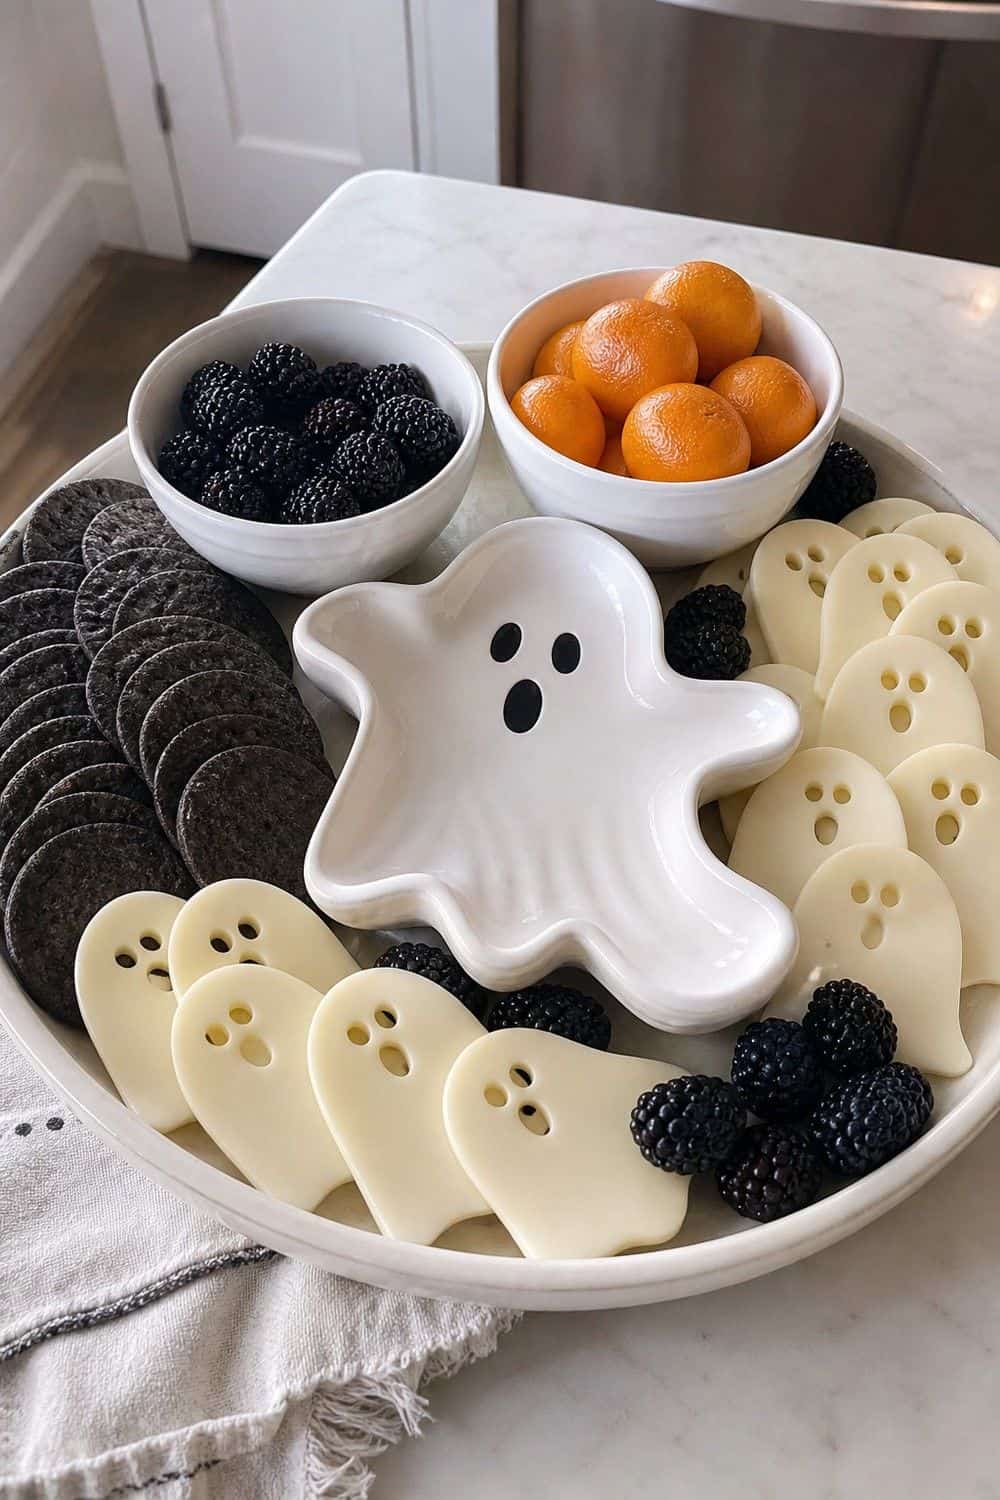
A theme keeps the board from becoming every Halloween item in the store at once. Pick one direction, then simplify everything else around it: cute ghosts, classic pumpkin patch, witchy purple and green, black-and-white haunted house, monster snacks, or orange candy shop.
The theme should guide shapes and colors, not require every food to be novelty-shaped. A ghost theme can include white cheddar crackers, marshmallows, yogurt pretzels, vanilla cookies, and a few ghost picks. A witchy board can use green grapes, purple candies, blackberries, and dark chocolate. Choose a theme that matches the guests.
13. Place the Halloween Snack Board Where Guests Can Reach It

The serving zone should be chosen before you build the board. The best spot is easy to reach, away from the stove if you are still cooking, and close enough to plates, napkins, and drinks that guests do not have to cross the kitchen repeatedly. For a counter setup, place the board lengthwise with plates at the start and napkins at the end. That gives people a natural direction to move. For a table setup, keep the board centered and put drinks or extra candy on a separate side table. If the kitchen is narrow, do not put the board in the busiest walkway.
14. Prep Spooky Snacks Ahead
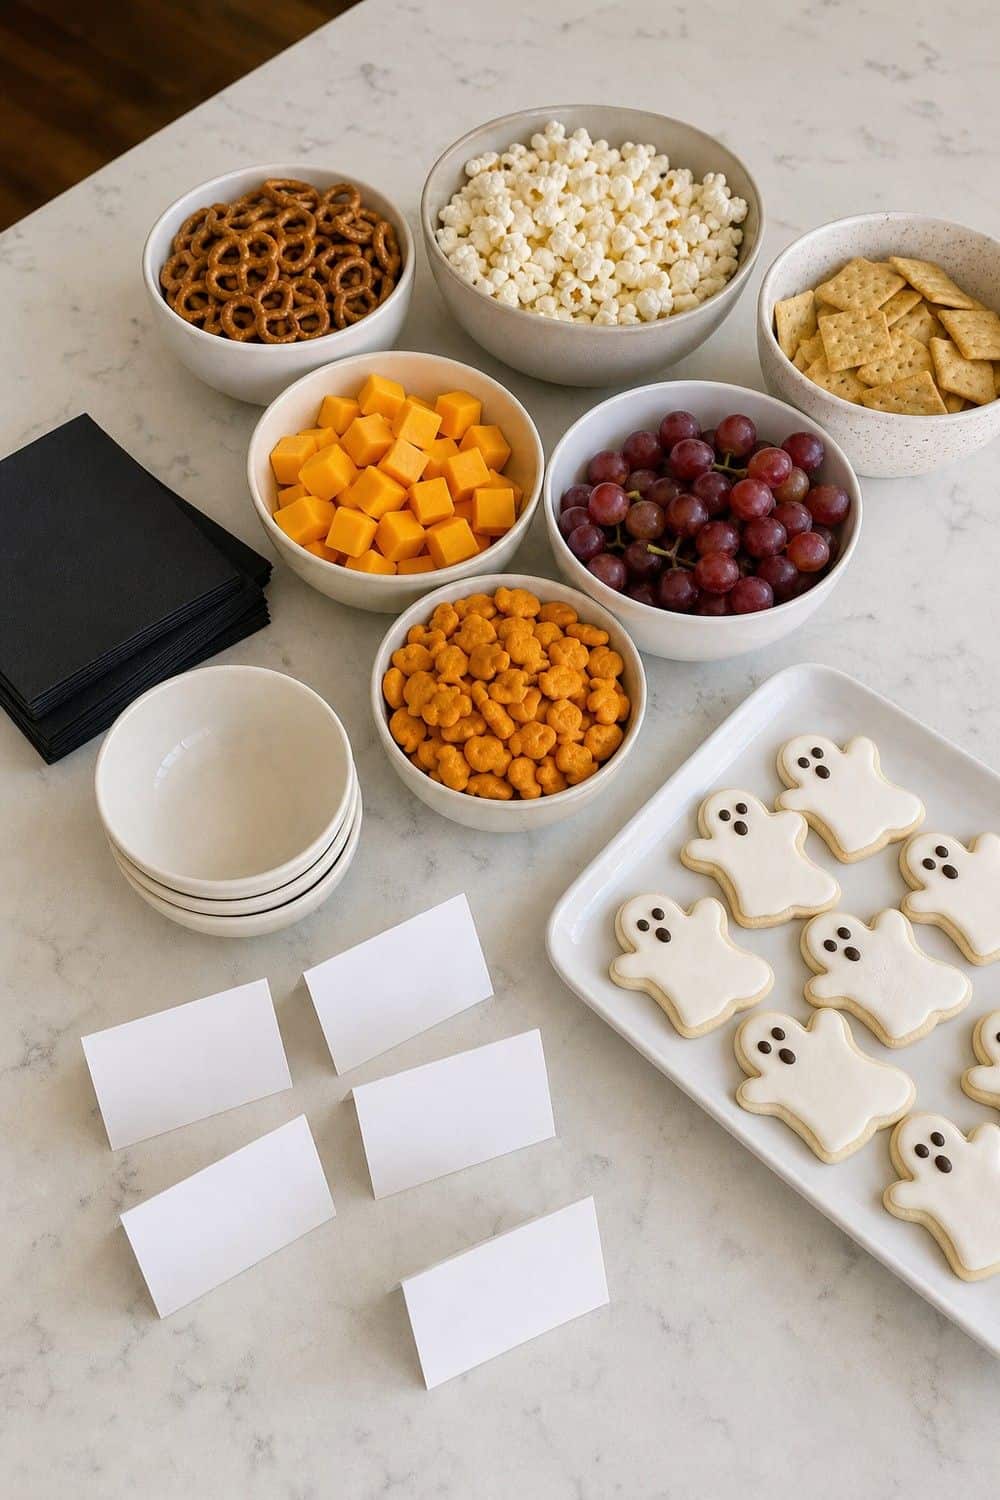
A make-ahead Halloween board should have very few last-minute tasks. The day before, portion dry snacks, bake or buy sweets, prep labels, wash produce, choose bowls, and decide where every serving piece will go.
Leave only the foods that truly need timing for party day: warming pizza bites, slicing apples, opening chilled dip, arranging cheese, and adding anything crisp that might go stale. That keeps the board fresh without turning assembly into a cooking project. A written mini-plan helps: board, bowls, cold items, warm item, refills, trash. That short list prevents the classic Halloween rush where the board looks finished but the napkins, plates, and garbage bag are missing.
15. Add One Dark or Bright Party Drink
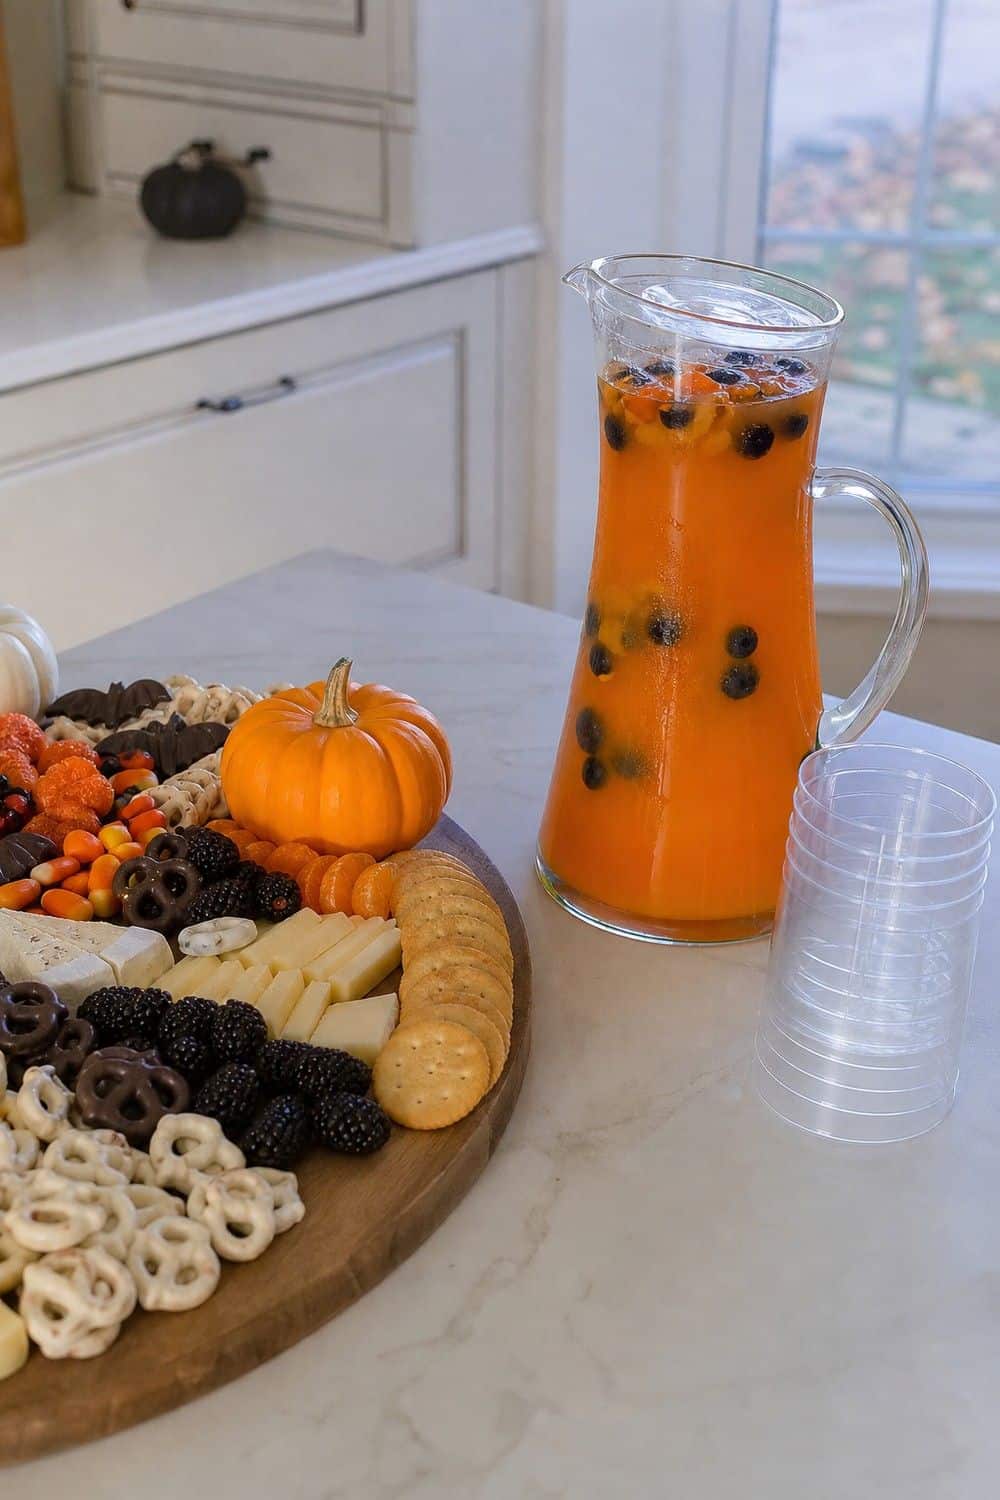
A drink makes the snack board feel like part of a full hosting setup. Apple cider, orange punch, lemonade with blackberries, hot cocoa, mulled cider, or sparkling water with citrus can sit nearby and carry the Halloween mood without adding more food to the board. Keep the drink slightly separate so condensation and spills do not reach crackers or candy. A glass drink dispenser, pitcher, or lidded carafe works well on a tray with cups, napkins, and a small garnish bowl. For kids, use a bright drink with simple garnishes rather than messy effects.
16. Keep Refills Away From the Snack Board
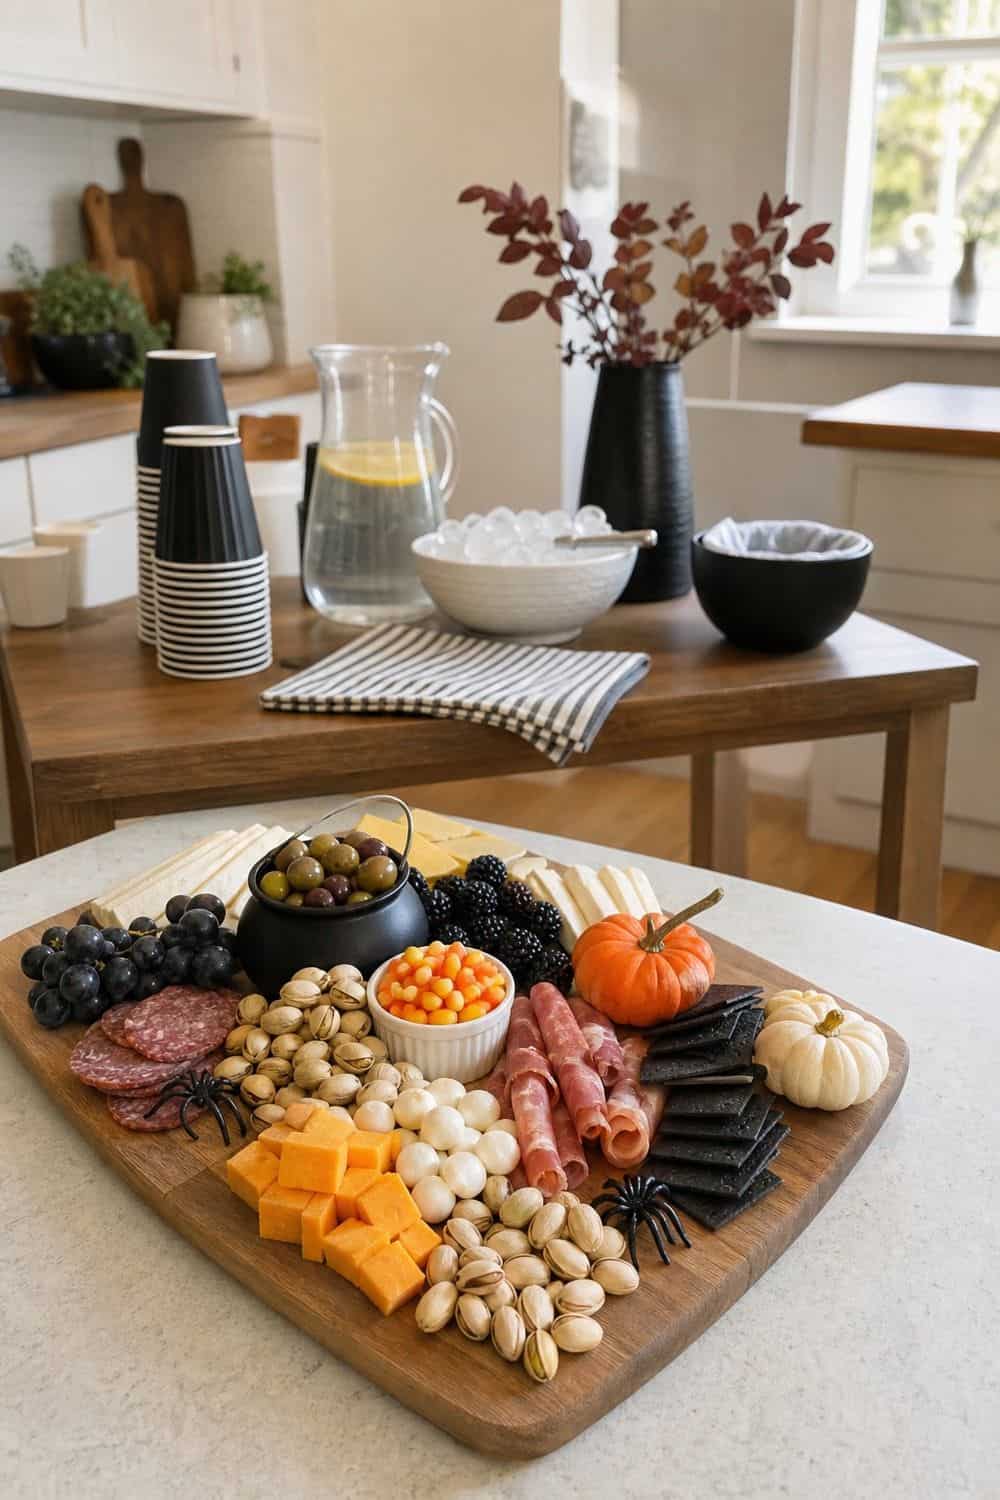
If more than a few people are coming over, drinks deserve their own station. Put cups, a dispenser or pitcher, ice, a towel, and a small trash bowl for wrappers or tea bags in one clear area. This keeps wet items away from the Halloween snack board. Nothing ruins crackers faster than melting ice or sticky punch dripping across the serving area. A tray under the drink dispenser catches spills and gives the whole setup a finished look. For a compact party setup, the beverage station can be on a bar cart, sideboard, dining table, or even a cleared shelf near the fridge.
17. Set a Separate Candy or Popcorn Corner
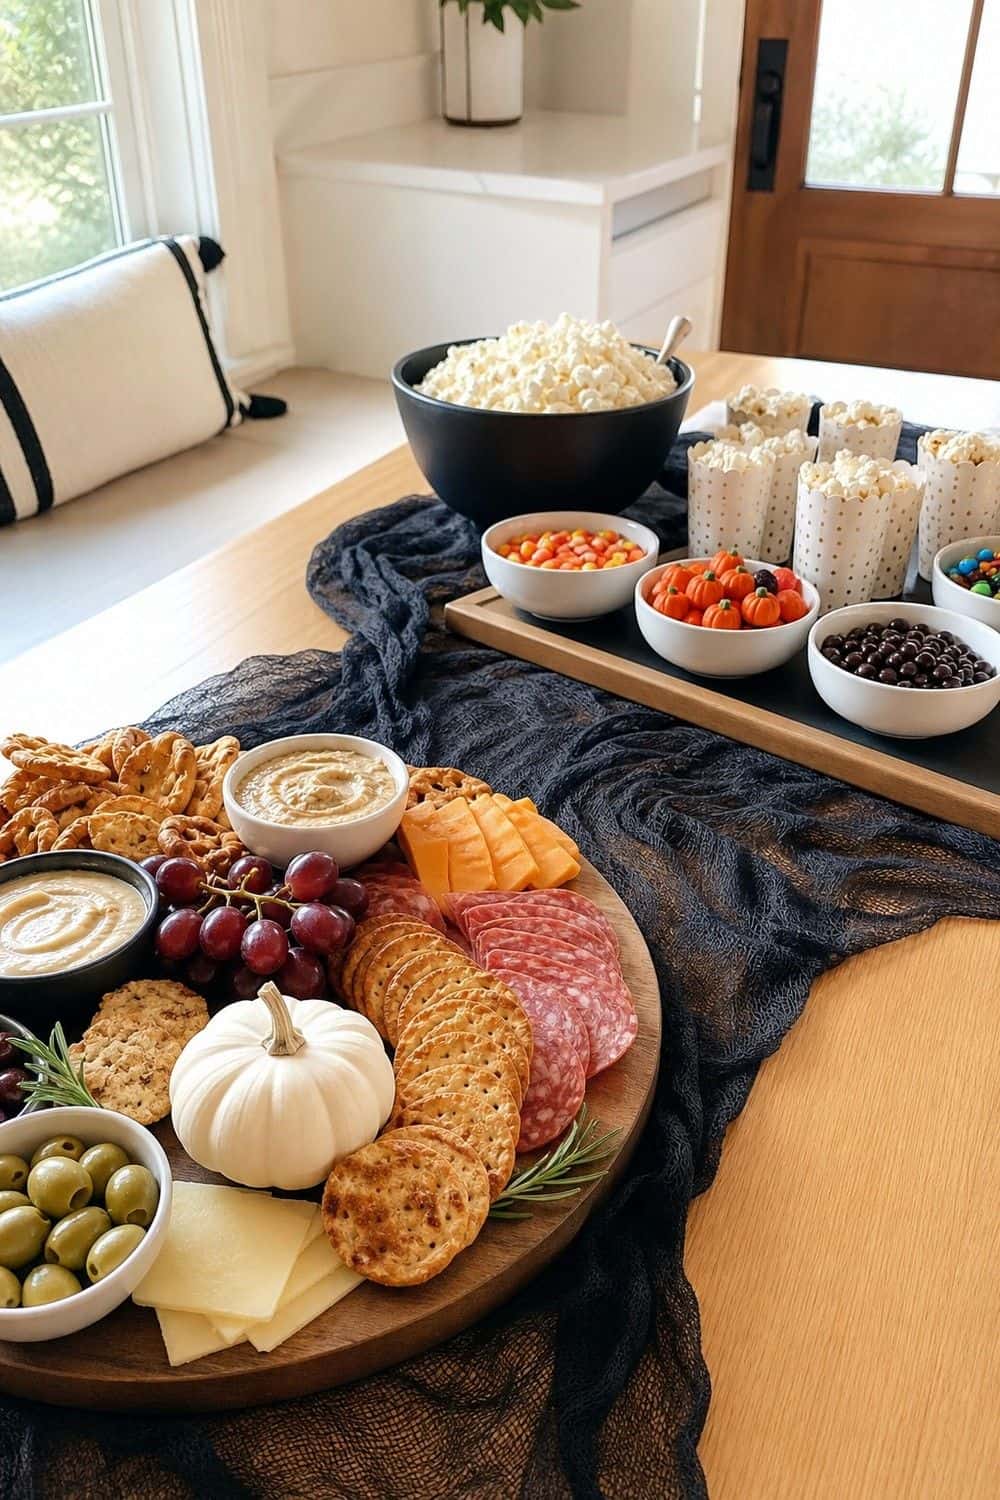
The board should have a clear role. If it is the main appetizer zone, give it enough savory food to hold guests until dinner or trick-or-treating. If it is a sweets-and-snacks zone, keep it lighter and make sure another part of the table handles real food.
Divide the zone by how people eat: grab-and-go bites, dips, fresh items, sweets, and refills. This does not need labels everywhere, but the arrangement should make sense at a glance. A snack zone works especially well for Halloween movie nights because guests can return between scenes without needing plates of full appetizers.
18. Balance Hot Food With Room-Temperature Snacks
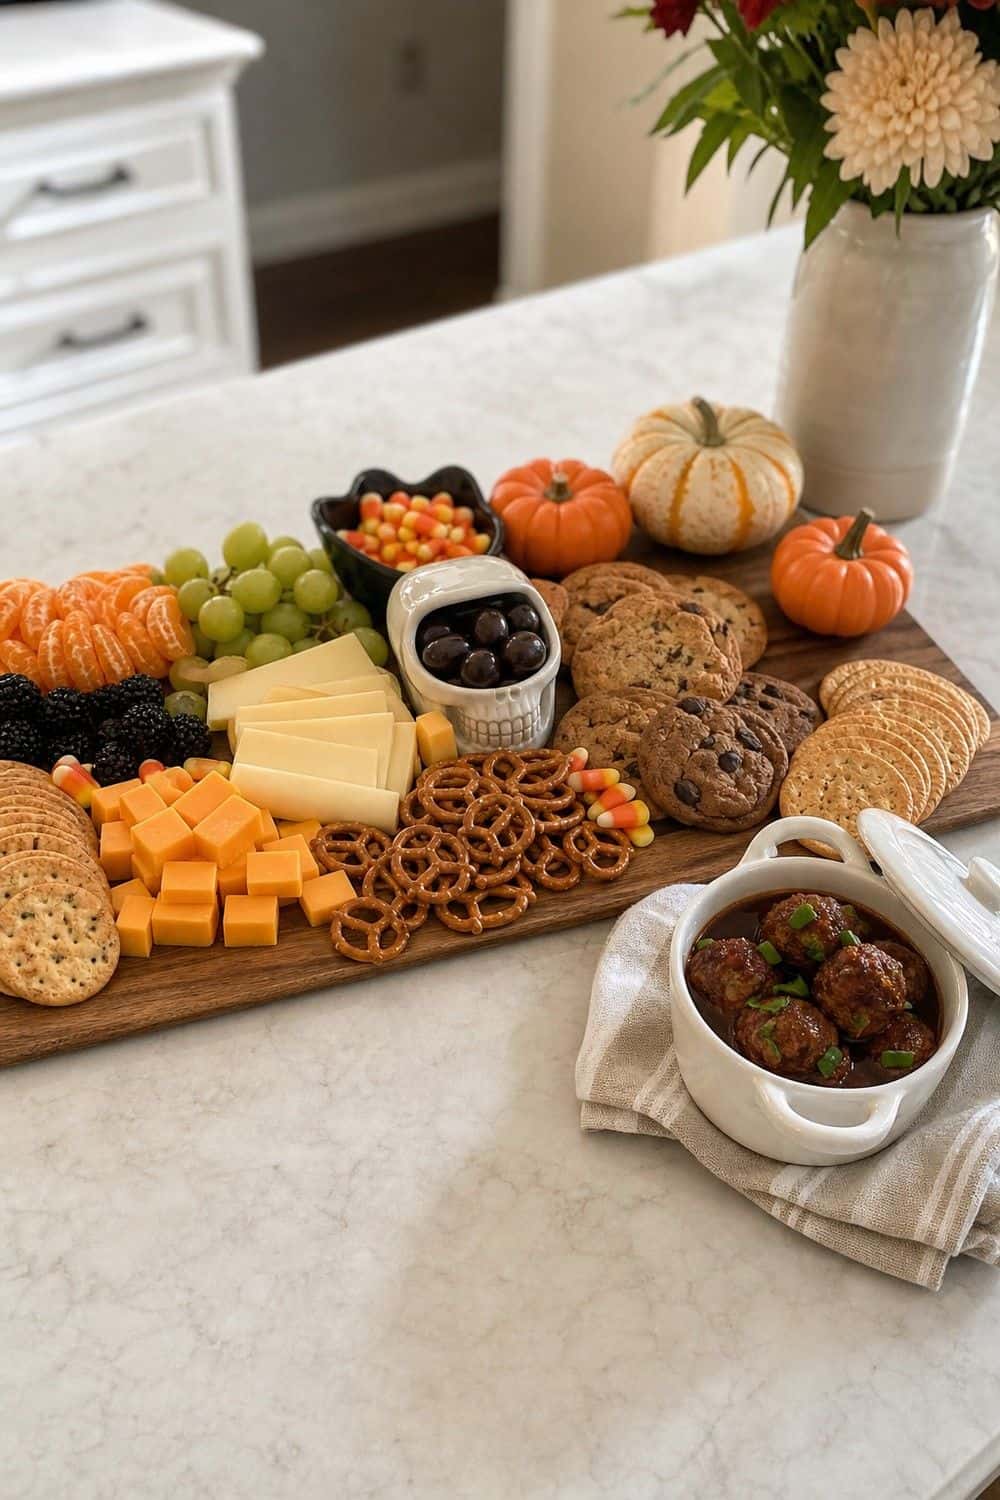
Hot food can make a Halloween board feel more satisfying, but it should not control the whole party. Choose one warm item at most, then surround it with room-temperature snacks that stay good while people graze. Mini meatballs, pigs in a blanket, pizza bites, warm queso, or baked brie can work if they have a clear serving dish and a plan for heat. Keep anything hot off a wooden board unless the serving piece is protected by a trivet or heat-safe plate. Room-temperature foods should carry the board: crackers, popcorn, candy, fruit, vegetables, cookies, cheese, cured meats, and pretzels.
19. Raise Dry Snacks Without Blocking the Board

Different heights help guests see the whole board, especially when several people gather around at once. A low wood board, a small cake stand, a bowl of popcorn, and a raised plate of cookies can make the setup feel full without crowding one flat surface. Height should be stable first and decorative second. Use sturdy cake stands, tiered servers, footed bowls, or an upside-down mixing bowl hidden under a platter only if it will not wobble when someone reaches for food. Put lighter foods higher and heavier foods lower. Cookies, cupcakes, wrapped candy, and popcorn work well on stands.
20. Label Spicy, Sweet, and Allergy-Sensitive Items
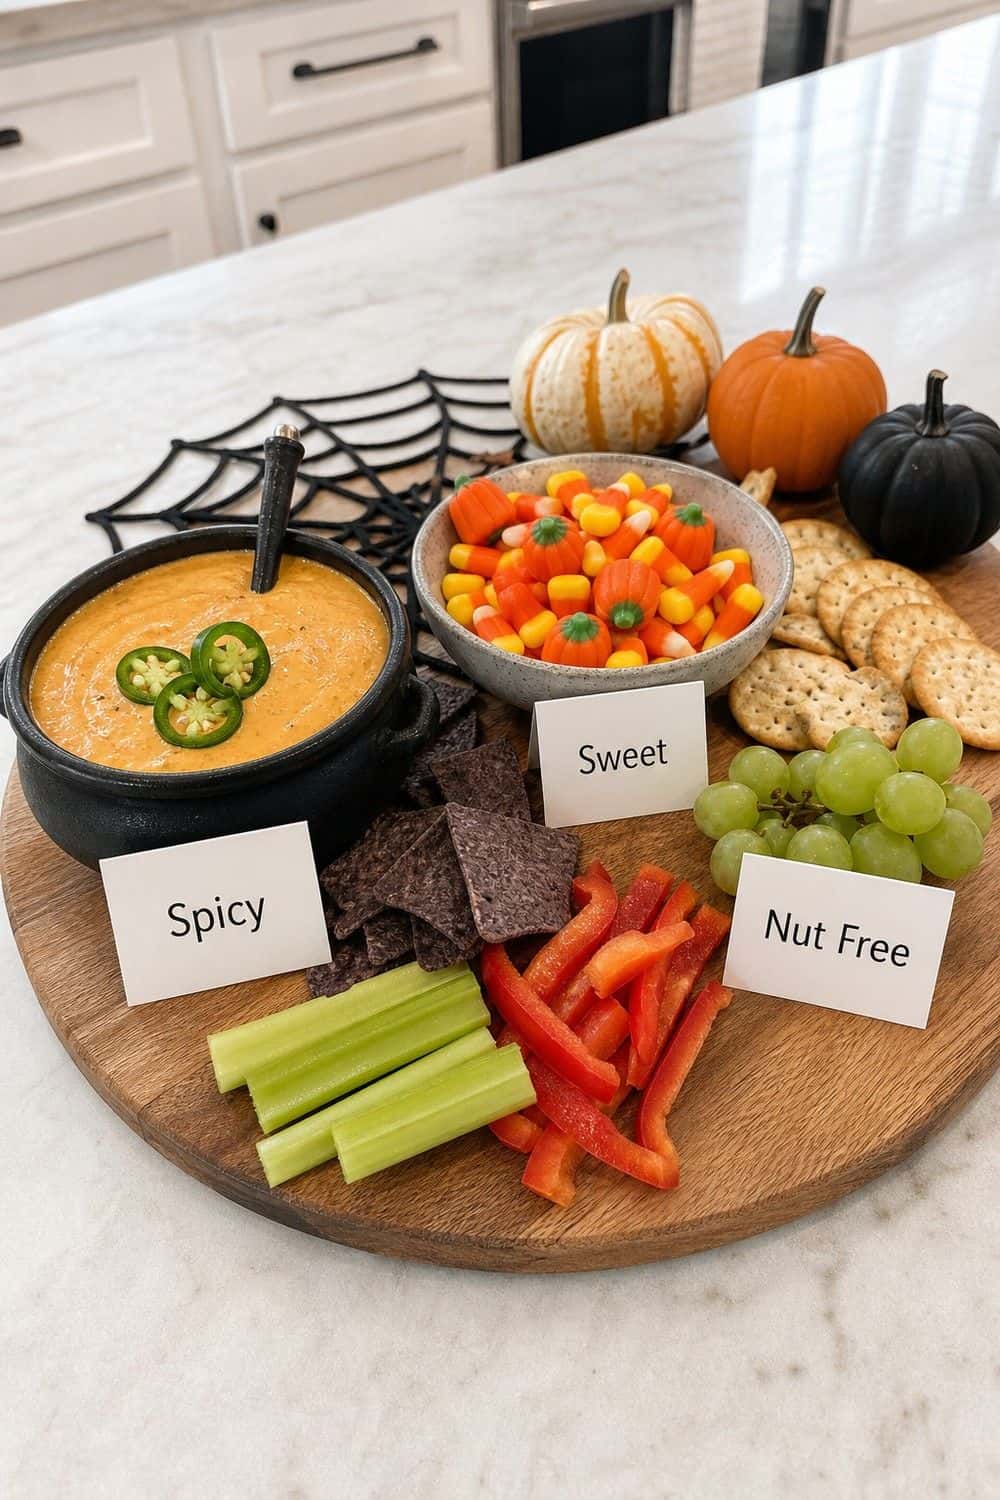
Food labels are most useful when they answer questions before guests ask them. Mark nut-free candy, spicy dip, vegetarian bites, gluten-free crackers, and anything that contains alcohol or common allergens. Use plain labels for important information and playful names for everything else. Peanut-free sweets matters more than a cute pun if children are serving themselves. You can still add one or two Halloween names, but clarity should win. Place labels where they can be read without hovering over the food. Low cards in front of bowls, small clips on serving dishes, or a short menu card beside the board all work.
21. Add a Small Halloween Dessert Tray
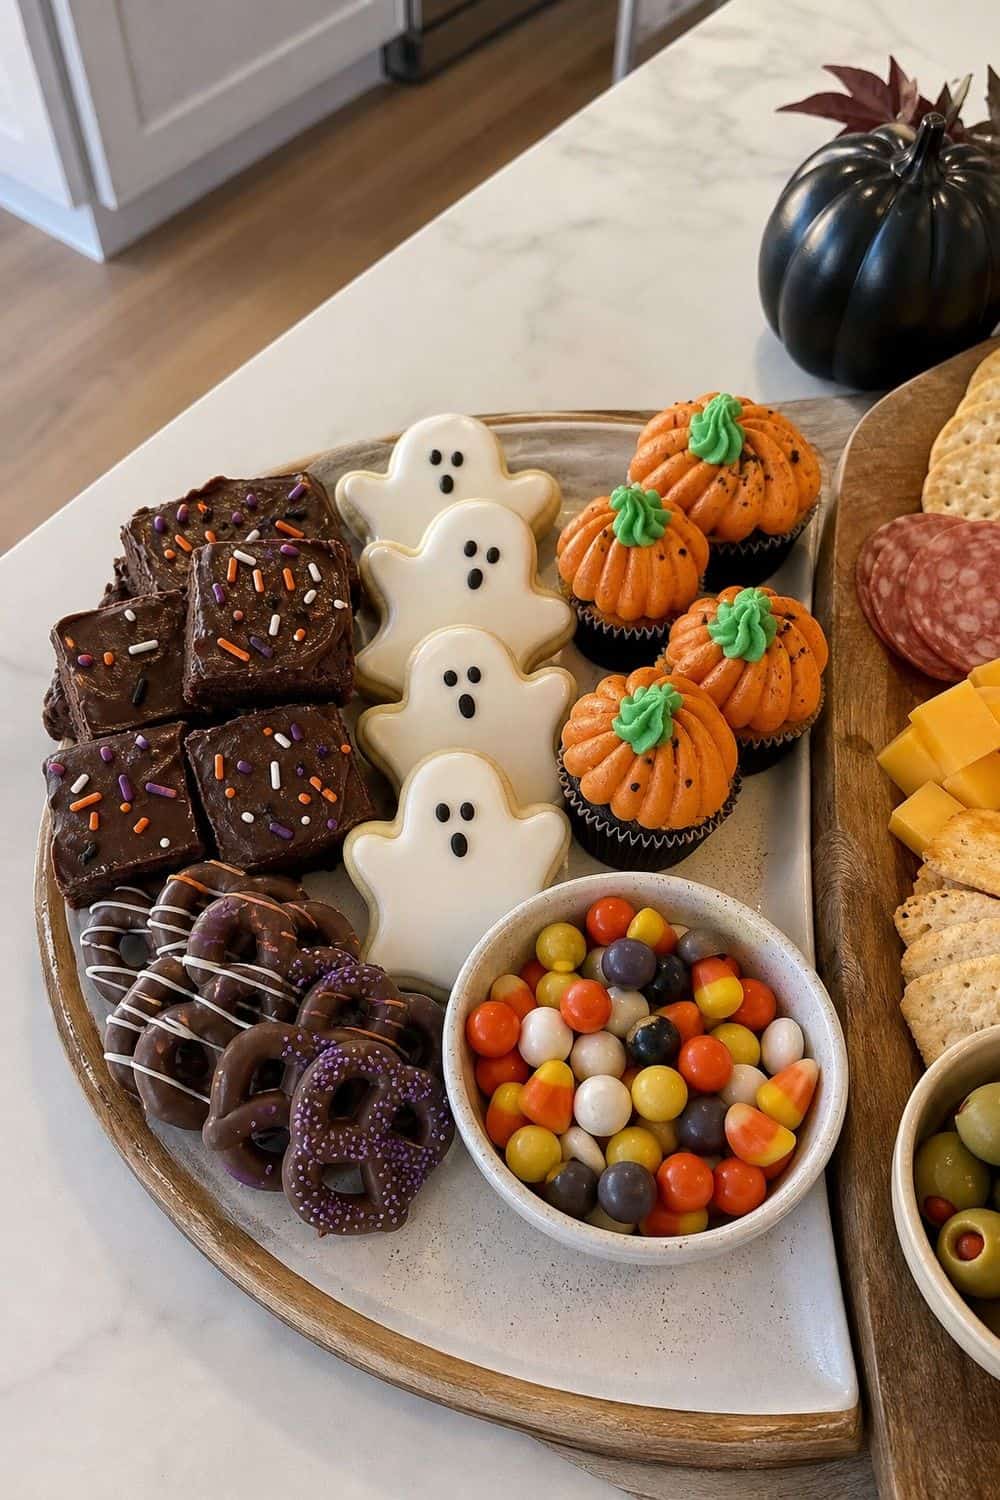
Dessert does not need a separate table if the board already has sweets. Choose one small dessert moment, like brownies cut into bite-size squares, ghost cookies, pumpkin cupcakes, chocolate-dipped pretzels, or a bowl of mini candy bars.
Keep dessert grouped instead of sprinkling sweets everywhere. When candy is mixed through every corner, the board can look busy and kids may dig through savory food to find the chocolate. A clear dessert section is easier to serve and easier to refill. Use one serving piece that gives dessert a little height: a cake stand, footed bowl, or small tray.
22. Lay Out Board Pieces Before Party Time
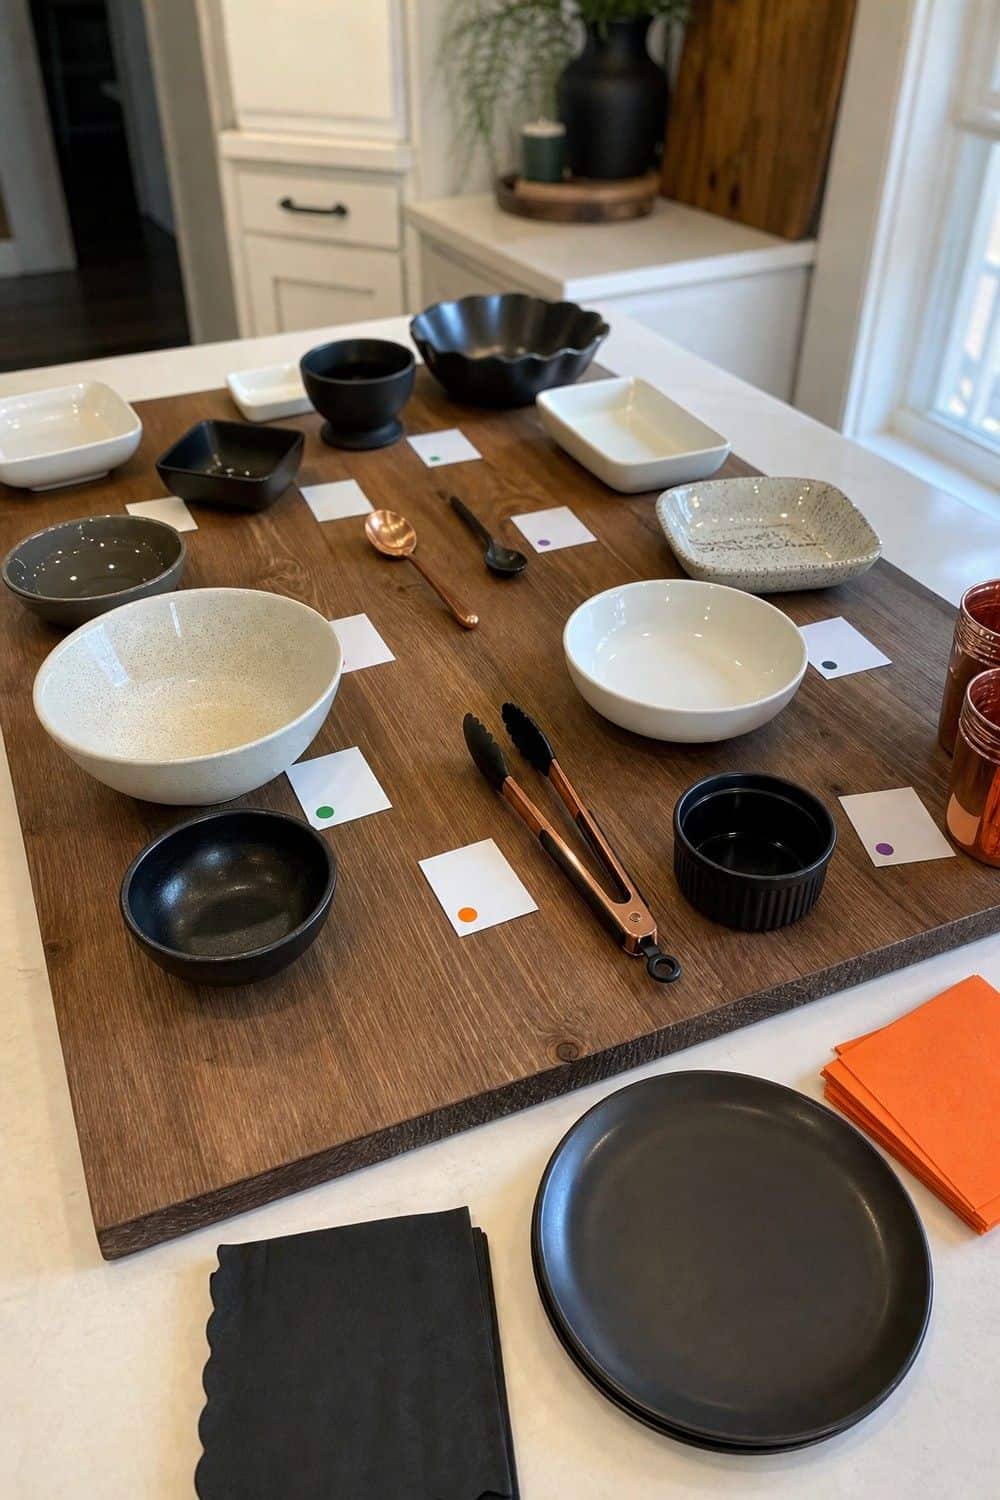
Serving pieces are the thing people forget until the food is ready. Pull the board, bowls, spoons, tongs, napkins, plates, labels, drink cups, and trash setup the day before so you can see what is missing early.
Place empty bowls on the board and use small notes to mark what goes where. This is especially helpful if someone else is helping assemble snacks while you answer the door or finish a warm item. Choose pieces that match the actual food. Shallow bowls are better for candy and olives, deeper bowls work for popcorn, tiny spoons belong with sauces, and tongs help with cheese or meats.
23. Plan a Wrapper and Plate Drop Zone
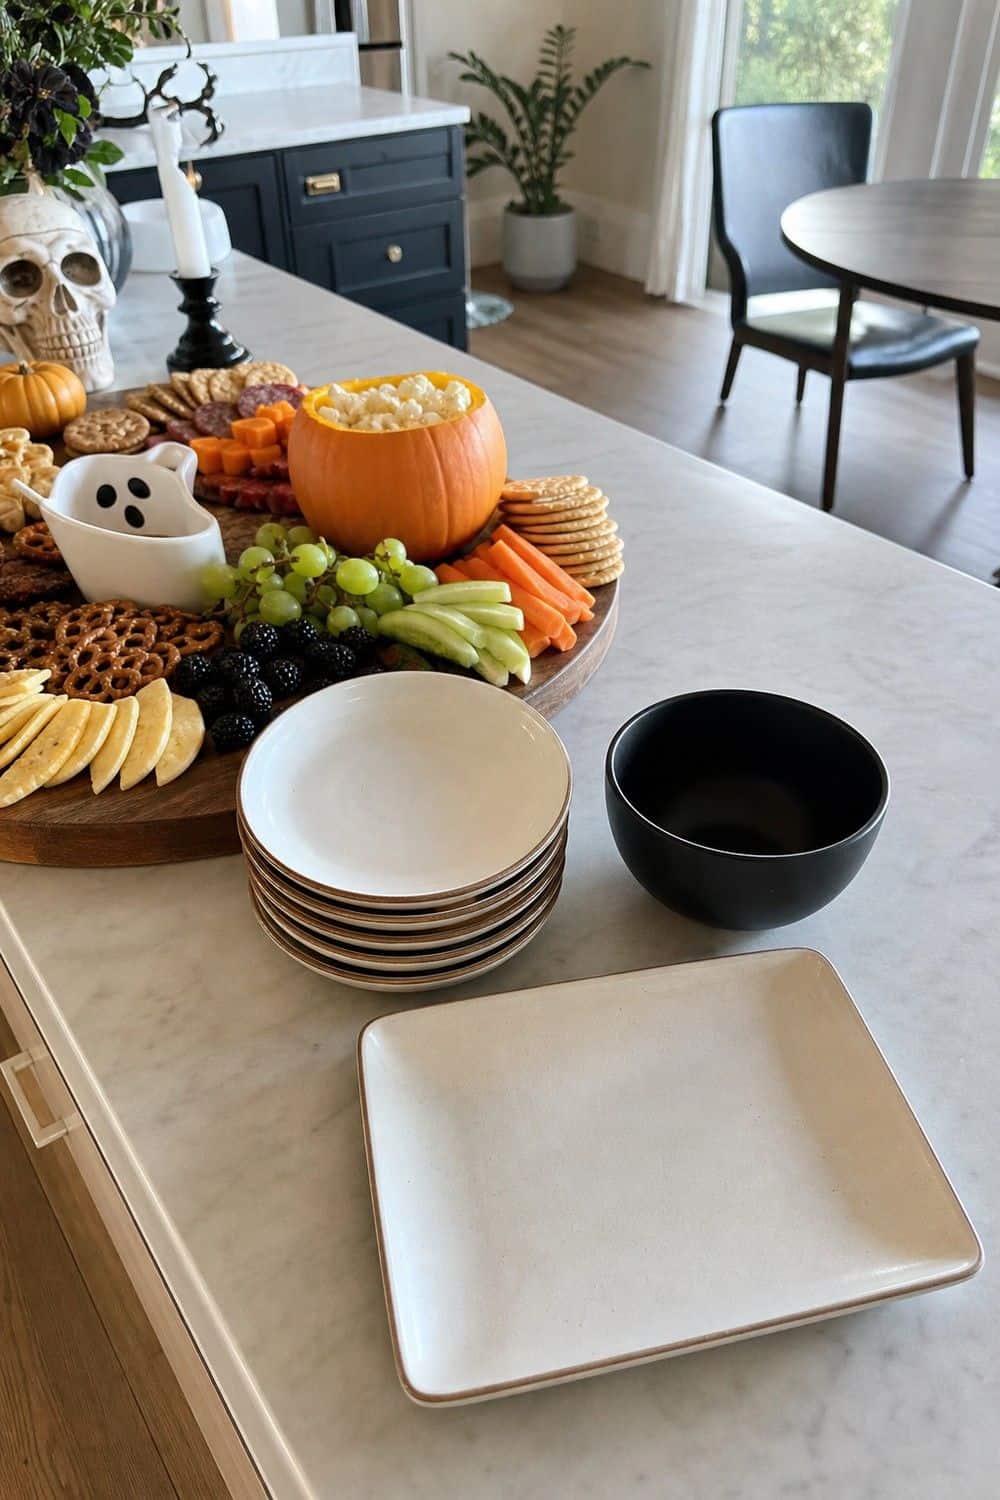
Halloween snacks create wrappers, toothpicks, cupcake liners, used napkins, and sticky little plates. A visible trash and dish return spot keeps all of that from collecting around the board. Put a small trash bowl or lined bin near the end of the serving area. For kids, make it obvious and easy to reach. If the trash is hidden under the sink, wrappers will end up on the counter because no one wants to search during a party. Dish return can be just as simple: a tray for used plates, a bowl for toothpicks, and a towel for spills.
24. Choose Napkins for Sticky Halloween Snacks
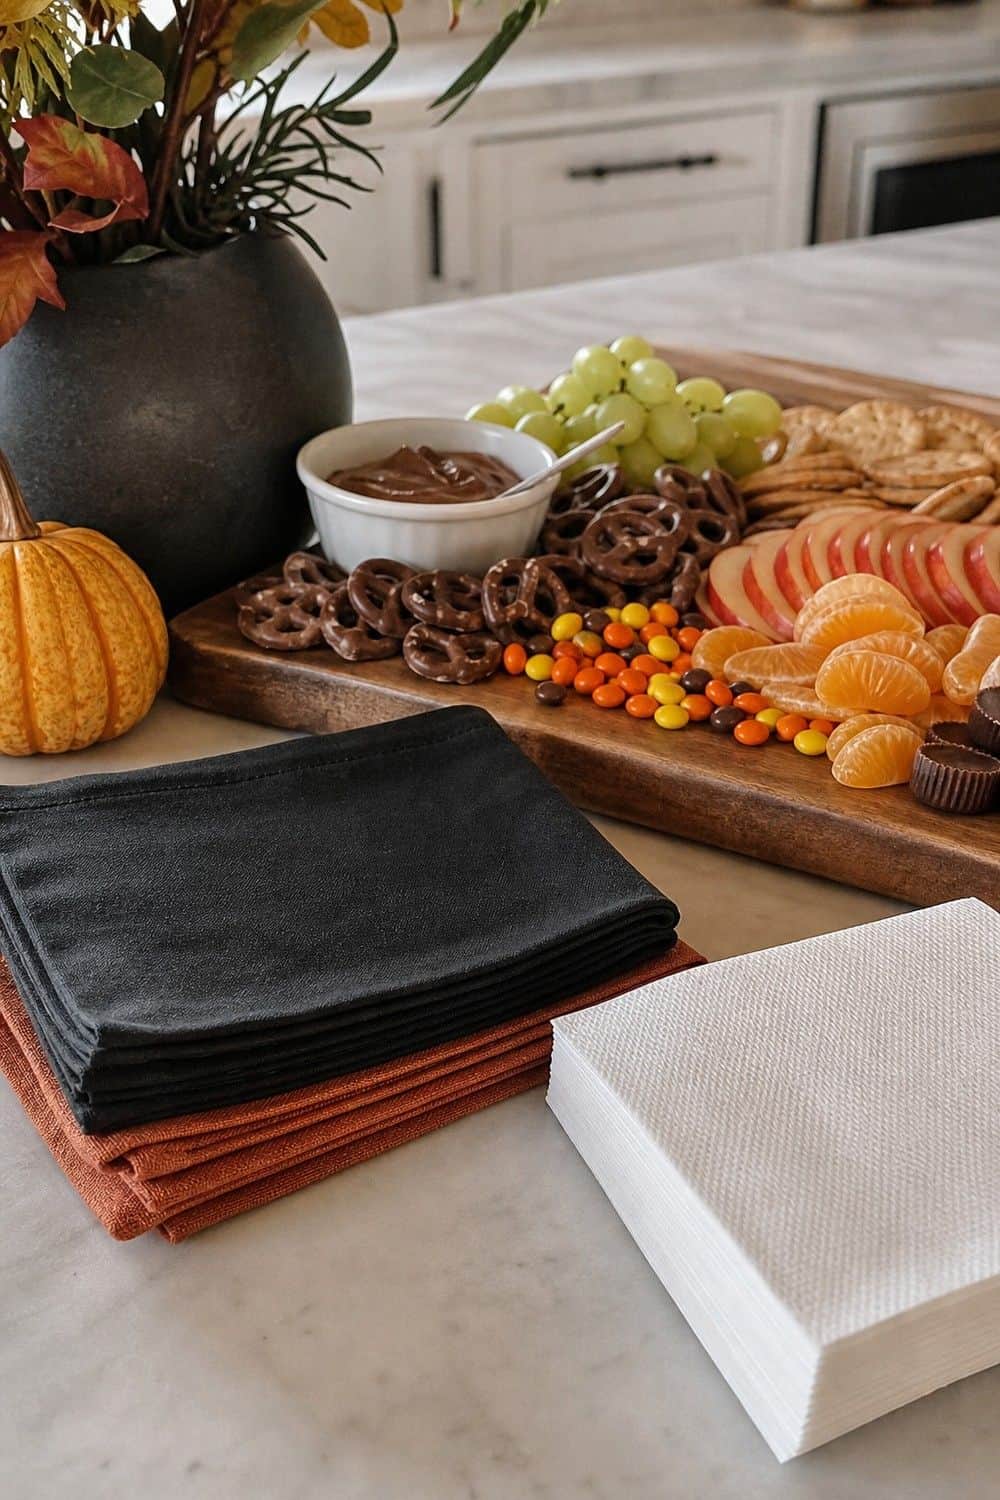
Napkins are part of the serving plan, not an afterthought. Halloween boards often include chocolate, sticky candy, dips, fruit, and salty snacks, so guests need napkins within arm’s reach before they start grabbing food. Linen napkins look polished for an adult gathering, especially in black, rust, cream, or deep purple. Paper napkins are better for kids, movie nights, outdoor parties, and anything with sticky sweets. There is no need to force cloth napkins if they will make cleanup harder. Place napkins at the start of the serving zone and keep a backup stack nearby.
25. Use Low Lighting Around the Snack Table
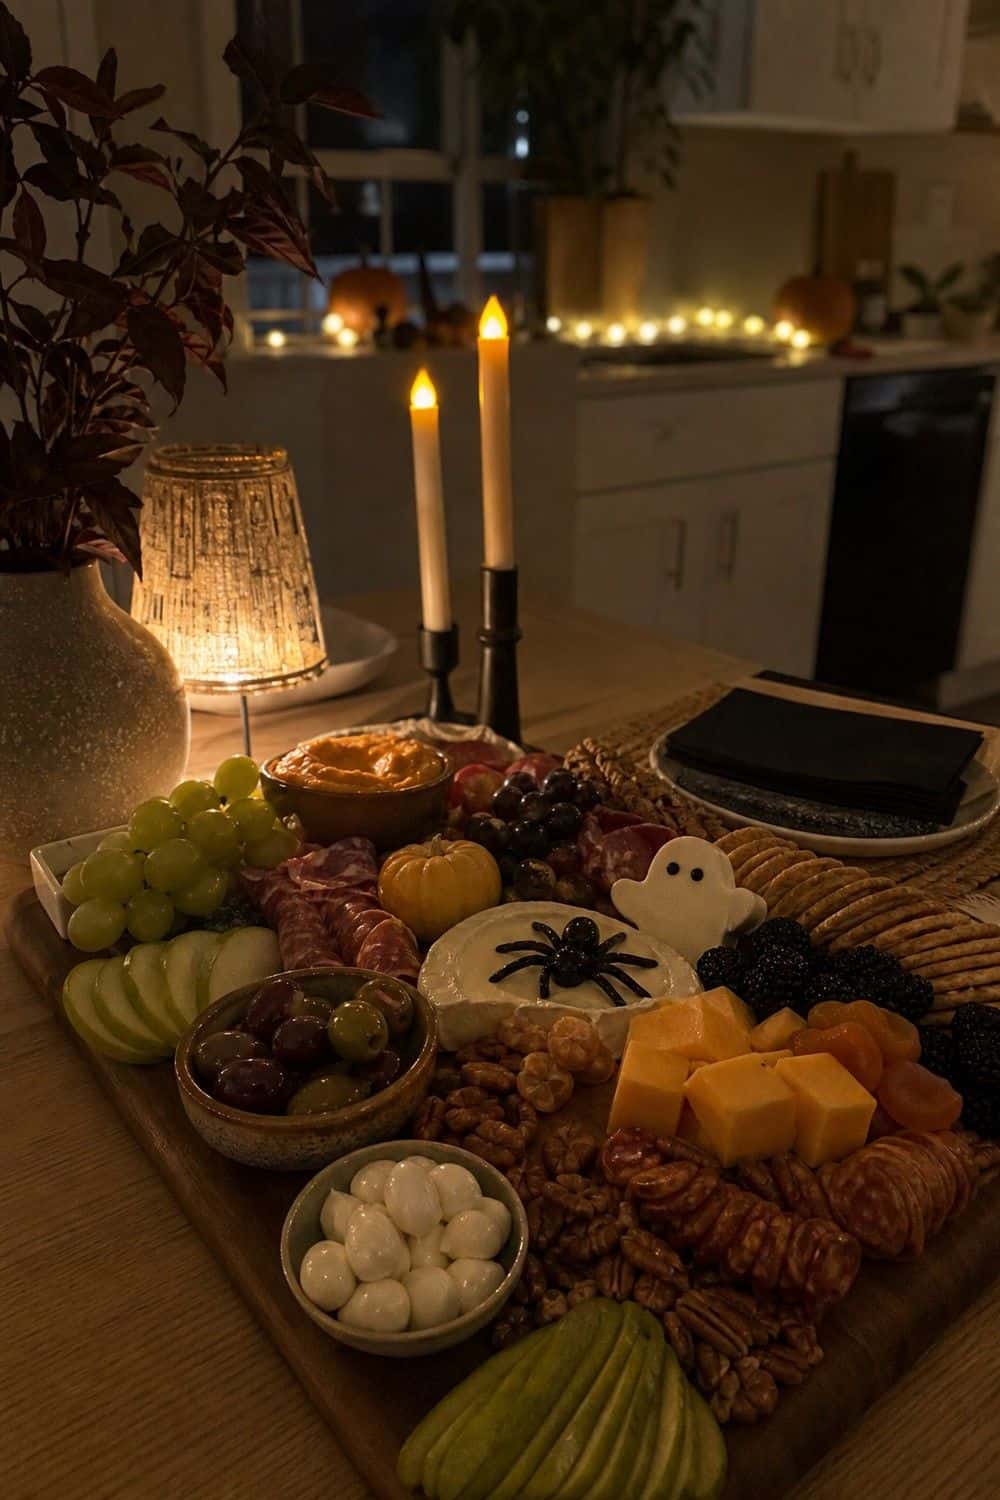
Lighting can make a Halloween snack board feel cozy without adding more objects to the food. Battery taper candles, small lamps, string lights behind the table, or a dimmed overhead light can soften the room and make the board feel more inviting.
Keep light away from loose napkins, costume sleeves, and serving traffic. Battery candles are usually the best choice around children and crowded snack tables because they give the glow without the worry of open flames. Warm lighting works especially well with orange foods, dark chocolate, wood boards, brass bowls, and black serving pieces.
Frequently Asked Questions
What is the easiest way to start a Halloween snack board?
Begin with one board or tray, three filling snacks, one dip, one fresh item, and one sweet item. Add plates, napkins, and a trash spot before adding decorations. Once the basic serving flow works, bring in Halloween color through food like orange cheese, clementines, blackberries, chocolate cookies, green grapes, and candy.
What should I avoid with a Halloween snack board?
Avoid loose decorations in the food, glitter, fake cobwebs near sticky items, too many dips without spoons, and boards so crowded that guests cannot reach anything cleanly. Also avoid putting all the food out at once if the party will last for hours. Smaller refills stay fresher and make cleanup easier.
How do I set up a Halloween snack board with limited table space?
Use a medium board, one vertical serving piece, and small bowls for dips or candy. Move drinks to a side table if you can, and keep refills in one nearby basket or cooler bag. A compact board with clear zones works better than a giant board that crowds the plates, napkins, and serving path.
How do I make a Halloween snack board look pulled together?
Choose one theme and repeat a small color palette across the food and serving pieces. Use neat rows, small bowls, height, and grouped sections so guests can understand the board quickly. One festive focal point is enough if the snacks themselves carry the Halloween colors.
How do I keep a Halloween snack board simple to reset?
Use dry snacks and sturdy foods as the base, keep dips in small bowls, and refill cold items in batches. Put extra crackers, candy, napkins, and plates nearby so the board can be refreshed in a minute or two. Keep a trash bowl visible so wrappers and toothpicks do not pile up beside the food.
Final Thoughts
A Halloween snack board works best when it feels festive and easy to eat at the same time. Choose a clear theme, use food color as decoration, keep the board refillable, and protect the space you still need for drinks, plates, and cleanup. With a few savory anchors, sturdy snacks, contained dips, and one playful focal point, the board can look fun without making hosting harder.
Last update on 2026-09-18 / Affiliate links / Images from Amazon Product Advertising API