Give every kind of camp food its own home: a food cooler that stays shut, a separate drink cooler, raw meat sealed at the bottom, lidded bins for dry goods, and a locked spot for food, trash and toiletries at night. Check the campground or park storage rules before you pack, since some areas require lockers or bear-resistant canisters.
Camp food rarely spoils because of one big mistake. It goes bad in small ways: ice melt seeping into the cheese, a chicken package leaking onto the berries, crackers crushed under a cast-iron pan, a bag of chips left on the table overnight. Good camping food storage solves each of those before you leave the driveway.
Professional kitchens run on the same idea. Raw goes below cooked, every container has a label, and the walk-in door stays shut. The 20 ideas below take that discipline to a picnic table, grouped by the job they do.

These five pieces do most of the work: a cooler that holds ice, a locking bin, a bear-resistant canister for areas that require one, refillable bottles and odor-proof bags.



Cooler strategy: how do you keep camping food cold longer?
Cold food is where camping food safety is won or lost, and most of it happens before the trip. Aim to keep perishables at 4°C (40°F) or below the whole time.
1. Pre-chill the food cooler
Bring the cooler indoors the night before and load it with a bag of ice or frozen bottles so the walls are cold. Pack food that is already fridge-cold. A warm cooler spends its first hours cooling itself instead of your groceries.
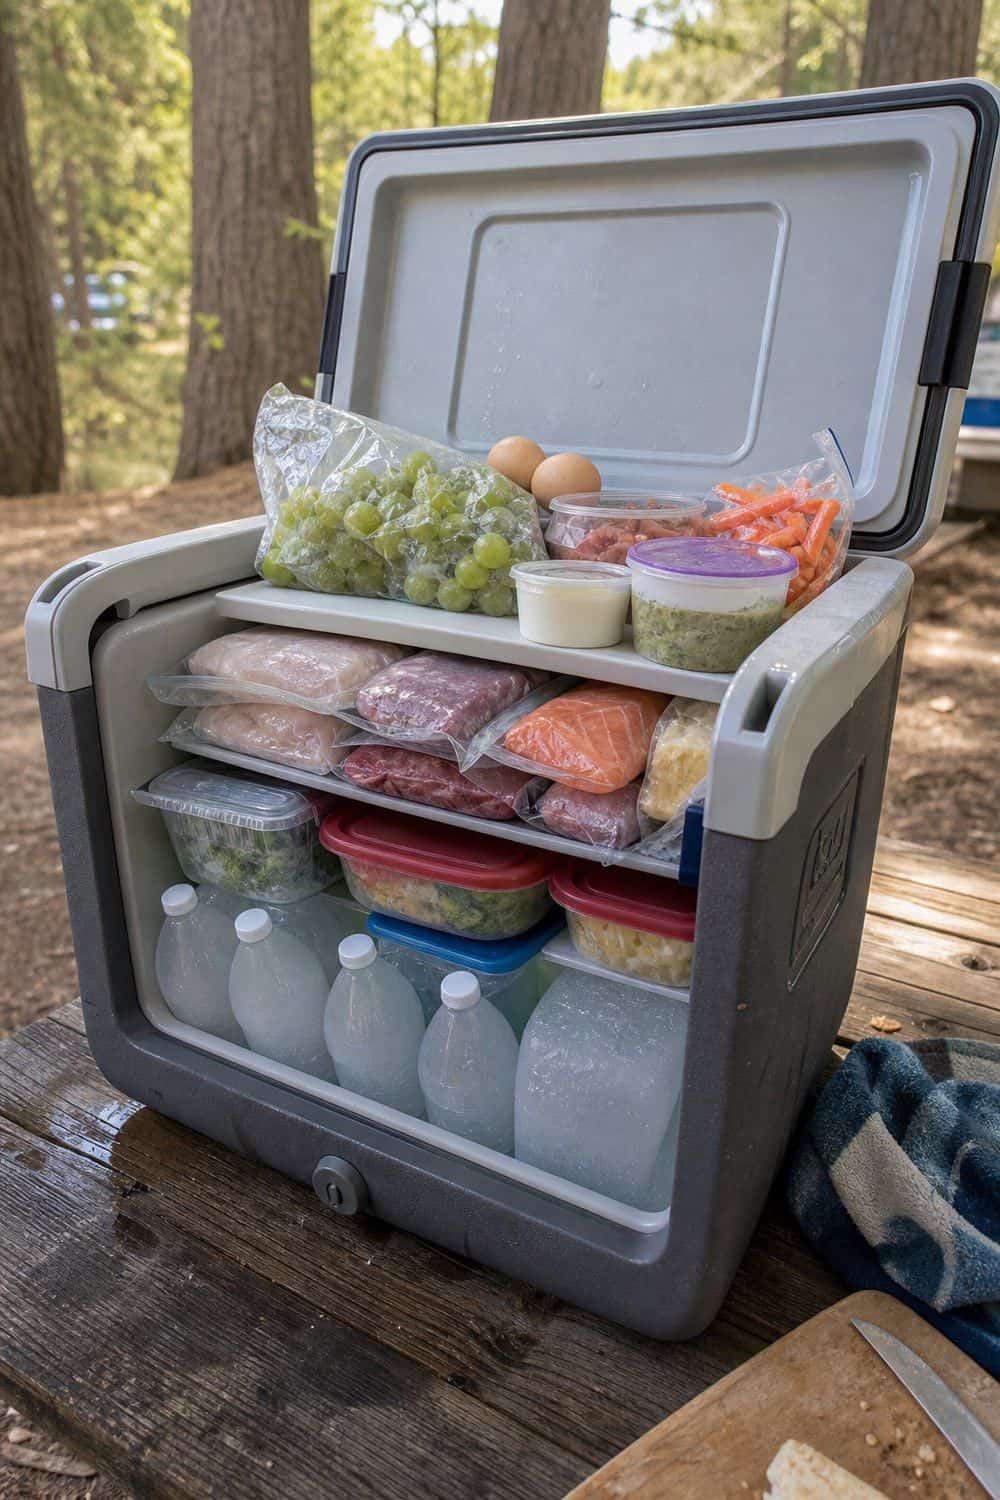
Layer it on purpose: block ice at the bottom, raw meat and dense items low, the first meal on top. At camp, park it in the shade and keep it closed unless you are cooking.
2. Give drinks their own cooler
Drinks are what people reach for all day, so put them in a second cooler. Every time someone grabs a can, the food cooler stays sealed and colder. Set the drink cooler by the table, mark it with a bright towel so nobody opens the wrong one, and refill from a bigger water jug on long trips.

3. Seal raw meat in a leak zone
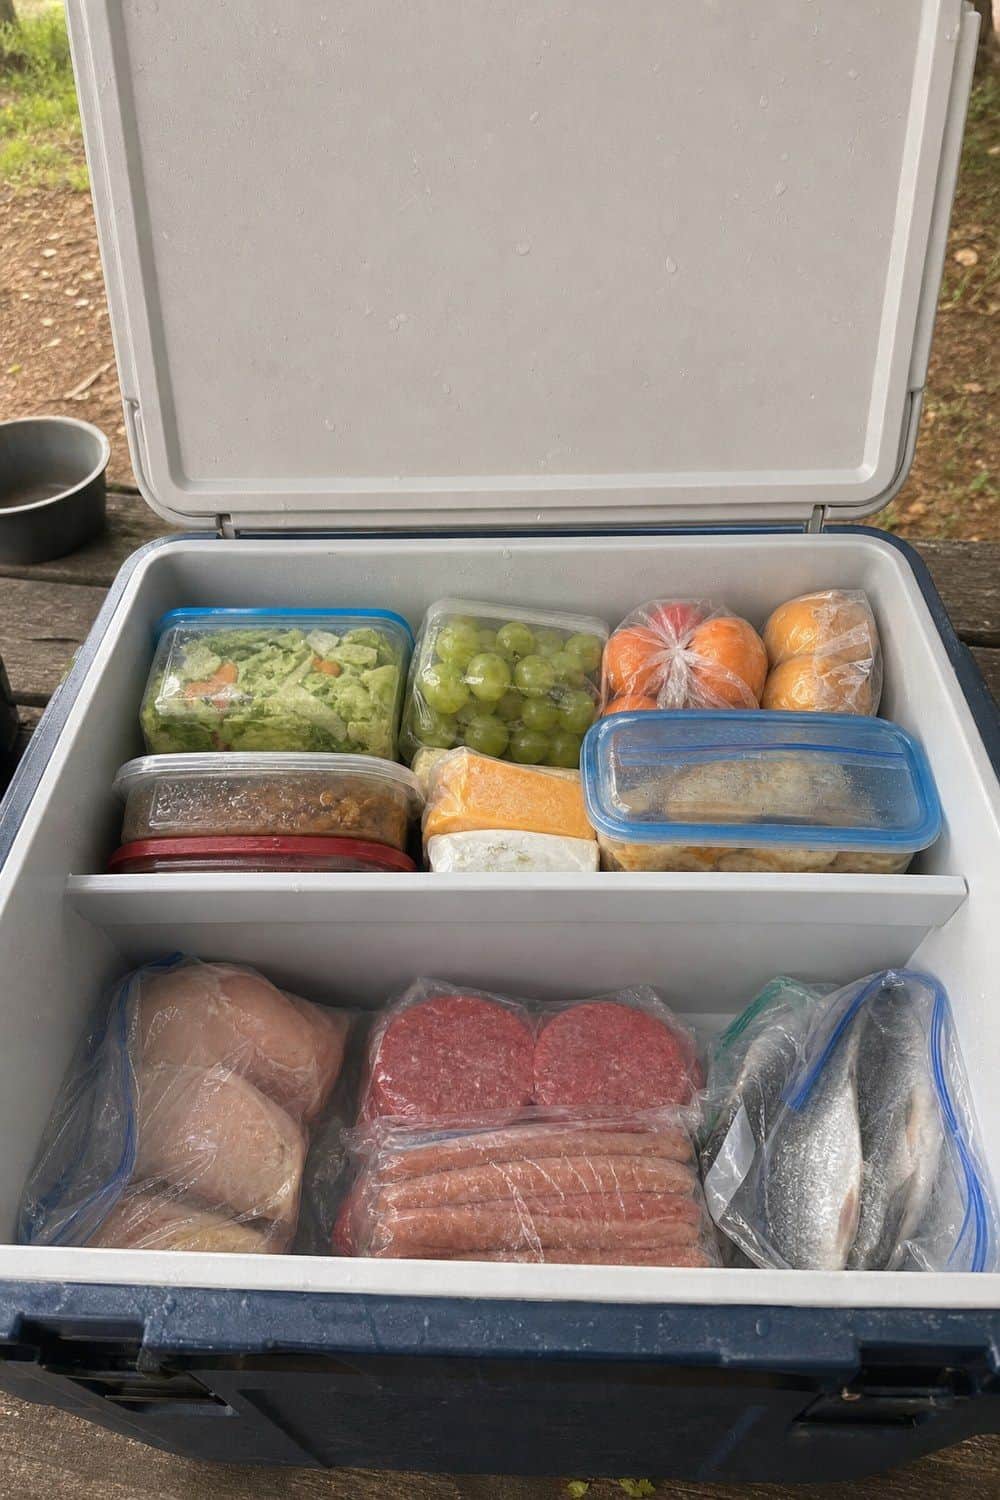
One leaking package can contaminate everything below it, so raw meat lives at the bottom, sealed in a lidded box or double bags. Burgers, chicken, sausages, fish and marinated meat all go there. Plan the cooking order before you pack: fish and fresh chicken early, frozen meat for later dinners. Frozen packs double as extra ice for the first day or two.
4. Freeze water bottles instead of loose ice
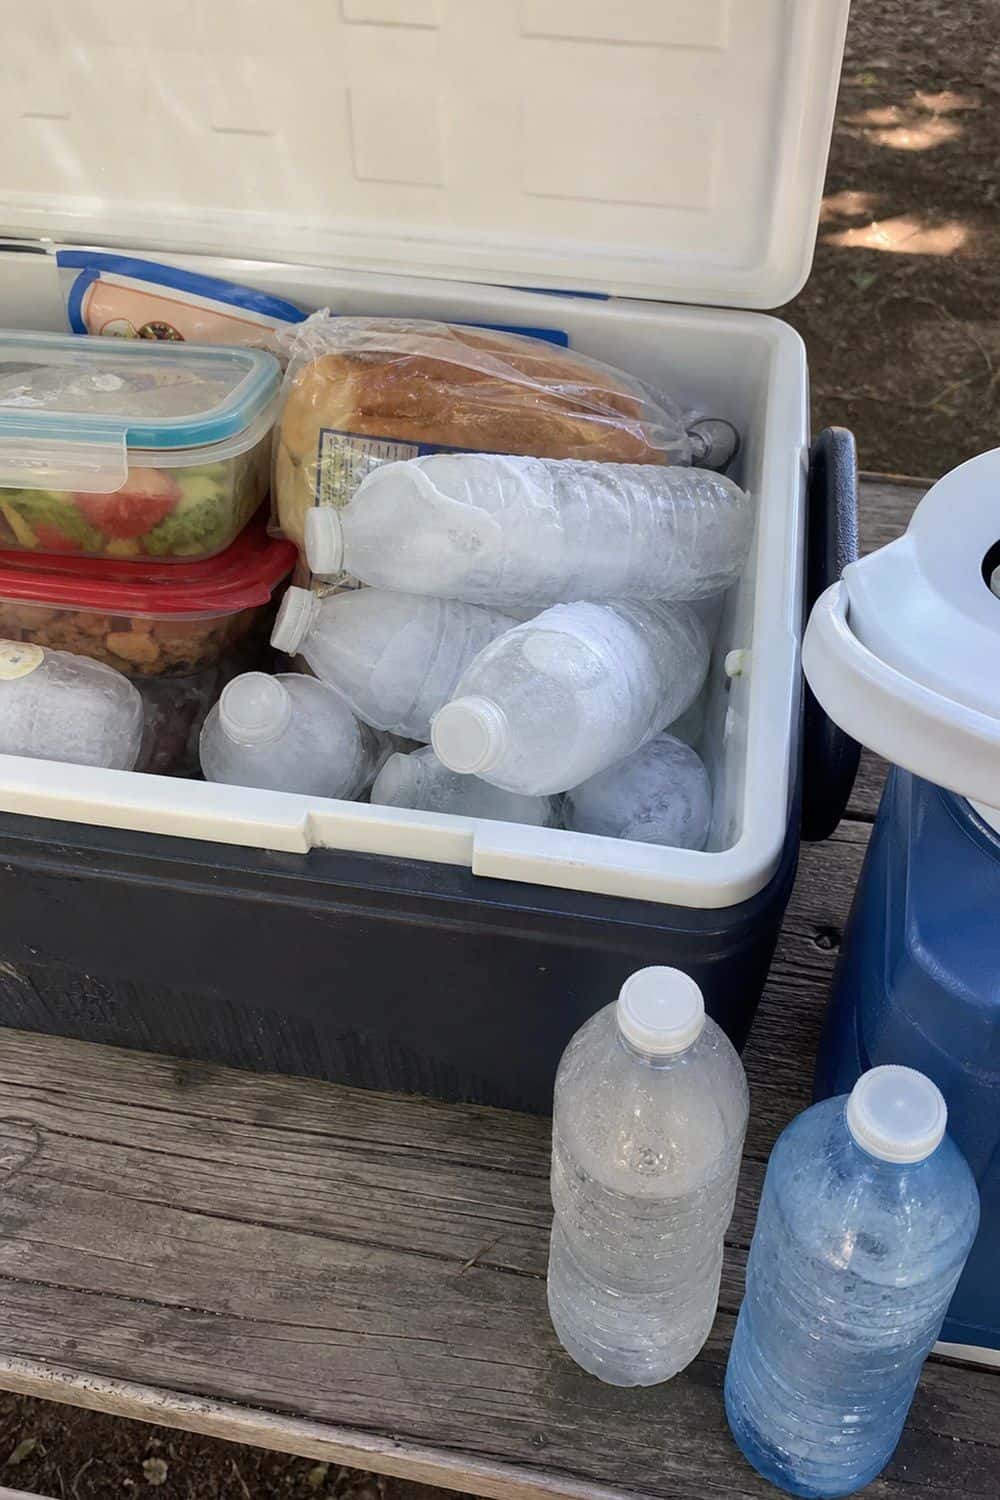
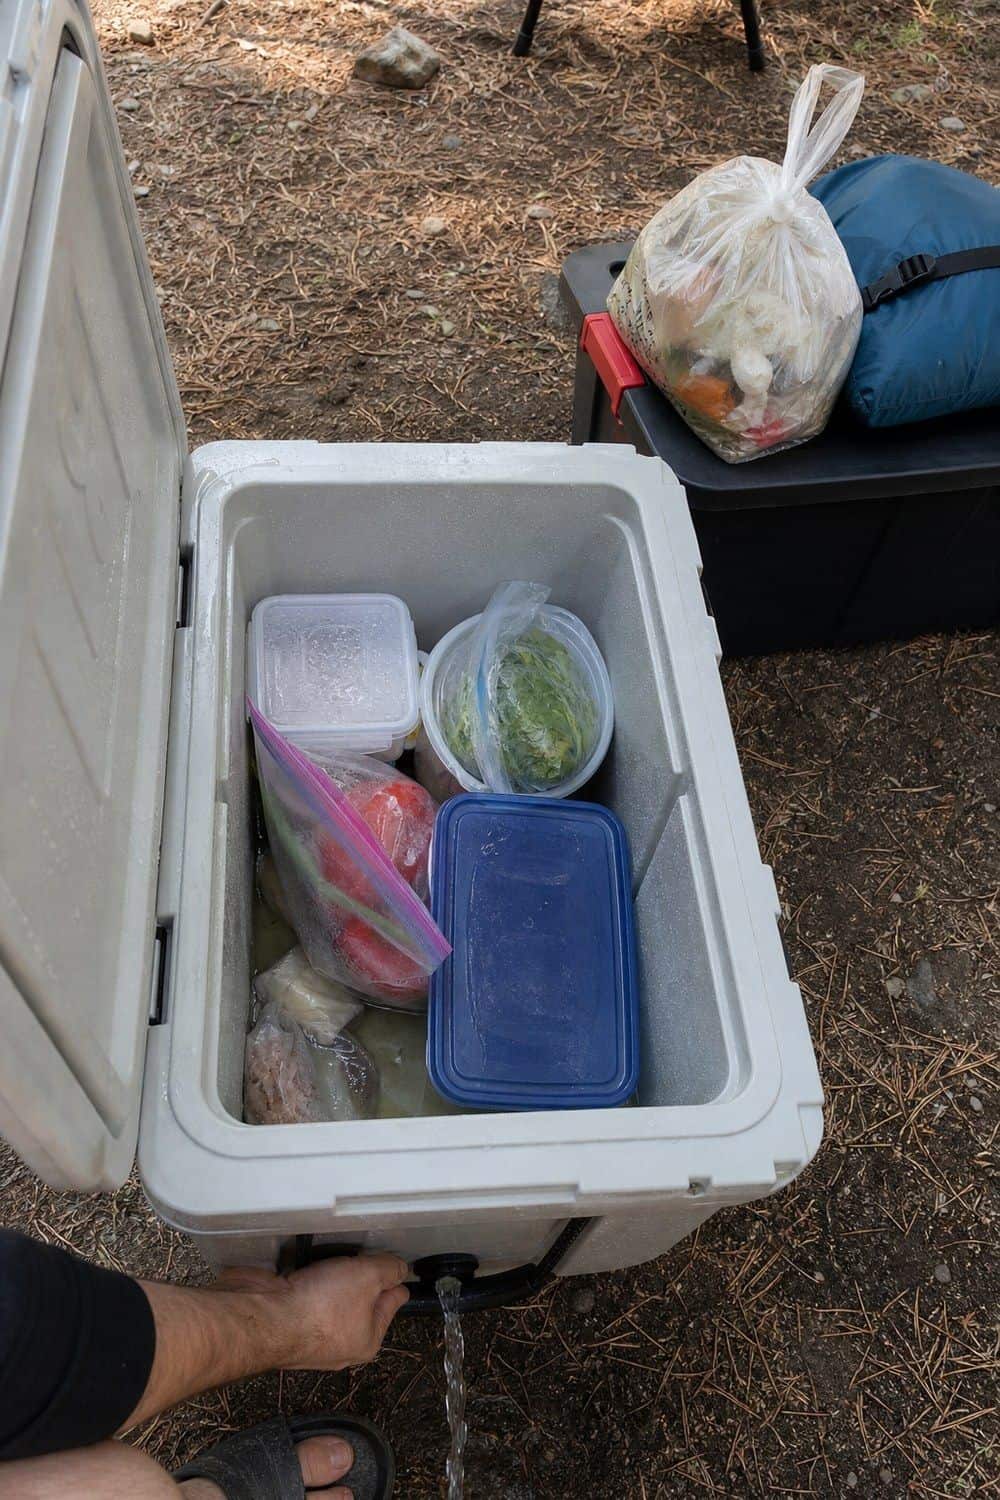
Loose ice melts into a pool that soaks bread bags and labels. Frozen bottles stay contained. Leave room at the top before freezing so they do not split, and mix large bottles for long cold with small ones to fill gaps. Once a bottle thaws, it becomes drinking or washing water and moves to the drink cooler.
5. Add a top basket for fragile food
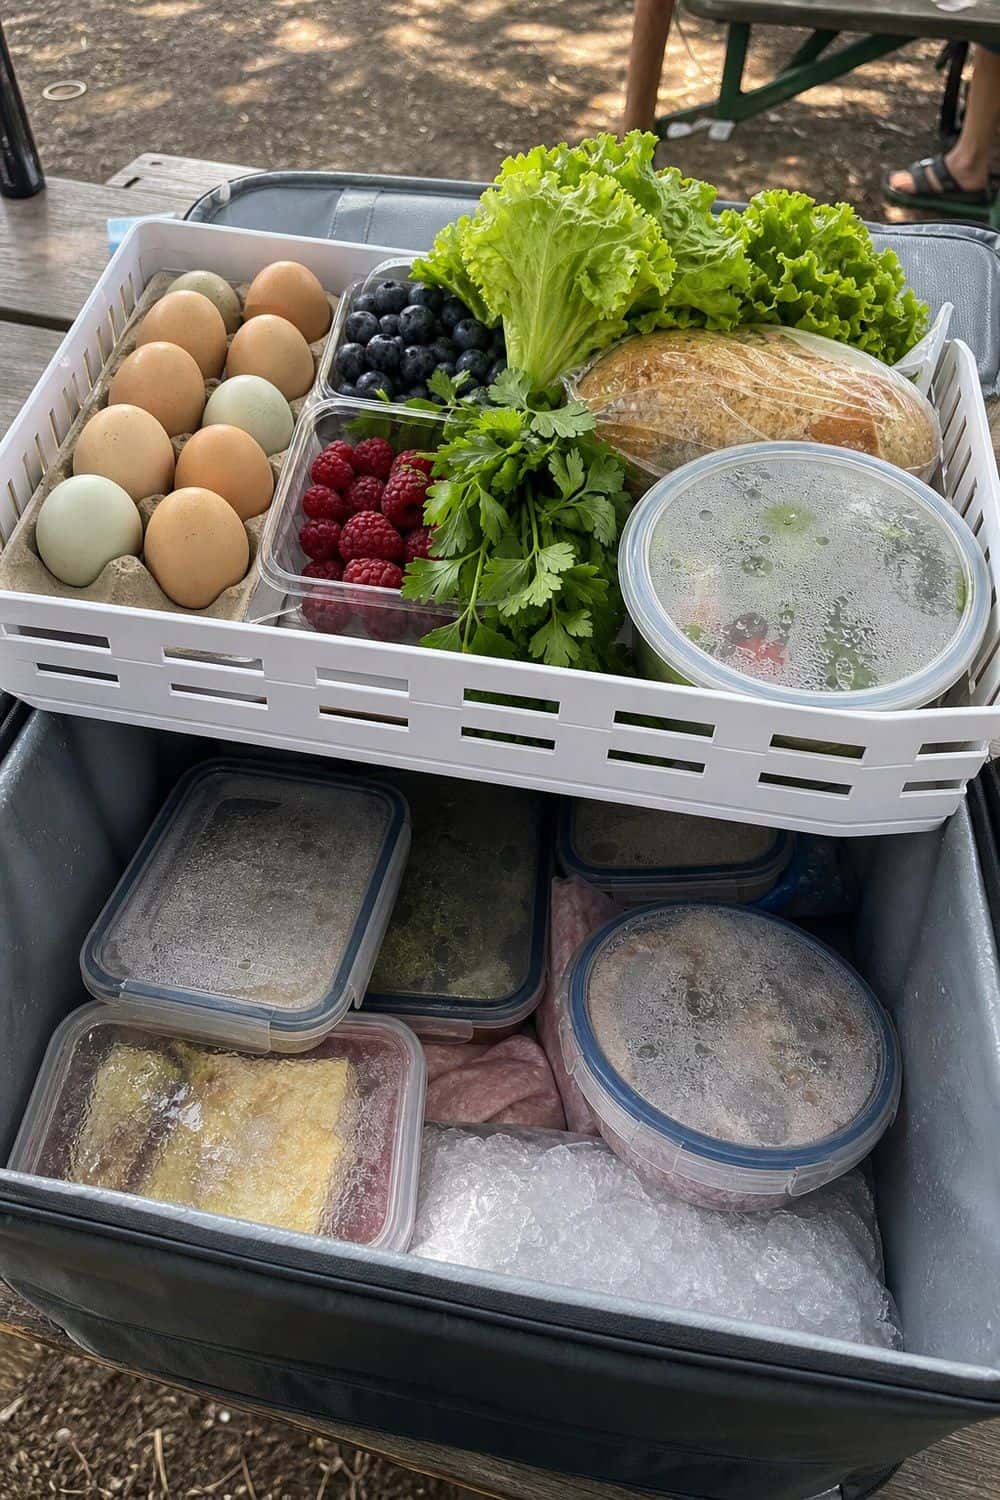
Eggs, berries, herbs, lettuce and salads belong in a basket or tray above the ice, away from meltwater and heavy containers. Pack this layer last and check it first when you arrive, so you catch a cracked egg early. Eat delicate food in the first day or two. Berries, leafy greens, fish and opened dairy are not last-morning food.
6. Tape an inventory to the lid
A strip of waterproof tape listing what is inside means people decide before they open the lid. Keep it simple: eggs, chicken, yogurt, Saturday dinner, eat first. Fewer lid openings means colder food and fewer questions for whoever packed. If the list gets messy, rewrite it. A readable list beats a tidy one nobody can decipher.

Dry food that stays dry and easy to find
Shelf-stable food does not need ice, but it does need a lid, some order and protection from rain and crushing. Think of it as a small, mobile pantry.
7. Use a lidded dry pantry tote
Pasta, rice, oats, tortillas, coffee, canned goods, nut butter and crackers all go in one tote with a lid that closes every time. The lid keeps out dust, rain and insects. In wildlife areas a regular tote may not meet the rules, so do not assume it counts as approved storage. Close it whenever you walk away from camp, even for a swim.

8. Pack meal kits by day
Group dry ingredients by meal in labeled bags: first-night tacos, Saturday pancakes, trail snacks. Dinner then means grabbing one bag instead of tipping out the whole tote. Raw and chilled items stay in the cooler, but you can write a reminder on the bag, like sausages from cooler. When the meal is done, the empty bag holds the wrappers.

9. Keep snacks in a divider box
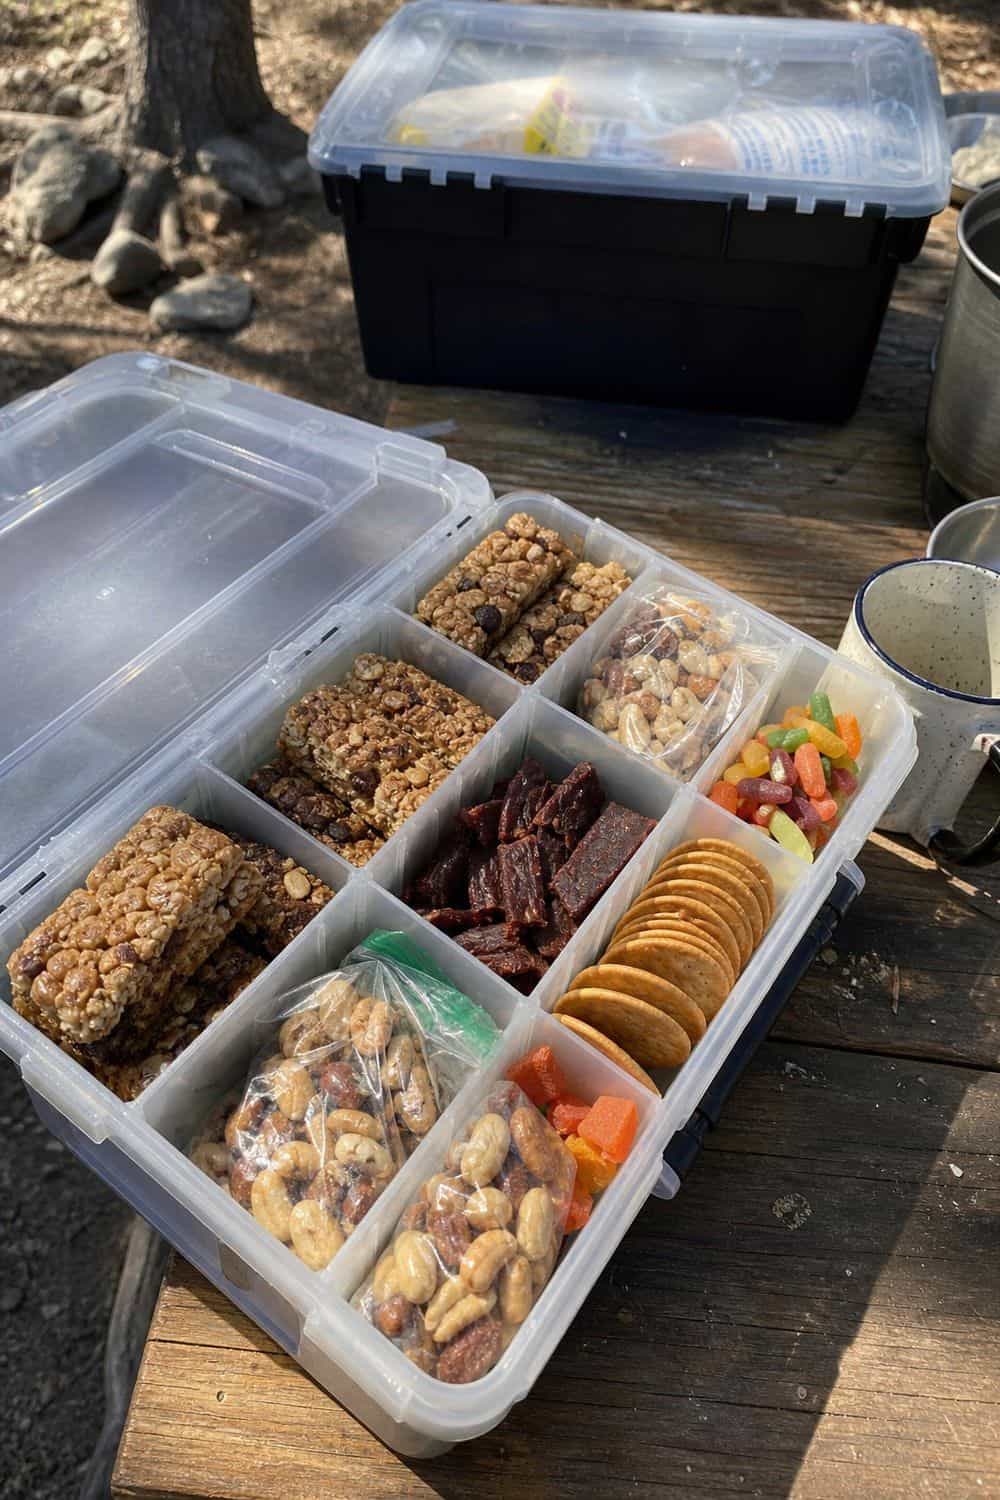
A divided box of granola bars, trail mix, crackers, jerky and dried fruit lets people help themselves without opening meal kits or coolers. For kids, portion the messiest snacks into small bags so the whole supply does not get opened at once. At night or when you leave camp, the whole box goes into secured storage with everything else.
10. Protect bread and tortillas
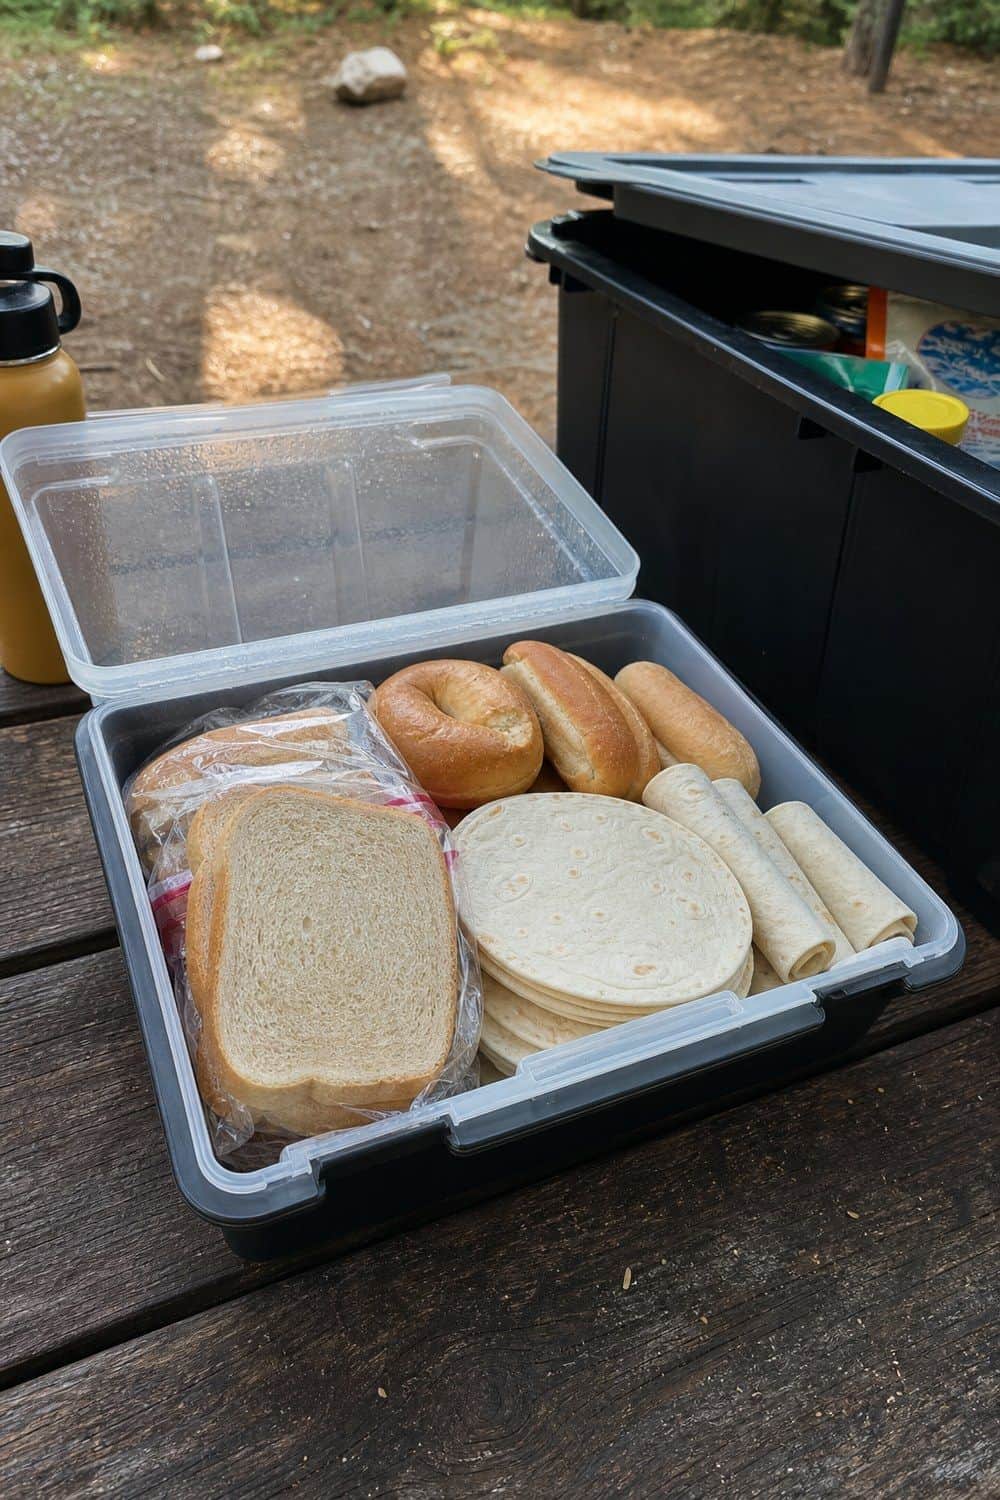
Bread is usually the first thing flattened. Give it a firm container inside the dry tote, away from cans and the edges of cookware. It generally does not belong in the cooler, where condensation makes it soggy. Pack tortillas flat, keep the bread under cover if rain is coming, and check it before you drive home, since damp slices mold fast.
11. Decant a spice and condiment kit
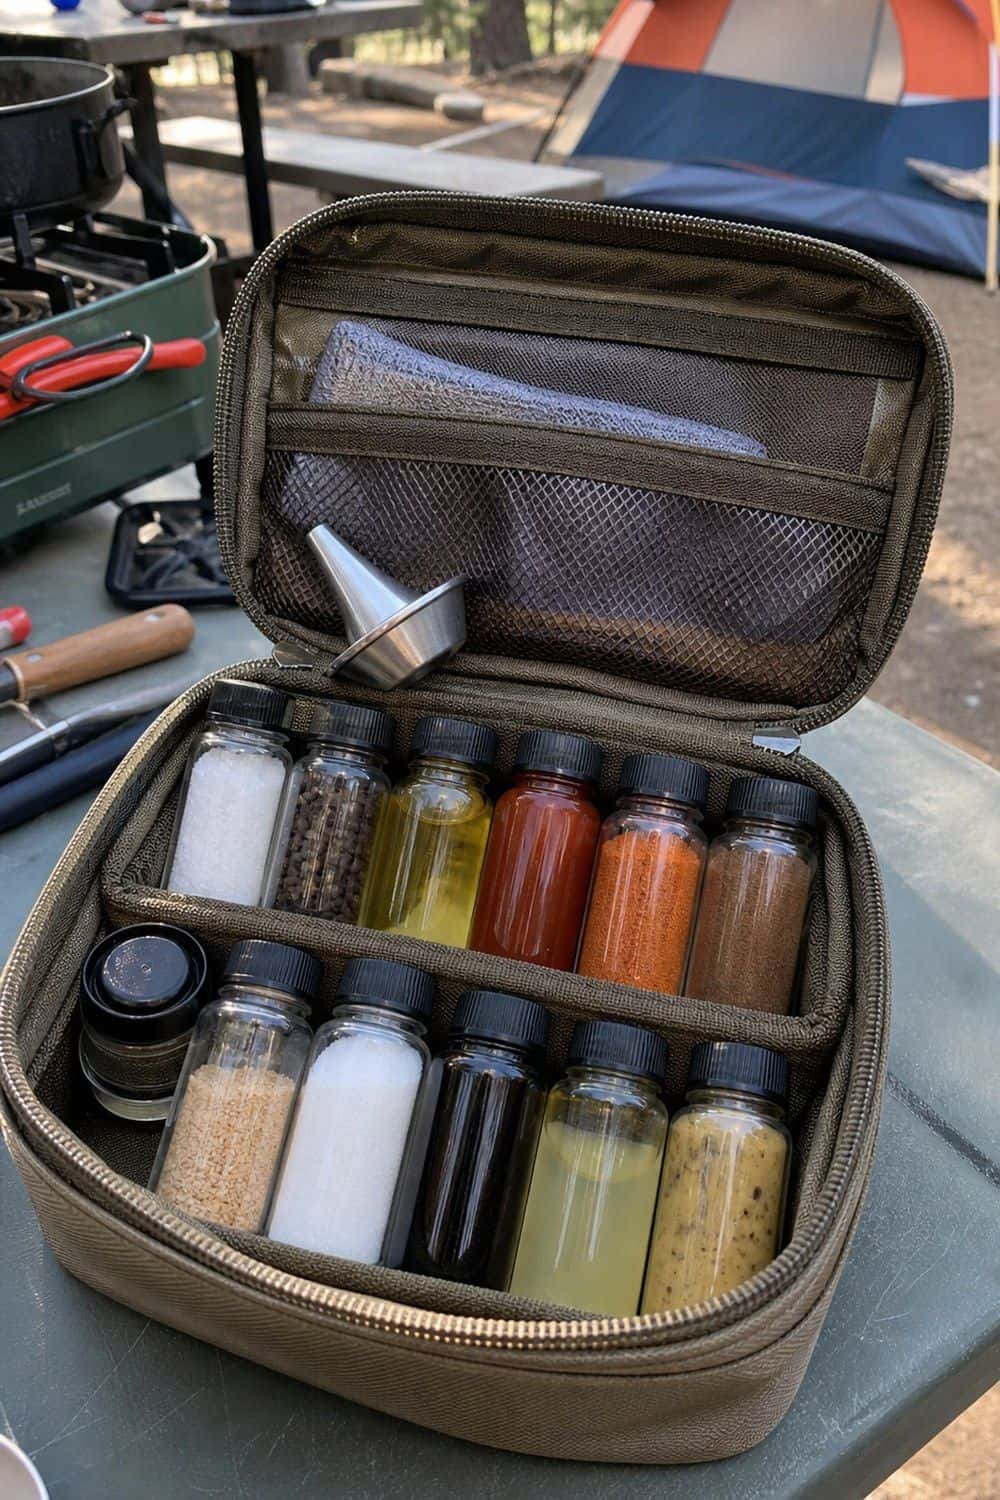
Pour salt, pepper, oil, hot sauce, taco seasoning and sugar into small labeled containers sized for the trip. Full kitchen jars are heavy and come home half-forgotten. Keep the liquids in their own zip bag or box so a leak never reaches the dry food, wipe the threads before closing, and pack a tiny funnel for refills.
12. Set up a breakfast bin
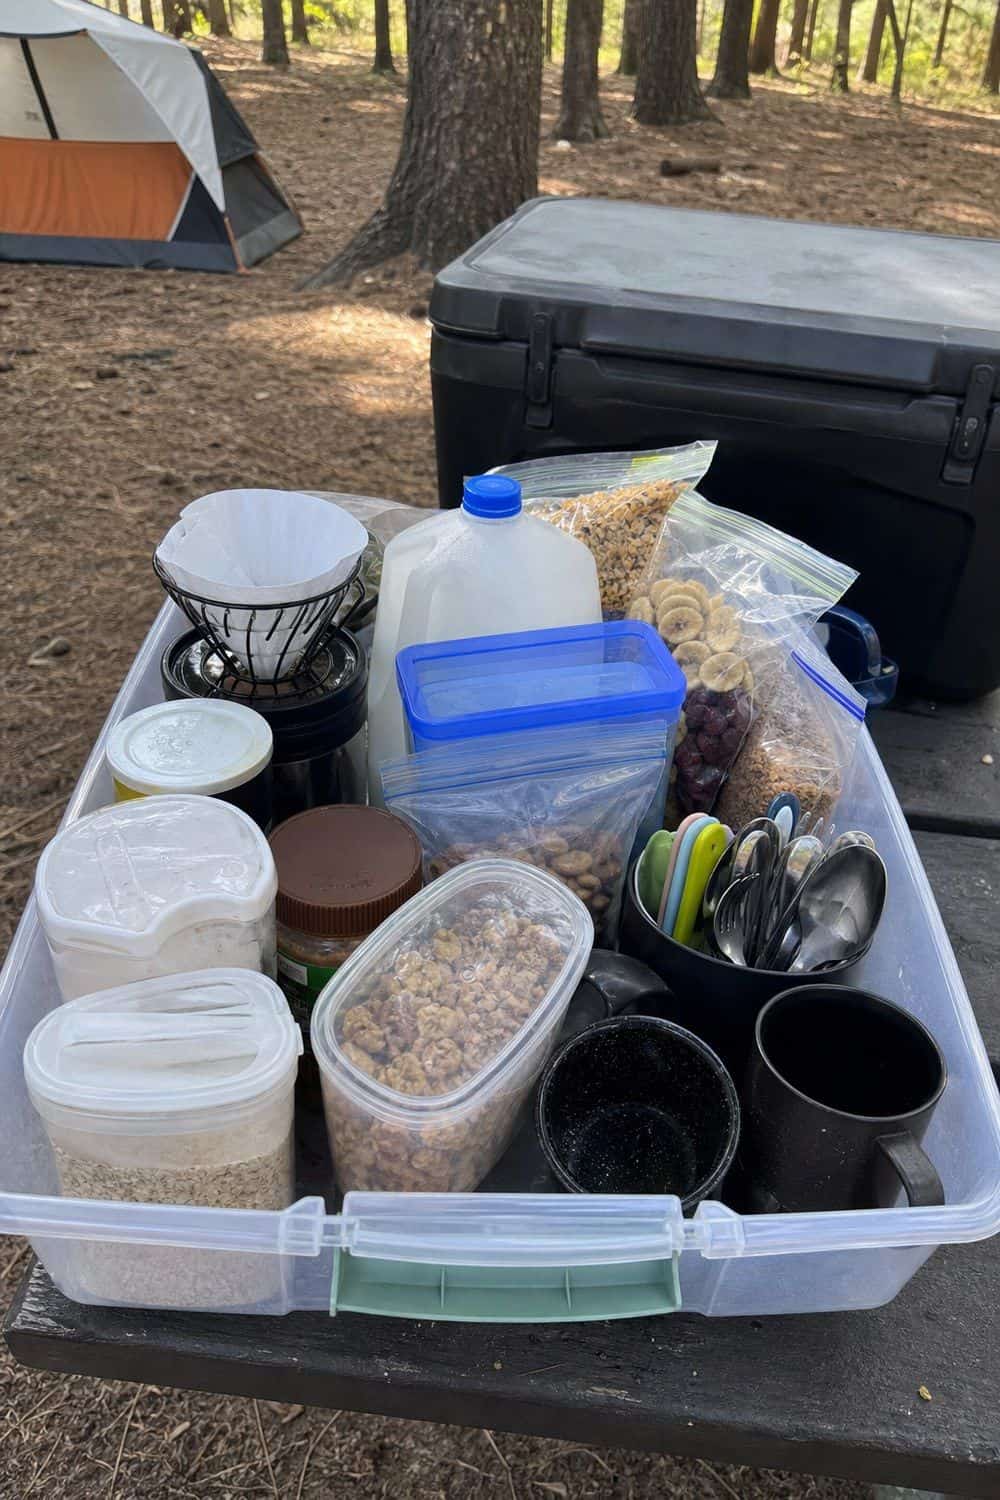
Oatmeal, pancake mix, coffee, tea, shelf-stable milk, granola and mugs in one bin make the first hour of the day easy. Nobody digs through dinner supplies or opens the cooler for coffee sugar. Eggs, yogurt and opened milk still live in the cooler. Coffee and sweeteners attract animals too, so put the bin away before you head out.
Wildlife rules: where does food go at night?
In bear country, and in plenty of places with raccoons or rodents, food storage is enforced, and the rules differ by park. The National Park Service food storage guidance covers lockers, canisters and when a closed car is allowed. Read your own site rules before the trip.
13. Treat scented items like food
Animals follow smell, not labels. Toothpaste, sunscreen, lip balm, soap, wipes, cooking oil and pet food often have to be stored with your food. Keep all toiletries in one pouch so moving them at night takes ten seconds. They never sleep in the tent with you.

14. Make the bear box the default
A bear locker only works if everything goes in every time you leave the table: food, trash, toiletries, oil, pet food. Pack it so the door shuts fully, with no cooler handles or bag corners near the latch. Do the final sweep before dark, flashlight in hand, because that is when stray snack bags and greasy towels get missed.

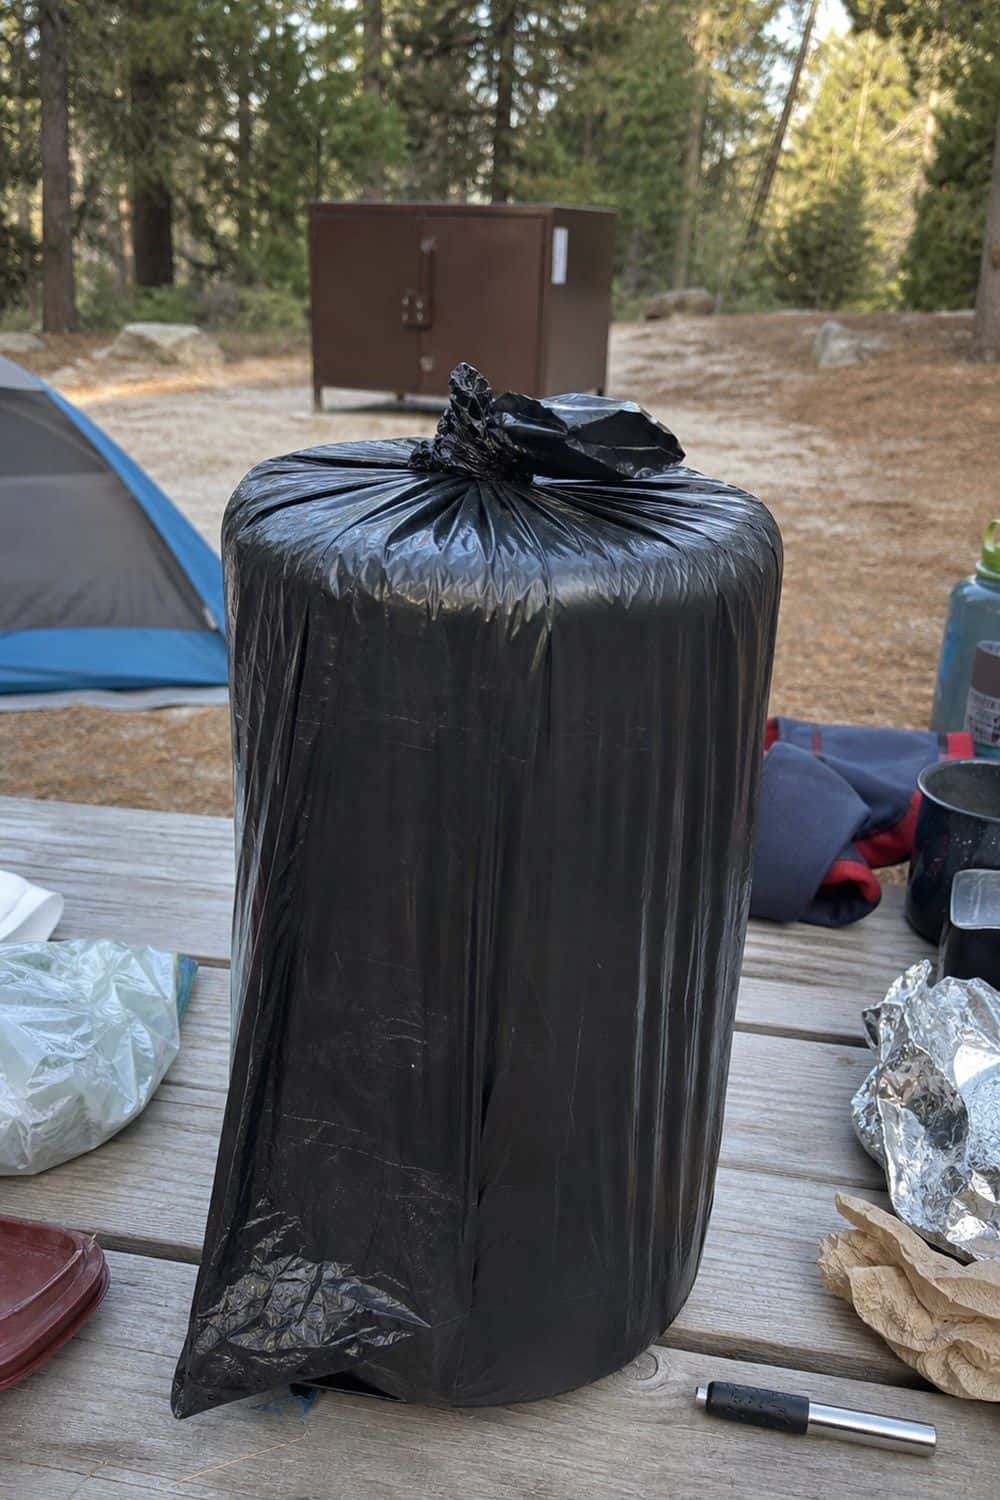
15. Seal trash in an odor-proof bag
Wrappers, cans and paper towels smell like dinner. Use a strong sealable bag or bin and close it between meals, not only at bedtime. Before sleeping or leaving camp, it goes into the approved spot: locker, dumpster or wherever your site rules say. A bag hanging off the table or a tent line does not count. Carry a spare for leaks.
Leftovers and cleanup without attracting animals
Cooking is half the job. The other half is getting food residue off plates and out of sight before it draws visitors.
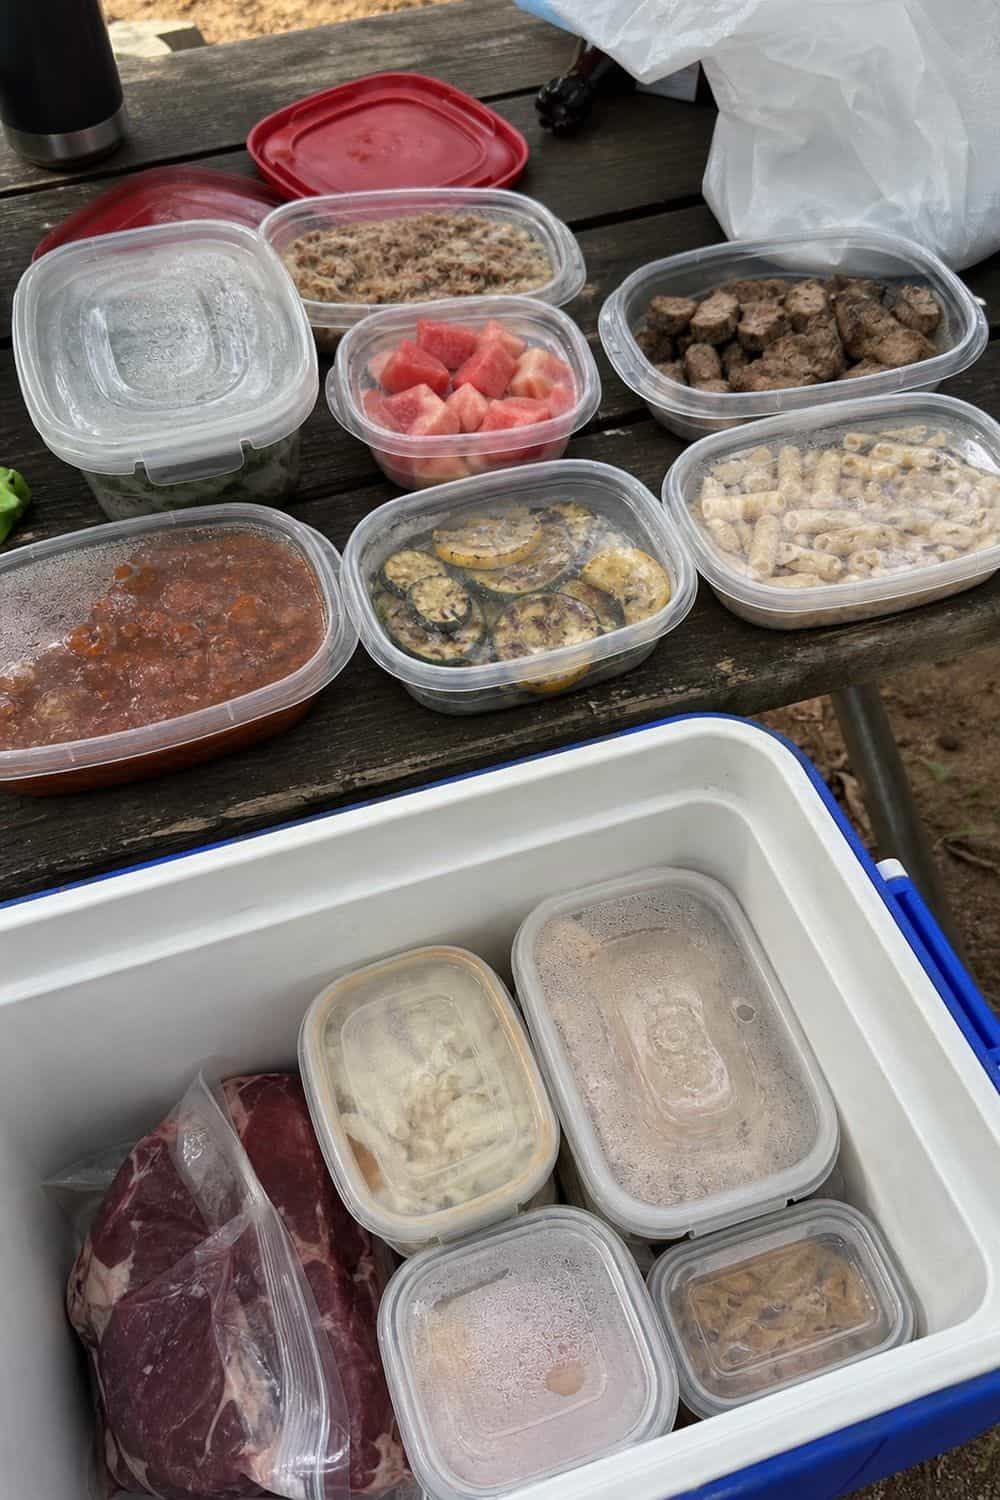
16. Use shallow leftover containers
Leftover chili, pasta or grilled vegetables go into shallow sealed containers so they chill quickly and stack in the cooler. Store them above raw meat, never below, and label them if space is tight. Be honest about the ice. If the cooler is half melted on a hot afternoon, throw the leftovers out instead of gambling. For more ideas on cold-food prep before the trip, see this summer meal prep guide.
17. Run a wet-dry dish setup
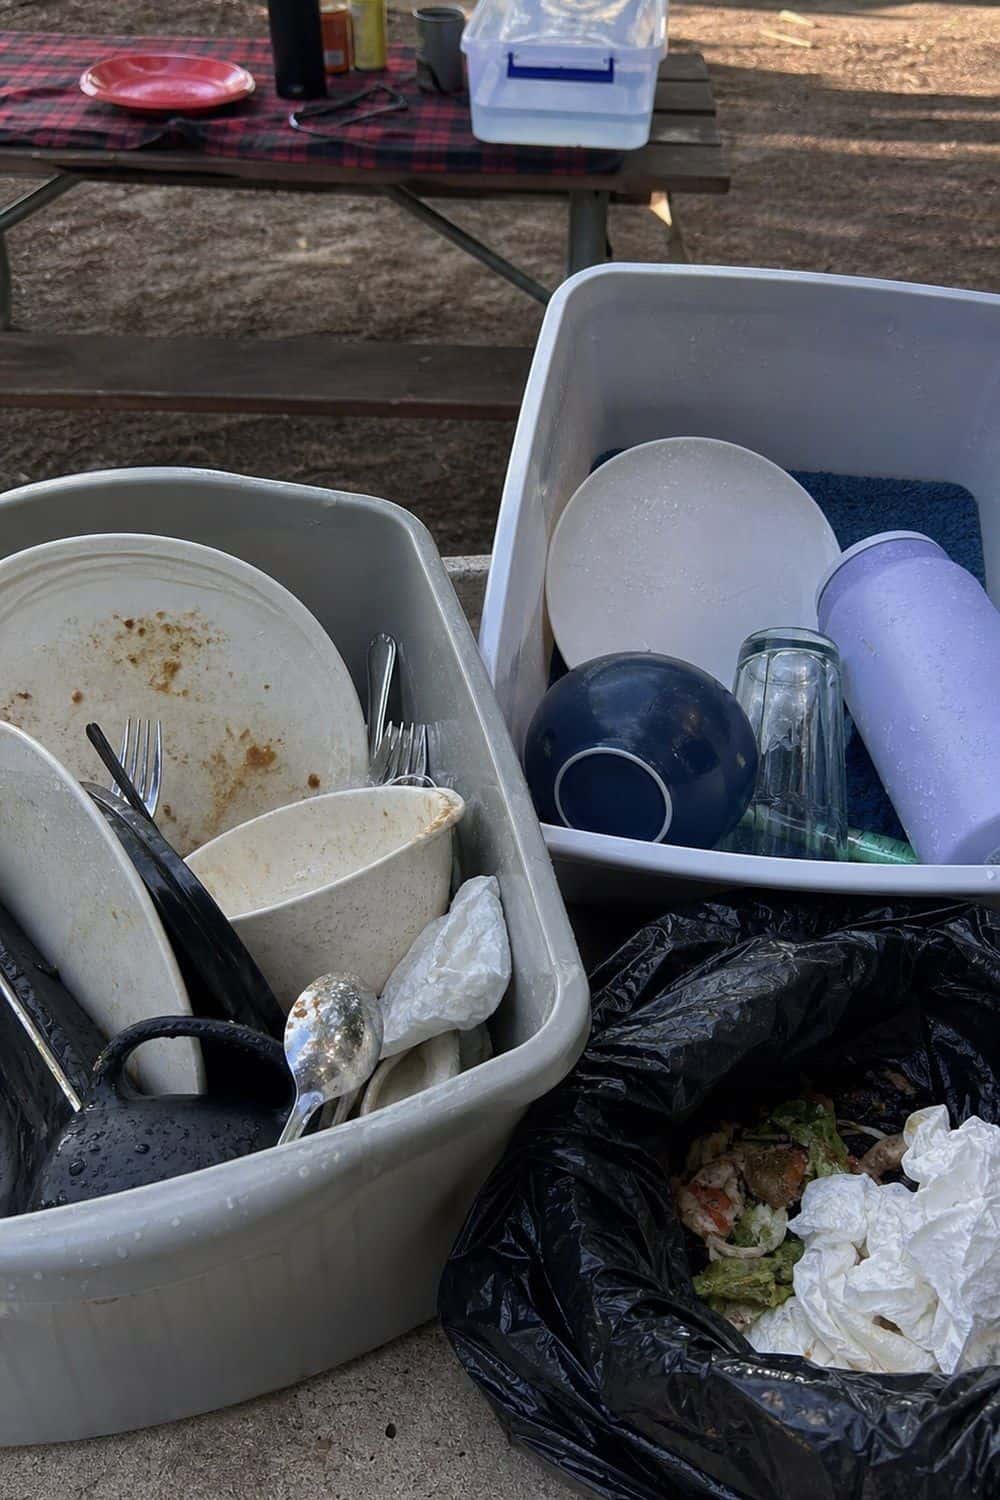
Scrape plates into the trash first, then wash in a collapsible tub, with a separate dry area for clean dishes so crumbs do not end up back on them. Follow the campground rules on where washing is allowed. Dry and put utensils away right after, because pans that still smell of bacon draw attention overnight. Sturdy outdoor dinnerware makes this a lot faster than paper plates that tear.
18. Strain your dishwater
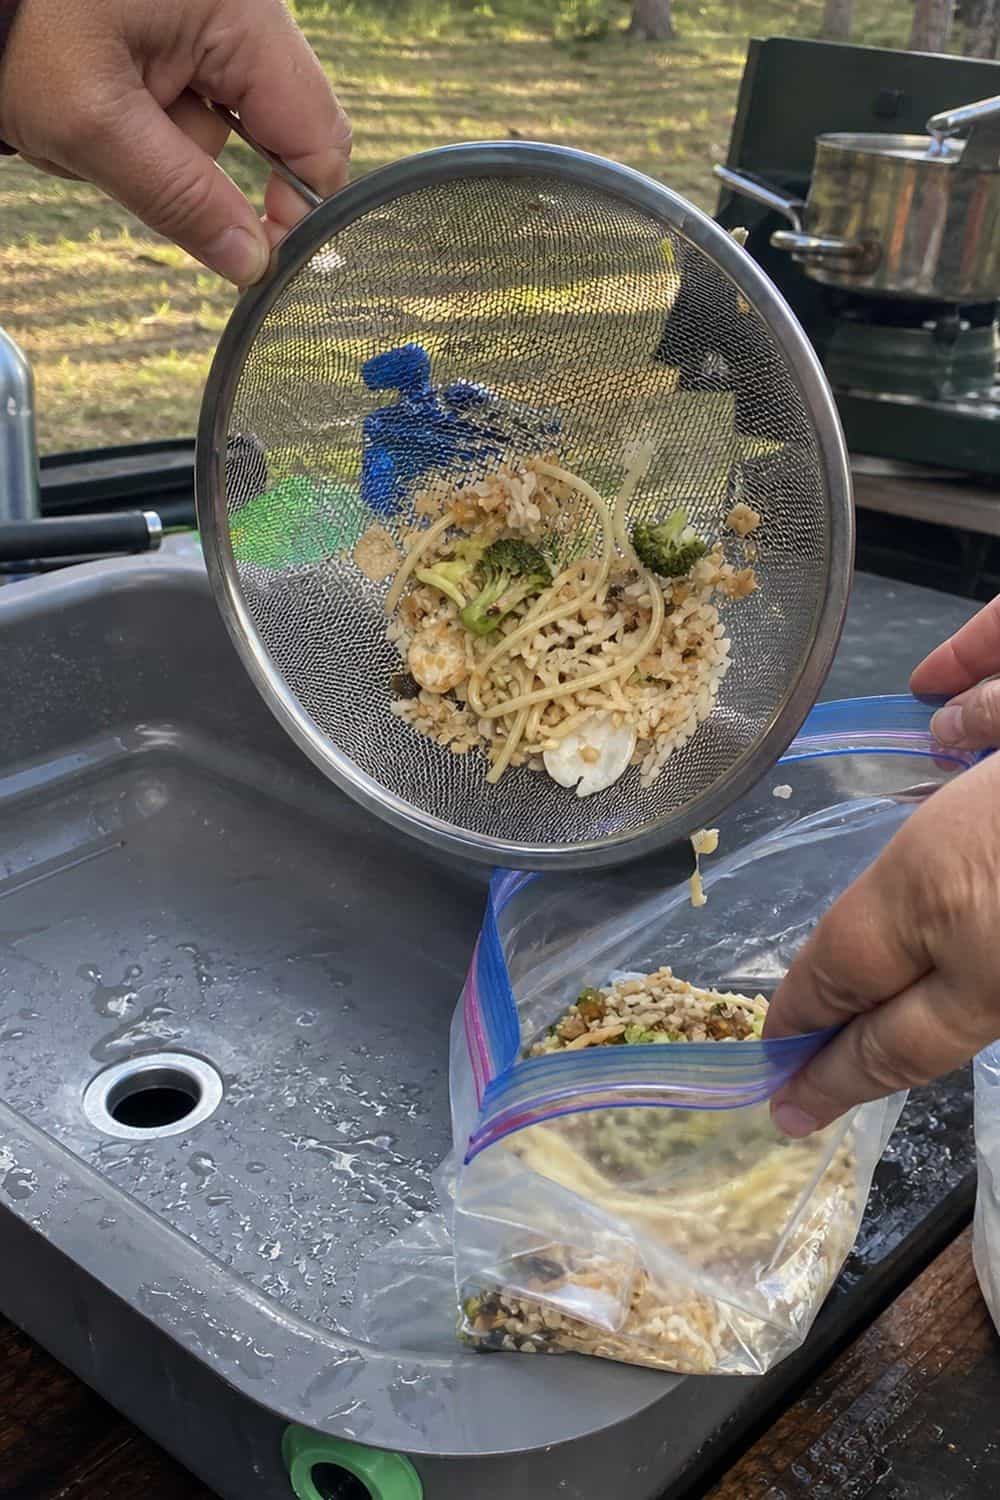
Pour dishwater through a small mesh strainer so rice, noodles and oat bits end up in the trash rather than on the ground. Dispose of the gray water where your campground says: a sink, a drain or a designated spot. Seal the scraps with the rest of the trash immediately and rinse the strainer before packing it.
Rain and the trip home
19. Build a rainproof food station
A tarp or canopy over the table keeps bins, bread, paper towels and matches dry. Wet cardboard collapses and soggy labels make food hard to find. Use lidded bins under the cover so rain protection and wildlife storage are the same system. Tie the tarp down well in wind, and remember that a roof is not a lock; food still goes away when you leave.

20. Reset the cooler on the last day
Before driving home, drain the meltwater, check what actually stayed cold, and separate trash from food worth keeping. Only bring leftovers home if they stayed chilled and labeled. When in doubt, throw it out. Close the dry tote and secure the trash per the rules of your final stop. Then air the cooler out at home so it does not smell next trip.
Car camping vs backpacking: what changes?
Car campers can bring coolers, bins and baskets because weight hardly matters. Backpackers rely on shelf-stable food in light packaging, and many backcountry areas require a bear-resistant canister. The principles stay the same in both cases: keep perishables cold, keep raw food separate, and secure everything with a smell.
For day trips and beach days, the scaled-down version is a single well-packed cooler, and this guide to packing a beach cooler covers that format.
Camping food storage questions
How do you keep food cold while camping?
Pre-chill the cooler, pack food that is already cold, and use block ice or frozen water bottles. Keep the cooler in the shade, open it as little as possible, and put drinks in a separate cooler.
Can you keep food in your tent while camping?
No, never keep food in your tent. Food, trash, toiletries and other scented items belong in a locker, approved canister or other storage your campground permits.
Do you need a bear canister for camping?
You need one only where the park or land manager requires it or lists it as the approved method. Check the rules for your exact site before relying on a cooler, bin or car.
How long does food last in a cooler when camping?
It lasts as long as the cooler holds 4°C (40°F) or colder, which depends on ice, shade and how often it is opened. A pre-chilled cooler with block ice and a separate drink cooler holds noticeably longer than one opened all day.
What food should go in a camping cooler?
Anything perishable goes in the cooler: raw meat, fish, dairy, eggs, cut fruit, prepared salads, cooked leftovers and chilled sauces. Keep raw meat sealed at the bottom and fragile food in a top basket.
How do you keep animals away from camping food?
Lock up food, trash, toiletries, cooking oil and pet food whenever you are not using them. Wash dishes promptly, strain scraps out of dishwater and never leave snacks or bags out overnight.
Key takeaways
- Pre-chill the cooler and keep a second cooler for drinks.
- Raw meat goes sealed at the bottom; fragile food in a top basket.
- Dry food lives in lidded bins and day-by-day meal kits.
- Scented items and trash get the same storage as food.
- Check your campground or park rules before you pack.
Choosing your cooler before the next trip
Most of these ideas depend on a cooler that actually holds ice for a weekend. If yours struggles past day one, compare options in this roundup of picnic baskets and coolers before your next booking, then pack the drink cooler and the food cooler separately from the start.
Last update on 2026-11-07 / Affiliate links / Images from Amazon Product Advertising API