
Christmas appetizer board ideas work best when the board has a clear formula: cheese, protein, crackers, fruit, briny bites, spreads, nuts, safe herbs, labels, serving tools, and backup refills. Start with a large board, choose a festive food palette, keep wet items in bowls, add crackers at the end, and plan refills so the board looks fresh through the party.
A holiday board should look abundant without becoming a pile of food that guests are afraid to disturb. The goal is easy holiday hosting: a board people can reach, understand, serve from neatly, and enjoy while talking.
The strongest Christmas appetizer board ideas use food color and serving logic instead of random decor. Red grapes, green herbs, white cheeses, golden crackers, labeled bowls, and clean utensils make the board festive while still safe for eating.
Top Recommended Products


You Might Also Like These Blog Posts
- 25 Holiday Open House Food Ideas for Easy Hosting
- 25 Holiday Cocktail Buffet Hosting Ideas for Easy Hosting
- 25 Christmas Cookie Party Hosting Ideas for Easy Hosting
- 25 Hot Chocolate Bar Ideas for Easy Hosting
- 25 Holiday Dinner Party Ideas for Easy Hosting
1. Start With a Large Wooden Board
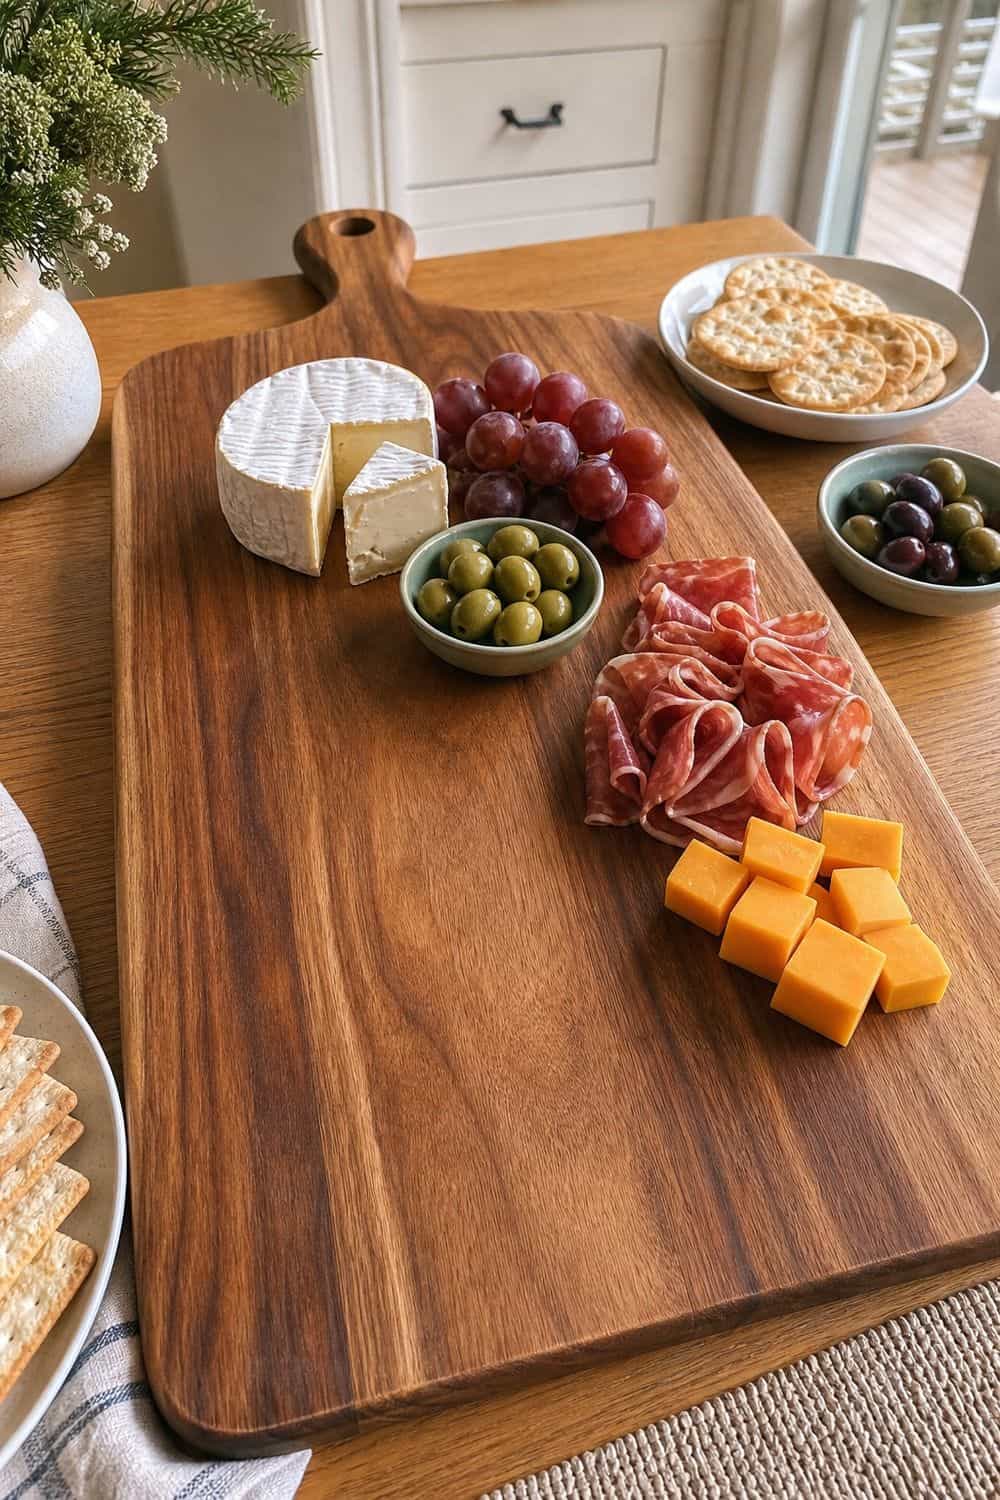
Room matters more than drama when you are building a Christmas board for real guests. Choose a board large enough for cheese, protein, crackers, fruit, bowls, and small empty spaces, because a packed surface quickly turns messy once people start serving themselves.
If the board is the main appetizer, plan a wider surface and keep refill ingredients nearby. For a smaller pre-dinner snack, a medium board with fewer cheeses can feel generous without forcing you to buy too much. Place bowls first, then cheese, then protein, then dry and fresh items around them.
That order keeps the board organized and prevents crackers from being crushed under heavier foods. A wooden board also photographs beautifully, but food safety still comes first. Use parchment or small dishes for wet, oily, or strongly colored items if the board is not sealed for direct contact with those foods.
2. Pick a Red, Green, White, and Gold Color Cue
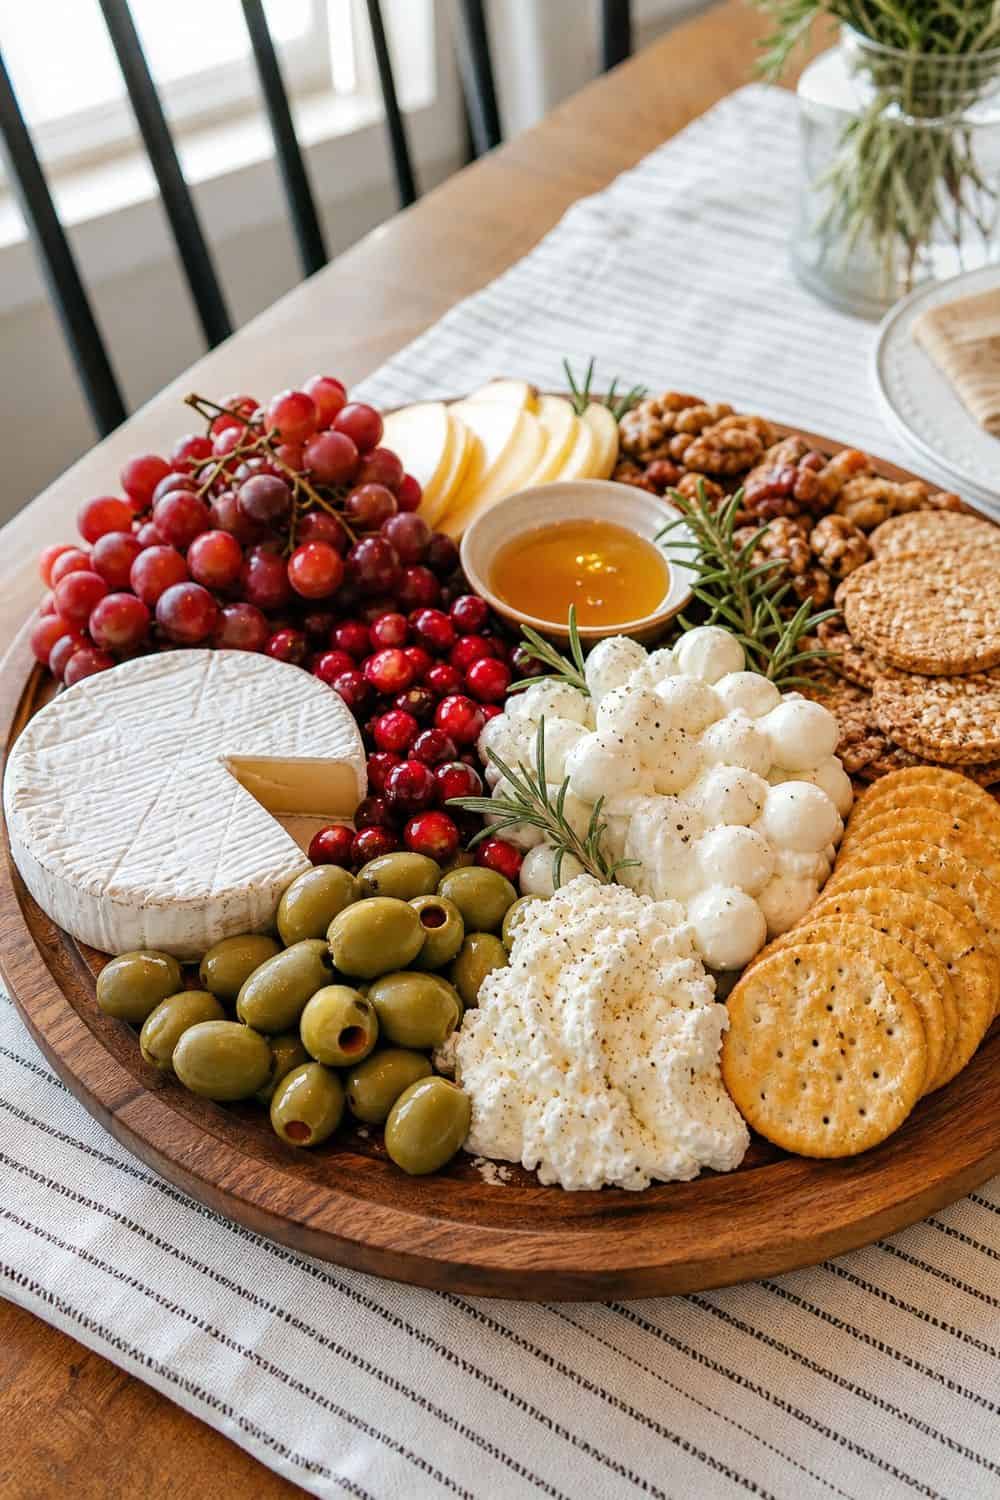
Color does not need to be complicated for the board to read as Christmas. Use red grapes, cranberries for visual accents, green pistachios, rosemary, pears, brie, mozzarella, cheddar, crackers, and a few gold-wrapped chocolates if sweets fit the board. Food color should do most of the decorating. If you use Christmas appetizer picks, place them in cheese cubes, fruit, or finished bites rather than scattering non-food decor across the board.
Keep the palette loose, not rigid. A board can still look festive with one red fruit, one green herb, one pale cheese, and one golden cracker, especially if the ingredients are arranged in small repeating clusters. Avoid glitter, faux berries, loose ornaments, or florist greenery on the food surface. If a decoration is not clearly food-safe, keep it off the board and let the ingredients carry the holiday look.
3. Use Four Cheese Textures
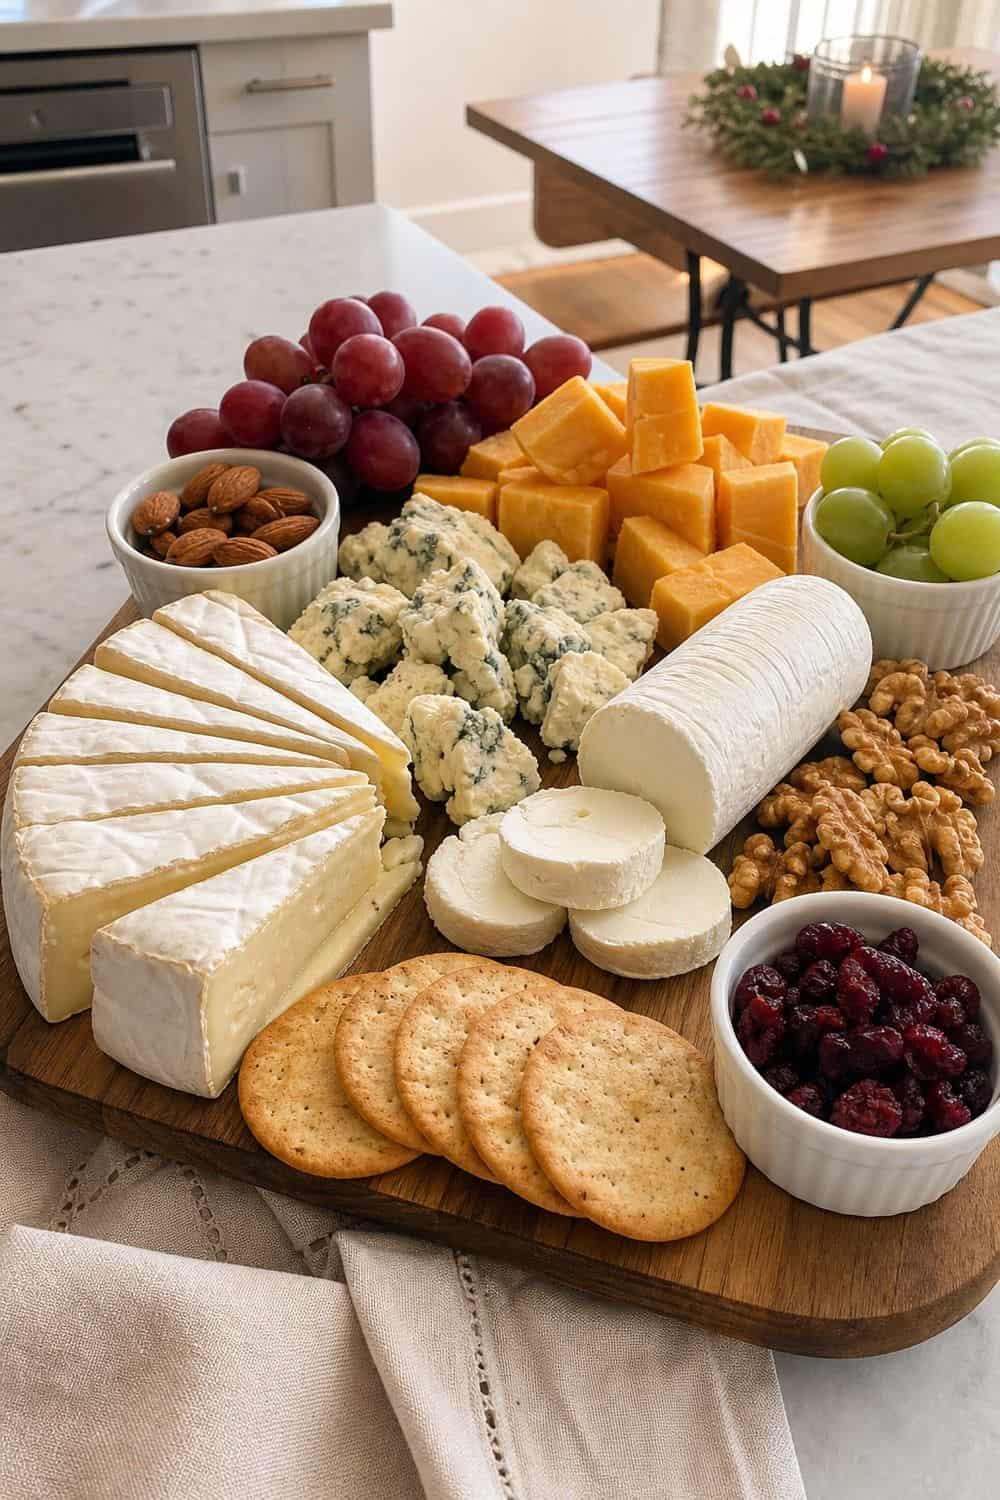
Four cheese textures make the board feel generous without requiring too many varieties. Choose one soft cheese, one firm cheese, one sharp or aged cheese, and one creamy or spreadable option so every bite does not taste the same.
This gives guests choices without turning the board into a cheese counter. Brie, goat cheese, cheddar, manchego, gouda, blue cheese, or whipped feta can all work if the portions stay manageable.
Cut or crumble a little of each cheese before serving so guests know they are welcome to start. A board that looks too untouched can make people hesitate, especially early in the party.
4. Add a Brie Centerpiece
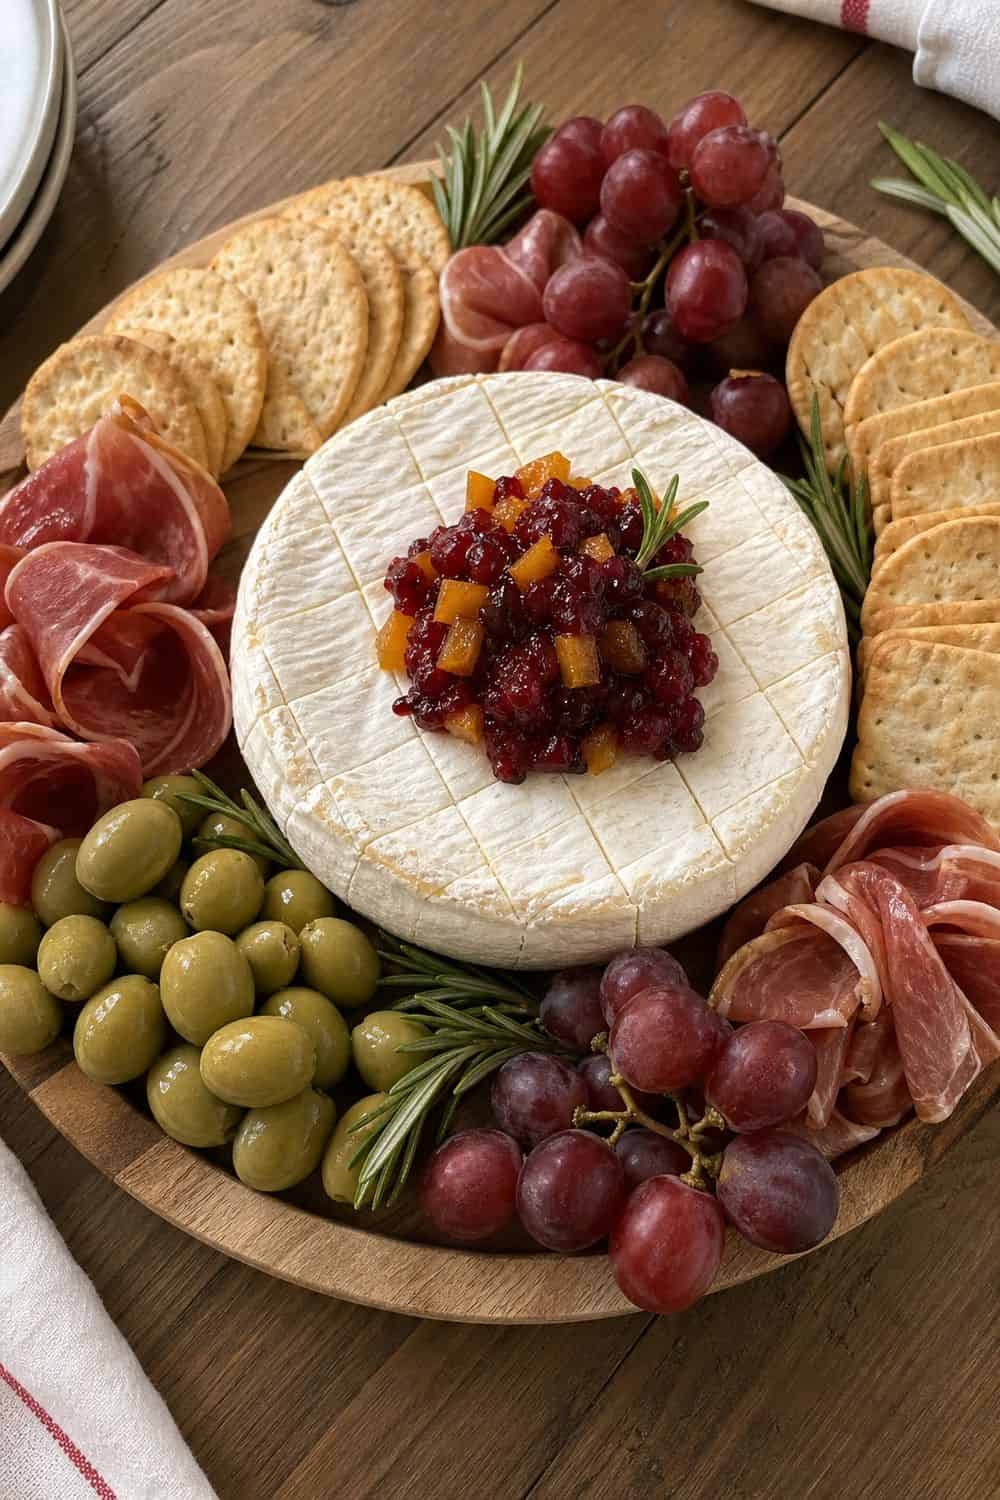
One warm focal point can make the board feel hosted instead of assembled from packages. Brie works especially well because it can sit in the center with cranberry jam, fig jam, honey, walnuts, or herbs around it. Use a brie baker if the cheese is warm, sticky, or topped with fruit.
It keeps melted cheese from running into crackers and gives guests a clear place to scoop. Time the brie for the first serving wave. It is best when soft and warm, so do not expect it to stay perfect for a four-hour open house.
Keep backup crackers away from the warm dish until needed. Steam and heat soften crisp items faster than guests expect. Put a small knife or spreader beside the baker while setting the board. Warm brie can get messy fast if people try to scoop it with crackers alone.
5. Include One Sharp Cheddar or Aged Cheese
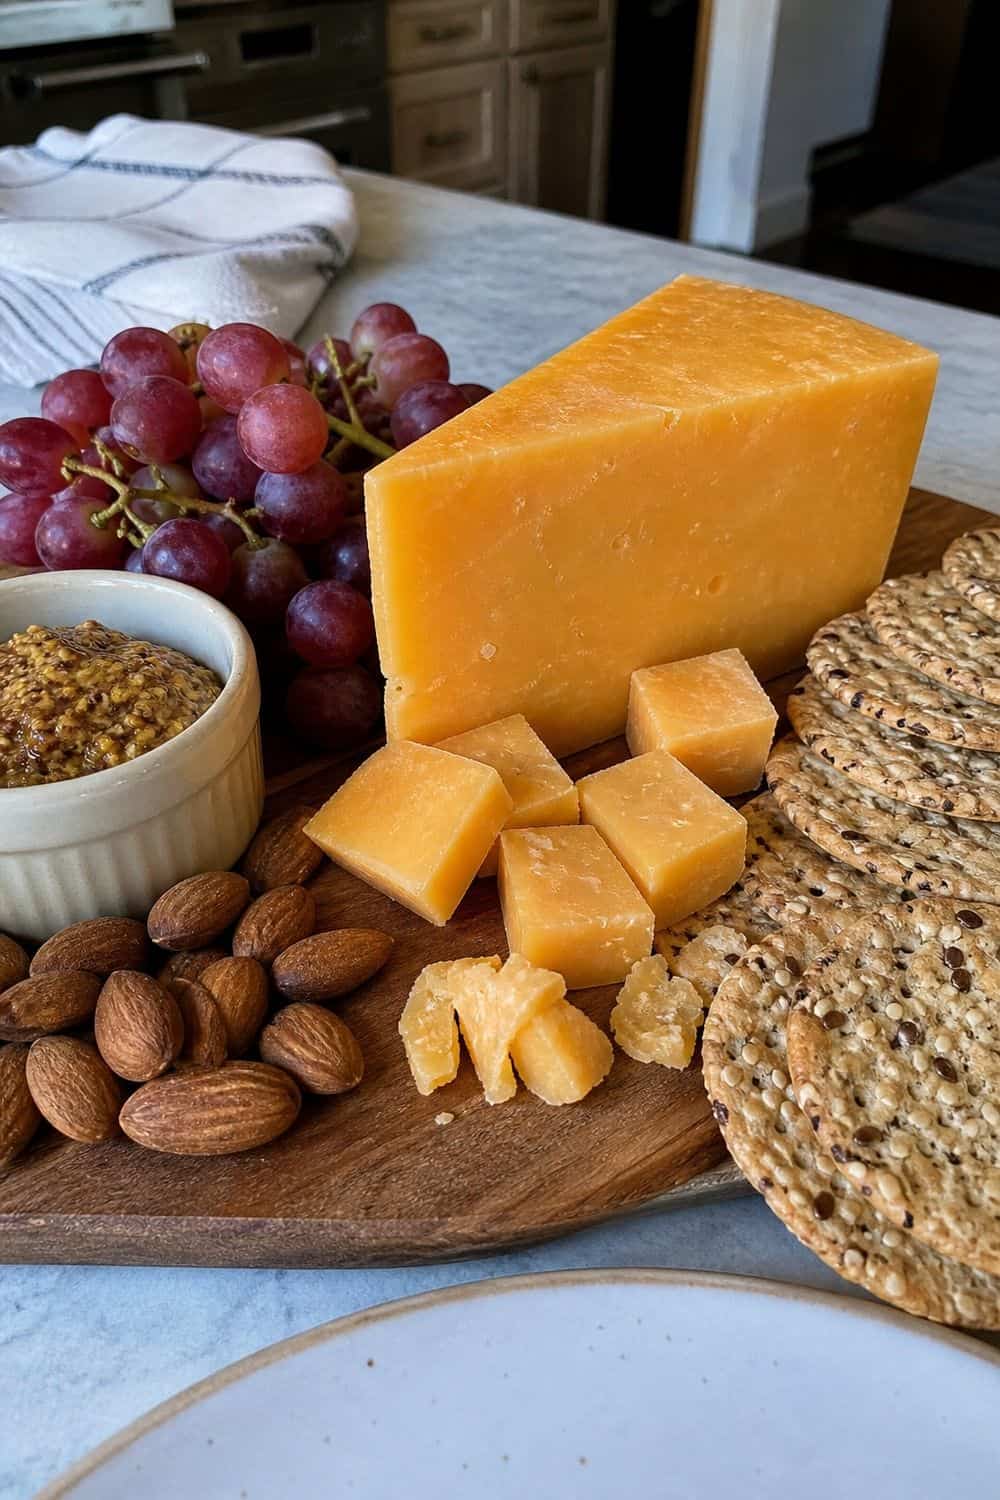
Aged cheese gives the board a salty, savory anchor that balances fruit, jam, honey, and mild creamy cheese. Use sharp cheddar, aged gouda, manchego, parmesan chunks, or a nutty alpine-style cheese for this role.
Cut a few starter pieces during setup so no one has to attack a hard wedge with a flimsy knife. Keep the pieces near crackers, mustard, or pickles so the sharper flavor has an easy pairing.
One strong cheese is usually enough. Too many intense options can make the board feel heavy before dinner, especially if the appetizer table also has meats, nuts, and briny bites.
6. Fold Salami or Prosciutto for Easy Grabbing
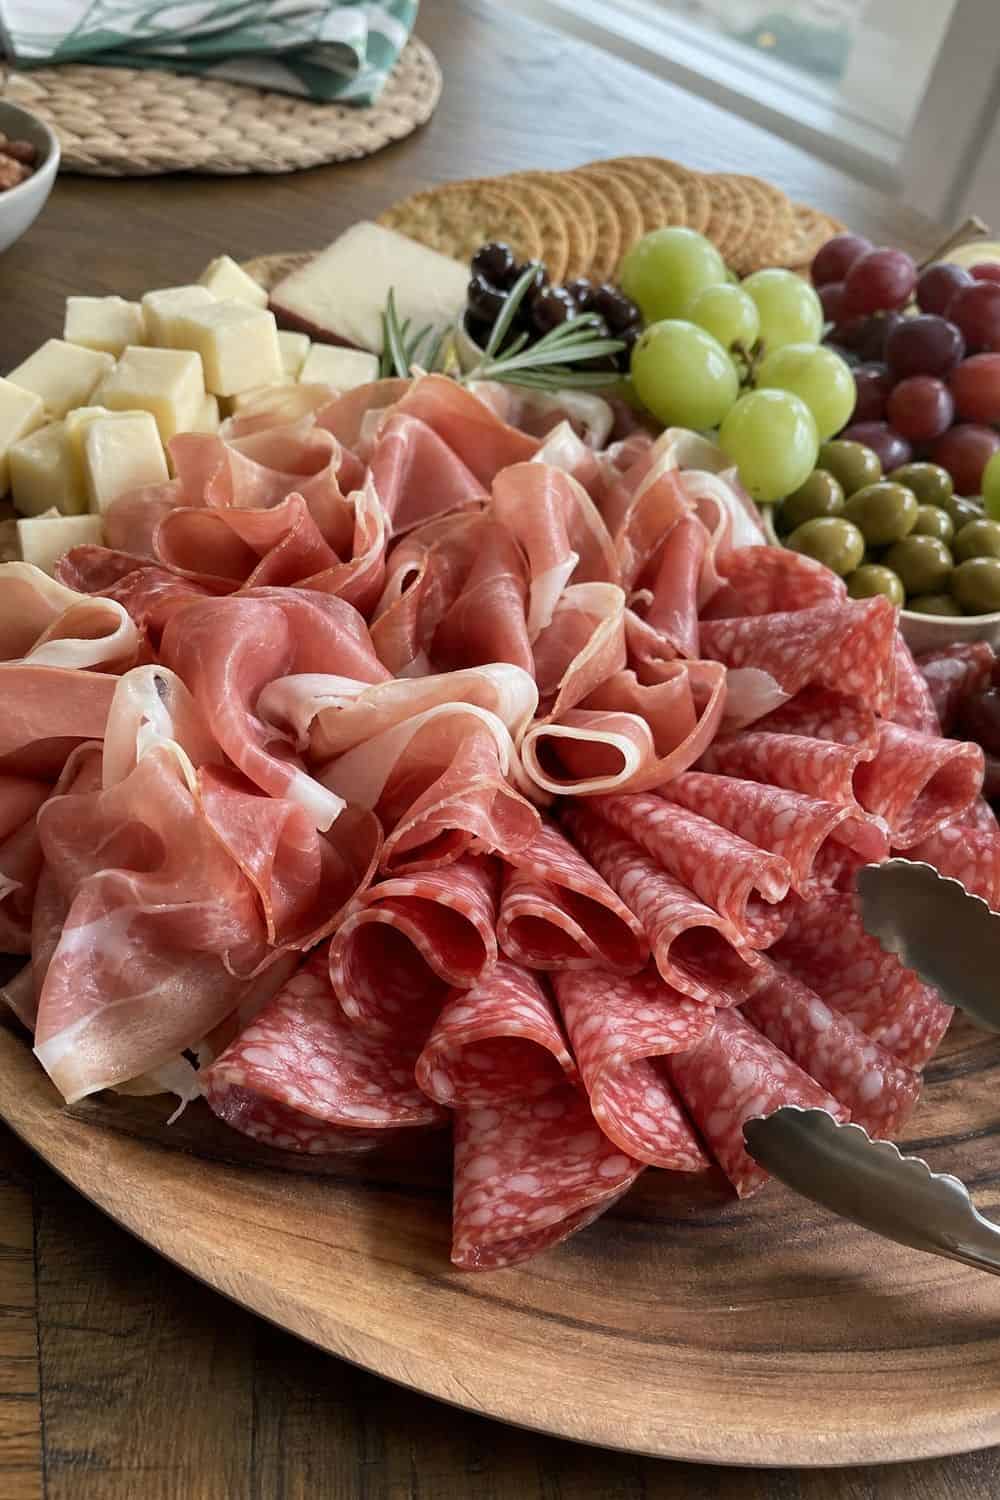
Folded meats add height, salt, and easy protein without taking over the board. Use salami, prosciutto, pepperoni, capocollo, turkey slices, or soppressata depending on the guests and the rest of the menu. Make small ribbons, folds, or loose stacks so pieces separate easily.
Flat piles tend to stick together, and guests end up touching more than they take. Put charcuterie tongs directly beside the meat, not across the board. People are more likely to use the tool when it is exactly where their hand is already going.
If the board sits out for a long party, refill meat in smaller waves. A smaller fresh section looks better and keeps the board from drying out. Keep meats slightly away from vegetarian dips and kid-friendly sections. That small boundary makes the board easier for different guests to use without asking what touched what.
7. Add a Vegetarian Protein Option
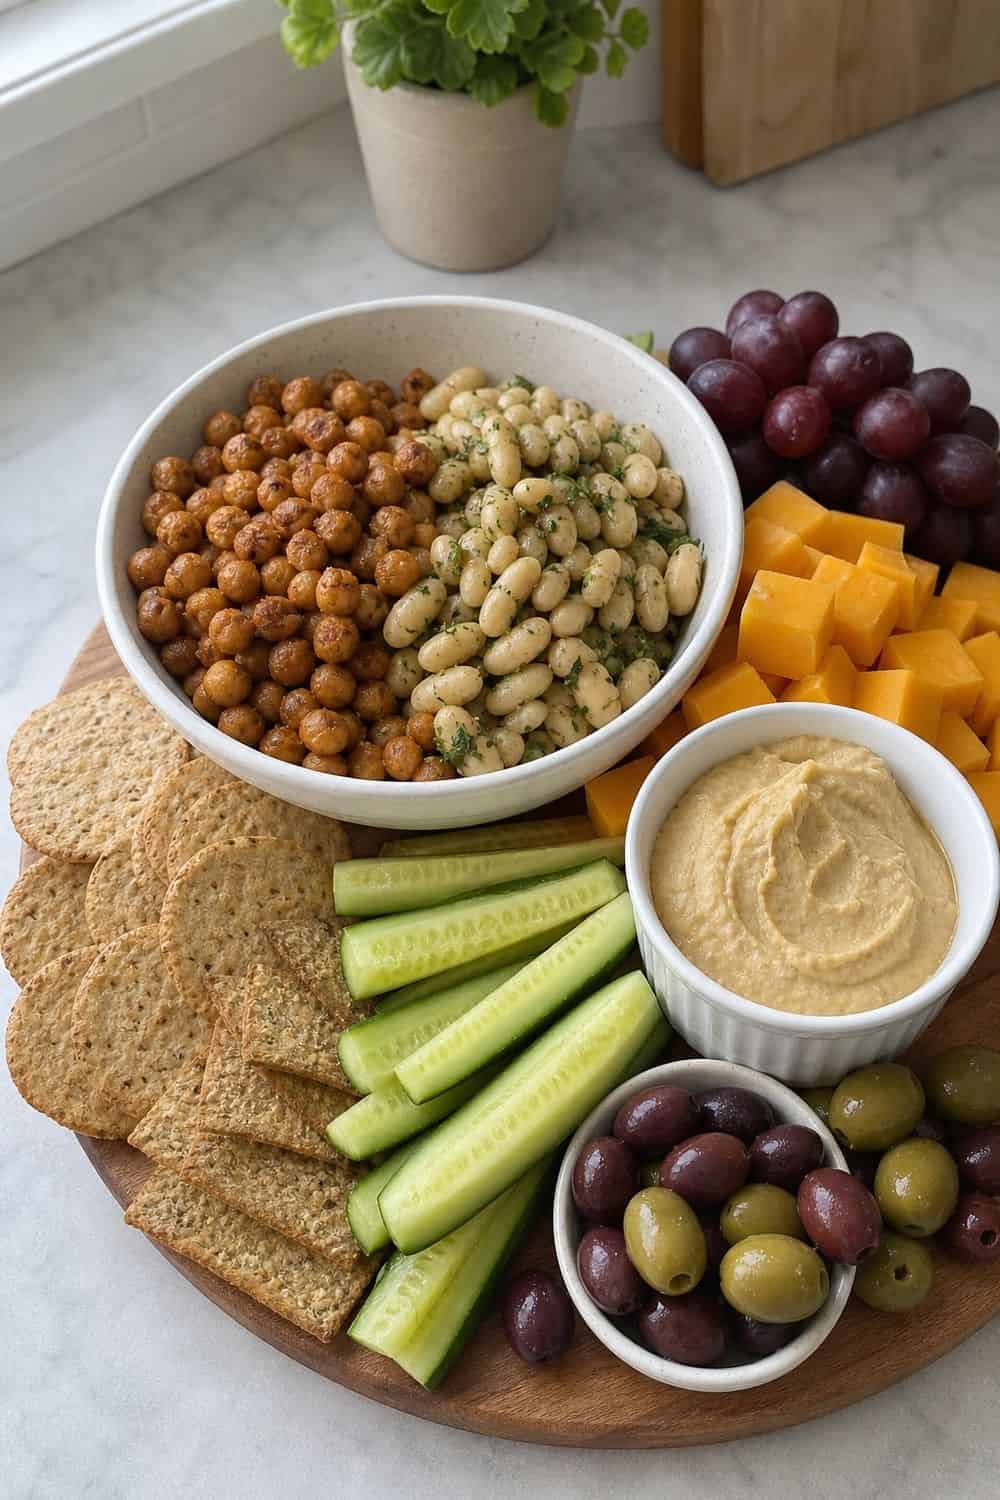
Guests who skip cured meat still need something more satisfying than grapes and crackers. Add hummus, white bean dip, whipped feta, marinated tofu, edamame, or deviled eggs near the vegetable and cracker area. A bowl keeps soft protein options contained and makes the board easier to navigate. Place crackers, cucumber slices, carrots, or breadsticks nearby so guests do not drag dip across the whole board.
Label vegetarian items clearly, especially if the board has meat folded into several sections. It keeps guests from asking the host about every dip while the party is moving. Do not let the vegetarian option become an afterthought. A generous bowl with good dippers makes the board feel inclusive without building a separate second spread.
8. Use Whole-Grain Crackers and Breadsticks
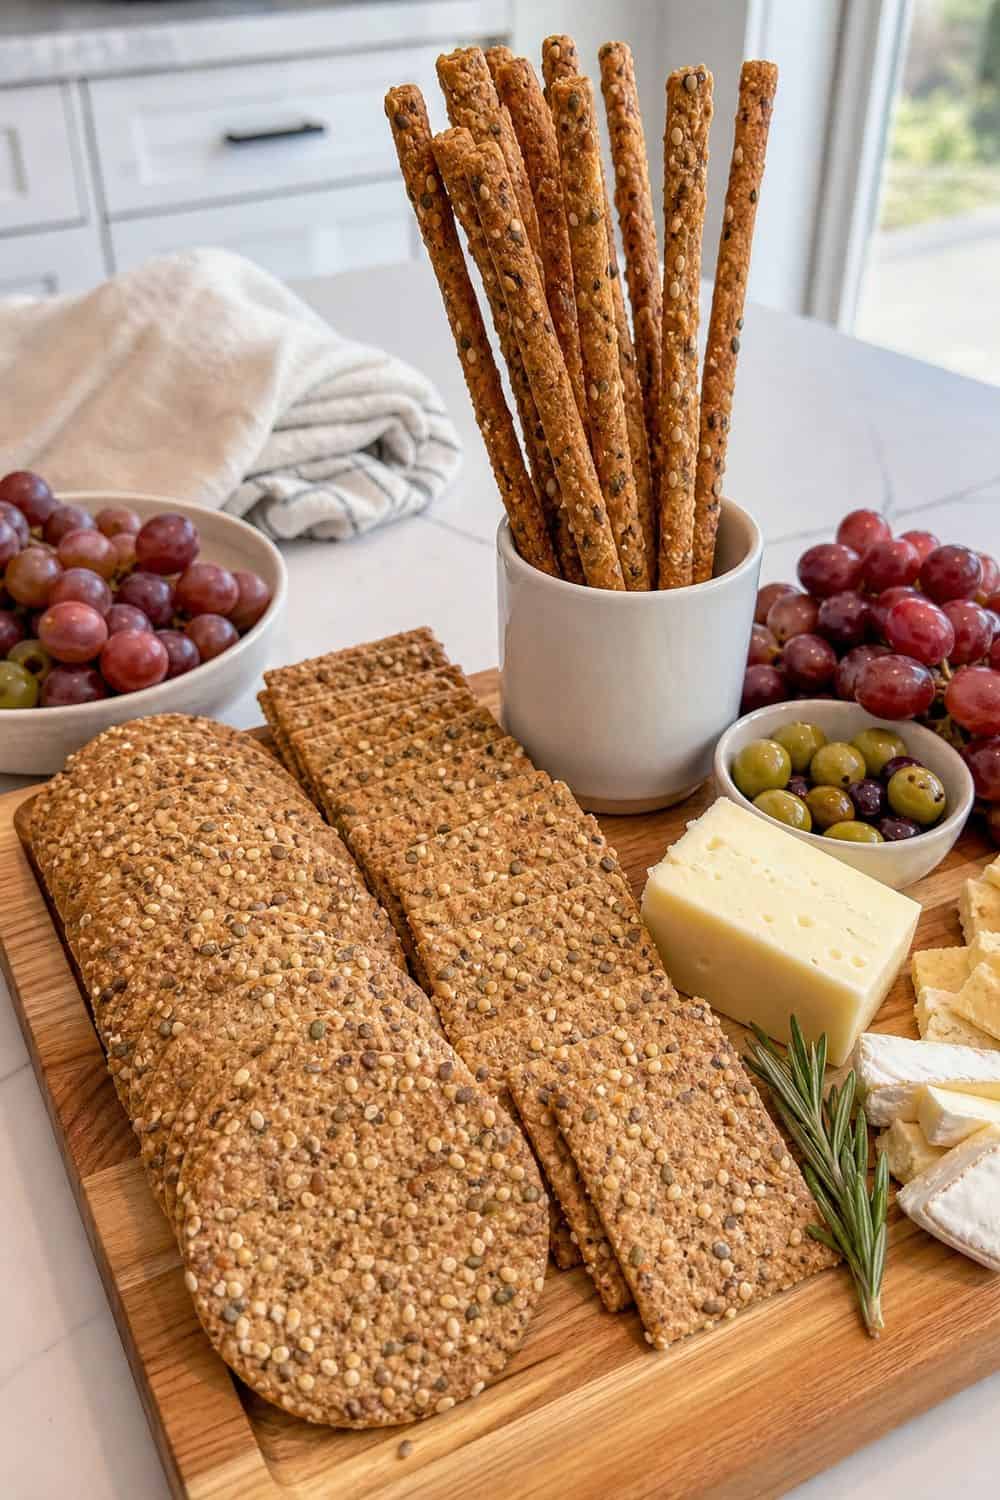
Crunch gives guests a way to carry cheese, dips, and spreads, so treat crackers as part of the structure. Whole-grain crackers, seeded crisps, baguette slices, breadsticks, flatbread, and gluten-free crackers can all work. Keep dry items slightly separate from juicy fruit, olives, and dips. A cracker serving tray or side dish prevents soggy edges and gives you a place to refill without disturbing the rest of the board.
Add crackers shortly before serving. If you build the board early, place wrapped crackers nearby and finish that section at the last minute. For a long party, refill crackers in handfuls instead of dumping a whole sleeve onto the board. The dry section stays crisp, and broken pieces do not take over the surface.
9. Put Jams, Honey, and Mustard in Small Bowls
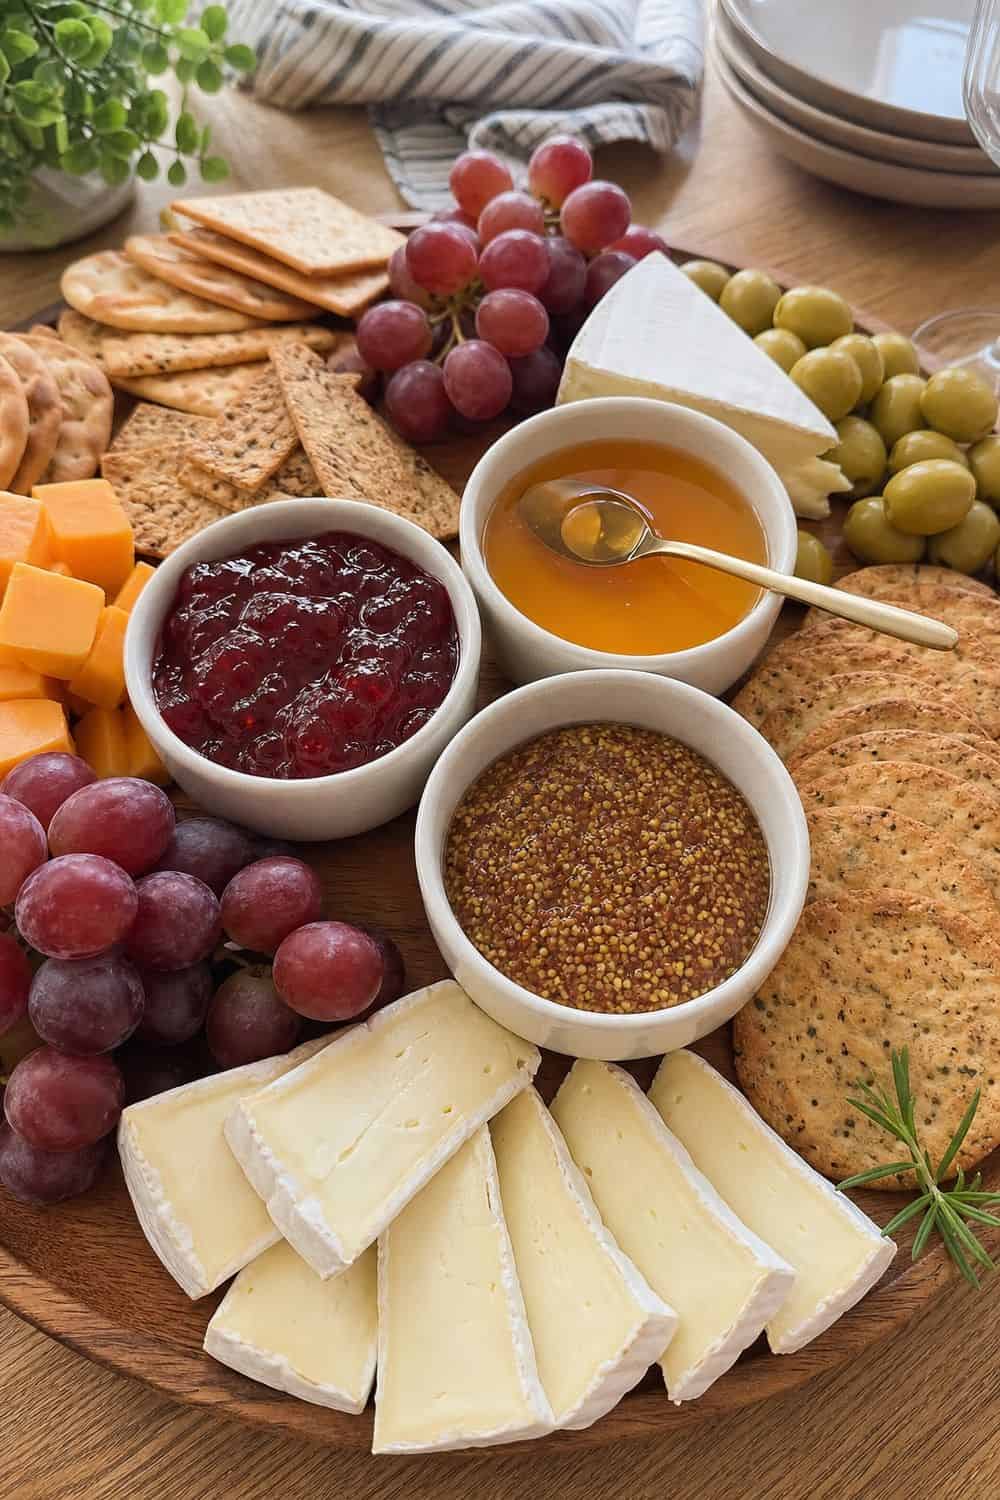
Sticky spreads belong in bowls, not loose on the board. Fig jam, cranberry chutney, honey, hot honey, whole-grain mustard, onion jam, and pepper jelly all add flavor, but they can ruin crackers if they spill. Mini bowls create anchors for the layout. Set them down first, then build cheese, meats, fruit, and crackers around them so the board has natural sections.
Give each bowl its own spoon or spreader. Shared knives that travel from mustard to brie to jam make the board messy quickly. Use fewer spreads than you think. Two or three strong choices feel more useful than six bowls that crowd out the food people actually eat. Place sweet spreads near creamy cheese and mustard near sharper cheese or meat. That simple pairing helps guests build good bites without needing instructions.
10. Add Pickles and Olives for Acid
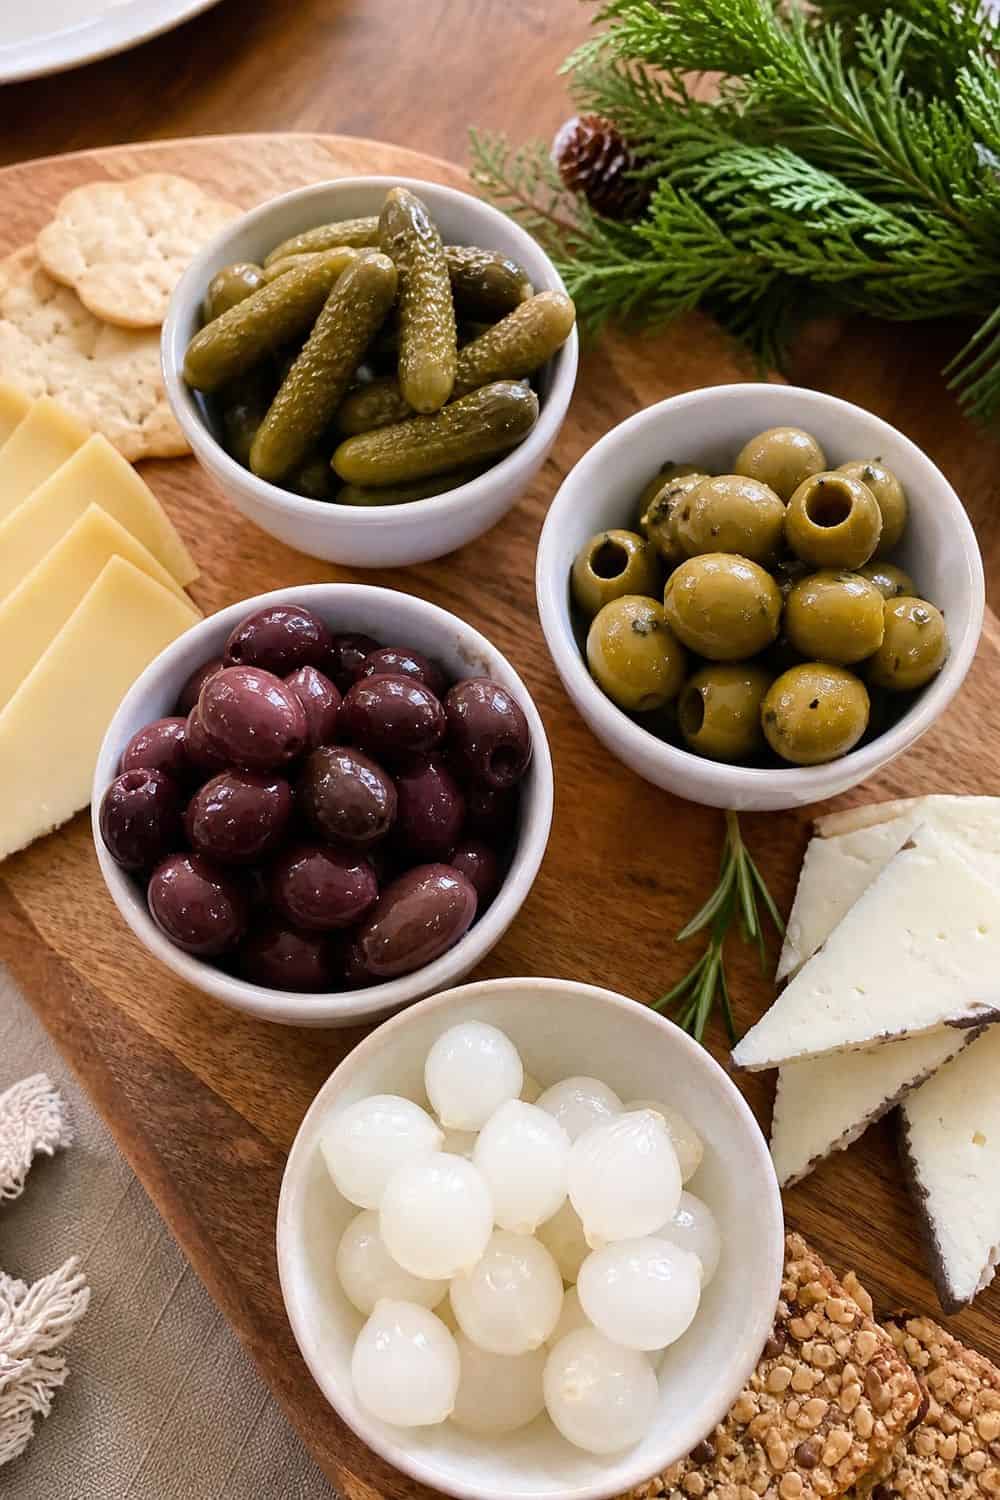
Briny bites keep a Christmas cheese board from feeling too rich. Olives, cornichons, pickled onions, pickled peppers, and marinated artichokes cut through creamy cheese and cured meat. A divided dish protects the rest of the board from olive brine and pickle juice.
It also lets you offer a few acidic options without mixing every flavor together. Place these near firm cheeses and meats rather than beside crackers. If brine touches bread too early, the whole section starts tasting soggy and salty. Add a small fork or spoon so guests are not fishing olives out with their fingers.
It is a tiny detail that makes the board feel much more comfortable to use. Drain very wet items before they reach the board. You still want acidity, but you do not want pickle brine running into cheese labels or cracker rows.
11. Use Grapes, Pears, and Citrus for Freshness

Fresh fruit brings color, moisture, and a break from salty foods. Red grapes, green grapes, pear wedges, clementines, apple slices, figs, pomegranate, and dried apricots all work with holiday cheeses. Keep juicy fruit in a bowl or on a side platter if it might leak onto crackers. Pears and citrus can look beautiful, but they should not make the dry section damp before serving.
Cut pears and apples closer to serving, or use citrus and grapes if the board needs to sit longer. Browning fruit can make an otherwise polished board look tired. For larger gatherings, cluster fruit in two places so guests can reach it from either side. It also repeats the color and makes the board feel more balanced.
12. Add Nuts as Gap Fillers
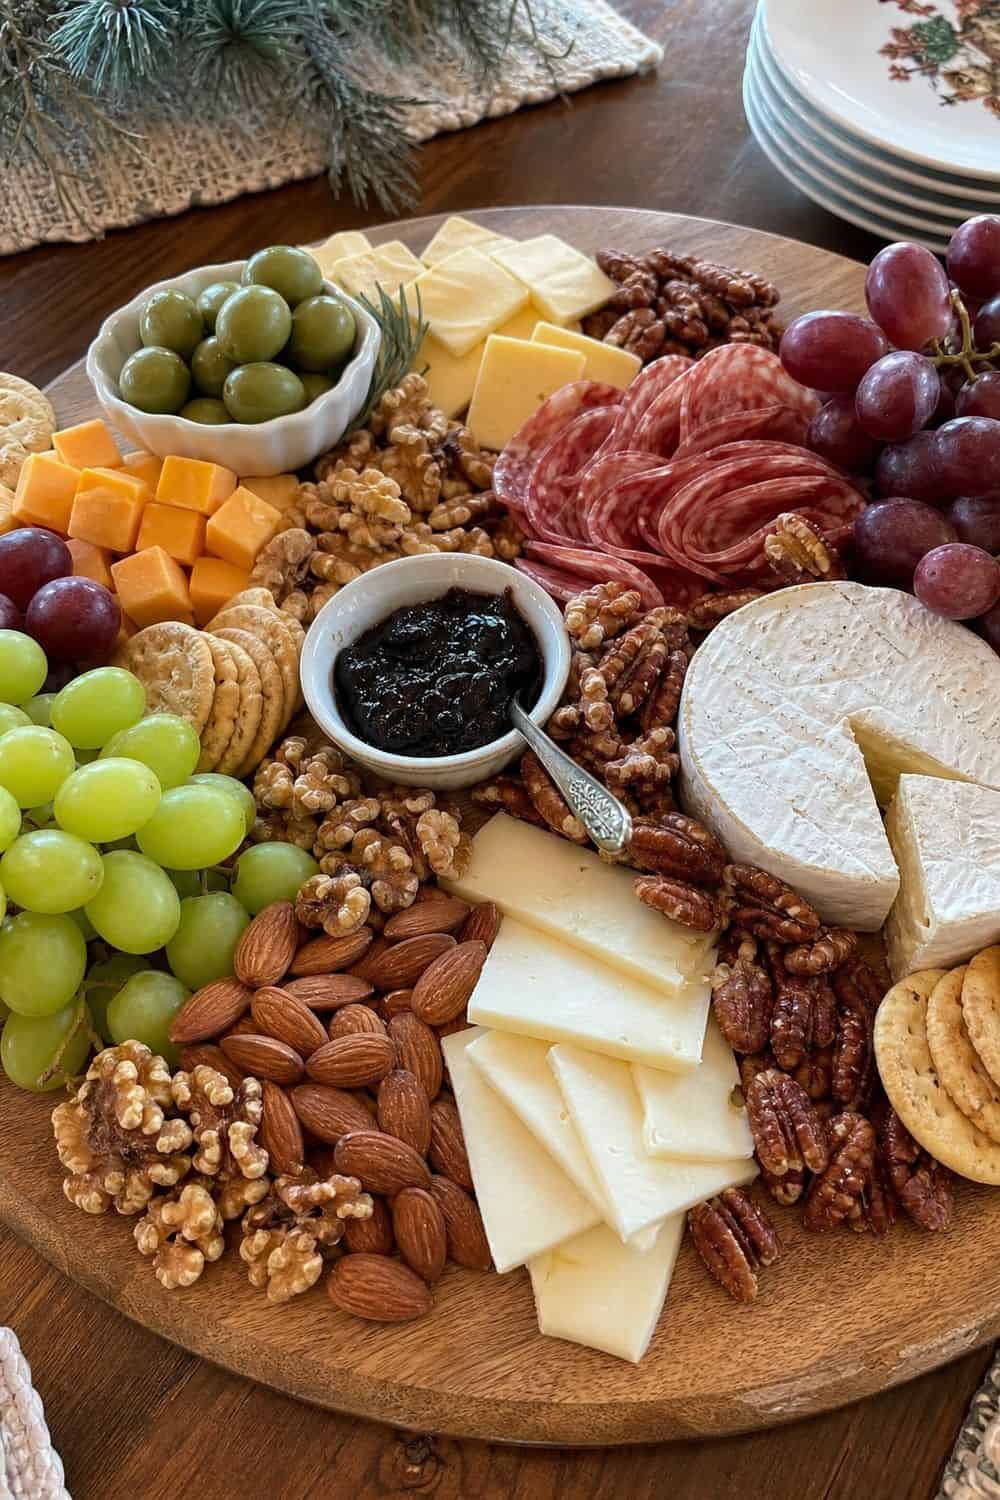
Small empty spaces are useful at first, but nuts can fill awkward gaps once the main ingredients are placed. Pistachios, Marcona almonds, candied pecans, walnuts, and spiced mixed nuts add crunch and holiday flavor. Use little bowls when allergies are a concern or when the nuts are seasoned. This keeps nut dust and sugar from spreading across cheeses and crackers.
Label nuts clearly and consider keeping them in one controlled area instead of scattering them through the board. Guests should not have to guess whether the pretty garnish is safe for them. If you want the look of scattered texture, use seeds or extra herbs in safer areas and keep the actual nuts in bowls. It gives you the same finished look with better guest clarity.
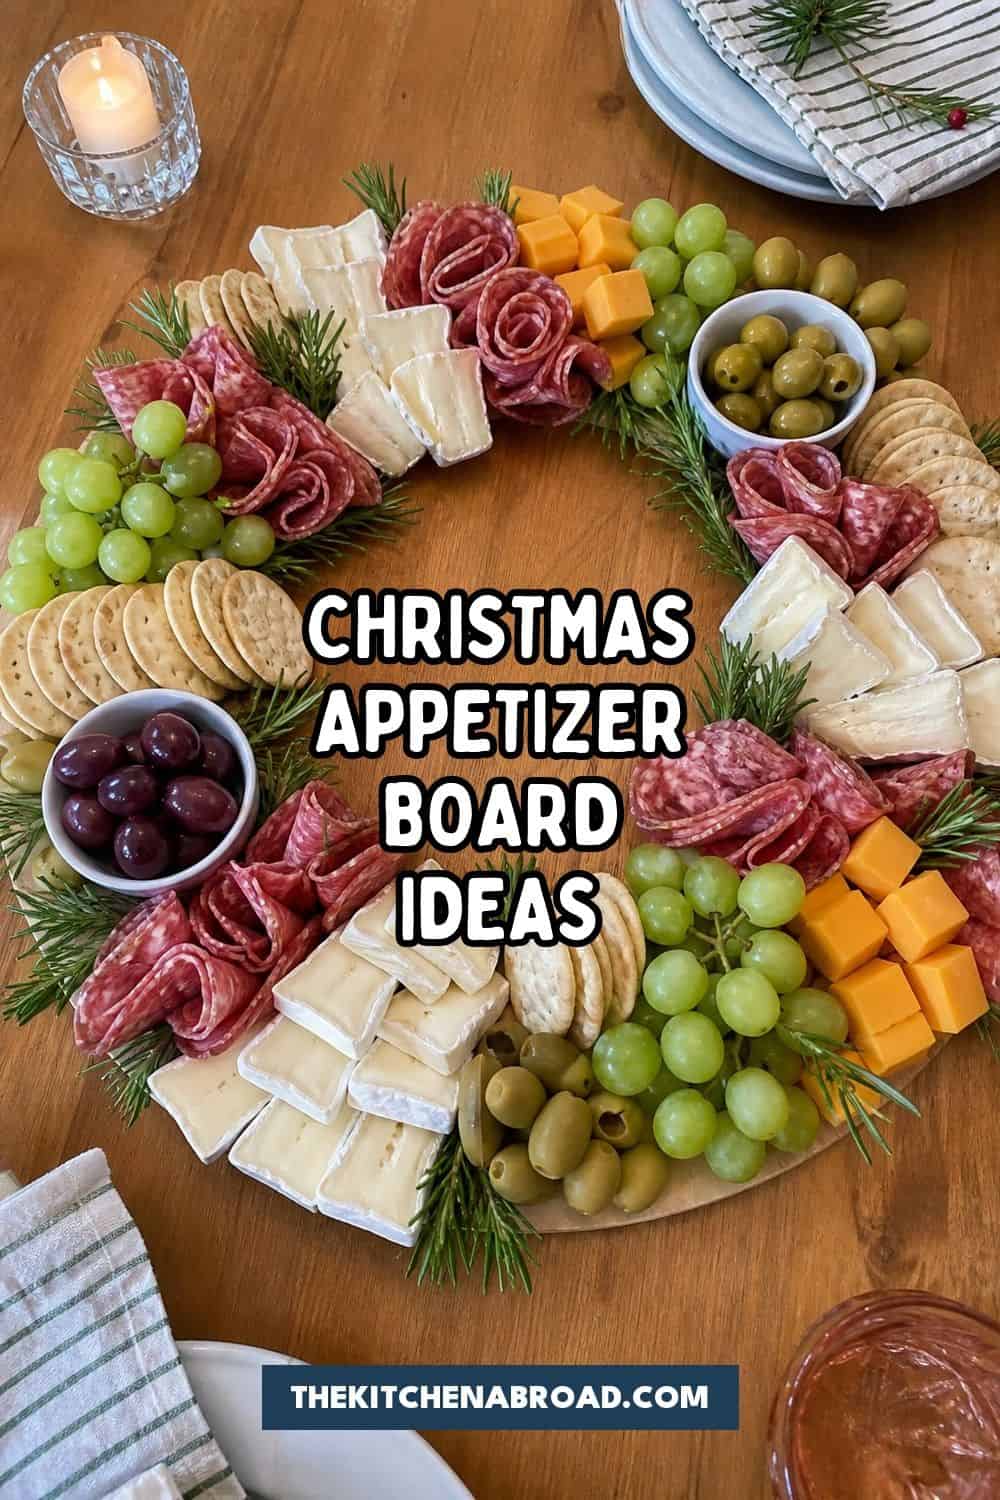
13. Create a Wreath-Shaped Board
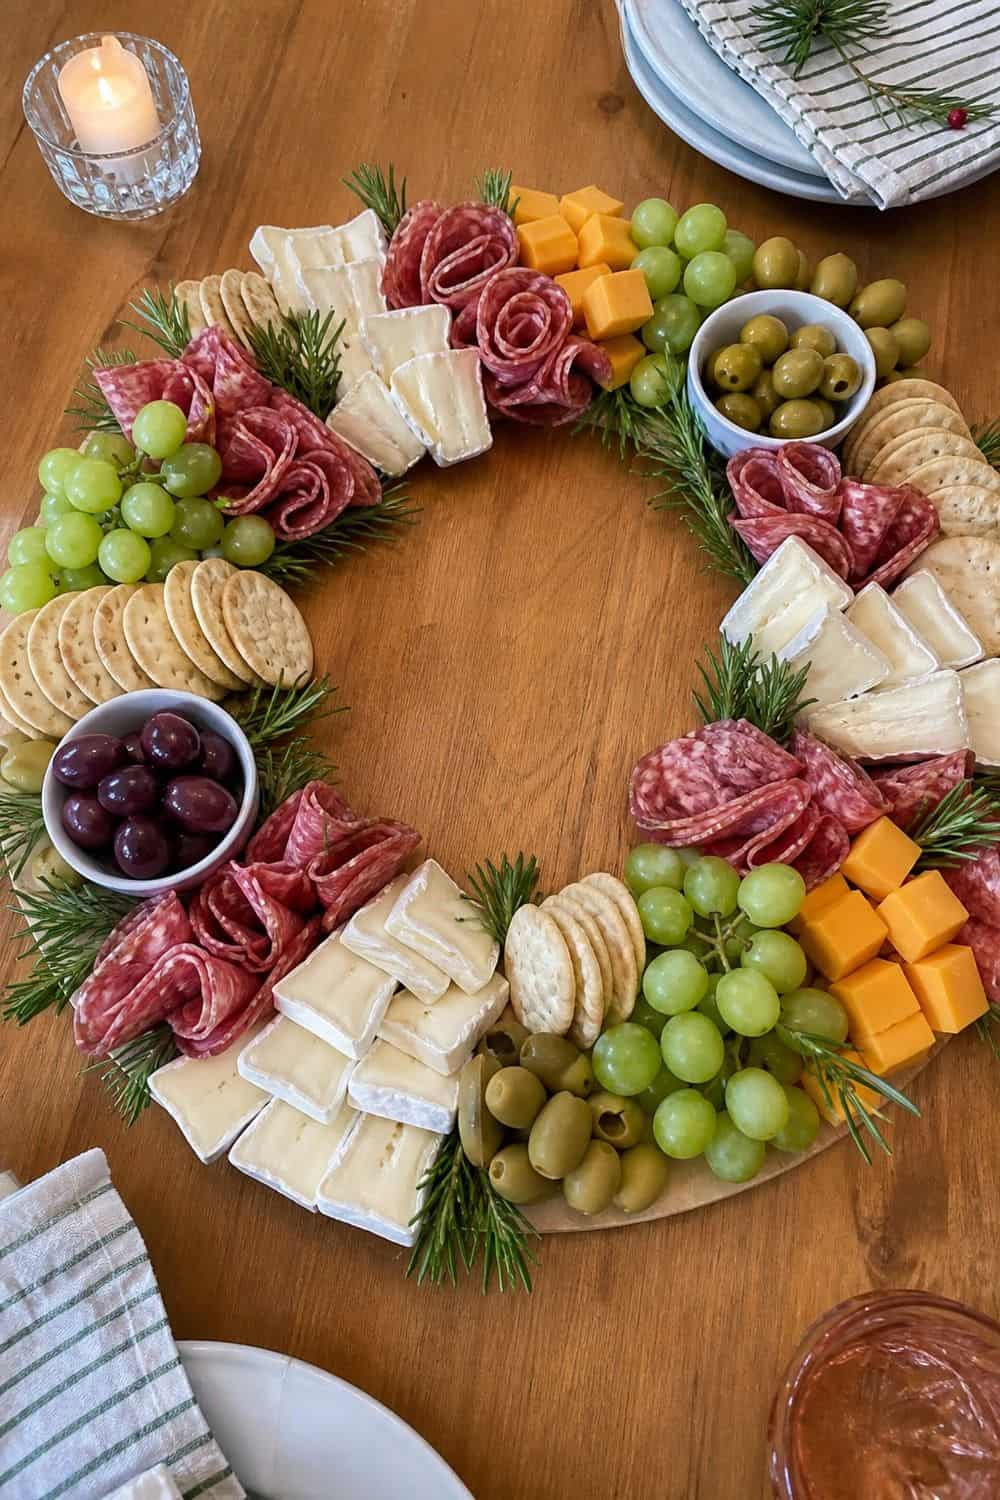
Circular layouts feel festive because the shape does the decorating for you. Arrange cheese cubes, crackers, grapes, olives, small bowls, and safe herb sprigs in a loose ring with a little open space in the middle. A round board makes the shape easier to read than a rectangle. Start with bowls at a few points around the circle, then repeat colors and textures between them.
Use rosemary or thyme sparingly as a food-adjacent garnish, and keep any non-edible decor off the eating surface. The board should feel seasonal without confusing guests about what can be eaten. Leave enough room for tongs and knives. A wreath board loses its charm if guests have to knock over grapes just to reach the cheese.
14. Make a Christmas Tree Cheese Board
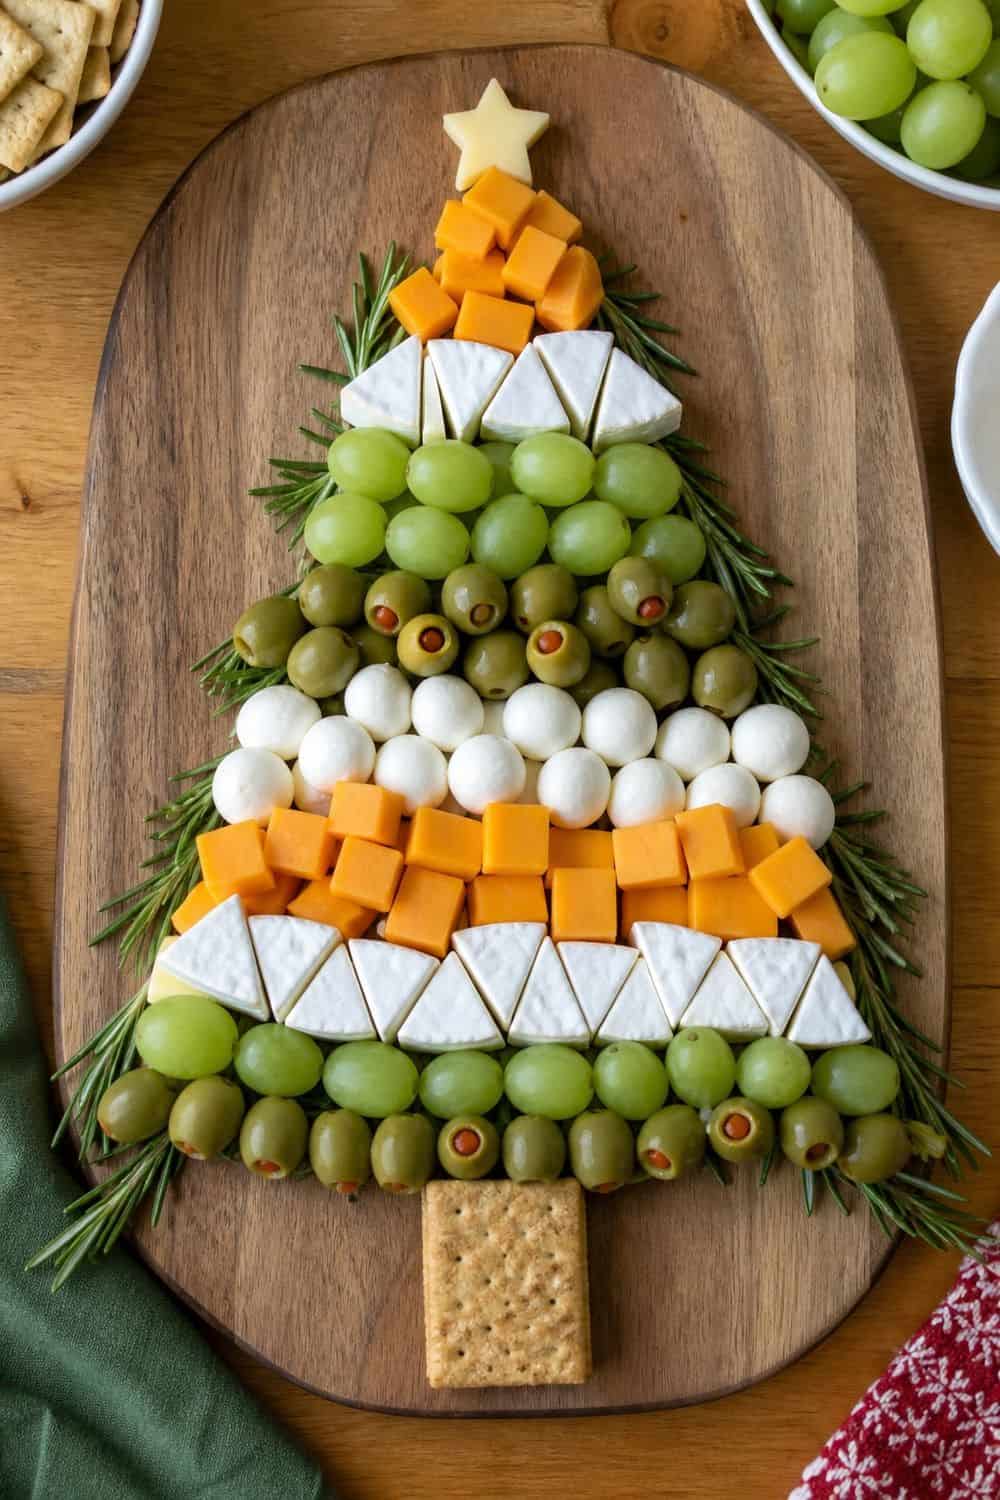
Layered rows can turn cheese, grapes, crackers, and salami into a simple tree shape without needing cookie-cutter precision. Start wider at the bottom and taper toward the top. A dark slate board helps pale cheeses and crackers stand out, which makes the tree shape easier to see.
Alternate rows of cheese cubes, grapes, crackers, folded meat, and herbs for contrast. Do not make the shape so tight that guests cannot serve from it. A Christmas tree board still needs practical grab points, small tongs, and a place for crumbs. If the board is for kids, use milder cheeses and pretzels instead of strong cured meats.
The shape can stay festive while the flavors stay familiar. Keep the top point simple. A small bowl, a cheese star, or a cluster of grapes is easier to serve from than a fragile tower that falls apart when the first guest reaches in.
15. Add a Small Dessert Corner
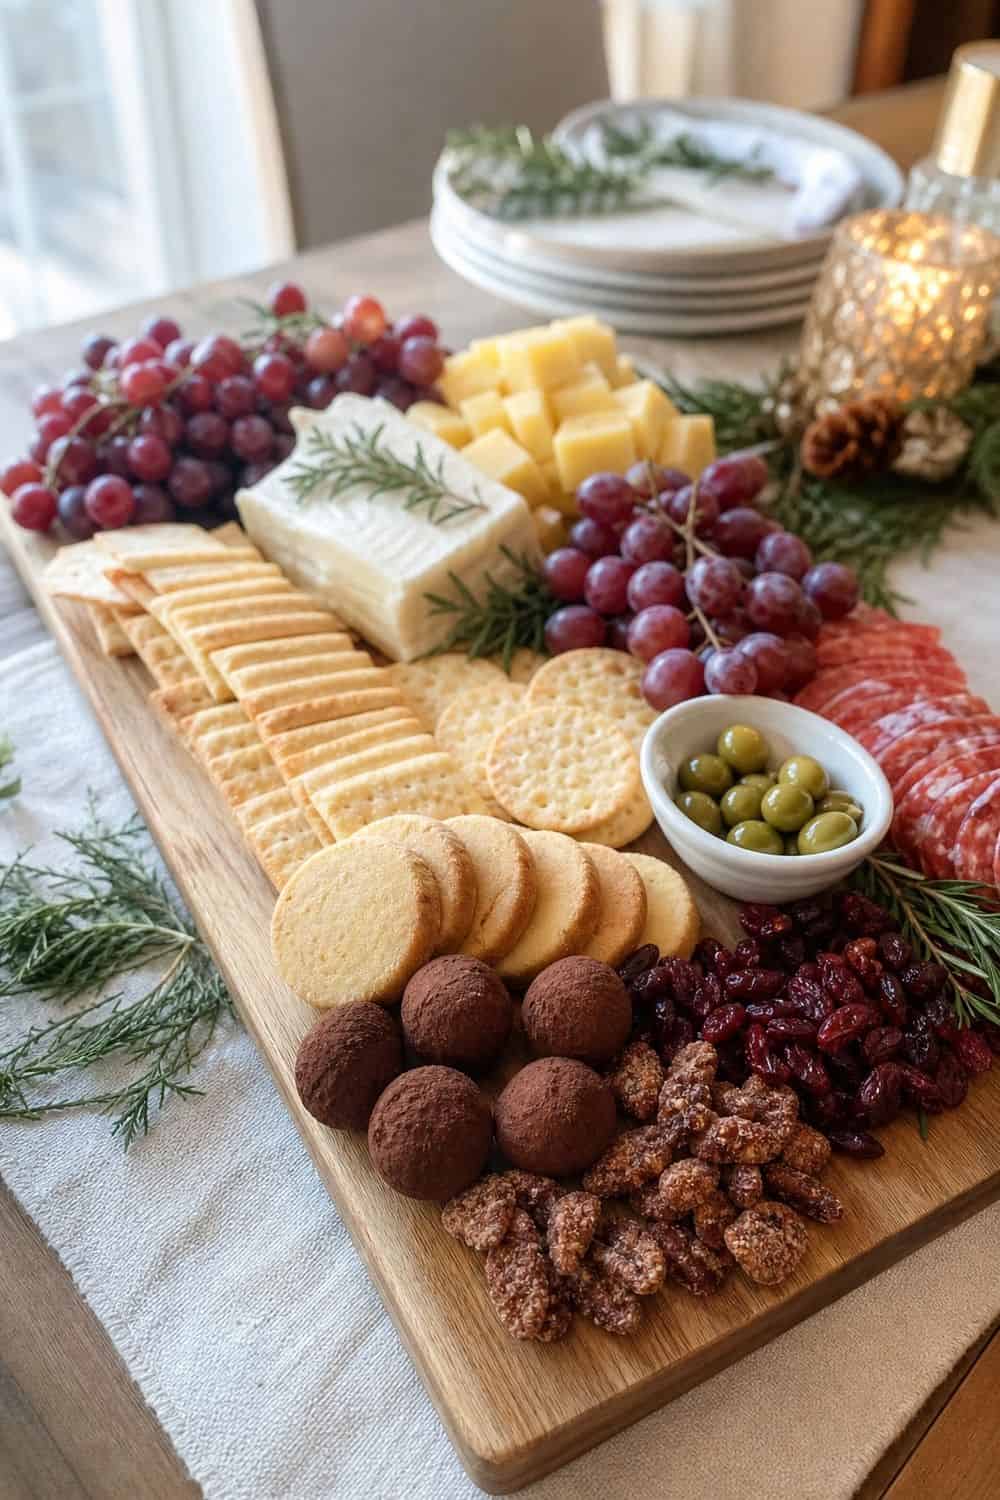
One sweet corner can make the board feel holiday-ready without turning it into a dessert tray. Use peppermint bark, dark chocolate, chocolate-covered almonds, shortbread, dried figs, or candied orange. Keep sweets in one corner so they do not touch olives, mustard, or cured meat. Dessert picks can help guests take small pieces without using the cheese knives.
Choose sweets that hold their shape at room temperature. Frosted cookies and soft candies can smear onto crackers and make the board look messy before the party really starts. Keep the sweet corner small enough that it feels like an accent. If guests need a full dessert spread, place that on a separate tray after the appetizer board has done its job.
16. Use Fresh Rosemary Carefully
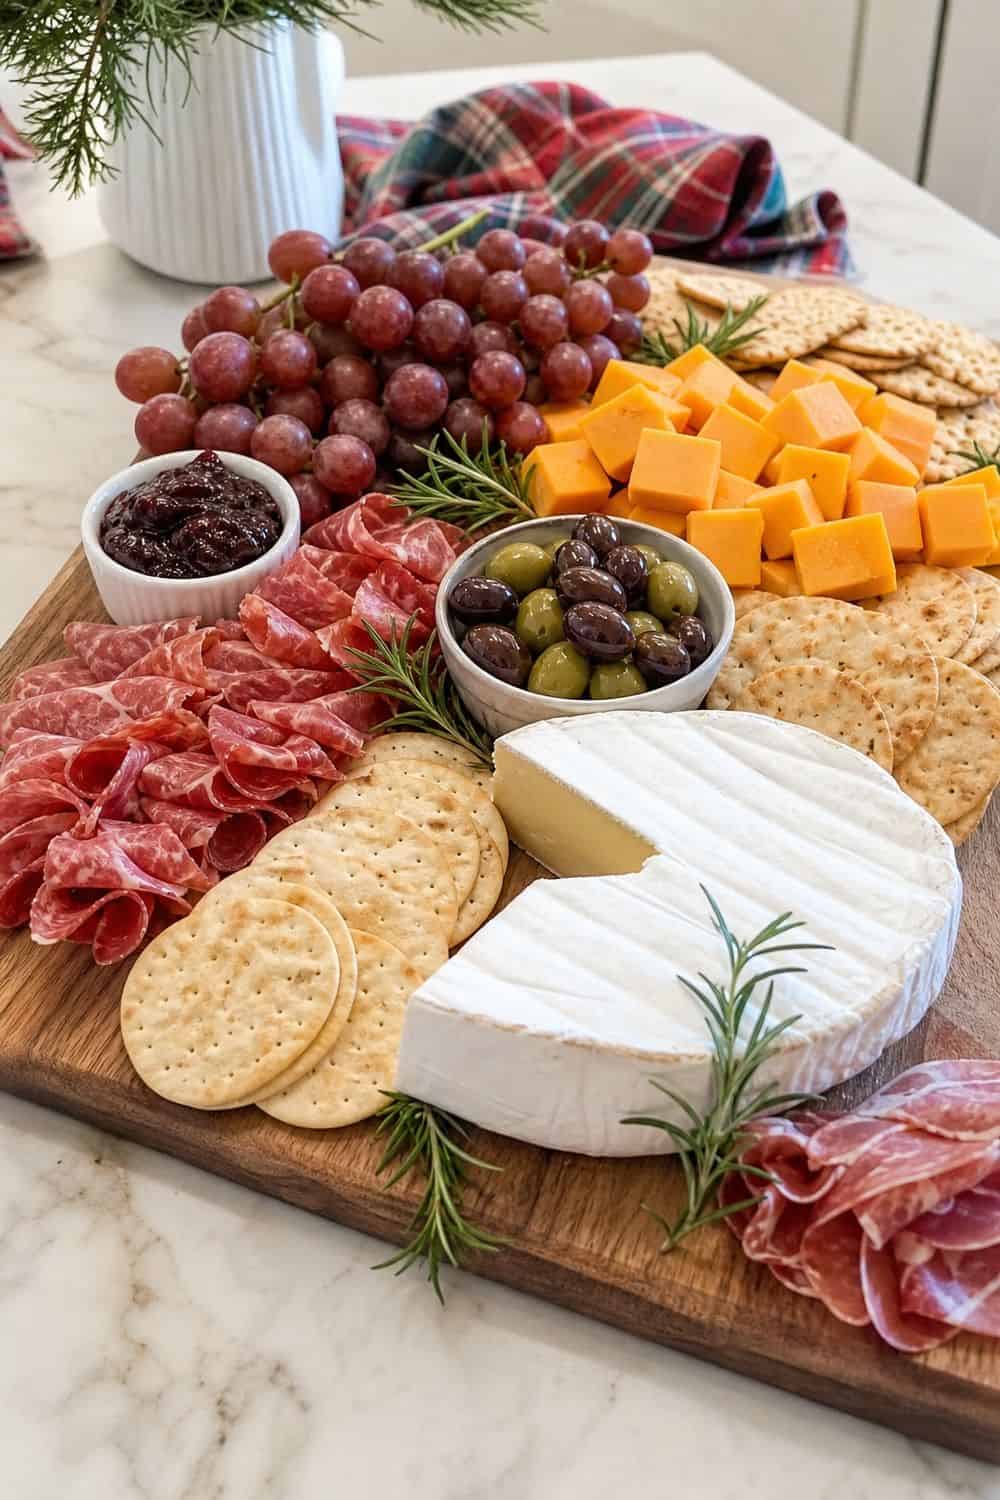
Herbs can give a holiday board that evergreen look, but they need to be food-safe and used with care. Rosemary, thyme, sage, and bay leaves are better choices than decorative holiday plants. Never place holly, mistletoe, poinsettia leaves, or unknown decorative greenery on food. Guests may not know what is safe, and the board should not require a botany lesson before anyone eats.
Use herb scissors to snip small pieces for garnish or keep larger sprigs at the edges for visual effect. The goal is scent and color, not pine-needle clutter across the cheese. If herbs are only decorative, place them under parchment edges or beside serving bowls rather than directly on damp foods. That keeps the board pretty and practical.
17. Label Cheeses and Allergens
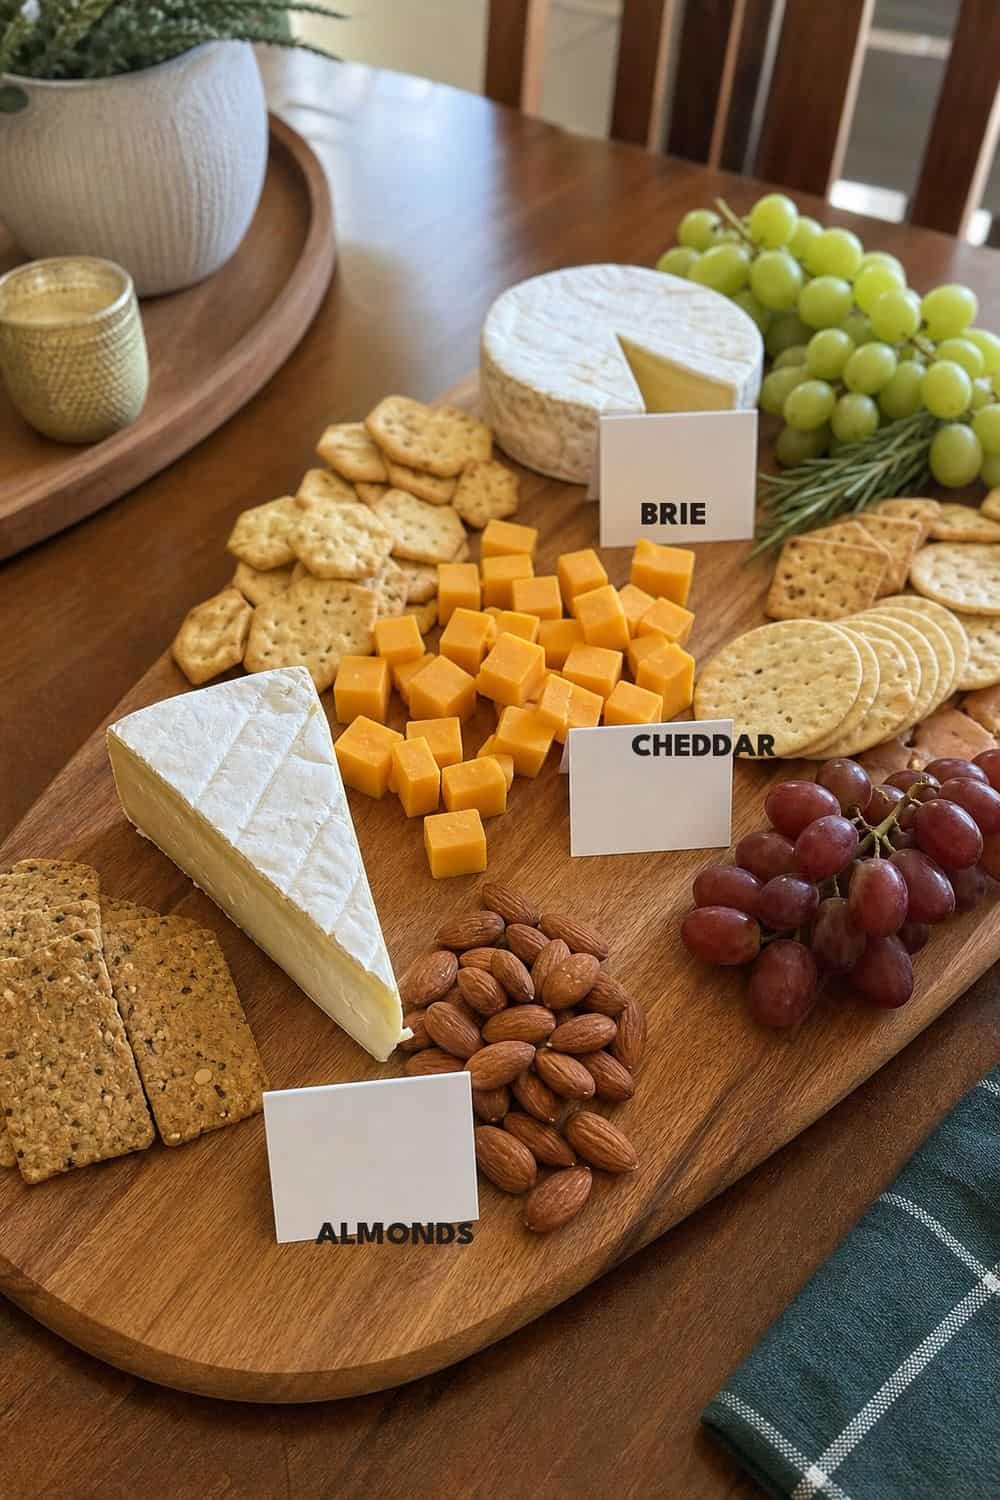
Clear markers make a crowded holiday board easier to use, especially when several pale cheeses look similar. Mark blue cheese, goat cheese, sharp cheddar, spicy items, nuts, gluten-free crackers, and vegetarian options. A cheese marker set keeps the labels small and readable without adding paper scraps all over the board.
Place markers where guests can see them before they reach. Allergen labels are not just polite. They help guests move through the board confidently and keep the host from answering the same question all evening. Place labels before the party starts, then check them after the first refill.
A marker that shifts into the wrong cheese can create more confusion than no label at all. Keep the wording short: cheddar, goat cheese, spicy, nuts, gluten-free, or vegetarian is enough. Tiny labels should guide guests quickly, not turn the board into a menu.
18. Slice Some Cheese Before Guests Arrive
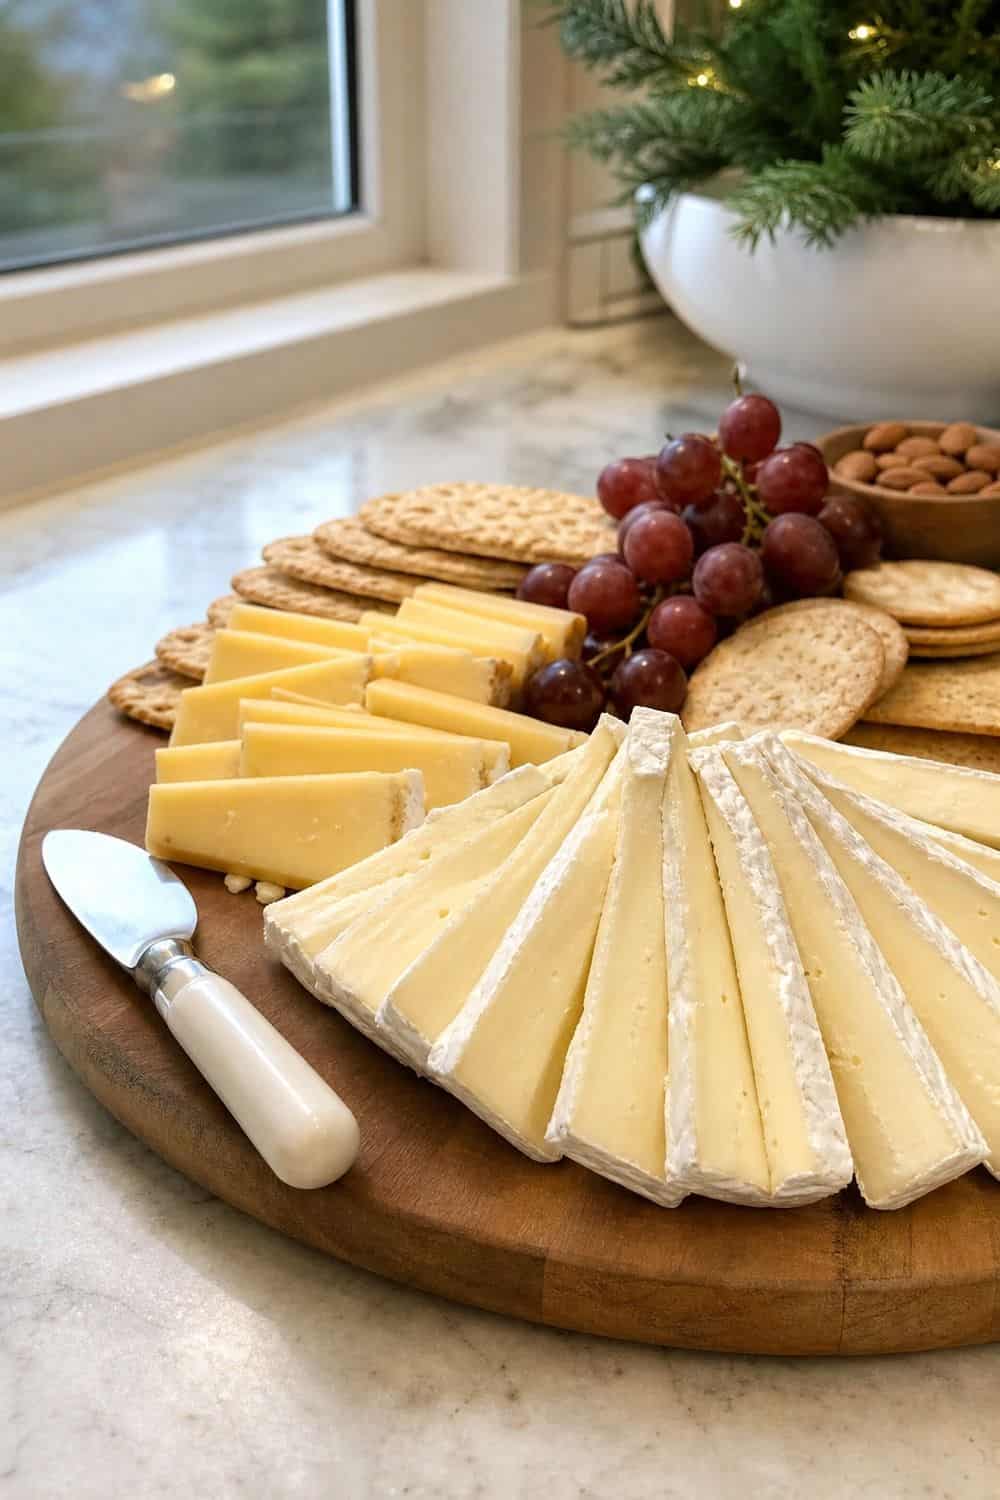
Guests are more likely to enjoy the board when the first few pieces are already started. Pre-slice hard cheeses, crumble a little blue cheese, and cut into soft cheese so nobody has to be the first person to disturb a perfect wedge. A wire cutter makes cleaner slices from cheddar, gouda, and other firm cheeses.
Thin pieces also stretch the cheese farther and fit better on crackers. Leave part of each cheese whole for visual abundance, then fan slices nearby. This gives the board height and makes serving easier at the same time. Do not pre-slice everything too early if the cheese will dry out. Cover and chill prepared pieces, then bring them to the board closer to serving.
19. Keep Crackers Off Until the Last Minute
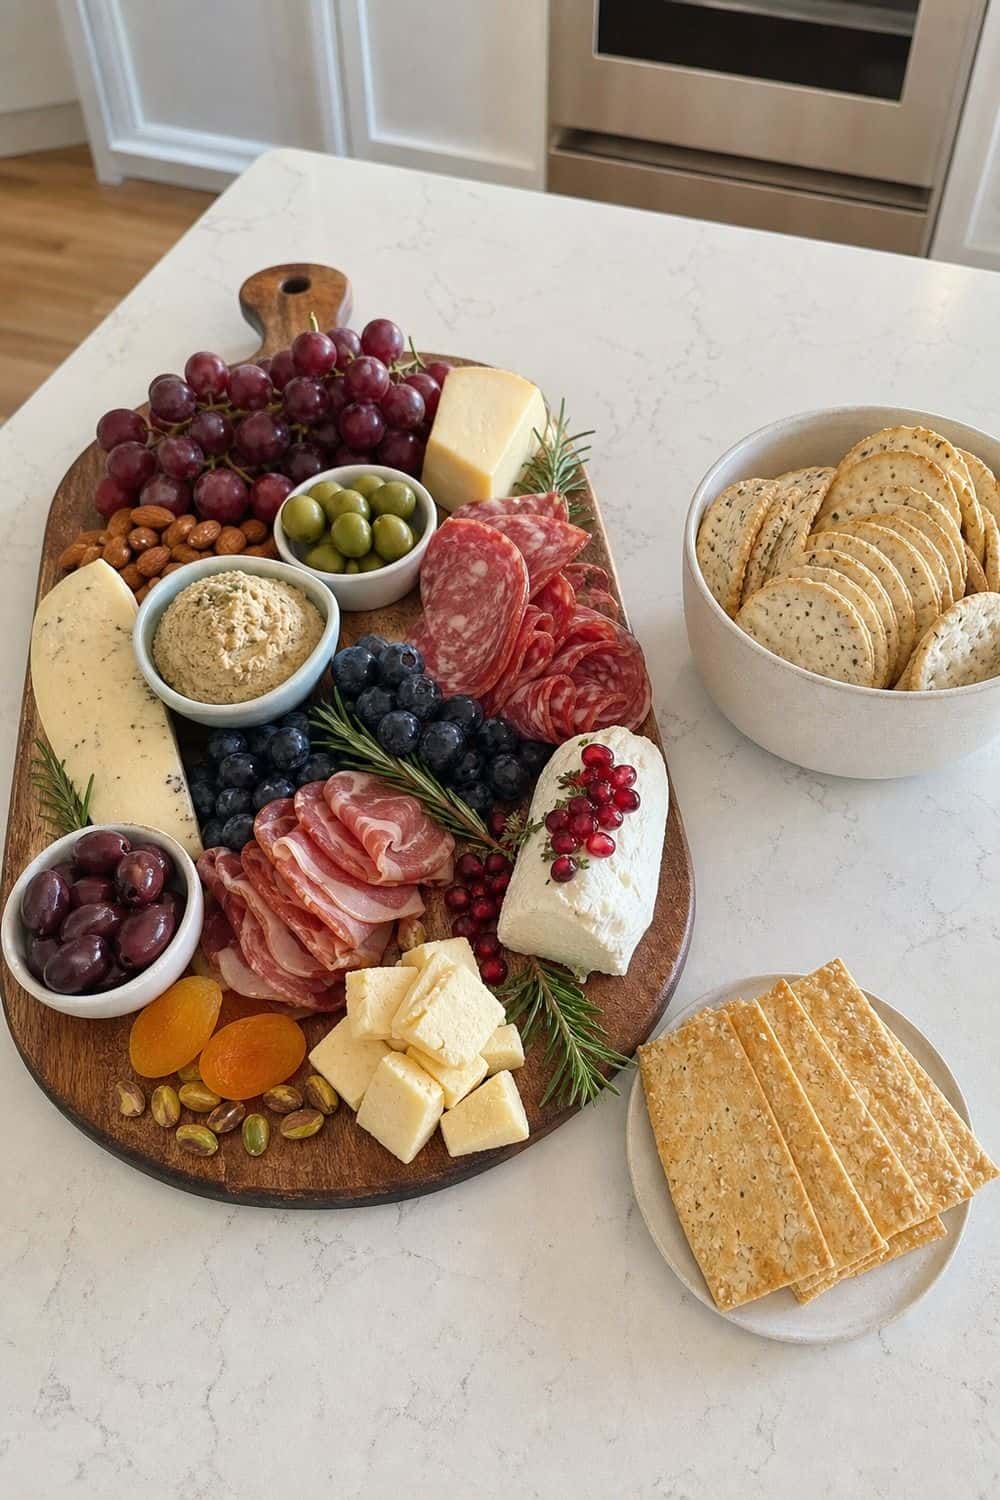
Crisp crackers are one of the easiest parts of a board to ruin by adding them too early. Build the cheese, bowls, fruit, and meats ahead, then add crackers, breadsticks, and nuts shortly before serving. An airtight container keeps backup crackers fresh for refills. This is especially useful if the board sits near a kitchen, fireplace, or crowded room where dry items soften faster.
Keep crackers away from olives, pears, citrus, and dips. Even a little moisture can turn a beautiful cracker row into a soft, broken edge. If you need a fully staged look early, use only a small cracker section on the board and refill from the container once people start eating. This is especially important if the board includes warm brie, juicy citrus, or olives. Those ingredients are delicious, but they are not friends with crackers over time.
20. Plan Backup Refills Instead of Overstuffing
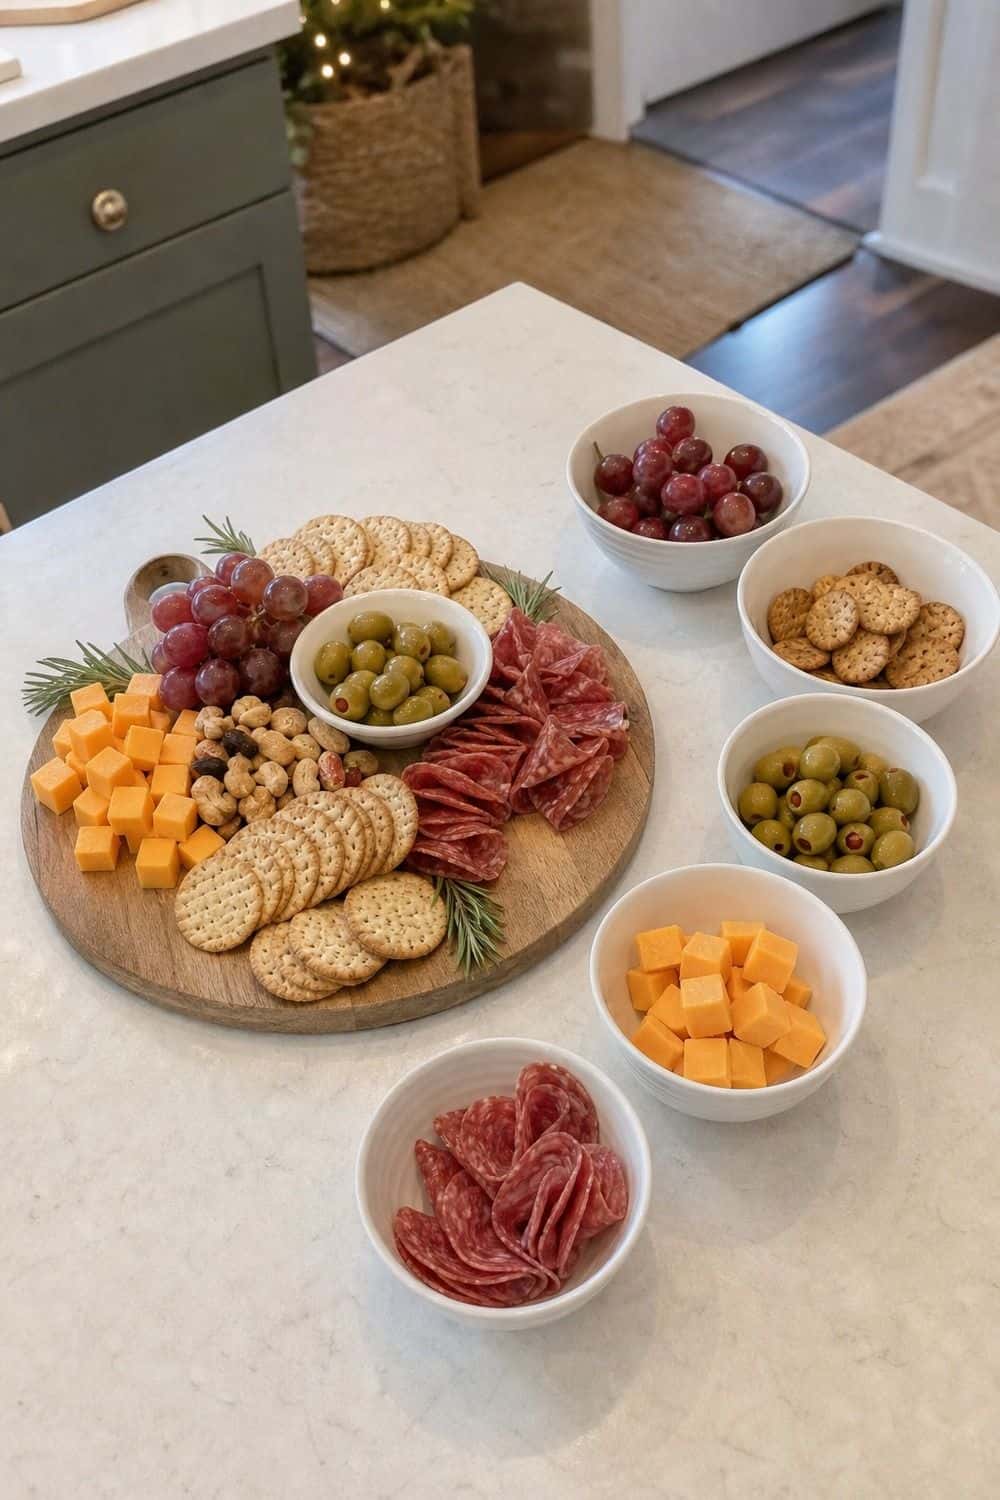
A board looks more inviting when it has room to breathe. Instead of piling every cracker, grape, and cheese slice onto the board at once, keep backup ingredients ready in the kitchen. Glass containers work well for prepped cheese, fruit, olives, nuts, and extra vegetables because you can see what needs refilling.
Label them if someone else may help during the party. Refill by section, not by dumping food into random gaps. Add fresh crackers to the cracker area, fruit to the fruit area, and cheese to the original cheese clusters so the board still makes sense. This approach also helps with food quality. Smaller amounts sit out at one time, while the backup food stays covered and fresher until needed.
21. Make a Small Budget Board

Budget-friendly boards do not need five premium cheeses and imported meats. For a small group, use cheddar, mozzarella, salami, grapes, crackers, olives, and one jam or mustard. A smaller board makes budget ingredients look generous because the surface is scaled correctly. Too much empty space on a huge board can make a perfectly good spread look sparse. Use repetition to create abundance.
Two clusters of grapes, two cracker rows, and a few cheese slices fanned neatly can look more polished than a random pile of extras. Spend where it matters most: one flavorful cheese, one good spread, and enough crackers. The rest can be simple grocery-store ingredients arranged with care. Skip tiny specialty packages if they blow up the cost. A few familiar ingredients arranged neatly will serve guests better than a board full of expensive items nobody recognizes.
22. Make a Kid-Friendly Appetizer Board
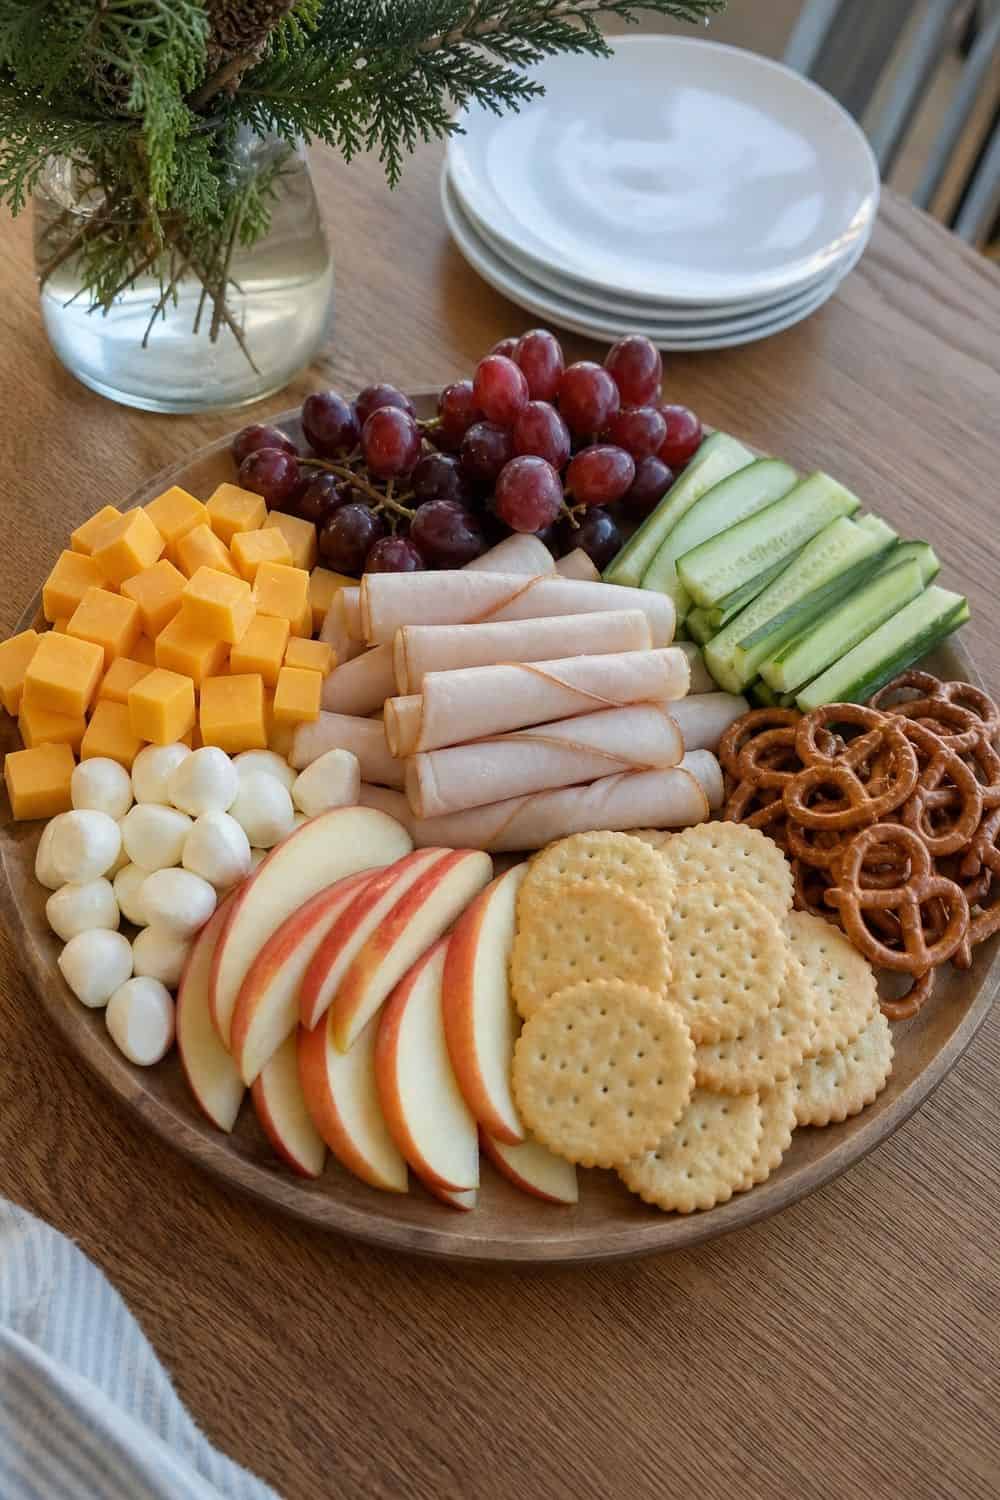
Family gatherings often need a section that younger guests can understand immediately. Use cheese cubes, crackers, pretzels, turkey slices, apple pieces, grapes cut safely for age, mini sandwiches, and one mild dip. A divided tray keeps kid-friendly foods recognizable and prevents strong olives, spicy mustard, or blue cheese from touching everything.
It also makes the section easier to move if children are eating at a separate table. Keep choking safety in mind with grapes, nuts, hard candies, and toothpicks. Cut foods appropriately for the children attending, and avoid sharp picks for very young guests.
This does not have to be a separate kids’ menu. It can be one clear corner that keeps the main board calmer for everyone. Place it low enough for adults to help children serve, but not somewhere toddlers can graze unattended. The board should support the room, not create a new traffic problem.
23. Add Serving Utensils for Every Wet or Shared Item
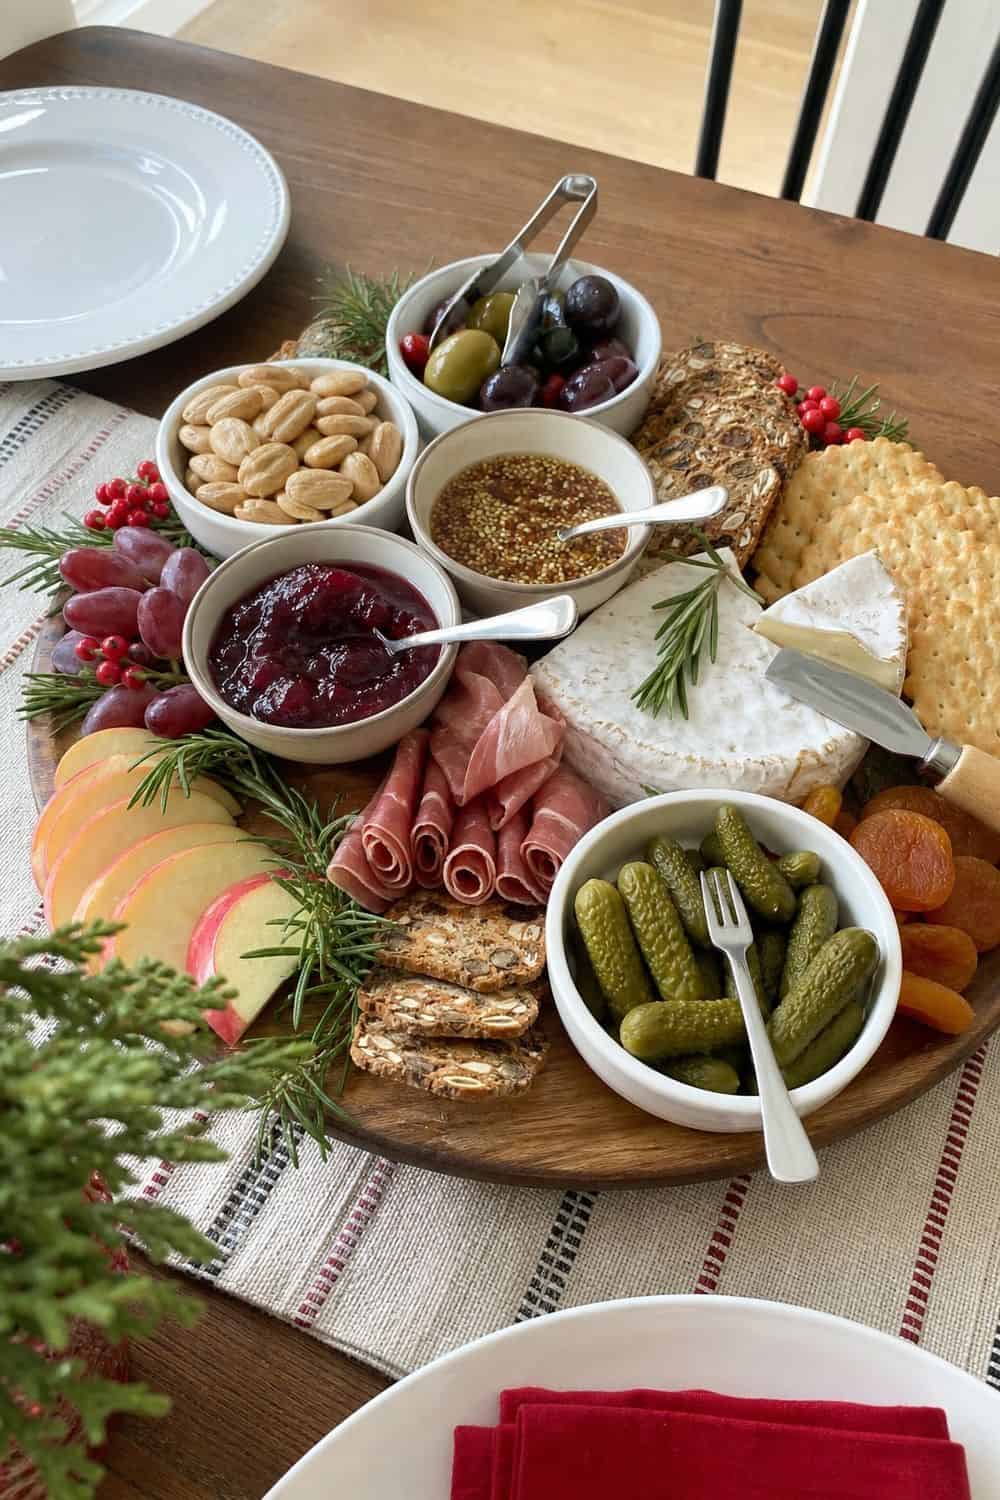
The board feels comfortable after the first five minutes only if every shared item has a tool. Pair tongs with meats and fruit, spoons with spreads, forks with olives, and knives with cheese. Mini tongs are especially helpful for shared items that guests might otherwise grab with fingers. Put the tool beside the food it belongs to so people do not have to search.
Wet foods need their own tools because they spread flavor and moisture quickly. A spoon from the mustard bowl should not end up in the fig jam or resting on crackers. Keep a small spoon rest or napkin nearby for sticky utensils. It protects the board and makes cleanup easier after the first serving rush. Set out extra napkins beside the wet items, not only at the start of the table. Guests notice when they can fix sticky fingers without leaving the board.
24. Place the Board Where Guests Can Reach Both Sides
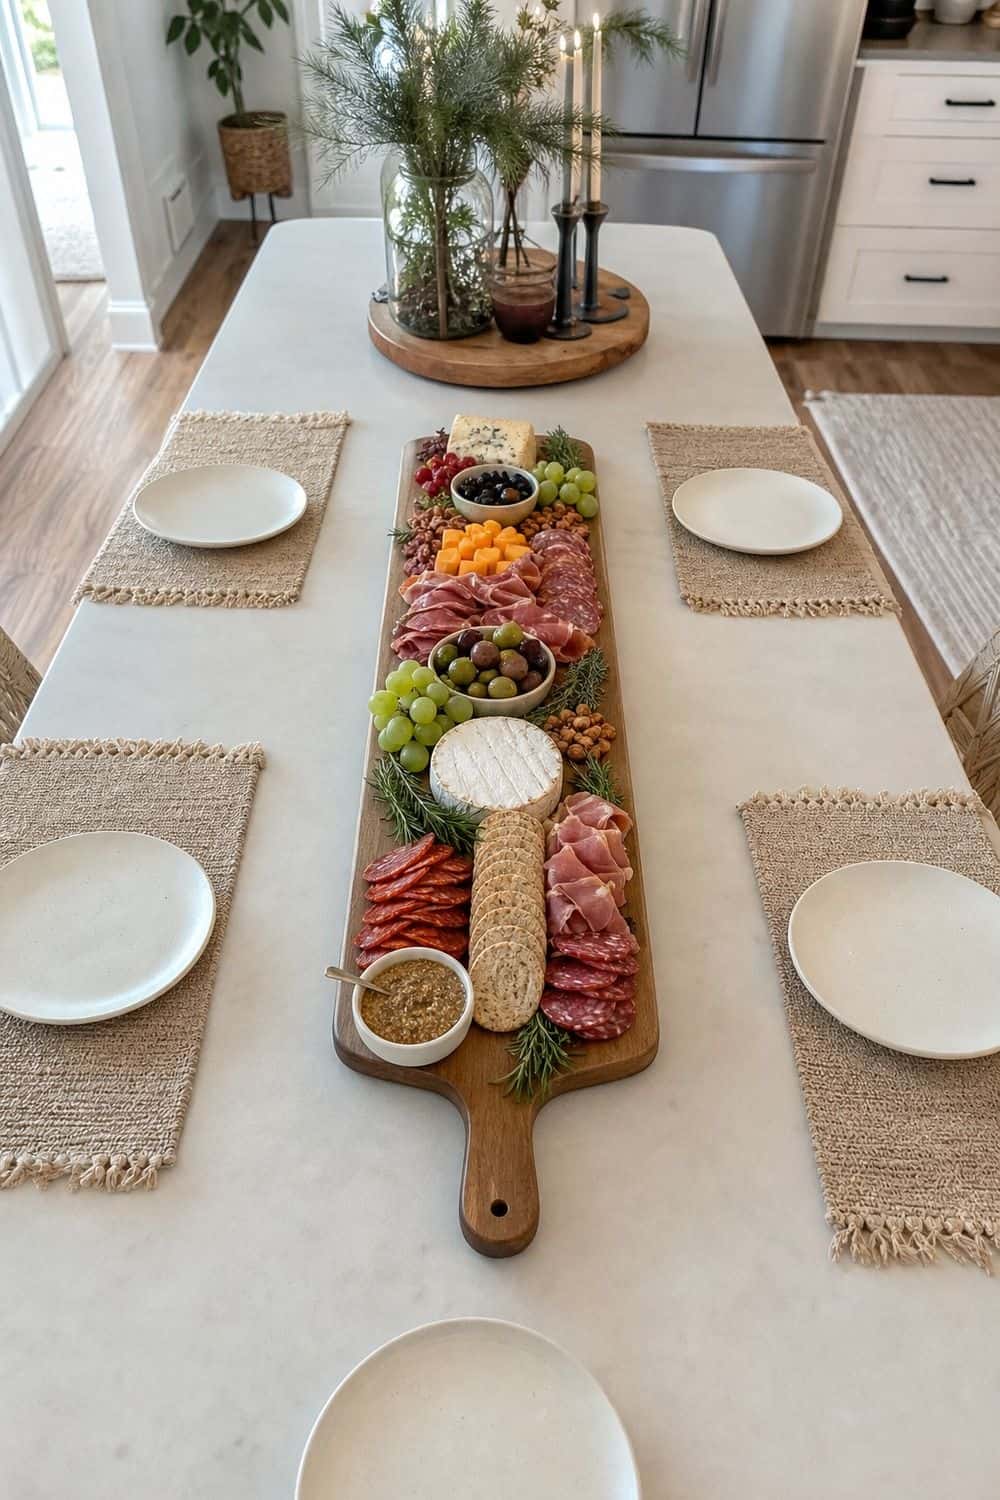
Even the prettiest board fails if guests can only approach it from one cramped corner. Place it on a table, island, or sideboard where people can reach from at least two directions. A riser can help make the board visible, but keep the main eating surface stable and easy to reach. Cheese knives, bowls, and tongs should not wobble every time someone serves themselves.
Put plates and napkins before the board and trash or a return spot after it. That traffic flow keeps guests moving instead of circling back through the food. If space is tight, split the board into two smaller trays: cheese and crackers on one, fruit and briny items on another. Guests will serve themselves more easily than they would from one crowded showpiece.
25. Pack Leftover Board Ingredients Into Snack Boxes
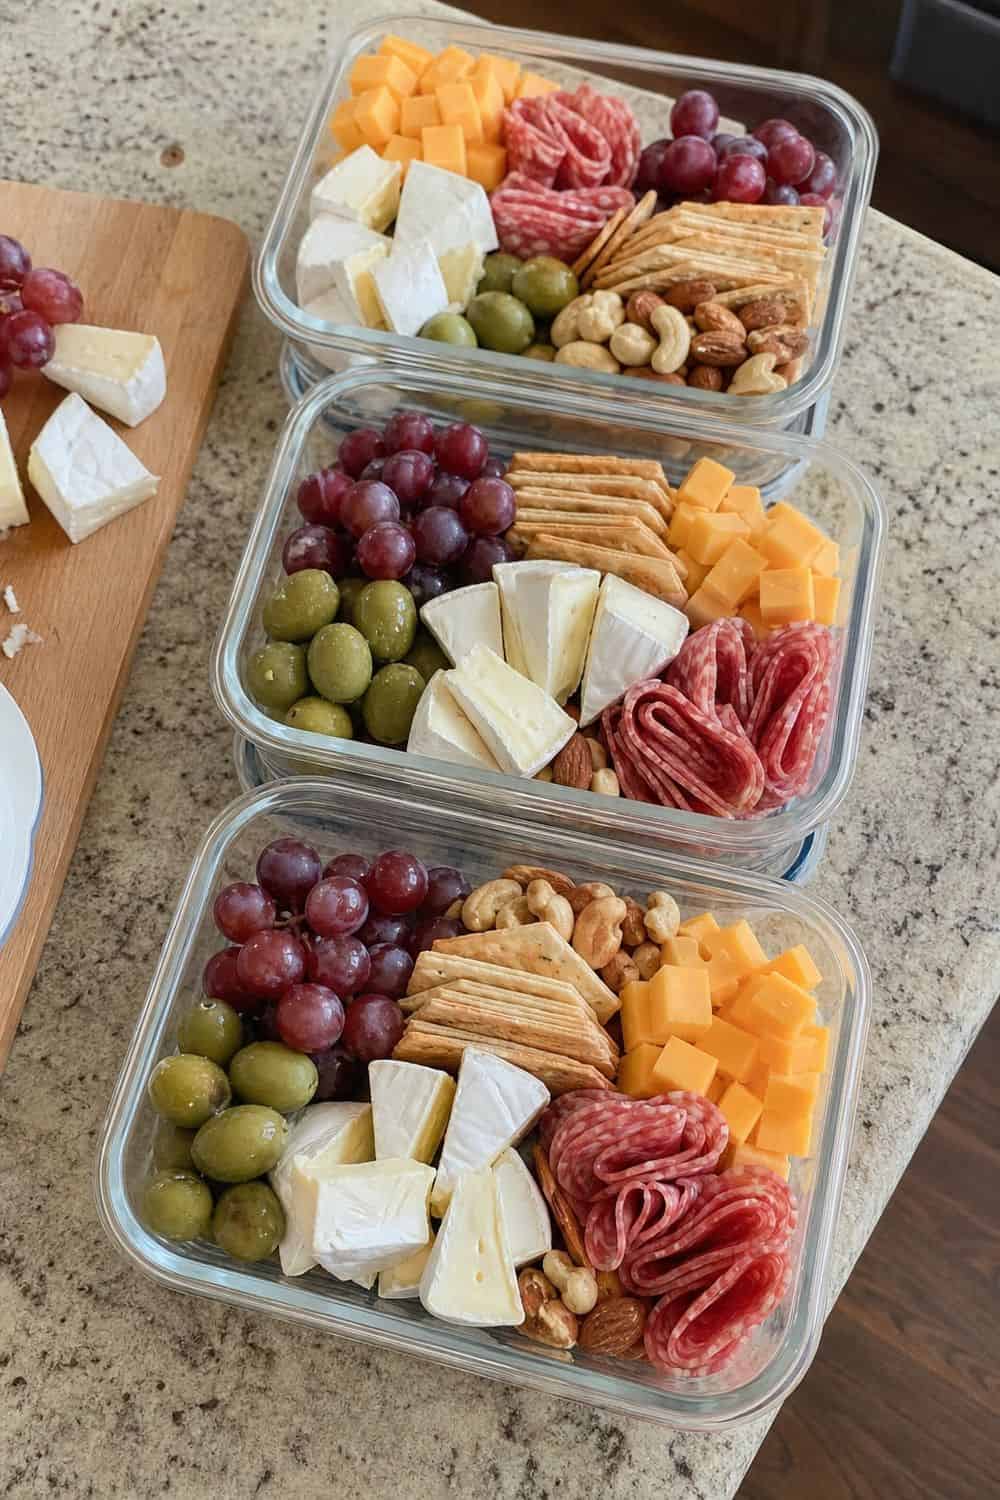
After the party winds down, save usable ingredients before they dry out, soften, or get mixed together. Pack cheese, crackers, fruit, nuts, and meats into separated snack boxes, using small containers or bento-style boxes so wet items do not ruin crisp crackers overnight.
Discard anything that has sat out too long, especially soft cheeses, meats, dips, and cut fruit. The cleanup moment is also a useful note for next time: if the brie, crackers, fruit, or salty snacks disappeared first, that is what your next board needs more of.
Tips for Building a Christmas Appetizer Board
A reliable board formula is cheese, protein, cracker, fruit, briny item, spread, nuts, garnish, tools, and refills. Once those jobs are covered, the board feels complete even if the ingredients are simple.
For a light appetizer, plan about 2 ounces of cheese per person. If the board is the main food before a casual gathering, increase the amount and add more protein, bread, vegetables, and refills.
Keep the festive look food-based. Safe herbs, cranberries used as garnish, grapes, pears, pomegranate, gold crackers, and labeled bowls do more for a Christmas board than unsafe greenery or loose ornaments touching food.
Frequently Asked Questions
What goes on a Christmas appetizer board?
A Christmas appetizer board usually includes cheese, cured meat or another protein, crackers, breadsticks, fruit, nuts, olives, pickles, spreads, safe herbs, labels, and serving tools. Add refills nearby so the board stays fresh.
How do you make a Christmas appetizer board look festive?
Use red, green, white, and gold foods such as grapes, rosemary, pears, brie, cheddar, pistachios, crackers, and small chocolates. Wreath and tree layouts also make the board festive without unsafe decor touching food.
How much cheese do I need for an appetizer board?
For a light appetizer, plan about 2 ounces of cheese per person. If the board is the main snack for a longer party, plan more cheese and add protein, crackers, fruit, and backup refills.
Can I make a Christmas appetizer board ahead of time?
Yes, you can place bowls, cheese, meats, and sturdy fruit ahead of time, then cover and chill as needed. Add crackers, breadsticks, nuts, and delicate garnishes shortly before serving so they stay crisp.
What are good vegetarian board ideas?
Good vegetarian board options include hummus, whipped feta, white bean dip, marinated vegetables, olives, nuts, fruit, cheeses, crackers, and deviled eggs if they fit your guests. Keep vegetarian items clearly labeled and away from cured meats.
What tools do I need for an appetizer board?
The most useful tools are a sturdy board, cheese knives, mini bowls, spoons, tongs, cheese markers, small plates, napkins, and backup containers. Tools matter because they keep the board neat once guests start serving themselves.
What should I avoid putting on a Christmas food board?
Avoid unsafe greenery, holly, mistletoe, poinsettia leaves, wet foods touching crackers, unlabeled allergens, food stacked too high, and soft crackers added too early. Keep anything decorative safe and clearly separate from food.
How do I refill a holiday board during a party?
Keep backup cheese, fruit, crackers, nuts, and meats prepped in containers. Refill one section at a time instead of overloading the board at the beginning, so it stays fresh and easy to use.
Final Thoughts
The best Christmas appetizer board ideas are festive because they are easy to eat from, not because they are overloaded. Build around cheese, protein, crackers, fruit, briny bites, spreads, safe herbs, labels, utensils, and refills, and your board will feel generous without becoming chaotic.
Last update on 2026-09-18 / Affiliate links / Images from Amazon Product Advertising API