
The best ice cream bar ideas start with a simple station order: bowls or cones first, ice cream next, sauces, crunchy toppings, fruit, whipped cream, cherries, and napkins at the end. Keep backup ice cream frozen, bring scoops out in small batches, label allergens clearly, and separate kids’ toppings from adult-only drizzles. A self-serve dessert table works best when guests can build quickly without the ice cream melting into a sticky mess.
An ice cream bar sounds like the easiest party dessert until the first tub starts melting, the caramel spoon disappears into the sprinkles, and guests are trying to balance cones, bowls, sauces, and napkins in the wrong order. The fun part is the toppings, but the success of the table usually comes down to flow.
Good ice cream bar ideas make the dessert feel playful without asking the host to manage every scoop. A few base flavors, clear topping zones, small-batch refills, allergy labels, and a cleanup station can turn store-bought ice cream into a dessert table that works for birthdays, patios, summer parties, ice cream socials, and low-effort nights with friends.

Top Recommended Products


You Might Also Like These Blog Posts
- Pool Party Snack Ideas
- Summer Picnic Party Hosting Ideas
- Summer Dinner Party Menu
- Garden Party Food Ideas
- Fourth of July Party Hosting Ideas
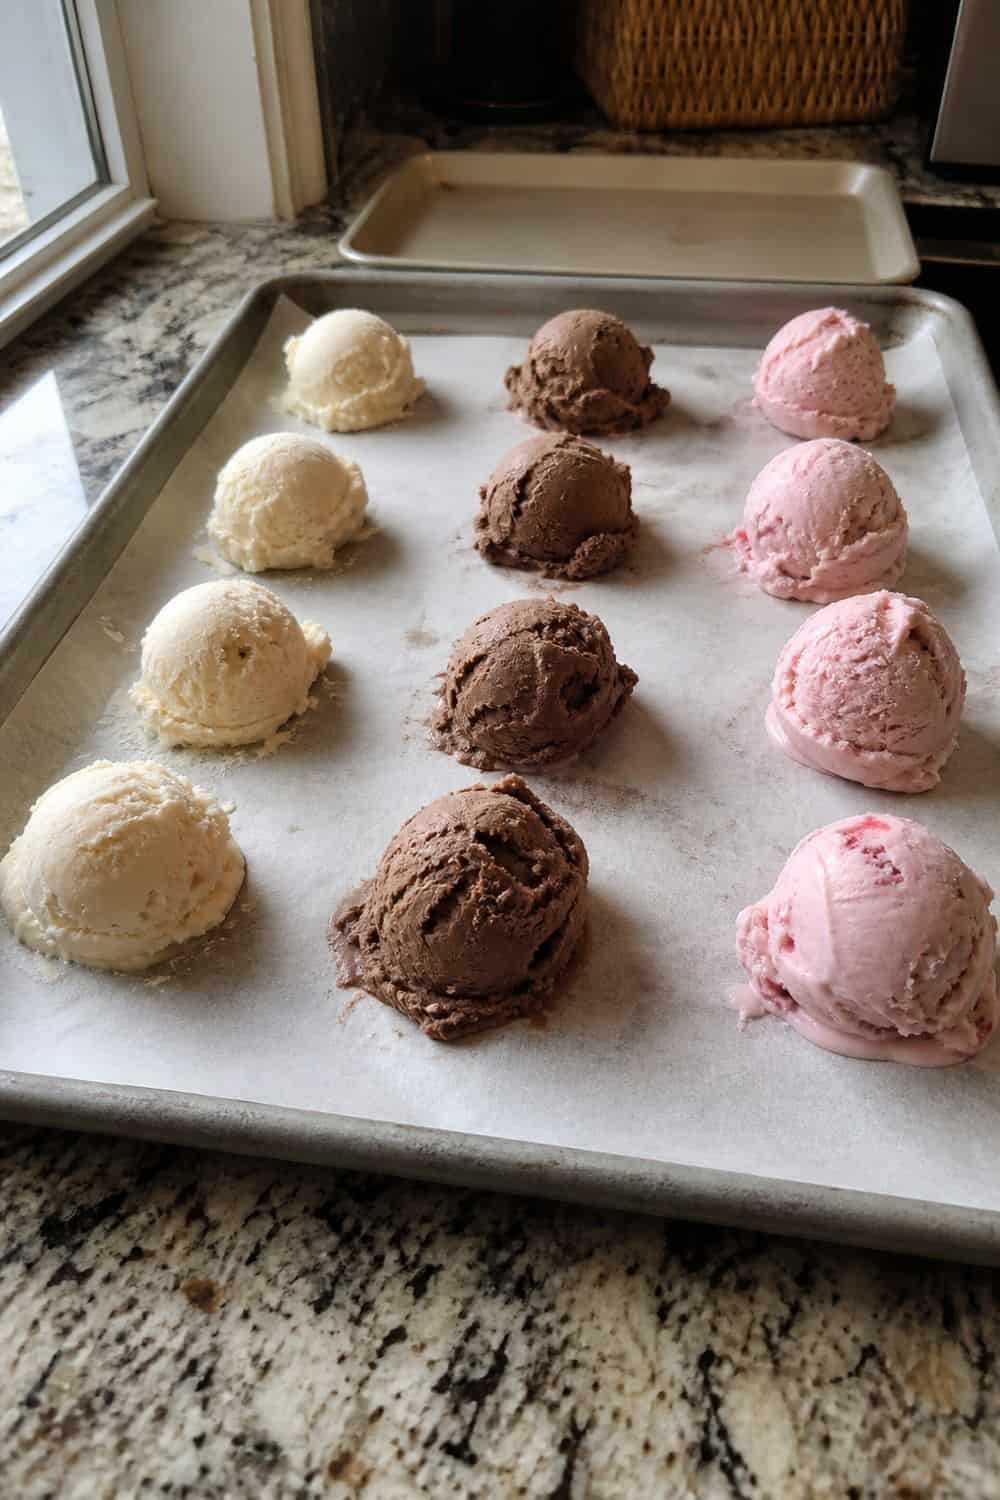
1. Pre-Scoop Ice Cream Onto a Frozen Sheet Pan
Pre-scooping is one of the easiest ways to make an ice cream sundae bar feel calm instead of chaotic. Scoop the ice cream onto a parchment-lined pan, freeze the scoops until firm, then bring out only what you need when dessert starts. Guests can grab a scoop quickly without digging through a hard tub.
This works especially well for kids’ parties, small kitchens, and outdoor dessert tables where speed matters. Keep backup scoops frozen until the first tray runs low. The mistake to avoid is setting out all the scoops too early, because even tidy pre-scooped ice cream still needs cold holding.
2. Keep Backup Tubs in an Insulated Cooler
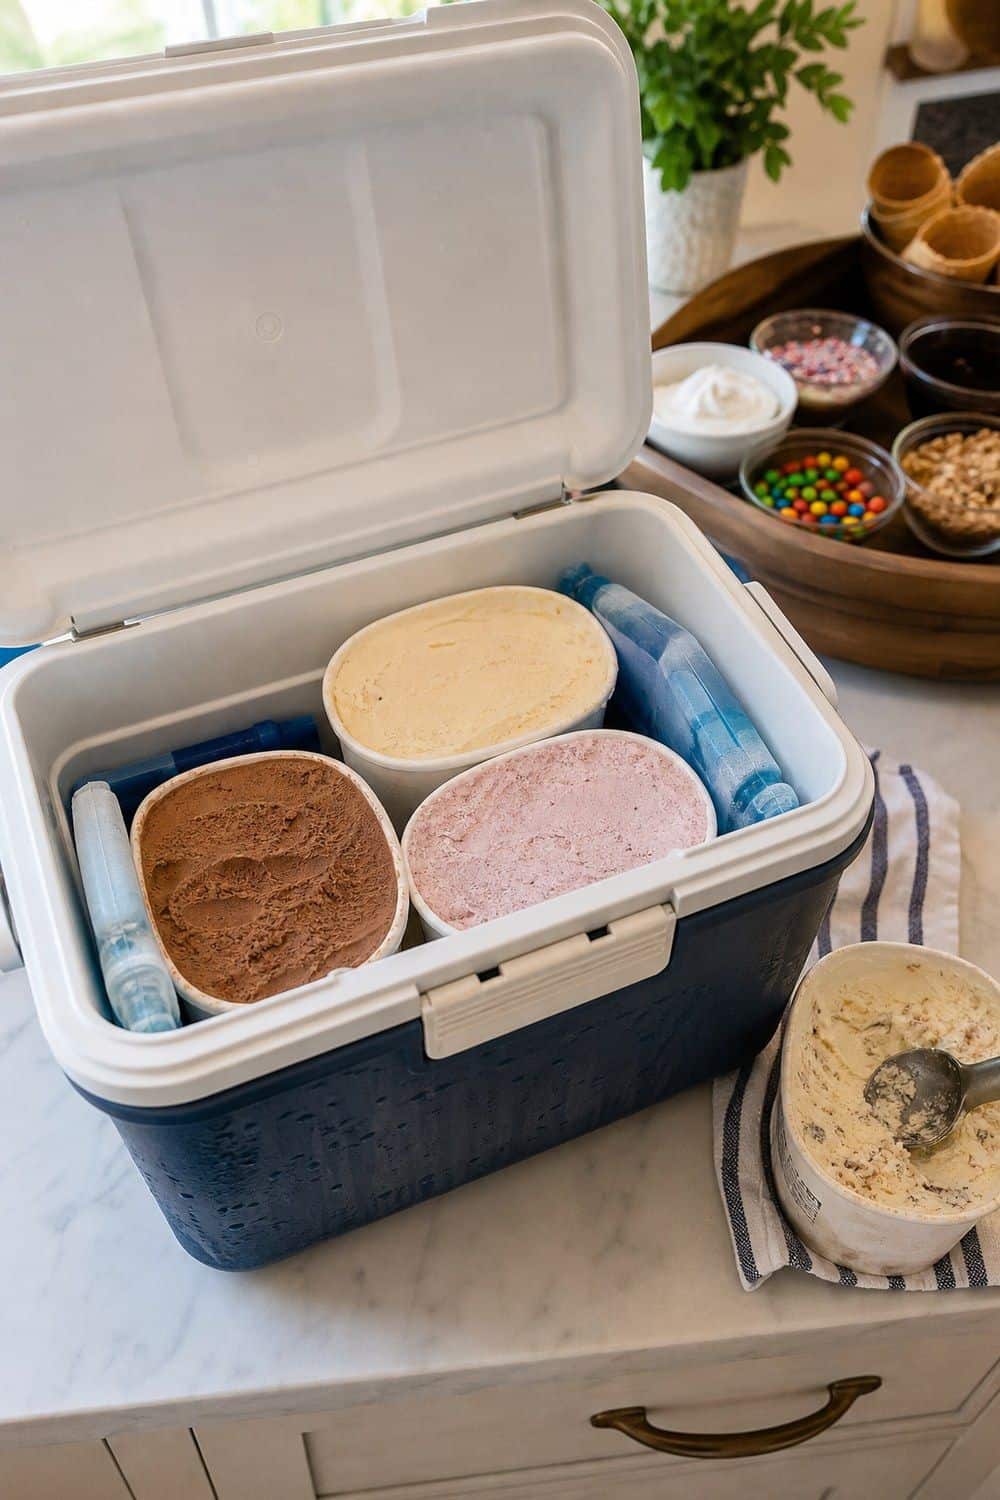
A good DIY ice cream bar does not need every tub on display at once. Keep one working container or tray at the station and hold the backup flavors in the freezer or an insulated cooler. This keeps the table cleaner and gives you a way to replenish without letting the whole dessert plan soften at the same time.
Block ice or very cold packs can help for short holding, especially outdoors, but the safest plan is still small-batch serving. If dry ice is ever used, it needs careful handling and clear separation from food and guests. For most home parties, a freezer plus a cooler rhythm is easier and safer.
3. Offer Three Crowd-Pleasing Base Flavors
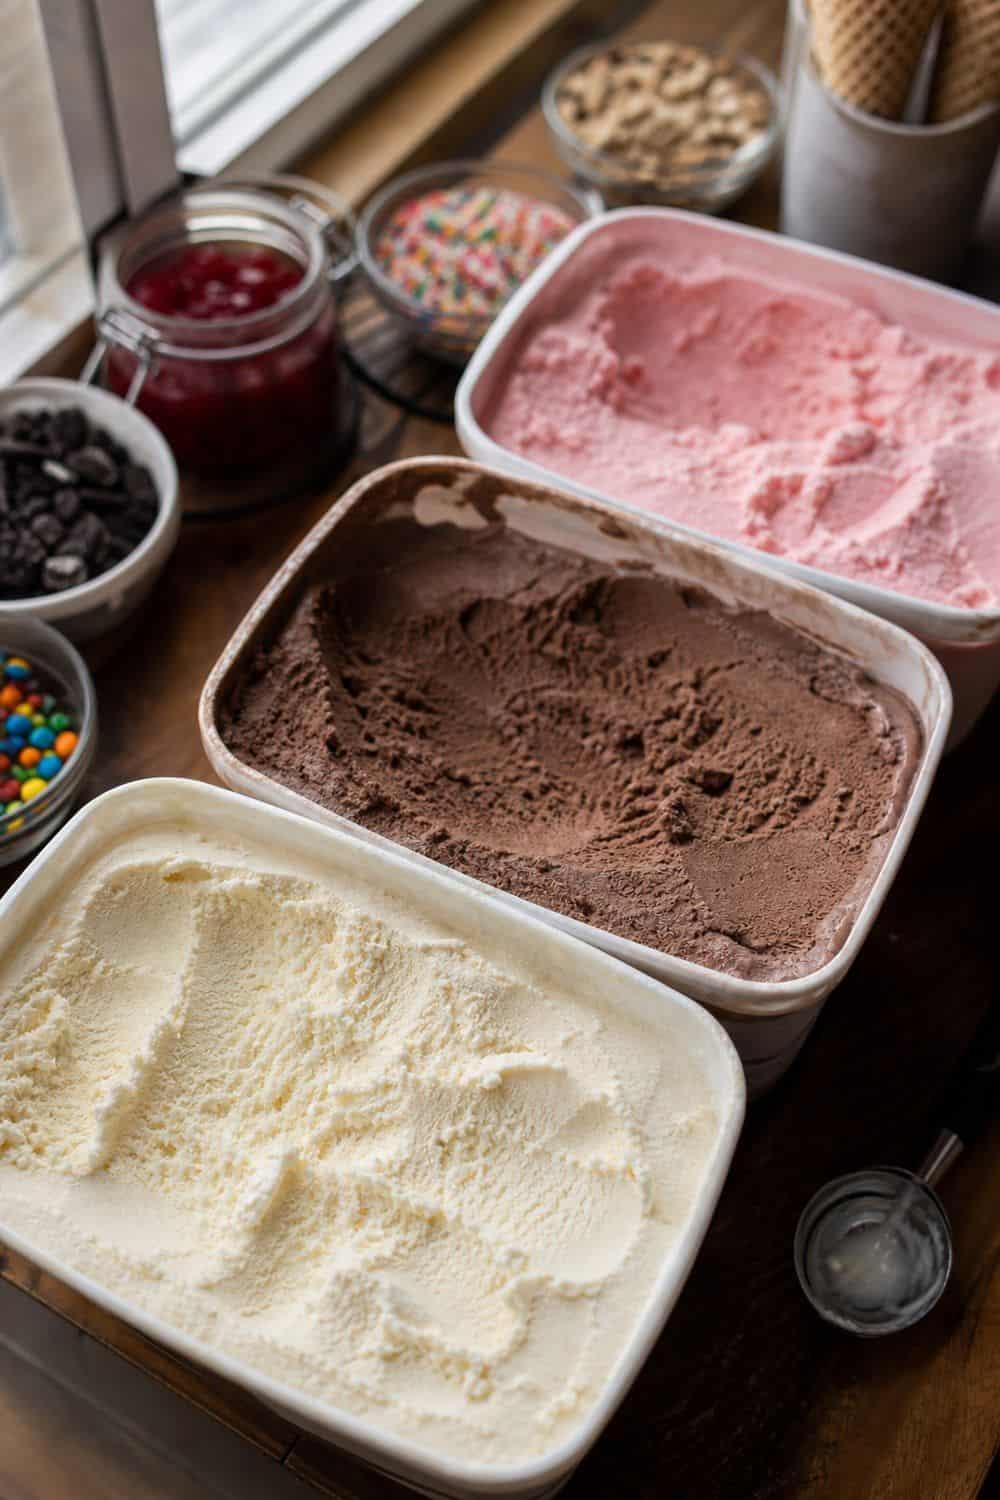
Three base flavors are usually enough for a self serve dessert table. Vanilla, chocolate, and one fruit or specialty flavor give guests plenty of room to play with toppings without turning the frozen section into a crowded freezer aisle. Fewer flavors also mean less melting and fewer mystery scoops.
Add a dairy-free option or sorbet as a fourth flavor if guests need it, and label it clearly. The mistake to avoid is offering too many pints and making everyone slow down at the ice cream step. The faster guests choose their base, the better the station flows.
4. Create a Classic Sundae Topping Row
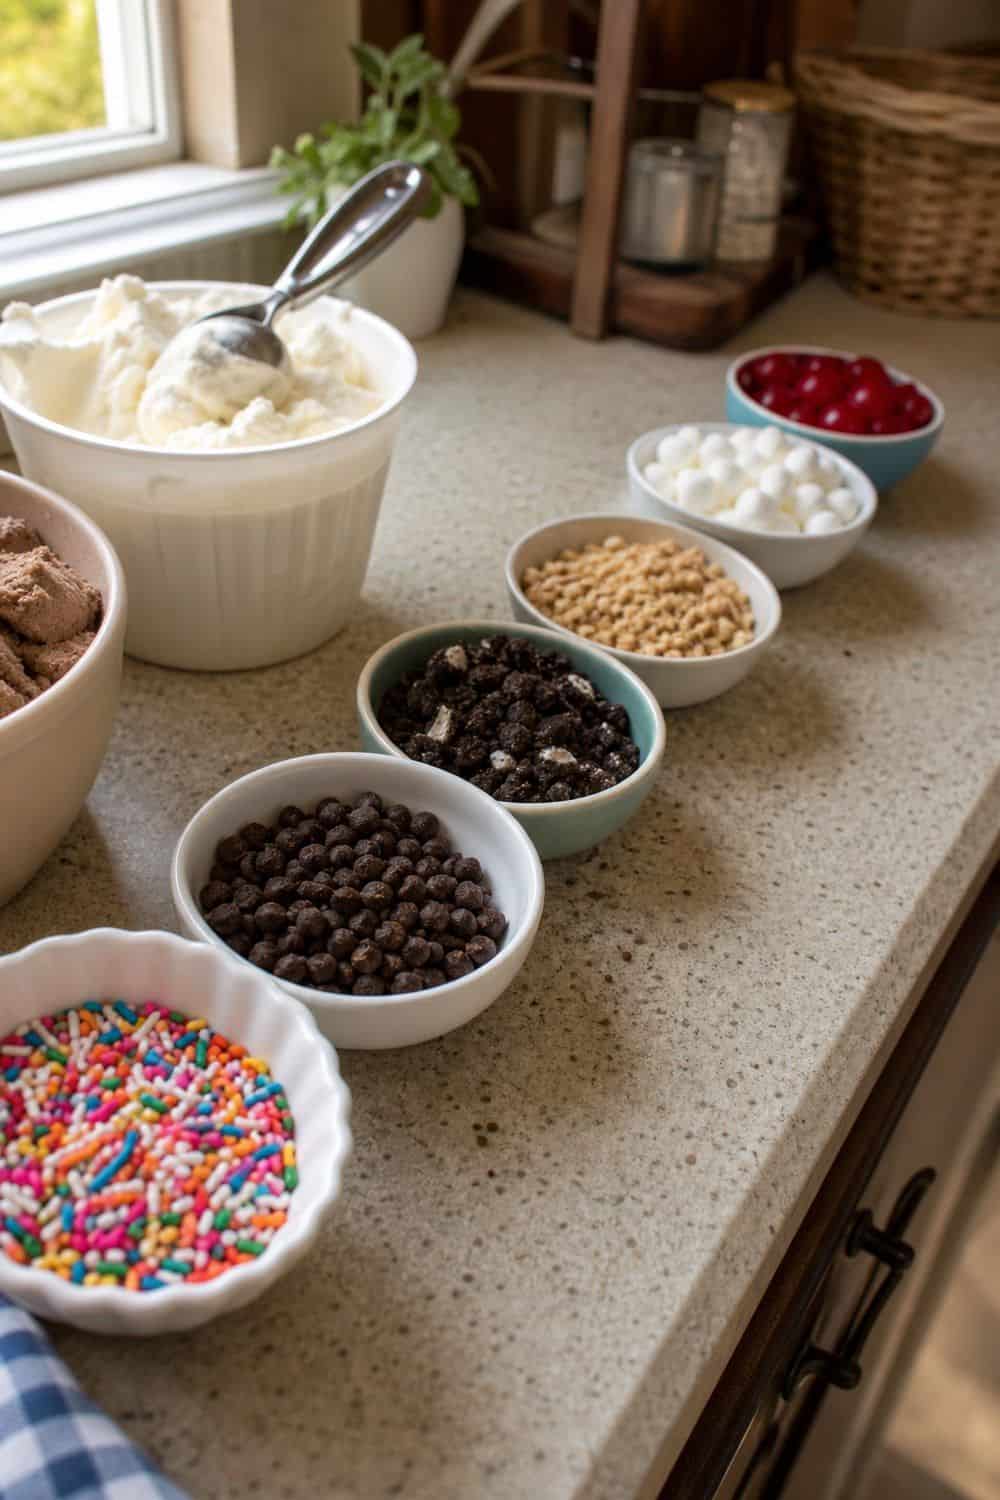
A classic topping row tells guests immediately what kind of party this is. Sprinkles, mini chocolate chips, crushed cookies, chopped peanuts, marshmallows, and cherries bring the nostalgic ice cream topping bar feeling people expect from a sundae table. Arrange the jars in a visible line with small spoons so guests do not have to hunt. Keep wet toppings separate from dry ones, and keep nuts clearly labeled. The mistake to avoid is mixing textures together too early, because crunchy toppings lose their appeal once they sit in syrup or condensation.
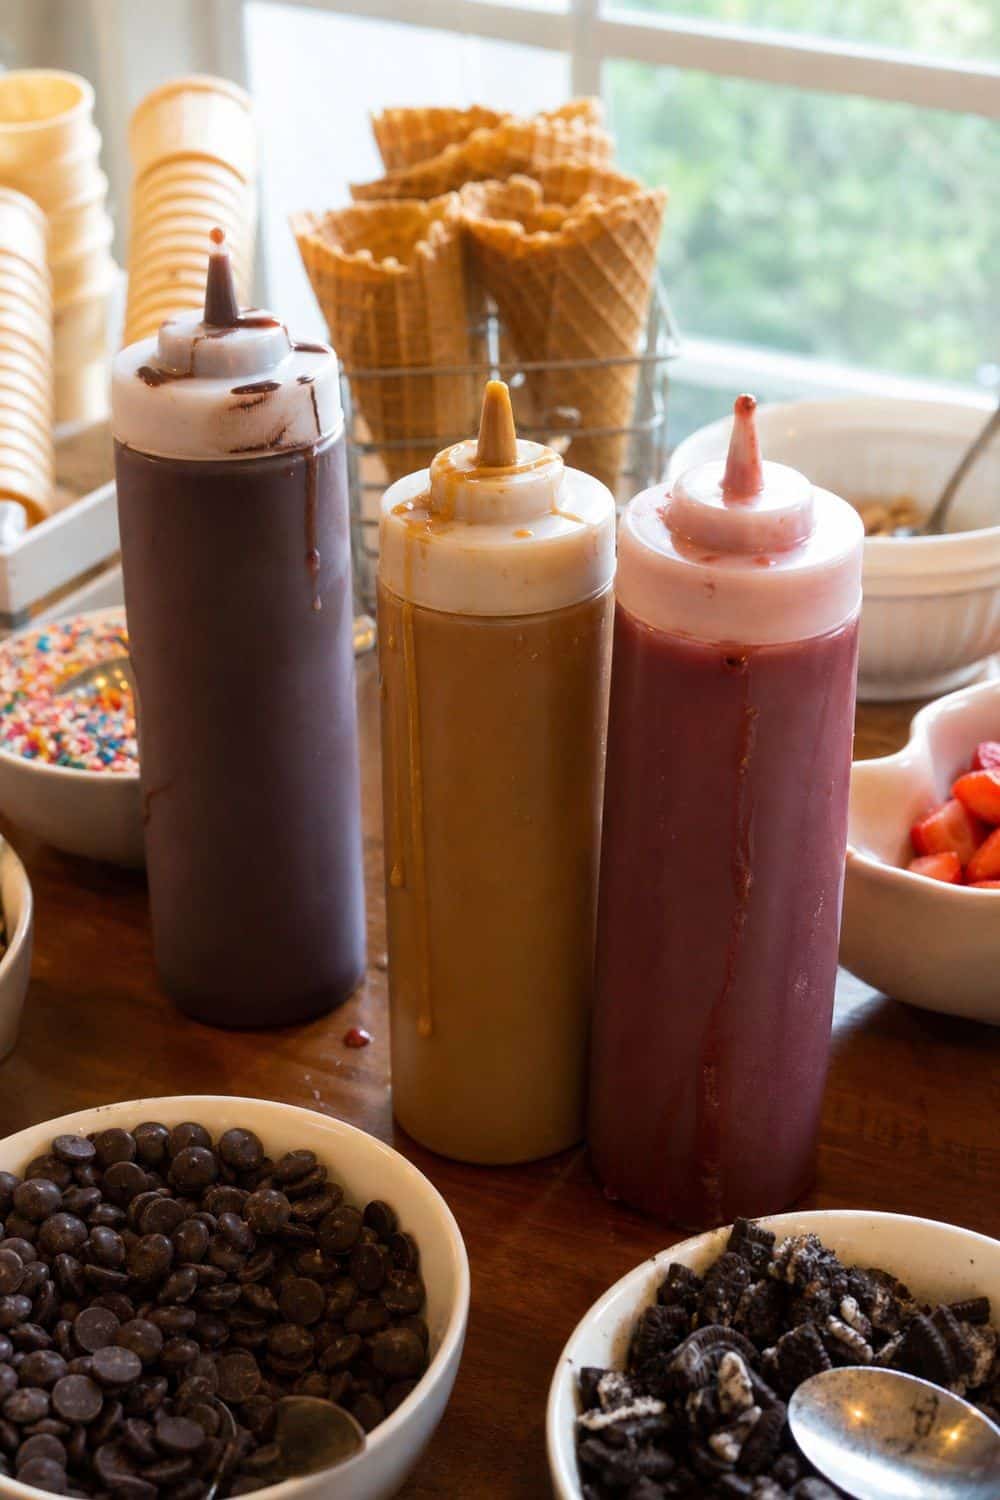
5. Use Squeeze Bottles for Chocolate and Caramel
Squeeze bottles make sauces easier for guests to manage, especially when kids are serving themselves. Chocolate, caramel, strawberry sauce, and dairy-free sauce can each have a labeled bottle, which keeps the table cleaner than open jars with sticky spoons. Set sauces after the ice cream and before crunchy toppings so guests build in a logical order. If a sauce needs warming, handle that separately rather than assuming it will stay warm on the table. The real advantage here is control: smaller drizzles, fewer spills, and less sauce running across the dessert table.
6. Set Up a Warm Sauce Thermos
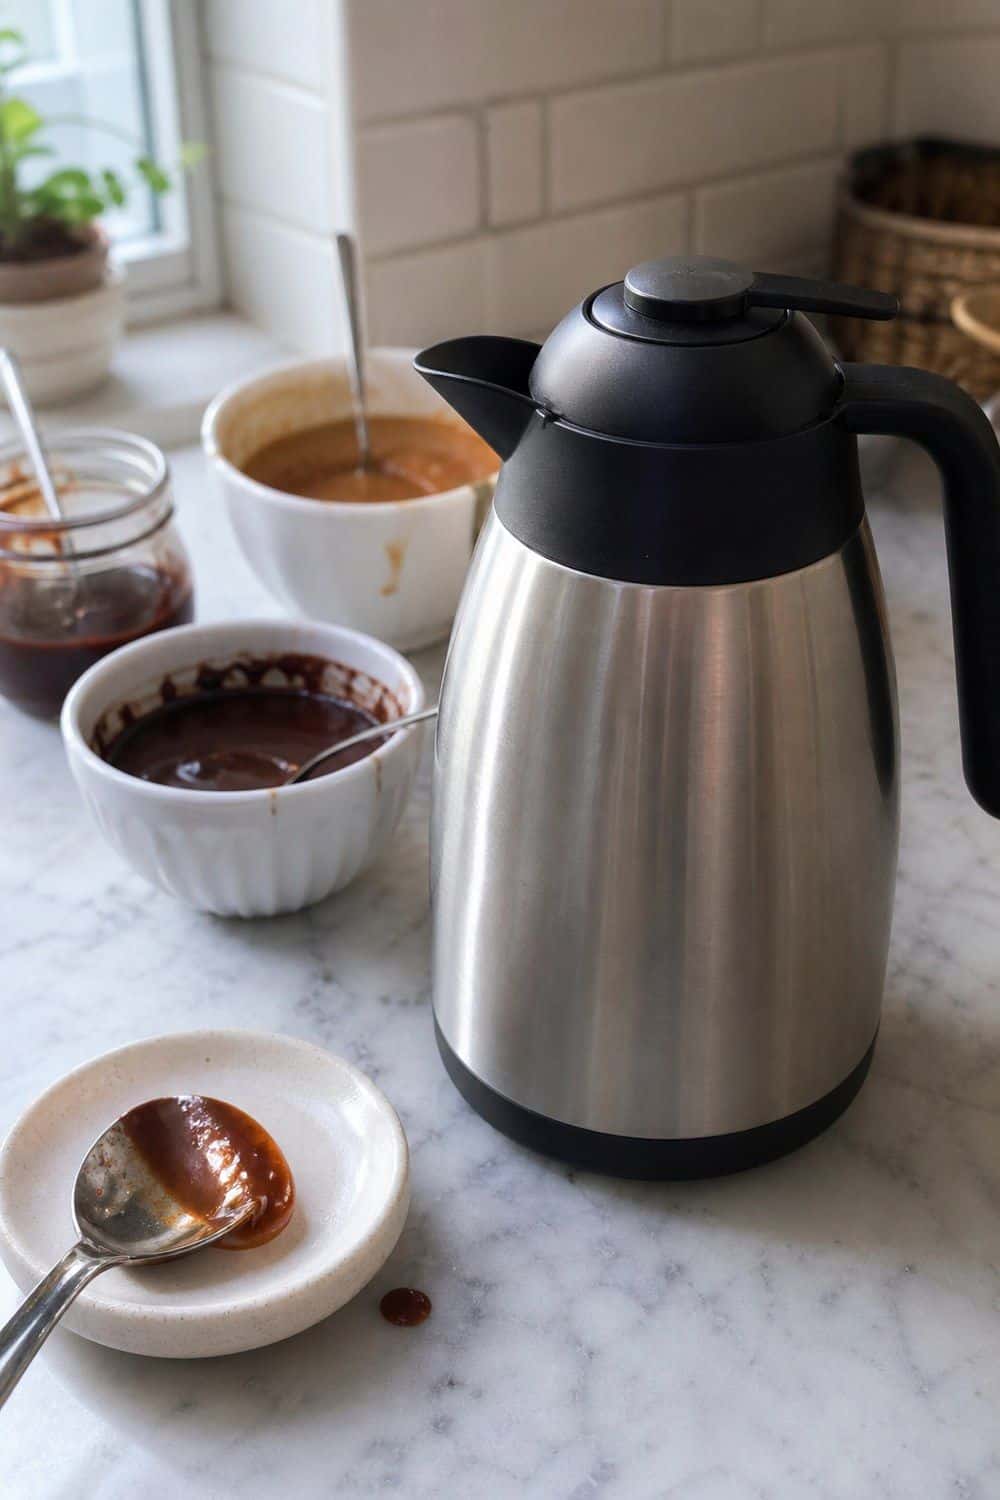
A warm sauce thermos is a smart upgrade when you want hot fudge or caramel without keeping a pot on the stove. Put it near the other sauces, not directly beside the ice cream, so the frozen section stays cold and guests understand that this is a finishing drizzle.
Use small amounts and refill as needed instead of filling a giant vessel that sits out too long. The mistake to avoid is letting warm sauce become the bottleneck. Keep the opening easy, the label clear, and the portion small enough that guests can serve themselves quickly.
7. Add a Cookie Crumble Bowl
Cookie crumbles make even plain vanilla feel like a composed dessert. Oreos, graham crackers, shortbread, wafer cookies, gingersnaps, or gluten-free cookies all give guests an easy crunchy layer that works with chocolate, fruit, caramel, and whipped cream.
Keep the pieces small enough to spoon but not crushed into dust. If you are offering gluten-free cookies, keep them in a separate labeled bowl with their own spoon. The mistake to avoid is setting them beside wet fruit or sauce where crumbs turn soft before anyone gets to them.

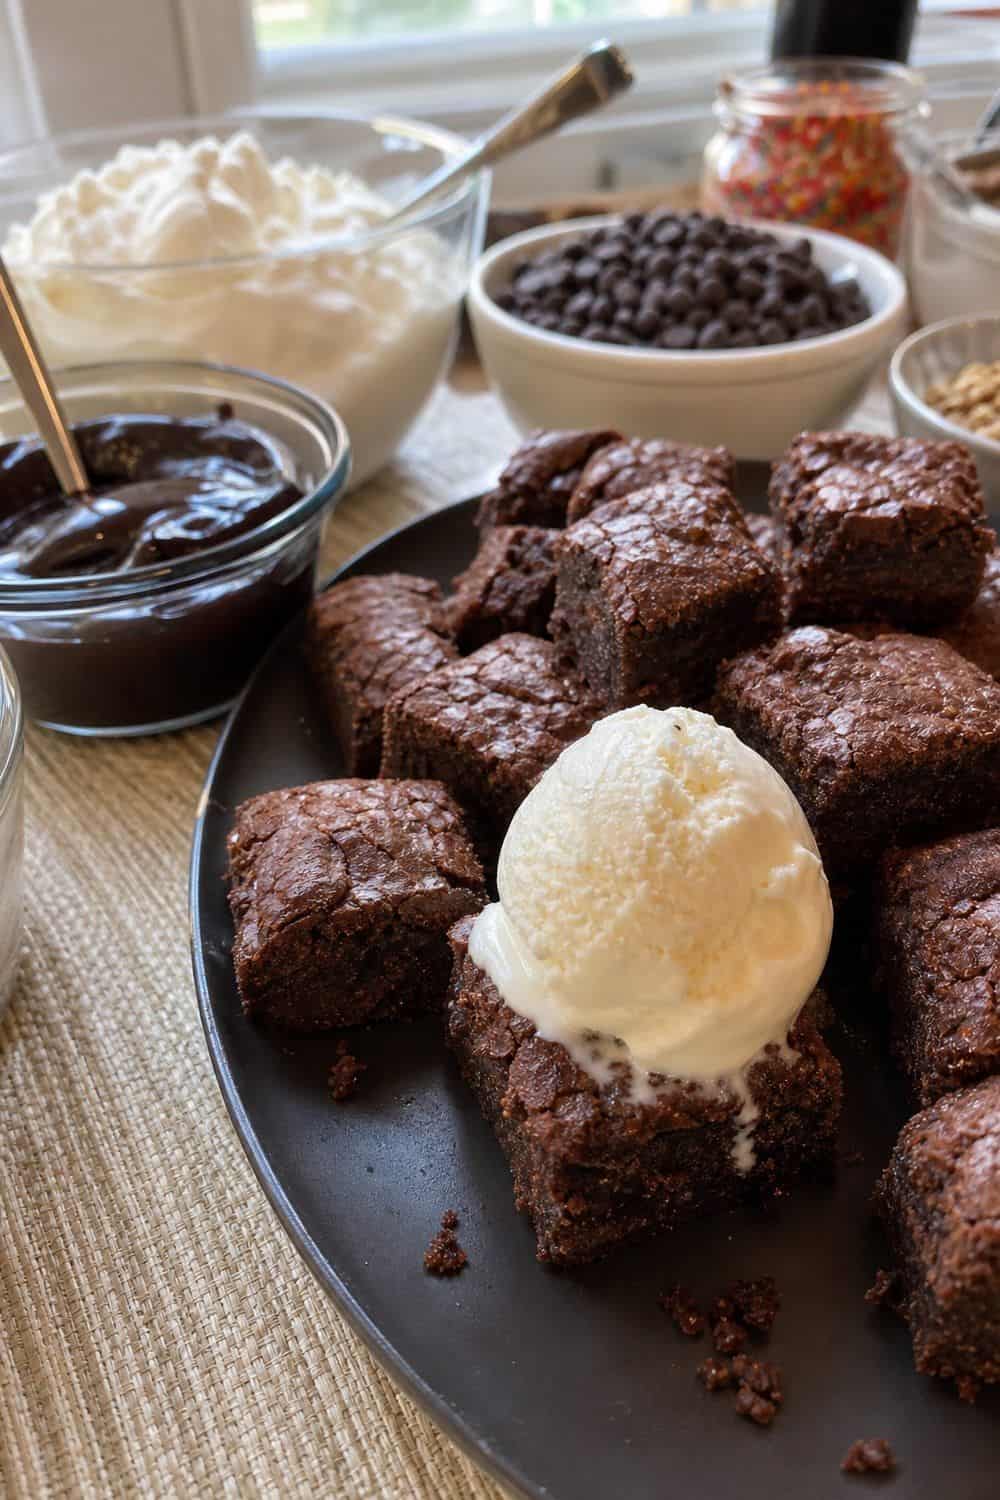
8. Serve Brownie Bites as a Sundae Base
Brownie bites turn the ice cream bar into something more dessert-table worthy without adding much work. Guests can put a scoop over a brownie bite, tuck one on the side, or build a tiny brownie sundae with fudge, whipped cream, and cherries. Bite-size pieces are much easier than full brownies on a self-serve table because they do not require cutting, knives, or messy hands. The mistake to avoid is making the pieces too large. Small brownies let guests add richness without turning every bowl into a huge serving.
9. Add Fresh Berry Bowls
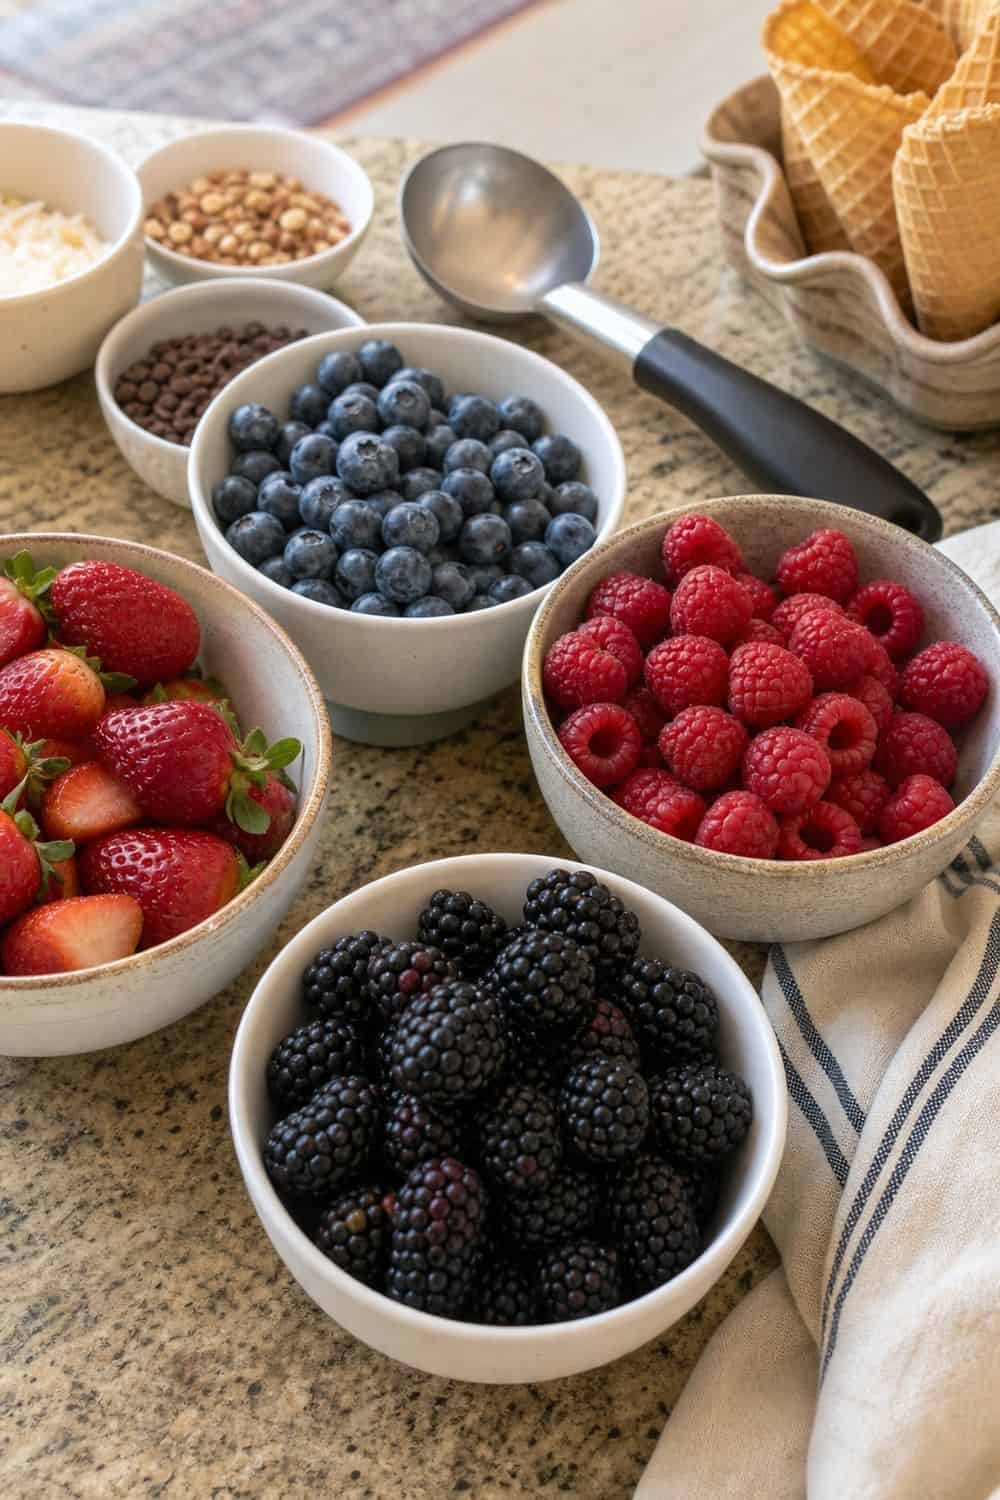
Fresh berries bring a lighter option to a table full of candy and sauces. Strawberries, blueberries, raspberries, blackberries, or sliced peaches make the sundae bar feel more summery and give guests a topping that works with vanilla, chocolate, fruit sorbet, and whipped cream.
Wash fruit ahead, then drain and dry it well so it does not water down the ice cream. Keep berries in smaller bowls and refill as needed, especially outside. The mistake to avoid is putting wet fruit directly beside dry toppings, where juice can spread quickly.
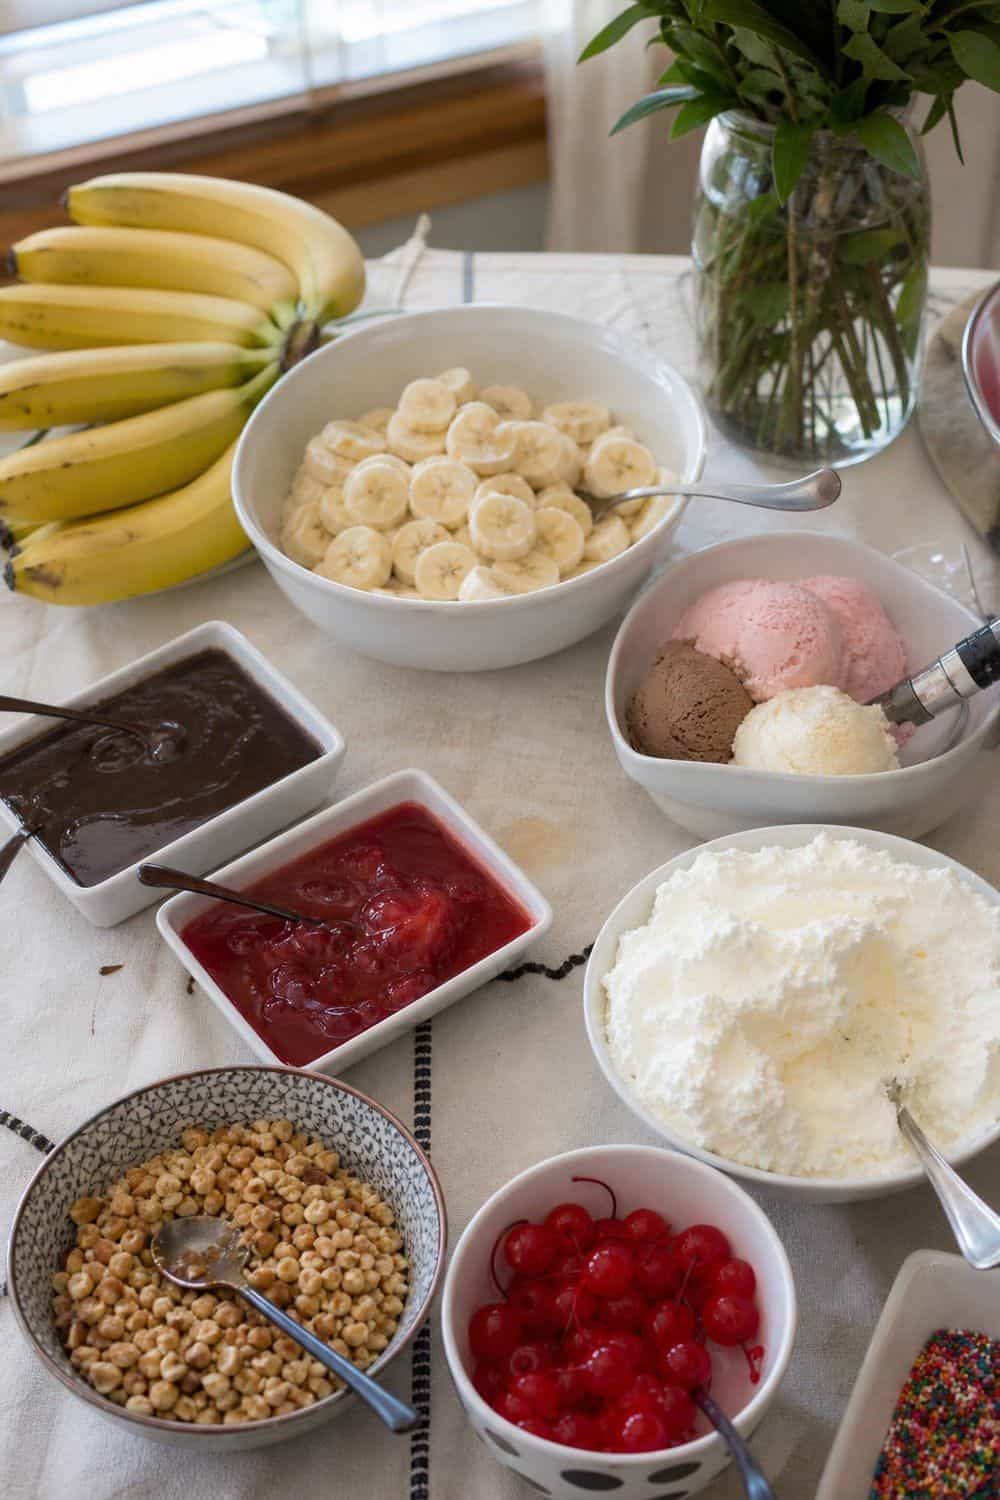
10. Make a Banana Split Station
A banana split station gives guests a special option inside the larger bar. Set out sliced bananas, three small scoops, chocolate or strawberry sauce, whipped cream, nuts, and cherries so guests can build the old-school version without needing a separate dessert plan.
This works best when the bananas are sliced close to serving time so they stay fresh. The mistake to avoid is letting banana splits take over the whole flow. Keep the boats and bananas in their own small section so guests who only want a simple sundae can keep moving.
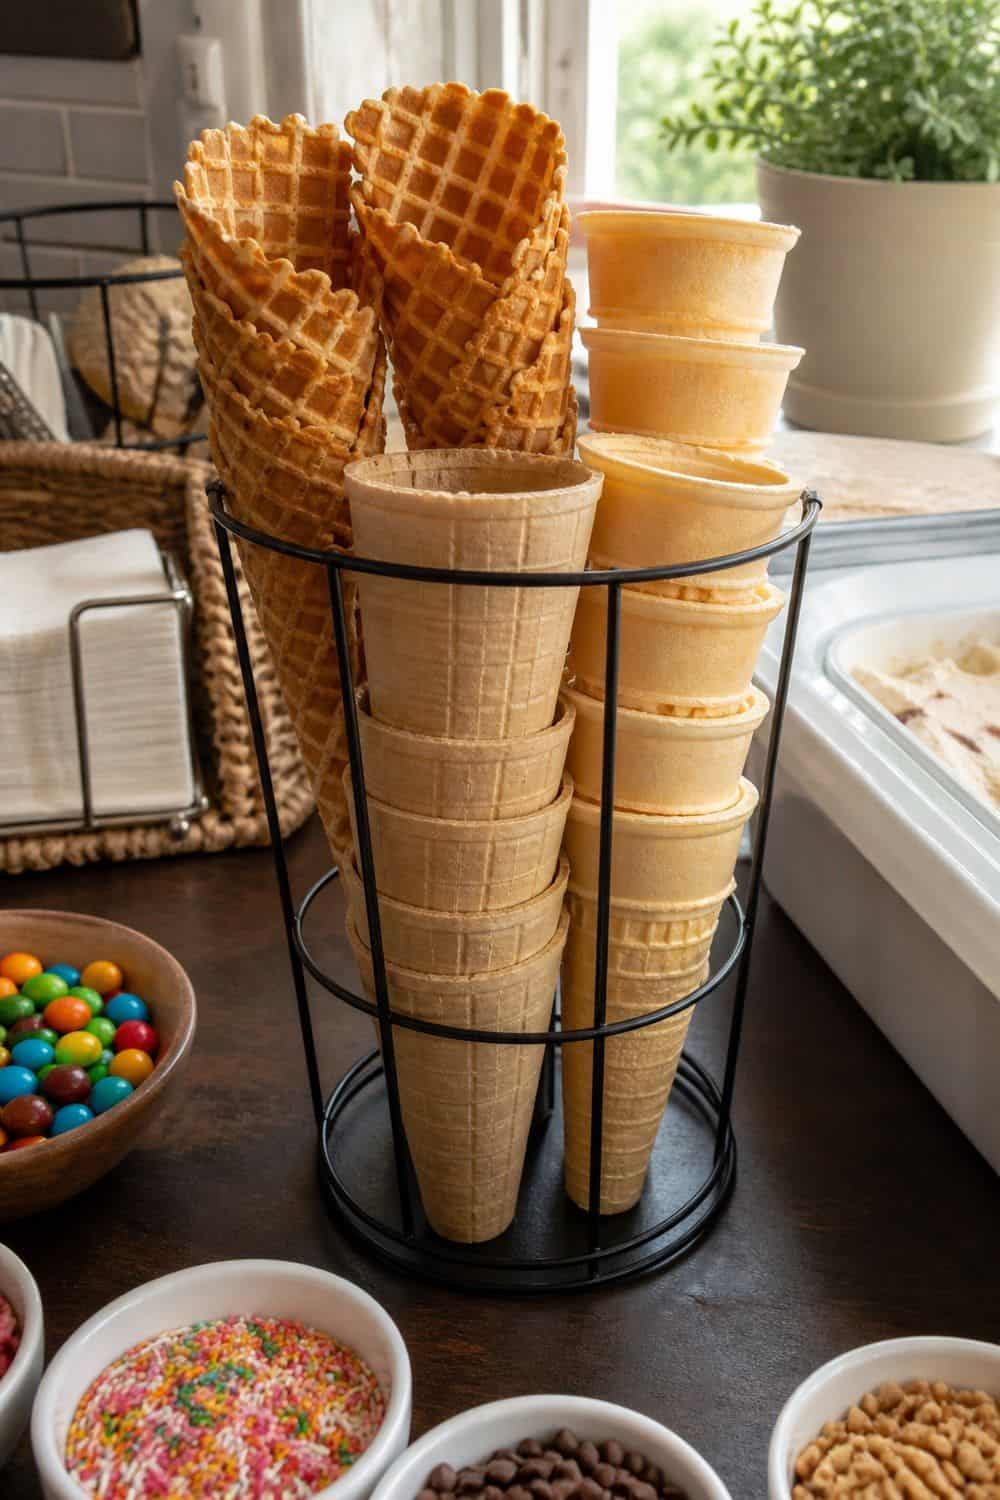
11. Set Out Waffle Cones in a Tall Holder
Cones make the ice cream bar feel like a scoop shop, but they need their own clean spot. A tall holder keeps waffle cones, sugar cones, or cake cones upright and visible so guests can grab one before reaching the frozen section. Keep cones away from wet toppings, fruit bowls, and sauce bottles so they stay crisp. The mistake to avoid is placing cones after the ice cream, which makes guests backtrack with a melting scoop. Put bowls and cones first so the station starts smoothly.
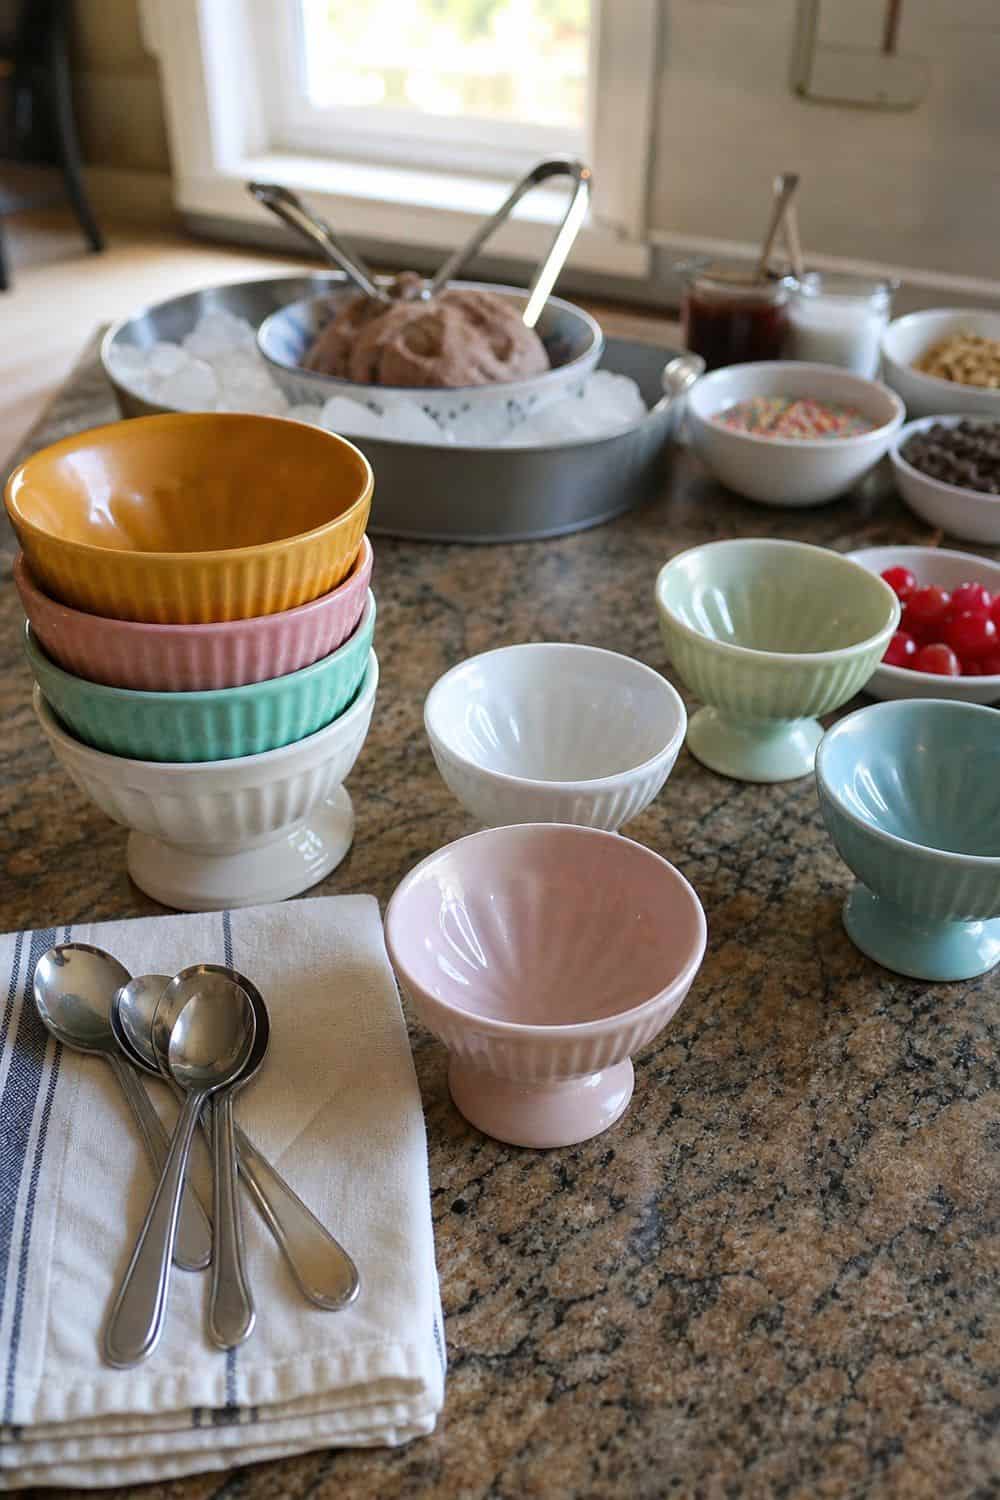
12. Use Small Sundae Bowls for Portion Control
Small sundae bowls keep portions manageable and help ice cream melt more slowly because guests are not building giant bowls that sit around half-finished. They are especially useful for kids, outdoor parties, and dessert tables where guests may want to try more than one topping combination.
Place bowls at the very beginning of the station with spoons nearby or at the end, depending on your table length. The mistake to avoid is using oversized soup bowls. They make the bar look abundant at first but encourage too much ice cream, too many toppings, and more waste.
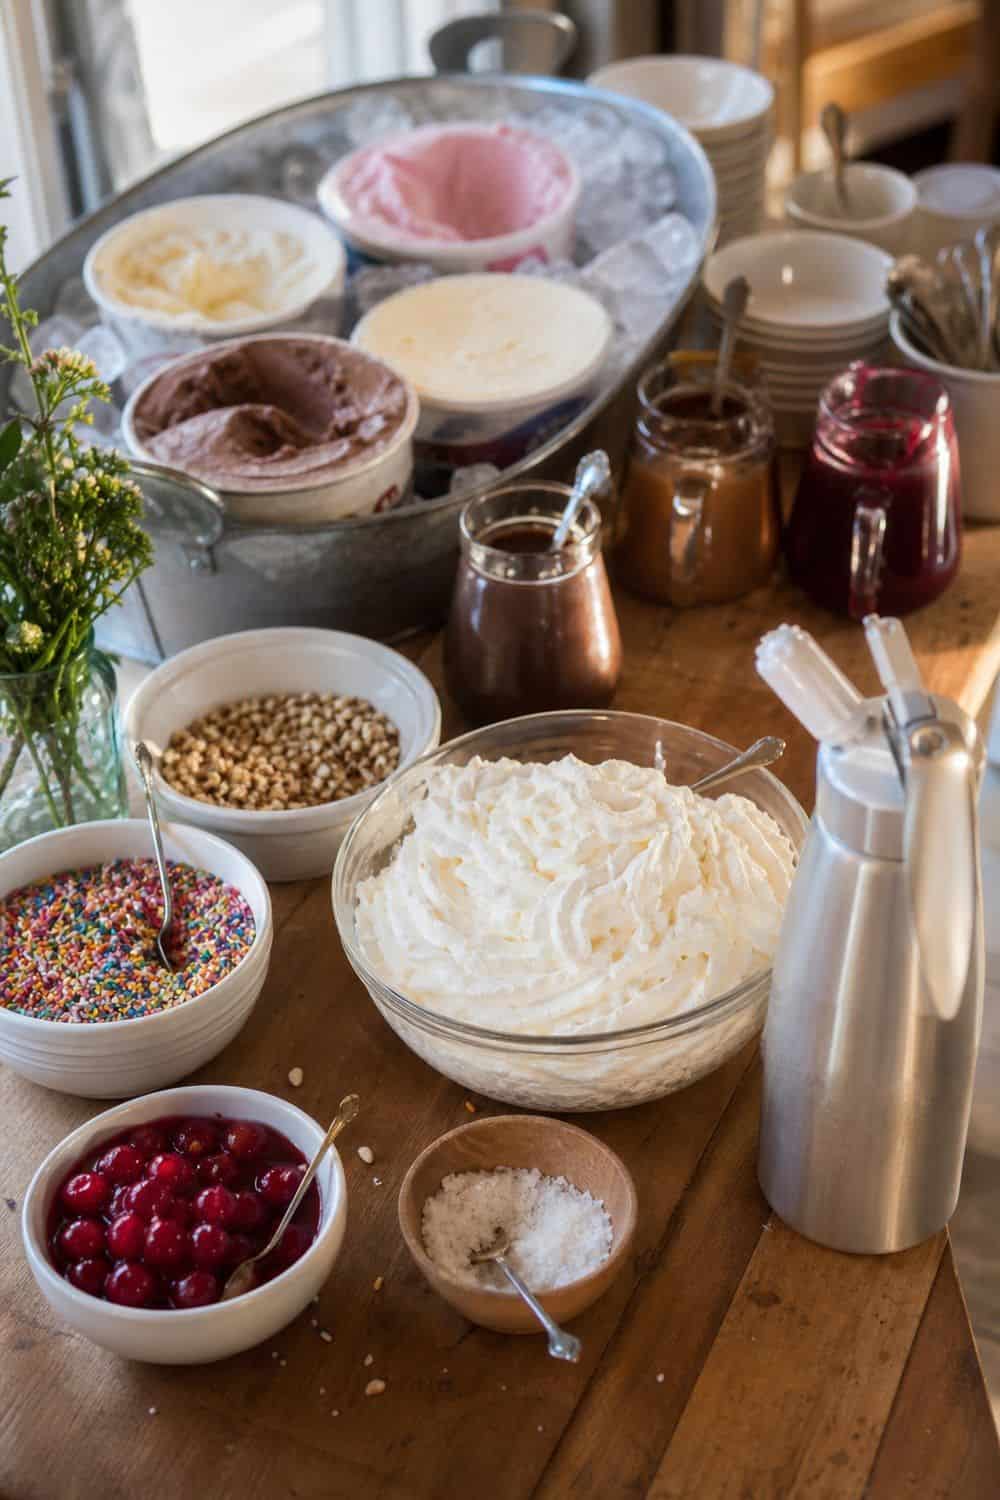
13. Put Whipped Cream Near the Finishing Toppings
Whipped cream belongs near the end of the ice cream topping bar because it is a finishing move, not a base layer. Guests should pass ice cream, sauces, crunch, and fruit before adding whipped cream, cherries, salt, or sprinkles on top.
Canned whipped cream is the easiest choice for big groups, while a dispenser can work for a smaller party with a host nearby. The mistake to avoid is putting whipped cream beside the ice cream tubs, where it interrupts the flow and often gets warm before guests are ready for it.
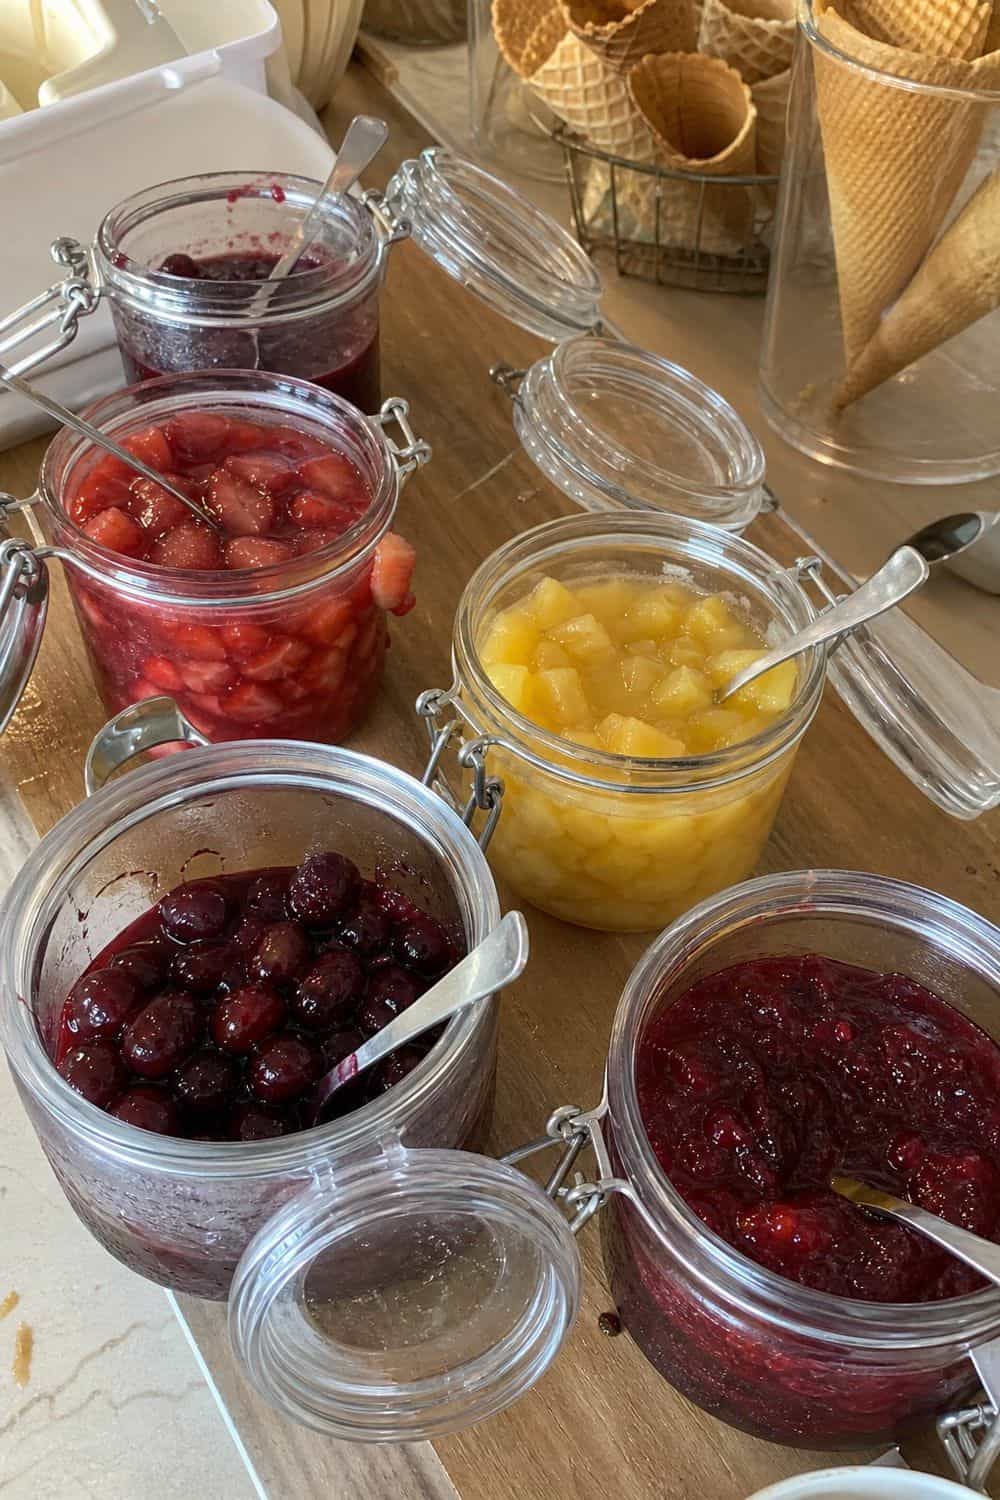
14. Keep Cherries and Wet Toppings in Lidded Containers
Cherries, pineapple, strawberry topping, jammy fruit, and other wet toppings need more control than sprinkles or cookie crumbs. Use lidded containers or small jars so the syrups do not spill across the dessert table, and set each one on a tray or plate that can catch drips.
Put a small spoon beside each container and refill from the fridge instead of leaving a huge bowl out. This keeps the toppings colder, cleaner, and easier to move if the ice cream bar shifts outside.
15. Separate Nut Toppings With Clear Labels
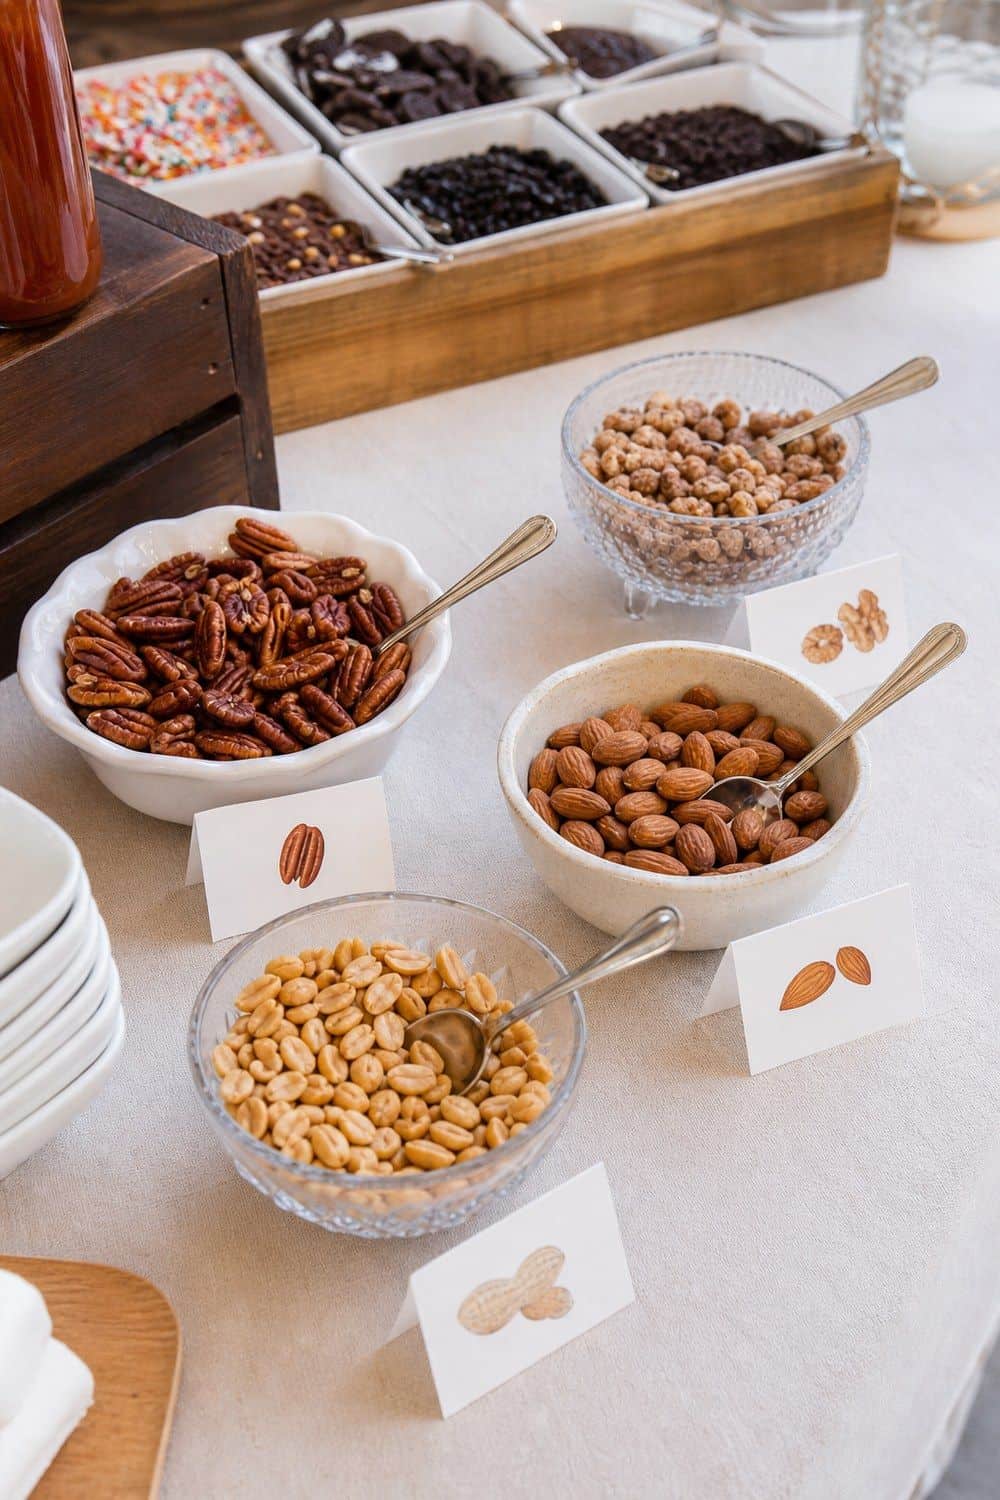
Nut toppings should not be mixed into the main topping row without clear labels. Peanuts, almonds, pecans, pralines, and nut-based candies need their own section with dedicated spoons so guests can see the risk before they build a bowl.
This is also a good place to label gluten cookies, dairy-based sauces, and alcohol toppings. The mistake to avoid is relying on memory or casual warnings once the party gets busy. A clear label and separate utensil are much better than trying to explain everything after toppings have already crossed over.
16. Build a Kids’ Sprinkle Tray
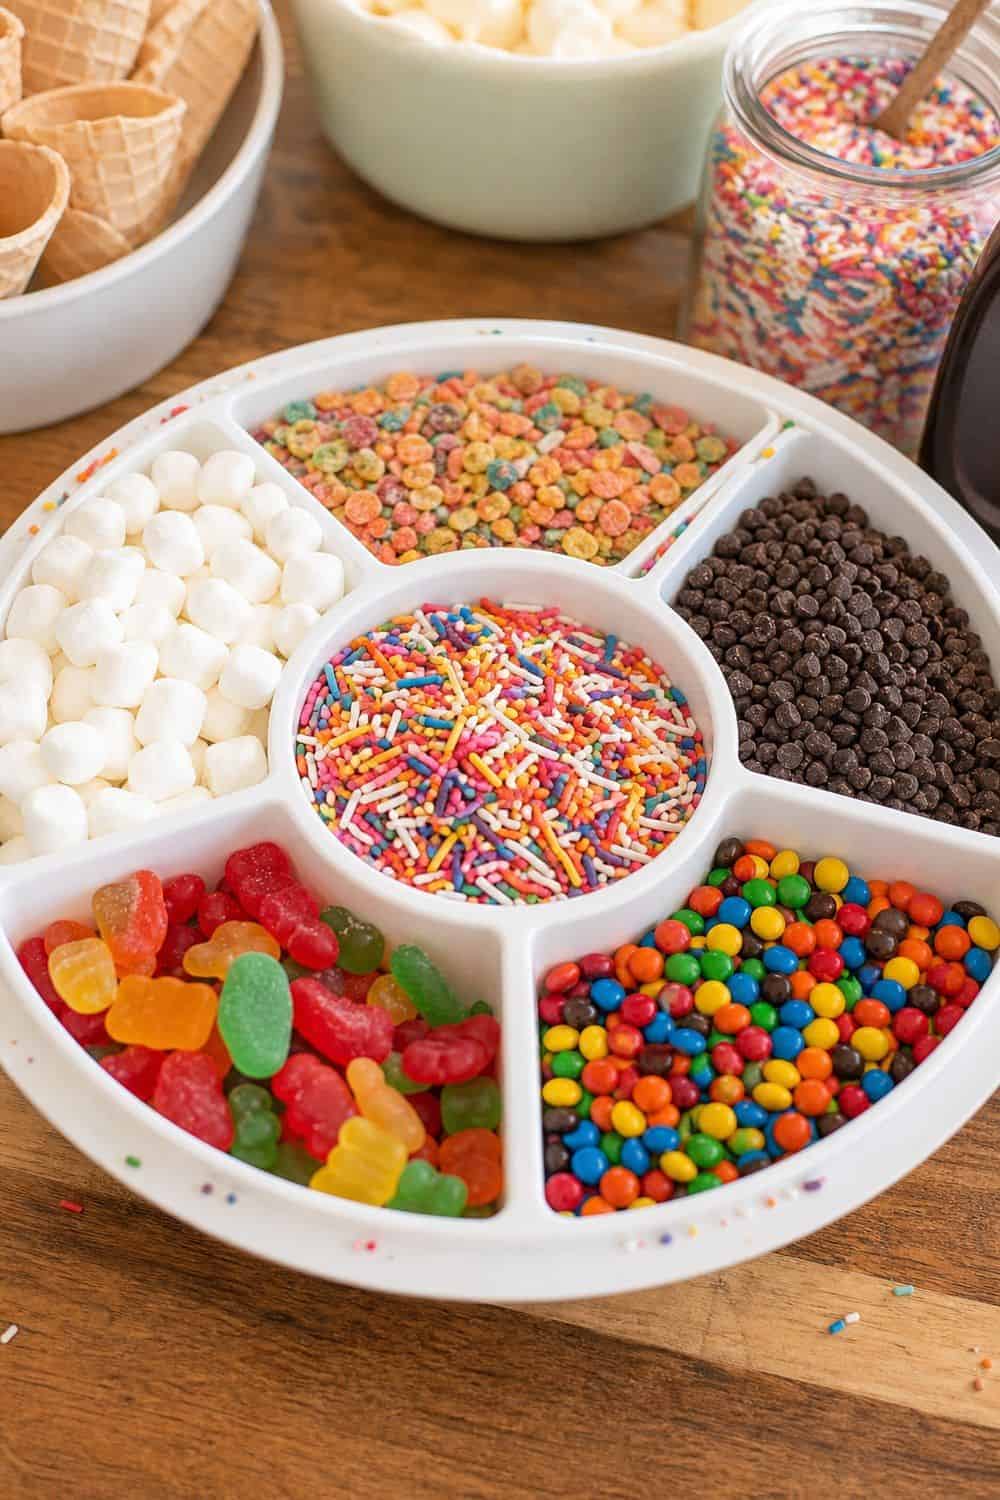
A kids’ sprinkle tray keeps the fun toppings in one place instead of scattering tiny bowls all over the dessert table. Use a divided tray for rainbow sprinkles, mini marshmallows, mini chocolate chips, gummy candies, and crushed cereal. Keep the portions small and refill when needed, because a huge tray can turn chaotic fast. The mistake to avoid is giving every kid access to oversized jars. A divided tray gives variety while keeping the self-serve dessert table easier to reset.
17. Add a Grown-Up Drizzle Corner
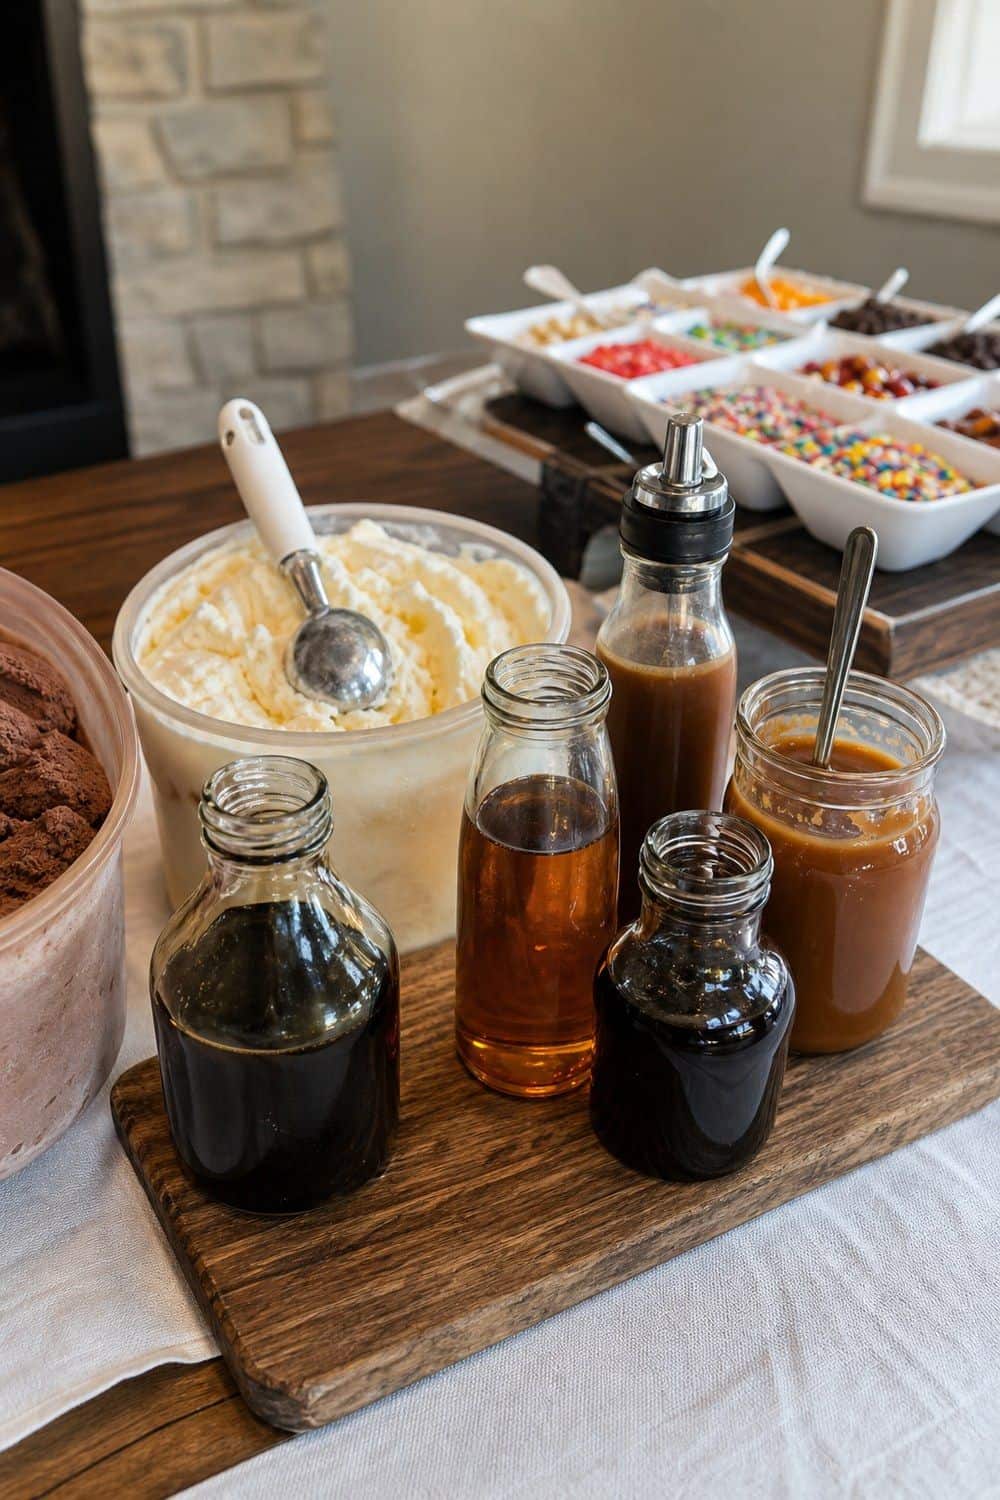
A grown-up drizzle corner can make the bar feel more special for adults without changing the whole party. Espresso syrup, amaretto, Irish cream, coffee liqueur, or bourbon caramel can pair beautifully with vanilla, chocolate, coffee, or caramel ice cream.
Keep this section clearly labeled and physically away from the kids’ toppings. The mistake to avoid is placing alcohol-based options in the same row as syrups and sprinkles where they look interchangeable. Adult-only toppings need separation, labels, and a little restraint.
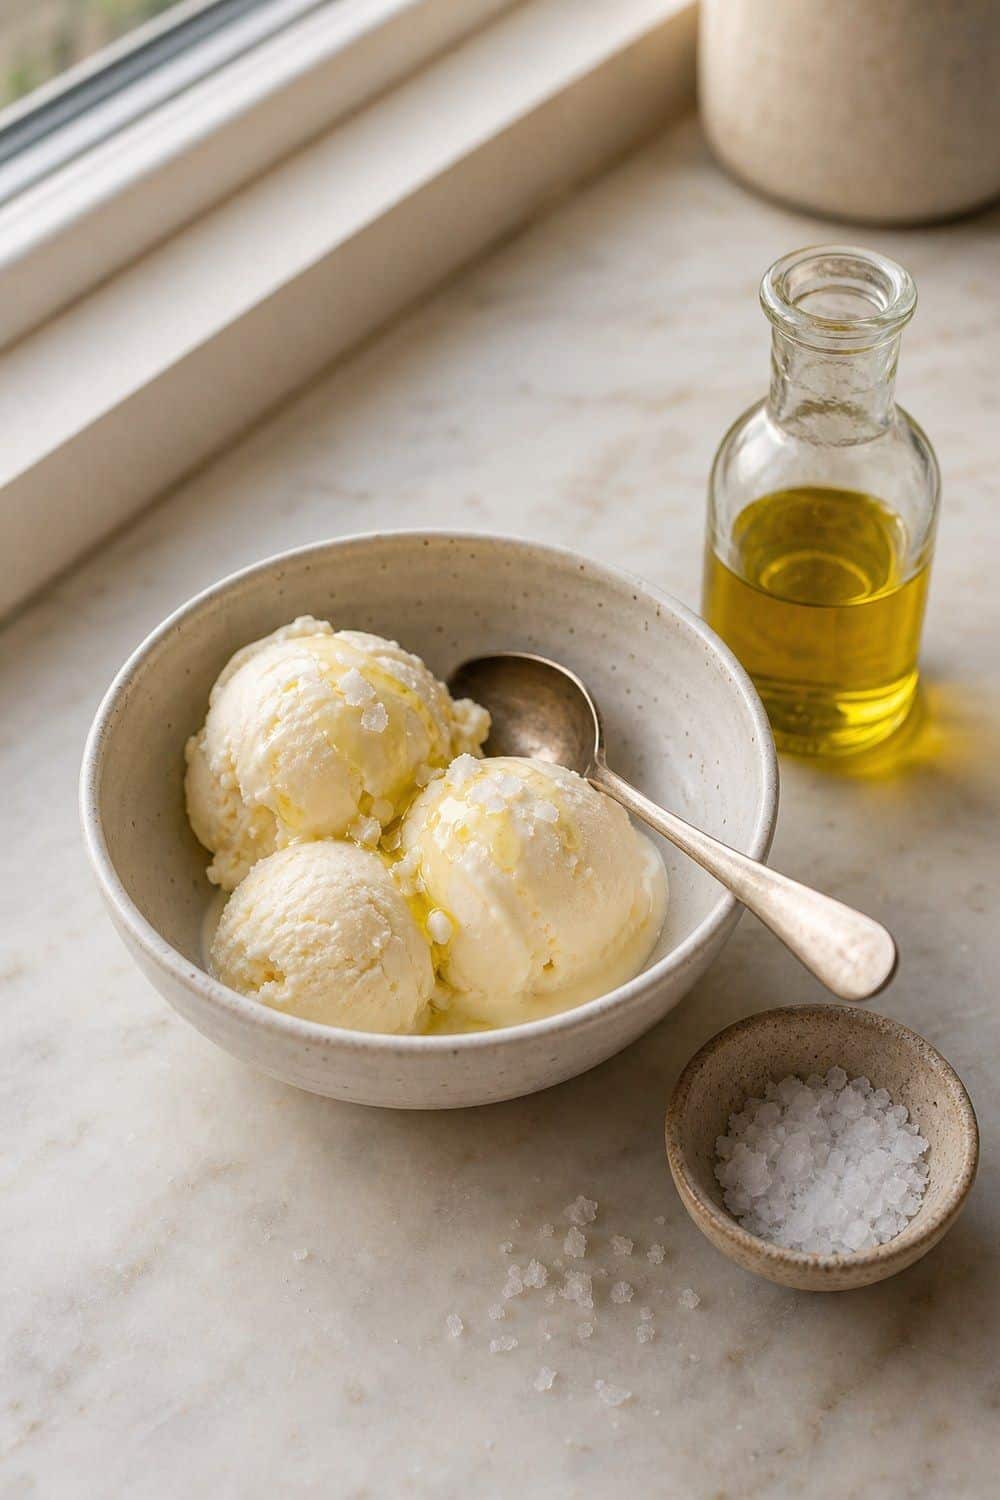
18. Offer Olive Oil and Flaky Salt for Vanilla
Olive oil and flaky salt are a simple grown-up topping that works especially well with vanilla, pistachio, chocolate, and strawberry ice cream. It gives a little richness and a salty edge without adding another sugary sauce.
Use tiny amounts so the flavor feels balanced rather than oily or overly salty. The mistake to avoid is putting the bottle out without guidance. A small label that says a tiny drizzle and a pinch is enough helps guests try it without overwhelming their bowl.
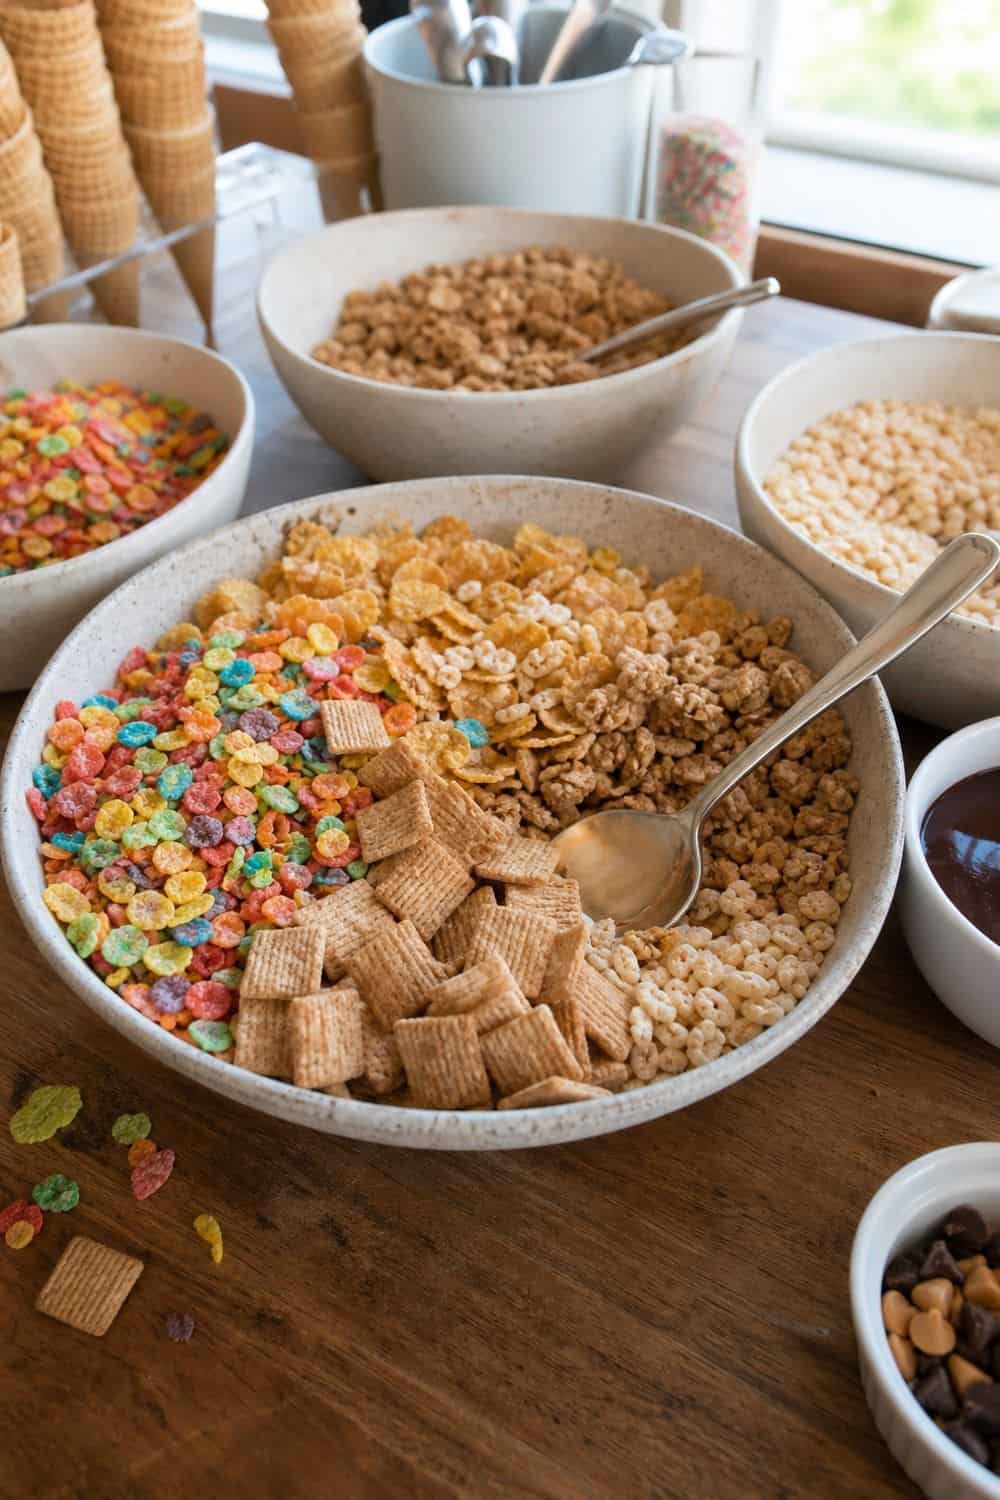
19. Create a Crunchy Cereal Topping Bowl
Cereal is a nostalgic, budget-friendly topping for a big ice cream party. Fruity cereal, cinnamon cereal, granola, rice cereal, and cornflakes all add crunch and color without requiring much prep. Keep the cereal in a dry bowl with its own spoon, away from sauces, berries, and whipped cream. If you are serving outside, refill a smaller bowl instead of exposing the whole box to humidity. The goal is a crisp topping that still snaps when it lands on the ice cream.
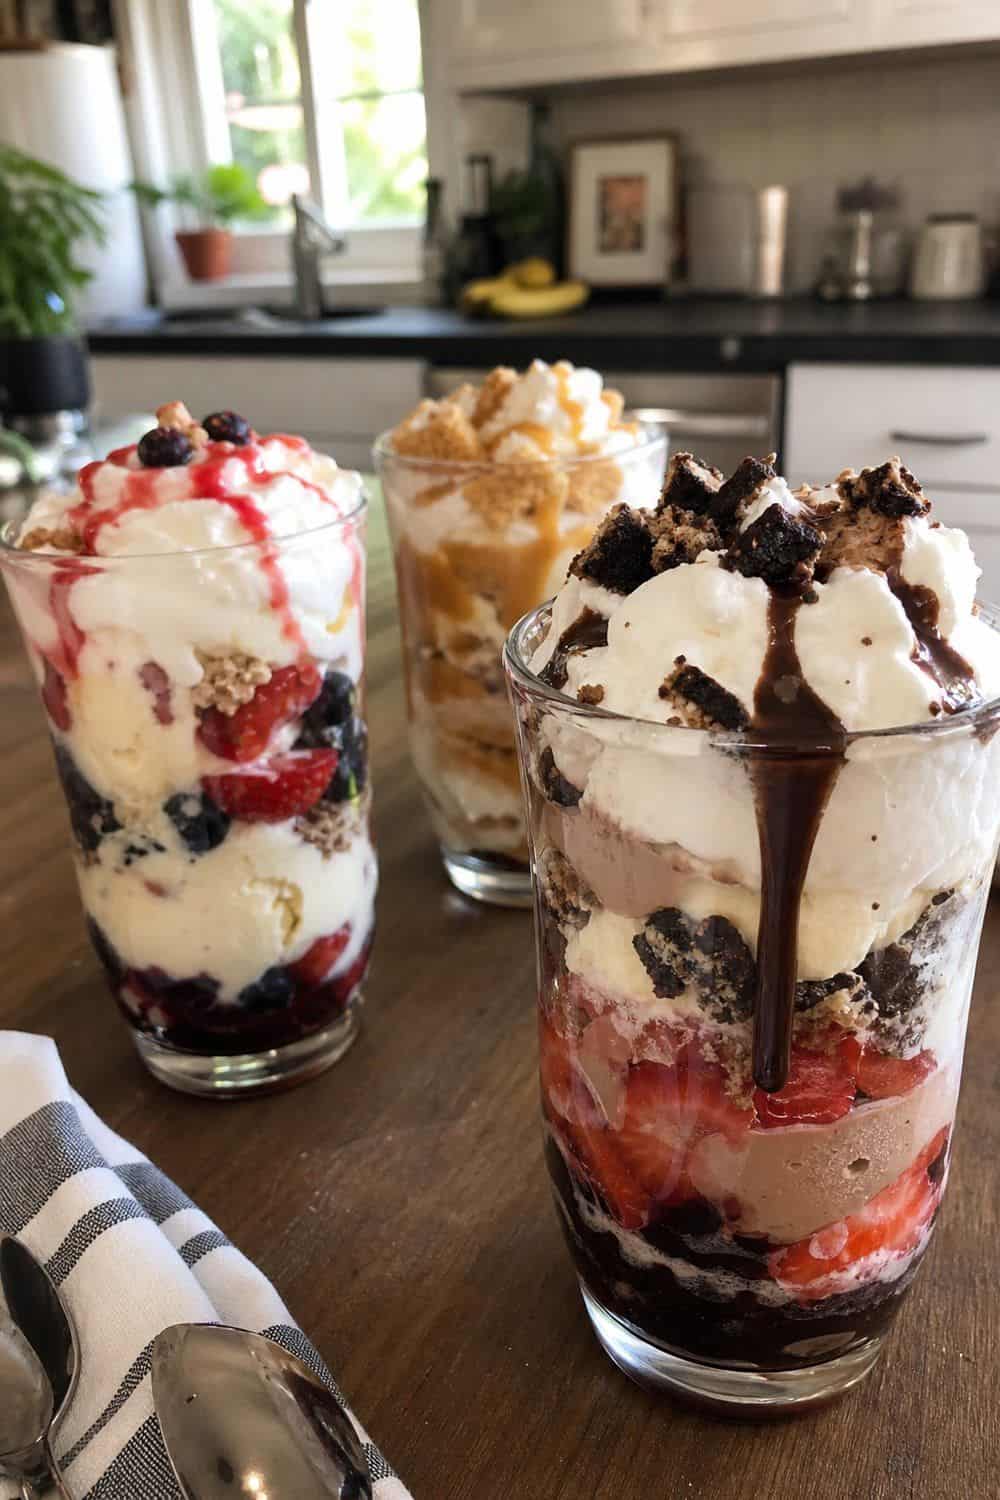
20. Use Parfait Glasses for Layered Sundaes
Parfait glasses turn a small ice cream bar into a more polished dessert moment. Guests can layer ice cream, fruit, sauce, cookie crumbs, cereal, and whipped cream so every bite has a little contrast.
This idea works best for smaller groups because glassware takes more table space and cleanup. The mistake to avoid is using tall glasses for a large crowd where people need speed. Save this for a dinner party, birthday table, or indoor gathering where the slower layering feels fun instead of frustrating.
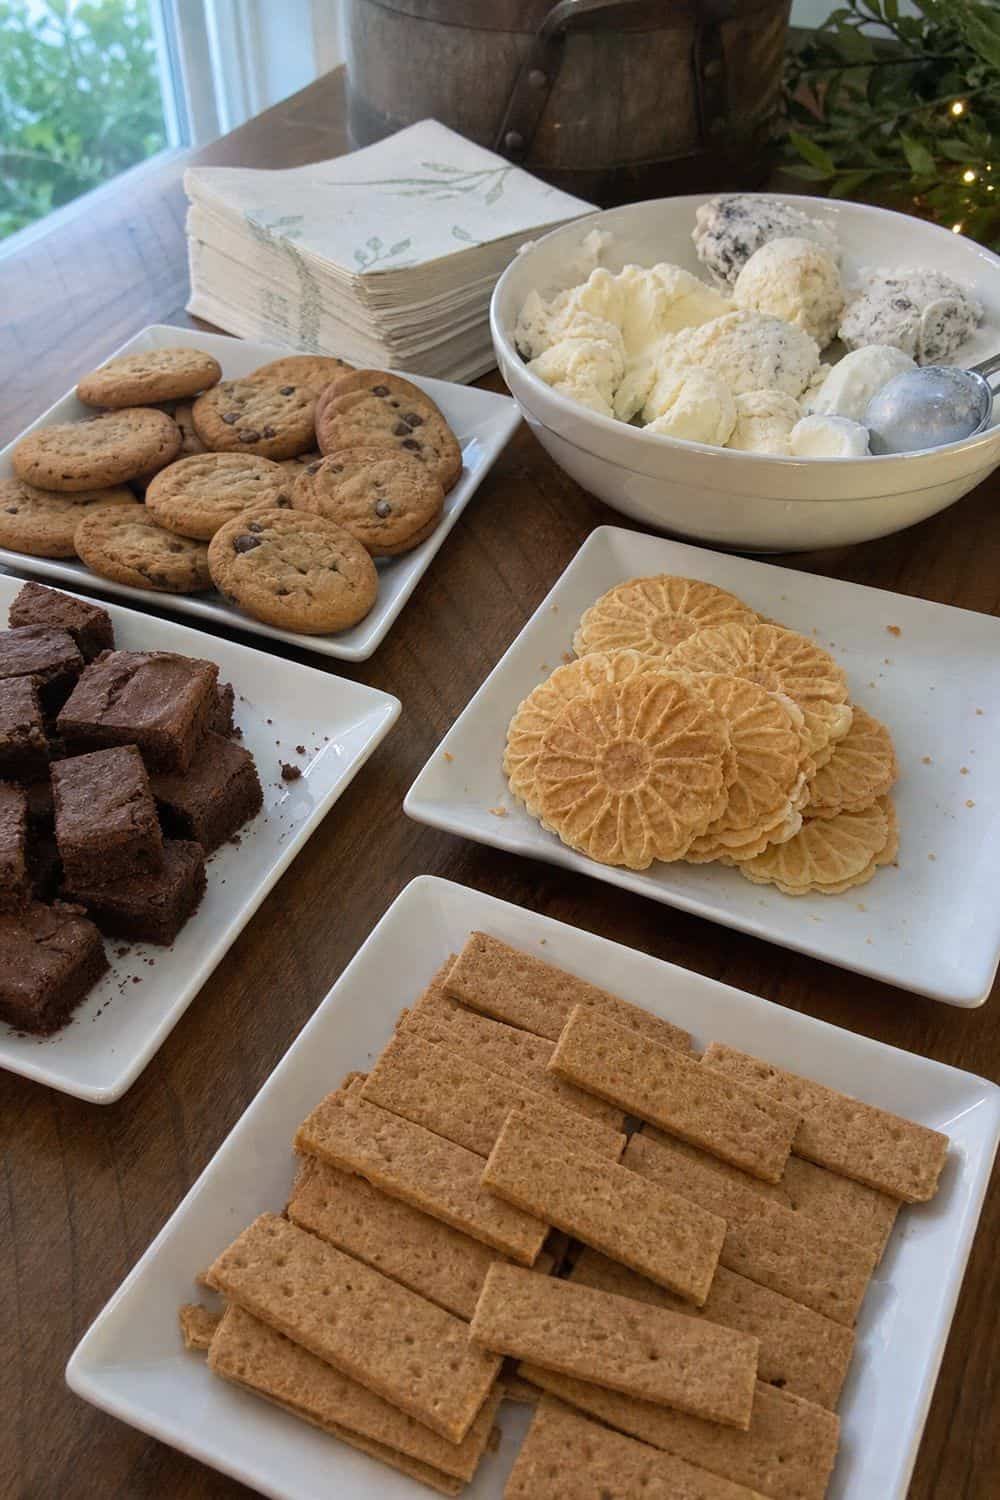
21. Make Ice Cream Sandwich Components
Ice cream sandwich components give guests a handheld option when bowls feel too fussy. Set out cookies, brownies, pizzelle, or graham crackers with small scoops so guests can press together their own sandwich. This works especially well when space is limited or you want fewer saucy toppings.
Choose cookies that are soft enough to bite through once they touch frozen ice cream. Keep napkins nearby and make the pieces small, because a self-serve sandwich should feel playful, not like a melting dessert project.
22. Set a Scoop Rinse Cup Beside the Ice Cream
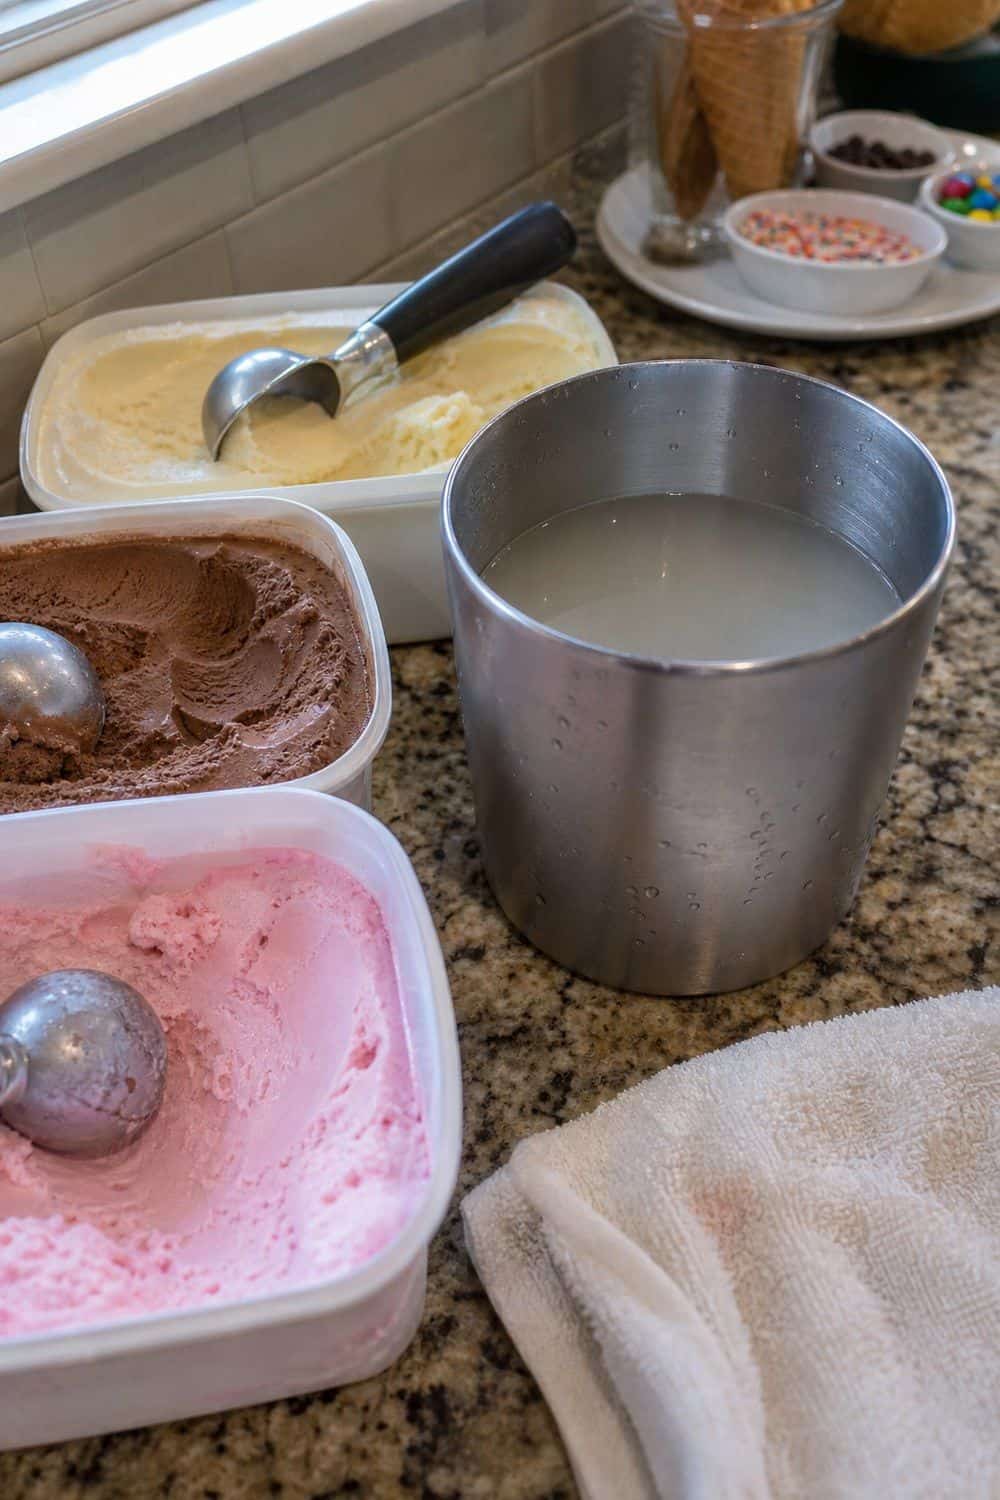
Multiple scoops make the frozen section move faster and help flavors stay cleaner. Keep a sturdy rinse cup or towel near the ice cream so chocolate does not smear into vanilla and strawberry does not streak through every flavor.
Replace the rinse water when it gets cloudy or warm instead of letting it sit all night. The mistake to avoid is making guests share one sticky scoop for every tub. That slows the line and makes the ice cream station messier than it needs to be.
23. Keep Napkins, Spoons, and Wipes at the End
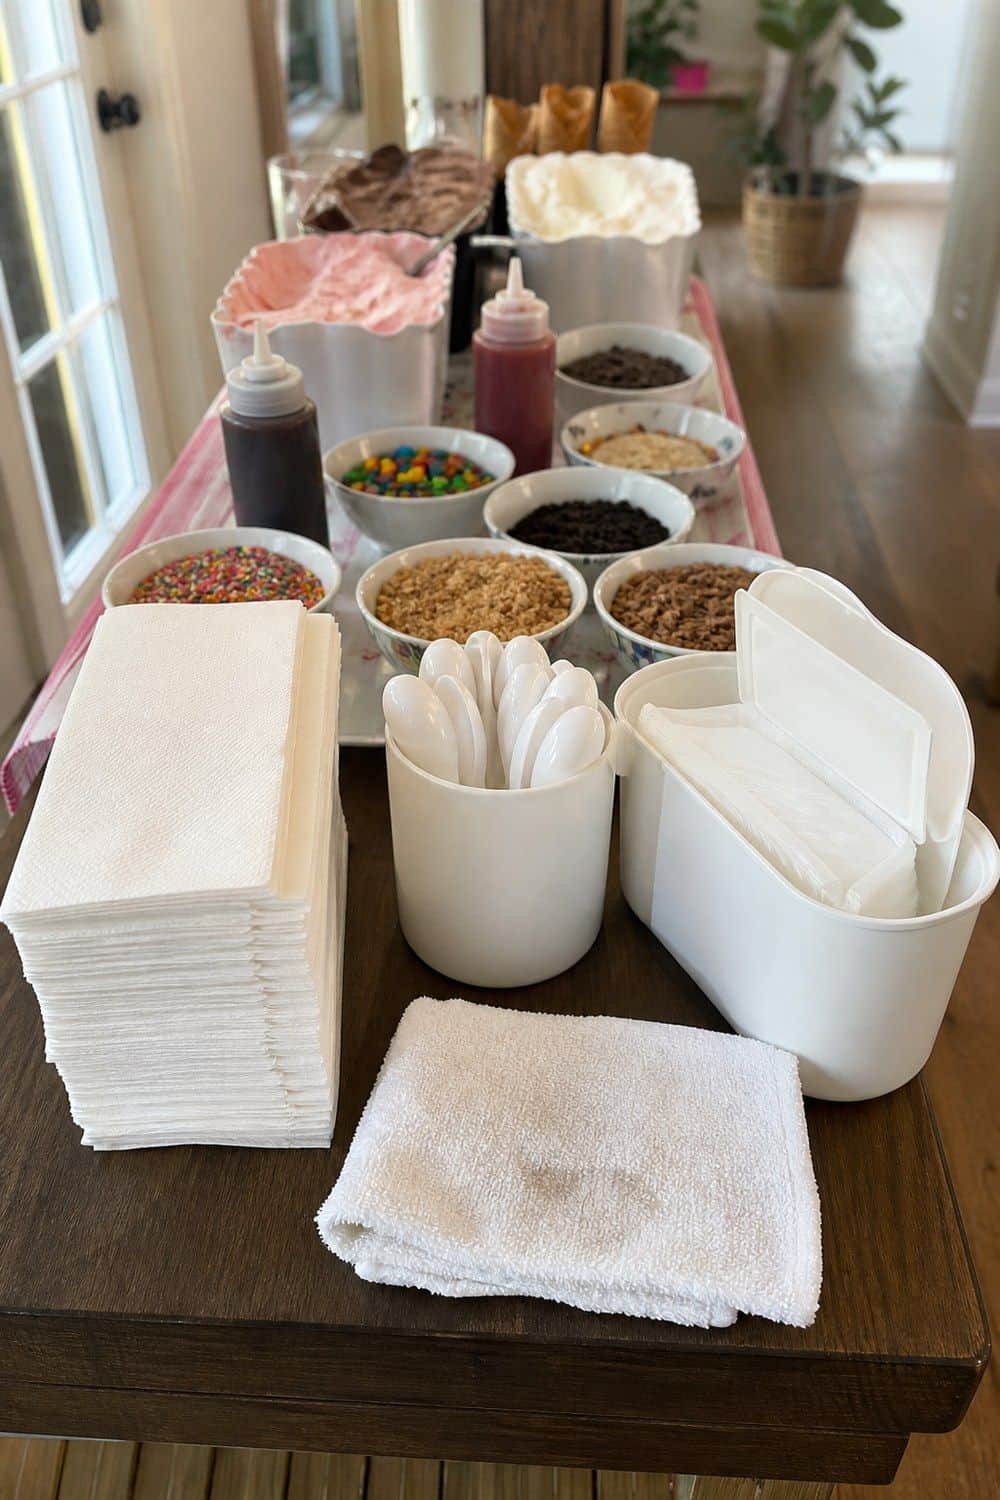
Cleanup supplies belong at the end of the station because guests need them once the bowl is finished. Put spoons, napkins, wet wipes, and maybe a small damp towel where people naturally exit the topping area. This matters even more outside or at a kid-heavy party, where sticky hands travel fast. Keep a small trash bowl or bin nearby for wrappers and used spoons. Add an extra spoon cup for guests who go back for seconds. The mistake to avoid is tucking napkins behind the topping jars or across the room.
24. Use Lidded Topping Containers Outdoors
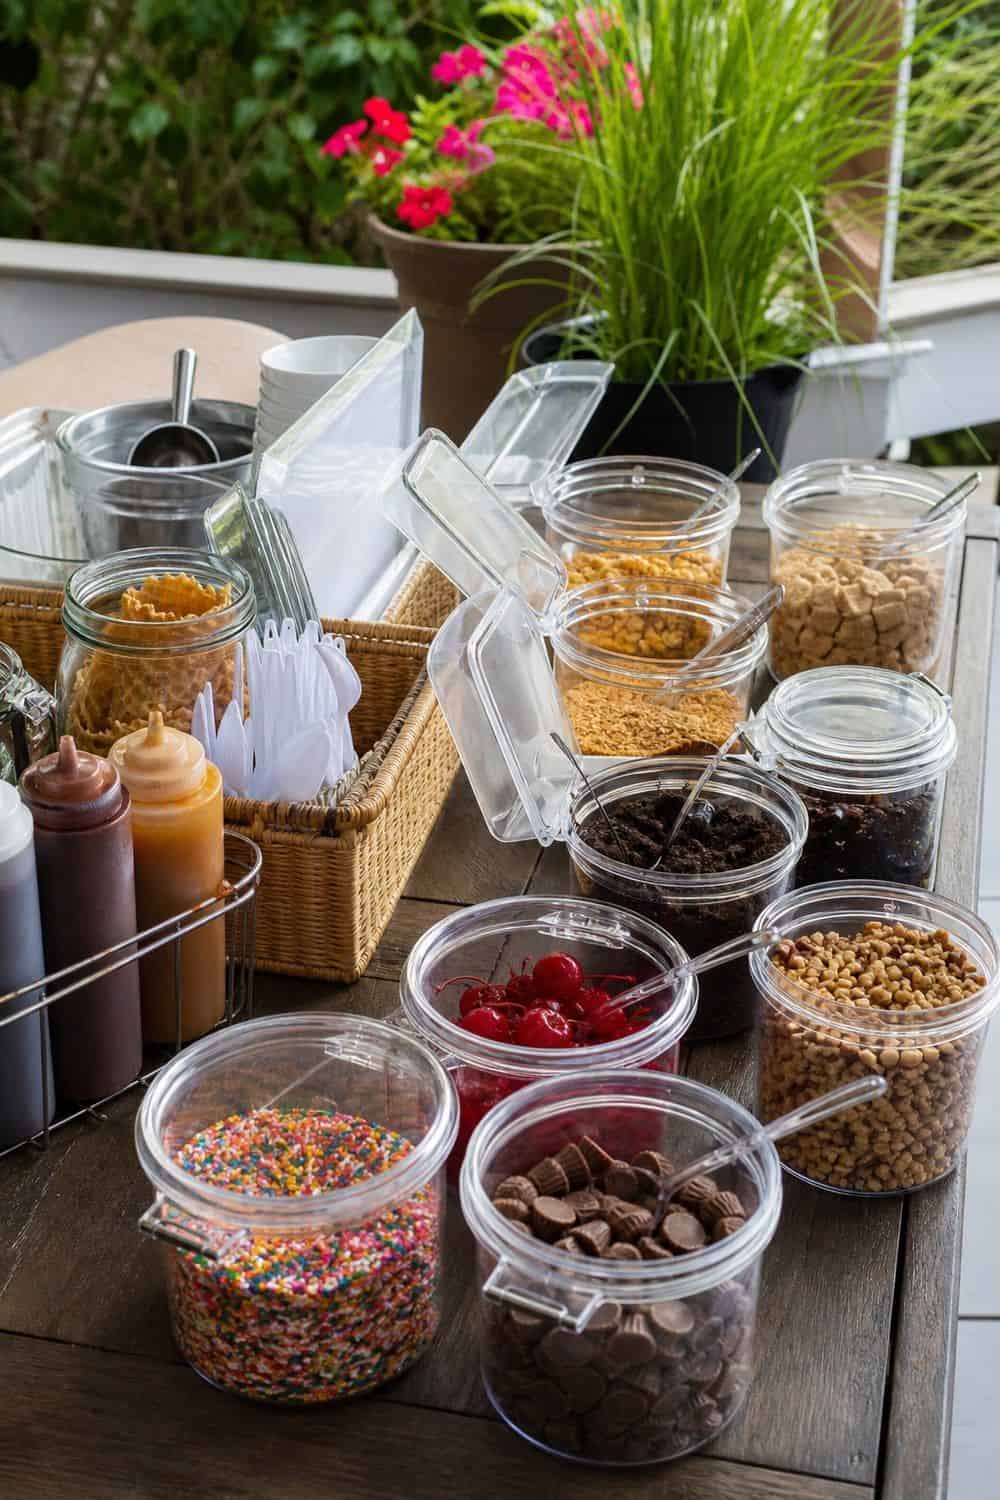
Outdoor ice cream bar toppings need more protection than indoor toppings. Lidded jars help with wind, heat, and bugs, especially for sprinkles, nuts, cookies, cherries, candies, and cereal. Set up dry toppings first, then bring out ice cream last and refill toppings in small amounts.
Keep backup toppings in the kitchen or cooler so the public spread can stay tidy. The mistake to avoid is putting every topping outside at once for the whole party, where sun and humidity can make even dry toppings clump.
25. Pack Leftover Toppings Into a Sundae Kit
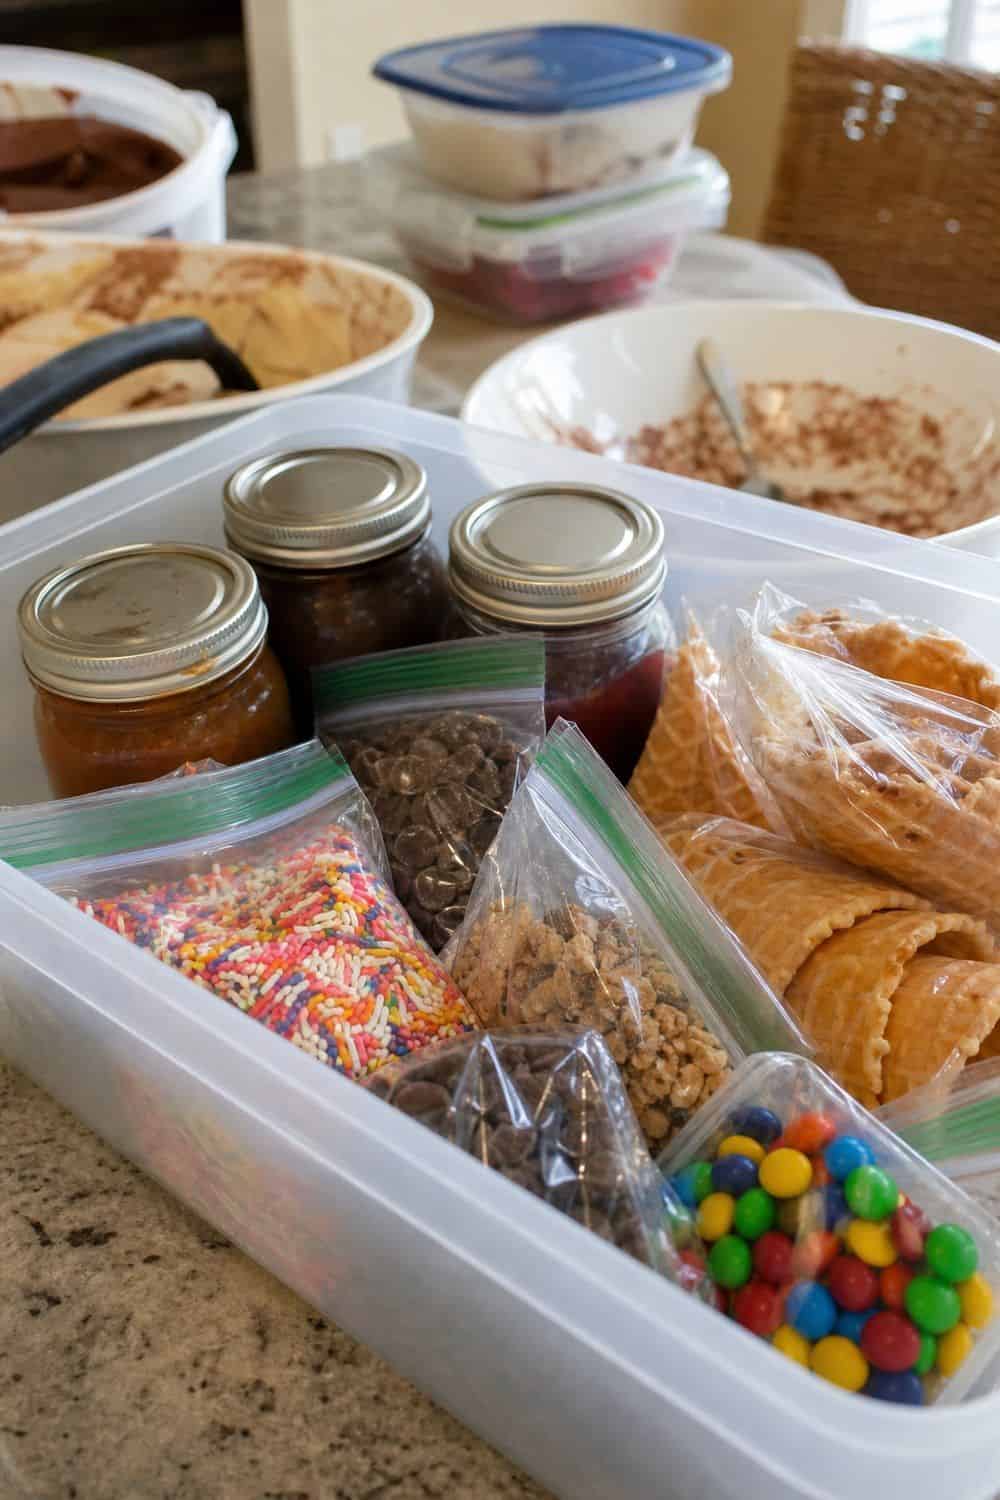
A leftover sundae kit keeps the party from turning into a pile of half-open bags. Sealed sprinkles, cookies, candy, nuts, unopened cones, and cleanly handled sauces can be packed together for another dessert night. Be stricter with melted ice cream, whipped cream, fruit, and messy dairy toppings. Do not try to refreeze questionable leftovers just to save a little. Label the kit before it goes into the pantry so the next dessert night feels easy instead of like sorting through party scraps.
Other Ice Cream Bar Tips to Remember
For planning, a small scoop per person works when the ice cream bar follows a meal, while dessert-only gatherings usually need more ice cream and more backup. Keep the flavor lineup tighter than the topping lineup: three base flavors plus an optional dairy-free or sorbet choice is easier to manage than a table full of pints.
A simple station order makes the whole dessert table easier to use: bowls and cones, ice cream, sauces, crunchy toppings, fruit, whipped cream, cherries, napkins, and cleanup supplies. Set out dry toppings first, bring ice cream out last, and refill frozen items in small batches so the table stays fresh.
Guest needs should be visible without making the table confusing. Put nut toppings, gluten cookies, dairy sauces, dairy-free ice cream, and alcohol add-ons in clearly labeled sections with separate utensils. A kids’ sundae bar can lean nostalgic with sprinkles and candy, while a grown-up summer dessert table can add flaky salt, olive oil, espresso, berries, and liqueur drizzles in their own corner.
Frequently Asked Questions
How do you set up an ice cream bar for a party?
Set up the station in the order guests will use it: bowls or cones first, then ice cream, sauces, crunchy toppings, fruit, whipped cream, cherries, napkins, and cleanup supplies. Keep labels visible, separate allergens, and bring ice cream out last so it stays frozen as long as possible.
How much ice cream do I need per person for an ice cream bar?
Plan more generously for a dessert-only gathering and a little less if the ice cream bar follows a full meal. Smaller bowls help portions stay reasonable, while backup tubs in the freezer or cooler let you refill without putting everything out at once.
How do you keep ice cream from melting at a party?
Pre-scoop ice cream, keep backup tubs frozen, serve one flavor or tray at a time, and bring ice cream out right before dessert. For outdoor parties, use coolers or very small-batch refills so guests are not working from a melting tub in the sun.
What toppings should I put on an ice cream sundae bar?
Use a mix of sauces, sprinkles, candy, cookies, brownies, nuts, fruit, whipped cream, cherries, cereal, and salty toppings. A good sundae bar has creamy, crunchy, fruity, saucy, and salty options so guests can build different combinations without needing dozens of flavors.
Can you make an ice cream bar ahead of time?
Yes, most of the setup can be done ahead. Portion toppings, label jars, arrange cones and bowls, prep sauces, and pre-scoop ice cream onto a frozen tray. Wait to bring out the ice cream, whipped cream, and delicate cold toppings until dessert time.
How do you make an ice cream bar look cute?
Use matching bowls, clear topping jars, tidy labels, and a simple color palette. Vintage dishes, coupe glasses, or a neat row of toppings can make store-bought ice cream feel special. Keep the styling practical so guests can still serve themselves quickly.
What is the best way to serve ice cream to a crowd?
Pre-scooped portions are usually the easiest for a crowd. Use small bowls, multiple scoops, a logical station order, and small-batch refills from the freezer or cooler. This keeps the line moving and prevents guests from fighting hard tubs or scooping from melted ones.
How do you handle allergies at an ice cream bar?
Use clear labels, separate utensils, and separate sections for nuts, gluten cookies, dairy toppings, dairy-free options, and alcohol-based toppings. Keep allergen-heavy items away from the main topping row so guests can choose safely without guessing what touched what.
Final Thoughts
The best ice cream bar ideas make the table feel fun while quietly solving the practical problems: melting ice cream, sticky sauces, topping clutter, guest flow, allergies, and cleanup. Keep the frozen section small, the topping zones clear, and the refills ready in the freezer. With that structure, a self-serve dessert table can feel playful, generous, and much easier than hosting a full dessert spread.
Last update on 2026-09-17 / Affiliate links / Images from Amazon Product Advertising API