

This garlic sauerkraut recipe uses fresh spring cabbage, a few cloves of garlic, and salt. Massage, pack, ferment for 5 to 7 days, and you have a tangy, probiotic-rich condiment that goes with almost anything.
Making a garlic sauerkraut recipe at home is one of those kitchen projects that feels way more impressive than the effort it actually takes. You shred some spring cabbage, toss it with garlic and salt, pack it into a jar, and then let time do the heavy lifting. A week or two later, you have got a jar full of tangy, crunchy, probiotic-packed goodness that works as a side dish, a topping, or a straight-from-the-jar snack.
Spring cabbage is the real star here. It is lighter and more tender than the dense winter heads you might be used to, which means it ferments faster and has a fresher, slightly sweeter flavor. Add a handful of sliced garlic cloves and you get something that tastes sharp, punchy, and alive in the best possible way. If you have never tried fermenting before, this is the perfect place to start.
Want to eat well without blowing your grocery budget?
Grab The Ultimate Budget Planner, it helps you track spending and plan meals so your money goes further. Get it here

Recommended Sauerkraut Making Supplies


Why This Garlic Sauerkraut Is Worth Making at Home
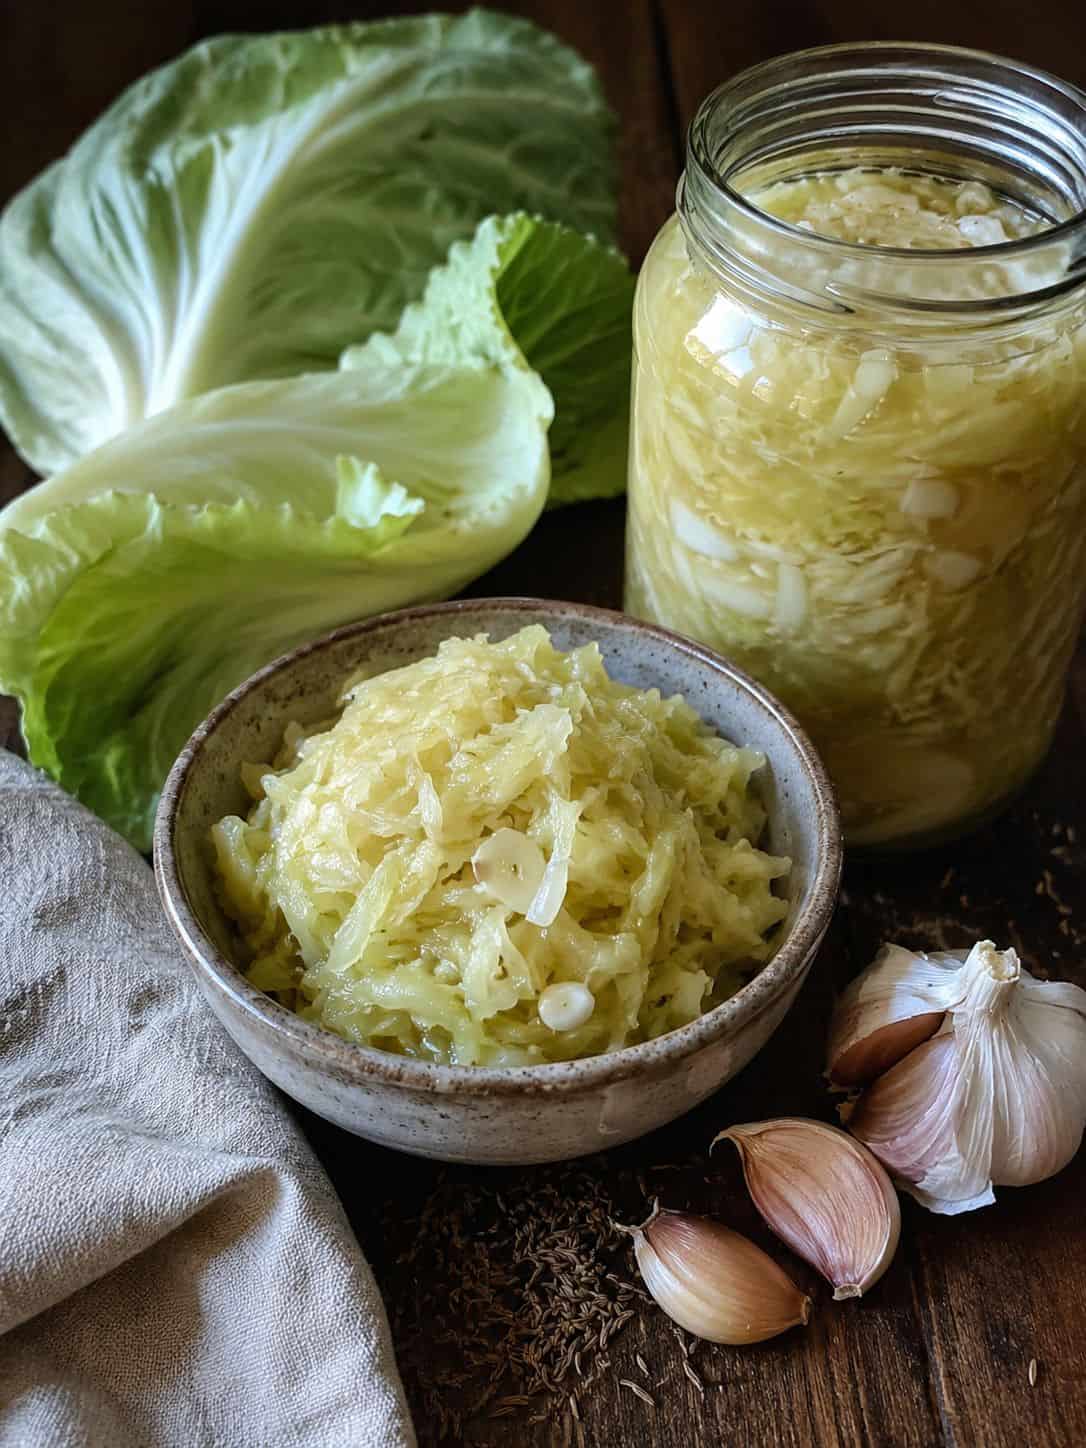
Store-bought sauerkraut is fine in a pinch, but it rarely compares to what you can make in your own kitchen. Most jars on grocery shelves have been pasteurized, which kills off the beneficial bacteria that make fermented foods so good for your gut. When you make homemade sauerkraut with basic grocery staples, you keep all those live probiotics intact.
The garlic is what sets this version apart from a standard kraut. Raw garlic mellows during fermentation, losing that harsh bite and developing something deeper and almost sweet. Mixed with the natural tang of lacto-fermented cabbage, it creates a flavor that works on sandwiches, alongside grilled sausages, piled on top of a grain bowl, or eaten straight off a fork.
Spring cabbage is also easier to work with than its winter cousin. The leaves are thinner and more pliable, which means they release liquid faster when you massage them with salt. Less effort, quicker fermentation, and a lighter crunch in the finished product. It is a win all the way around.
Tips, Variations, and Serving Ideas
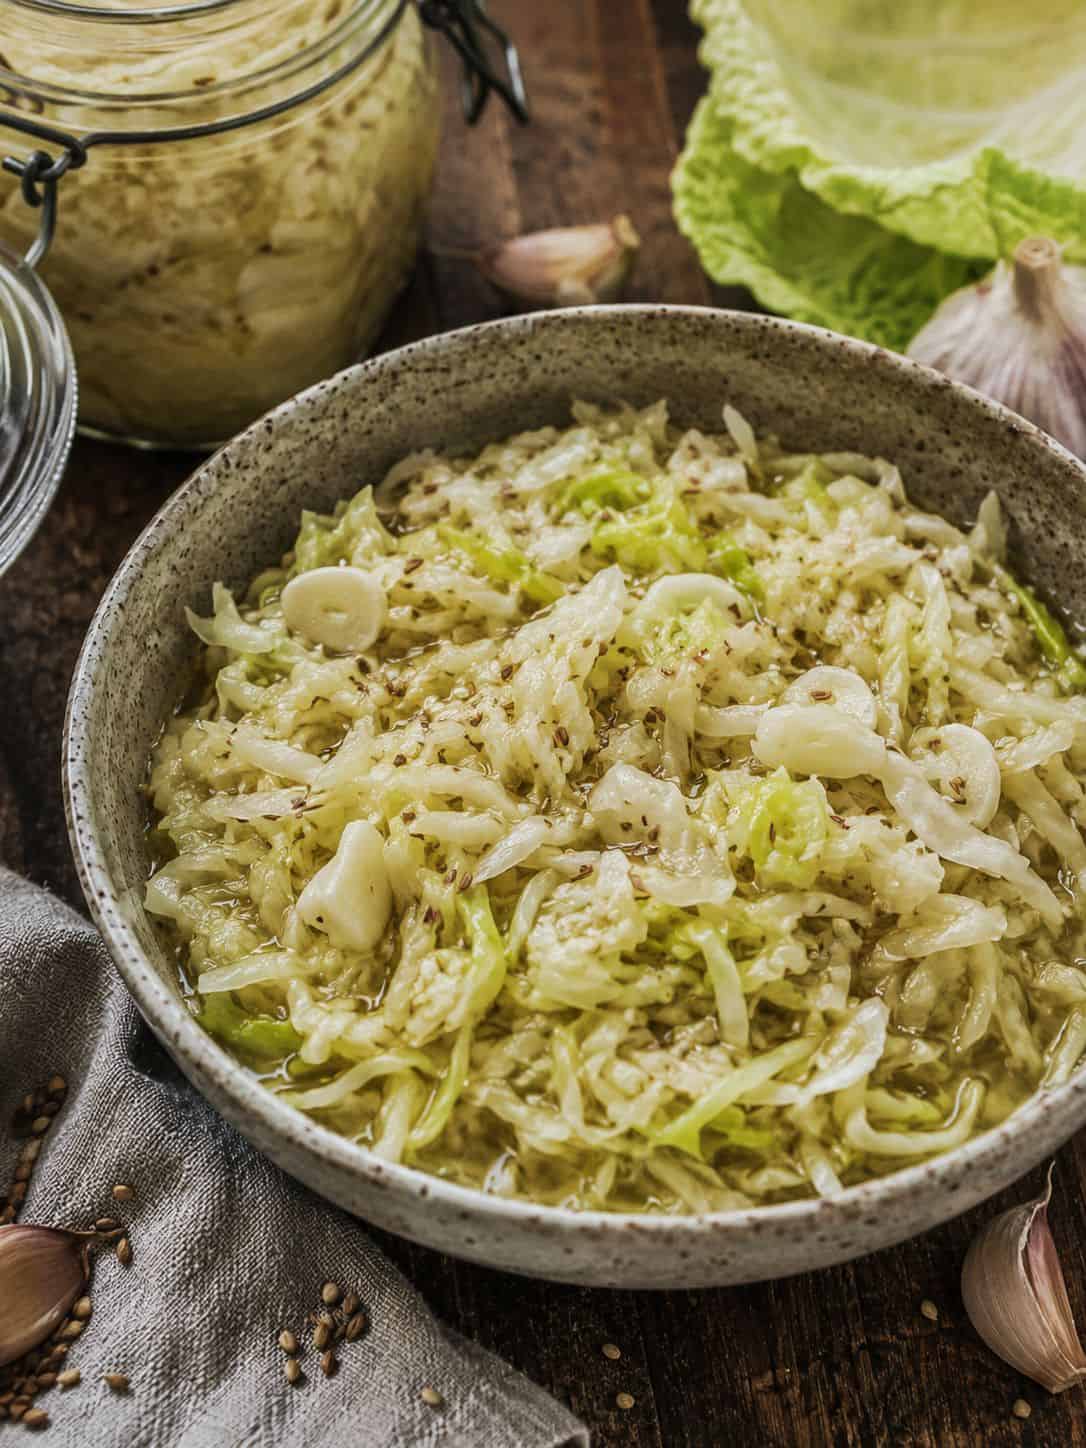
Before you jump into the recipe, here are a few things that will help your batch turn out perfectly every time.
Salt matters more than you think. Use non-iodized sea salt or kosher salt. Iodized table salt can slow fermentation and leave a metallic taste. The standard ratio is about 2% salt by weight of the cabbage, which works out to roughly 1 tablespoon per pound of shredded cabbage.
Do not skimp on the massage. Squeezing and kneading the salted cabbage for a solid 5 to 10 minutes is what gets the brine flowing. You want enough liquid to fully submerge the cabbage once it is packed into the jar. If you are short on liquid after packing, dissolve a half teaspoon of salt in a cup of water and top it off.
Temperature affects timing. A warm kitchen (around 70 to 75 degrees) will speed things up. Cooler temperatures slow fermentation but can produce a crisper, more complex flavor. Taste it every few days starting around day 5 and refrigerate it once it hits the tanginess you like.
Try these flavor variations: Add a teaspoon of caraway seeds for a classic European twist. Toss in a few slices of fresh ginger for some heat. Red pepper flakes, dill, or juniper berries are all fair game. Keep your additions to about 25% or less of the total volume so the cabbage stays the main event.
For serving, garlic sauerkraut is fantastic alongside slow-cooked pulled pork, layered into a Reuben sandwich, or spooned over scrambled eggs. It also pairs surprisingly well with roasted vegetables like Brussels sprouts as part of a hearty dinner spread.
Recipe: Garlic Spring Cabbage Sauerkraut
Prep Time: 20 minutes
Fermentation Time: 7 to 21 days
Total Time: 7 to 21 days (mostly hands-off)
Yield: About 1 quart
Ingredients
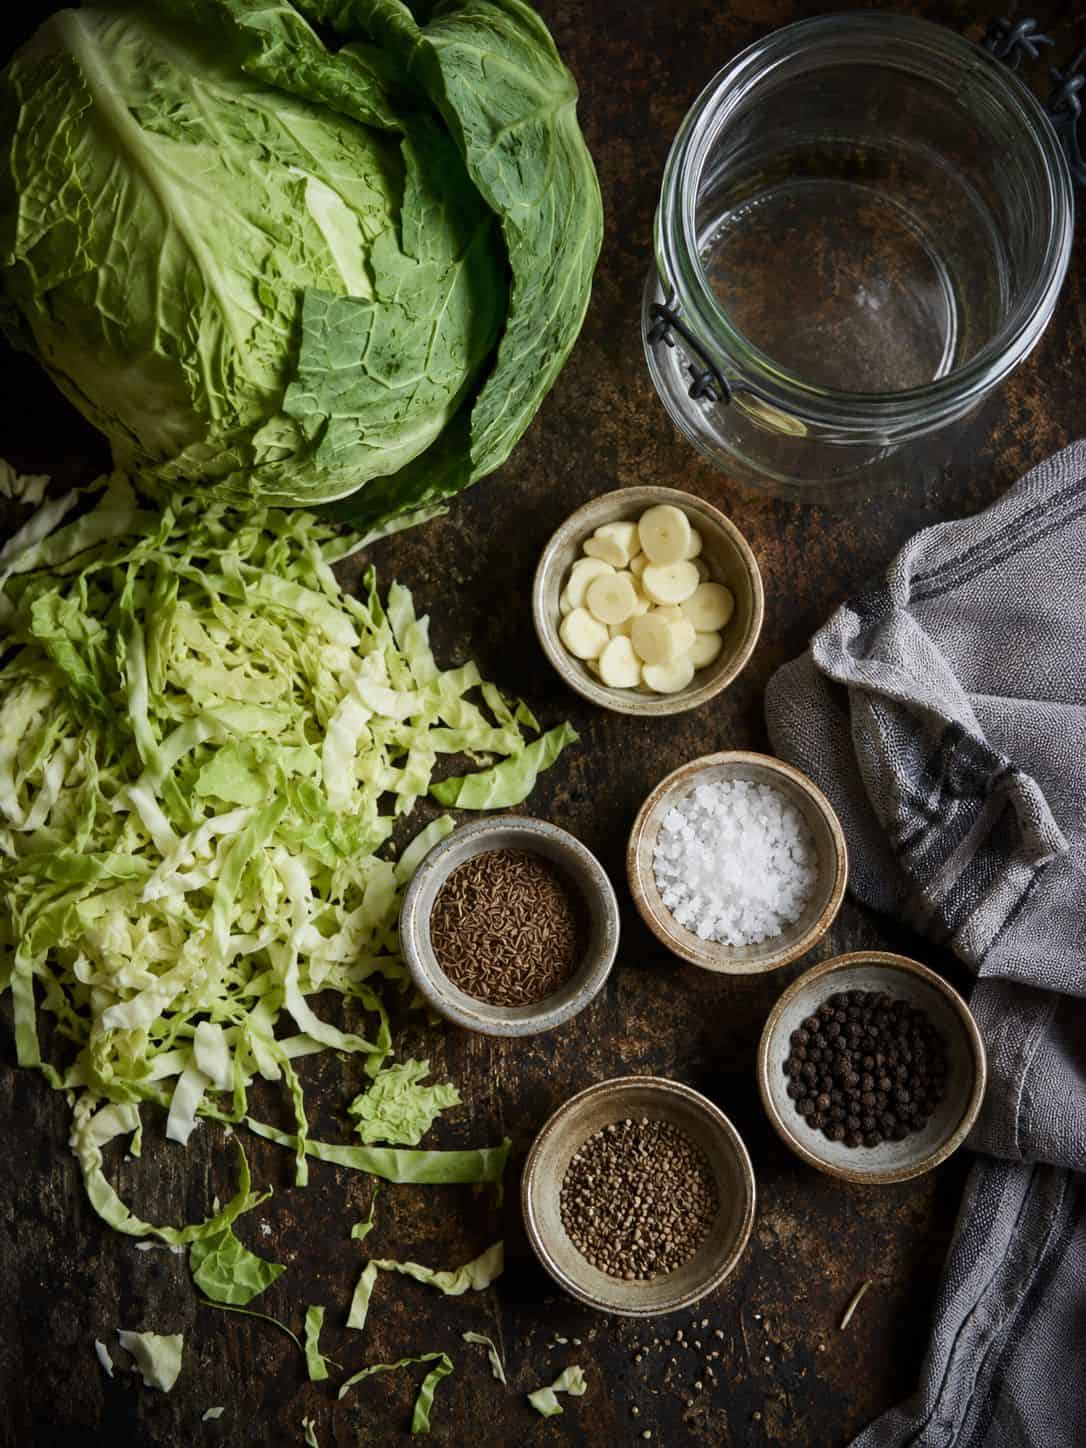
- 1 medium head of spring cabbage (about 2 pounds)
- 4 to 6 cloves of garlic, thinly sliced
- 1 tablespoon non-iodized sea salt or kosher salt (roughly 2% of cabbage weight)
- Optional: 1 teaspoon caraway seeds, dill seeds, or black peppercorns
Instructions

- Remove the outer leaves of the cabbage and set one or two aside (you will use these later as a cover). Cut the cabbage into quarters, remove the core, and shred it into thin strips.
- Place the shredded cabbage in a large mixing bowl. Sprinkle the salt evenly over the top.
- Using clean hands, massage and squeeze the cabbage firmly for 5 to 10 minutes. The cabbage will soften, reduce in volume, and release a good amount of brine. You want a small pool of liquid at the bottom of the bowl.
- Add the sliced garlic (and any optional spices) and toss everything together until evenly distributed.
- Pack the cabbage mixture tightly into a clean wide-mouth quart jar or fermentation crock. Press down firmly after each handful so the brine rises above the cabbage. Leave about an inch of headspace at the top.
- Place one of the reserved outer leaves on top of the packed cabbage, tucking it in around the edges to keep the shredded pieces submerged. Weigh it down with a fermentation weight, a small jar filled with water, or a zip-lock bag filled with brine.
- Cover the jar loosely with a lid (do not seal it airtight, as gases need to escape) or use an airlock lid if you have one. Place the jar on a plate to catch any overflow.
- Set the jar in a spot away from direct sunlight at room temperature (65 to 75 degrees F). Check it daily for the first few days, pressing the cabbage back down if it floats above the brine.
- Start tasting around day 5 to 7. Spring cabbage ferments faster than dense winter cabbage. Once it reaches your preferred level of tanginess, remove the weight and cover leaf, seal with a tight lid, and move to the refrigerator.
Storage Notes
Stored in the refrigerator and kept submerged in its brine, this garlic sauerkraut will last for several months. The flavor continues to develop slowly even in the fridge, becoming more complex over time. If you ever spot a white film on the surface, that is kahm yeast and is harmless. Just skim it off and keep eating.
Frequently Asked Questions
Can you add garlic to sauerkraut?
Yes, and you should. Raw garlic mellows considerably during fermentation. It loses the harsh, burning quality and develops a softer, almost sweet depth. Thin slices work better than whole cloves because they distribute more evenly and release more flavor into the brine.
How long does homemade sauerkraut take to ferment?
With spring cabbage, you can expect a basic ferment in about 7 days at room temperature. For a deeper, more sour flavor, let it go 2 to 3 weeks. Warmer kitchens speed things up, while cooler rooms slow the process down but often produce a crunchier result. Taste it regularly and refrigerate when it hits the flavor you enjoy.
What kind of salt should you use for sauerkraut?
Non-iodized salt is a must. Sea salt and kosher salt are the two best options. Iodine in table salt can interfere with the beneficial bacteria responsible for fermentation, and anti-caking agents can make the brine cloudy. Stick with a clean, additive-free salt for the best results.
How long does homemade sauerkraut last in the fridge?
Months, easily. As long as the sauerkraut stays submerged in its brine and the jar remains sealed, it will keep in the refrigerator for 6 months or longer. The cold slows fermentation almost to a halt, so the flavor stays relatively stable once you move it from the counter to the fridge.
What is the white film on top of my sauerkraut?
That thin white layer is kahm yeast. It looks alarming but it is completely harmless. Just spoon it off and discard it. Your sauerkraut underneath is still fine to eat. Mold, on the other hand (fuzzy, colorful spots), is a reason to toss the batch and start over.
Key Takeaways
- Spring cabbage ferments faster than winter cabbage, often ready in 5 to 7 days.
- Use 2% salt by weight of cabbage for consistent results every time.
- Fresh garlic adds a mellow sweetness after fermentation that pairs well with the tang.
- Keep everything submerged under the brine to avoid mold.
- Store finished sauerkraut in the fridge for up to 6 months.
Wrapping Up
This garlic sauerkraut recipe is one of those things you make once and then wonder why you ever bothered buying it from the store. The ingredients are cheap, the process is forgiving, and the result is a jar of something that tastes alive and personal in a way no mass-produced version can match. If you are looking for more ways to round out a meal, check out these easy side dish ideas or plan your next gathering with some crowd-friendly menu ideas. Happy fermenting.
Last update on 2026-10-04 / Affiliate links / Images from Amazon Product Advertising API