
Minimalist kitchen organization starts with fewer duplicates, fewer non-kitchen items, clearer counters, and task zones that make cooking easier. Use simple storage tools like drawer dividers, clear bins, turntables, pullouts, and knife storage only when they solve a real access problem. The goal is a calmer kitchen that still supports daily meals, not an empty showroom.
A minimalist kitchen should feel easier to cook in, not harder. If every surface is bare but the drawers are chaotic, the system is not actually calm.
The ideas below focus on reducing visual noise, assigning better homes, protecting prep space, and making ordinary routines simpler. Declutter first, measure second, and buy organizers only when the storage problem is clear.

Top Recommended Products


You Might Also Like These Blog Posts
- Kitchen Cabinet Organization
- Kitchen Drawer Organizers
- Pantry Organization Ideas
- Food Container and Lid Organization Ideas
- How to Organize Under the Kitchen Sink
1. Counters That Stay Ready for Prep

A minimalist counter should behave like a work surface first. Keep the chopping area, stove landing zone, and sink side open enough for real prep, then decide which one or two items genuinely earn a daily place out.
I would start by removing papers, backup bottles, extra appliances, and decorative pieces that make cooking feel crowded. If a coffee maker or oil tray stays, give it a tight boundary so the rest of the counter can breathe. That small clear landing area is what makes weekday cooking feel calmer before the first drawer even opens.
2. An Appliance Garage for Counter Calm

An appliance garage is useful when a toaster, blender, mixer, or coffee machine gets used often but makes the counter feel busy. The cabinet needs outlets, heat clearance, crumb cleanup, and enough height for lids or attachments.
Do not hide an appliance so deeply that you stop using it. The best version opens easily, has a landing spot nearby, and lets the door close once breakfast or prep is done, leaving the counter calm again. Keep a small brush or cloth inside so crumbs do not quietly make the cabinet annoying.
3. A Magnetic Knife Strip Instead of a Block
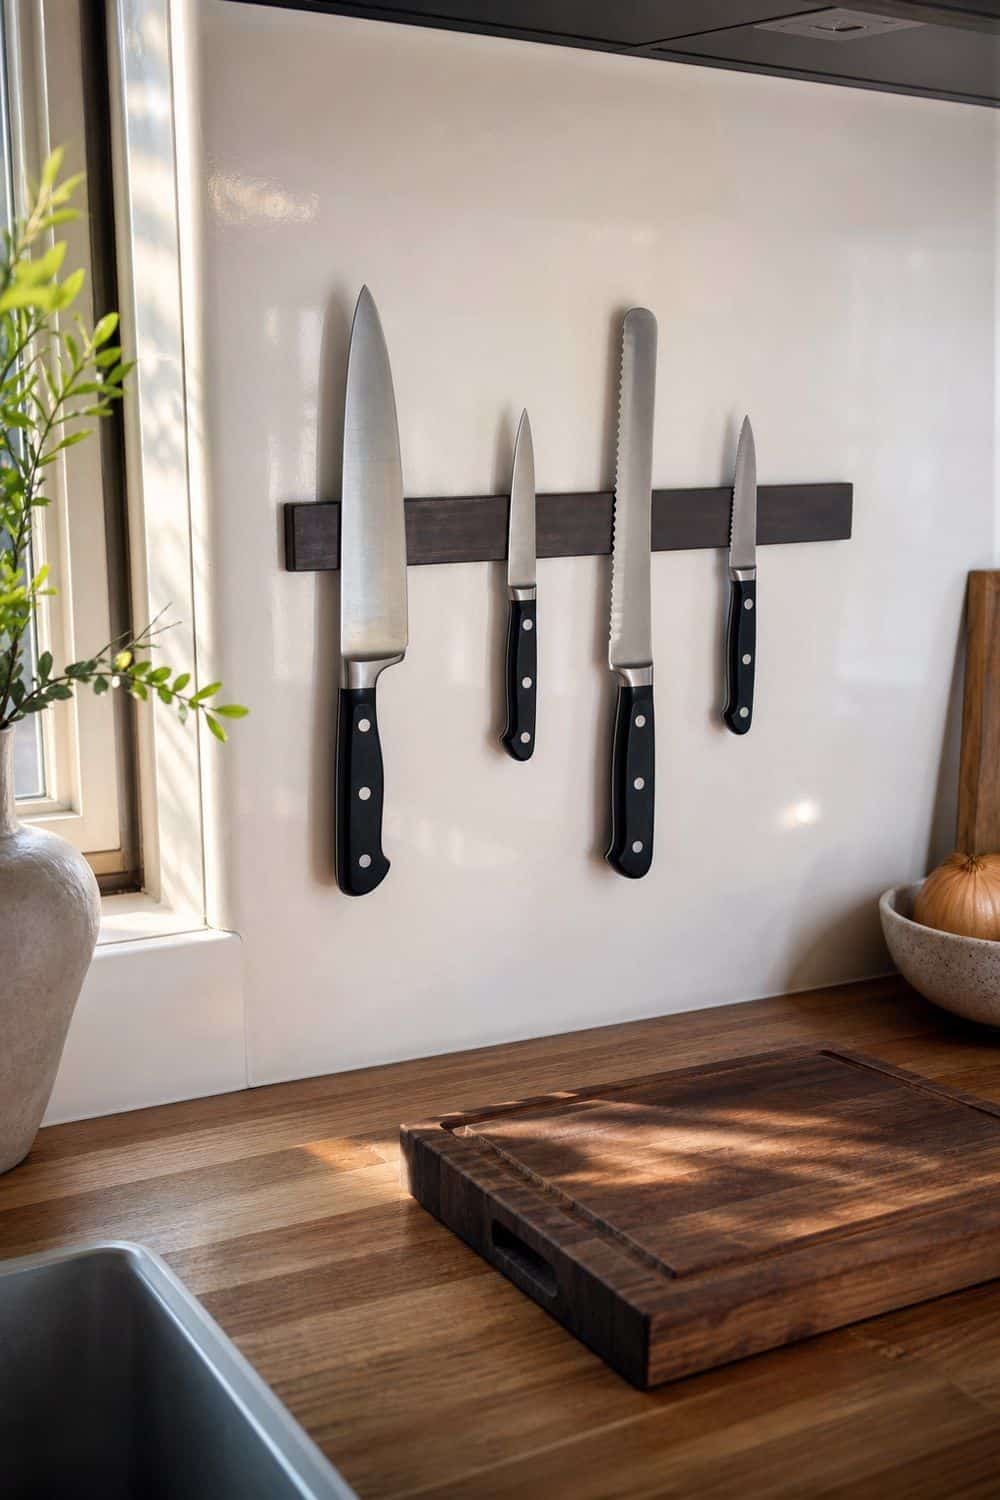
A magnetic knife strip can replace a bulky knife block, but the location is more important than the minimalist look. Mount it where knives are easy to grab while cooking, away from children, elbow traffic, and spots where blades could be knocked loose.
Keep only the knives you actually use: chef’s knife, paring knife, bread knife, and maybe one specialty blade. A strip crowded with duplicates starts feeling like wall clutter, just higher up. If the strip looks crowded, the knife collection needs sorting before the wall needs more hardware.
4. Drawer Dividers for Everyday Tools

Drawer dividers help when they match the way your hand cooks. Give daily tools their own lanes: spatulas, tongs, measuring spoons, peelers, openers, and prep pieces that otherwise jam together right when dinner starts.
Empty the drawer before measuring, then put back only the tools that earn the easiest slots. A divider should make cleanup quicker after cooking, not create tiny compartments for gadgets you already avoid. Leave one slim open slot for the odd tool that appears during busy cooking.
5. One Drawer for Cooking Tools

A one-drawer cooking tool limit is a quiet way to stop utensil creep. Choose the drawer closest to the stove or main prep area, then keep only the pieces you reach for weekly: spoon, spatula, tongs, whisk, peeler, opener, and measuring tools.
Store specialty tools elsewhere or let them go if they only survive because they fit. The limit works because it turns the drawer into a daily kit instead of a museum of almost-useful things. When the drawer closes easily, you know the limit is doing its quiet little job.
6. Duplicate Utensils and Gadgets Audit

Duplicate utensils and gadgets are usually where minimalist organization begins. Pull out extra spatulas, chipped measuring cups, unfamiliar blades, novelty slicers, warped containers, and tools you bought for one recipe years ago. Keep the best version of each job, not every version. If two tools do the same thing, choose the one that washes easily, fits your drawer, and feels good in your hand during a normal week. The goal is a drawer that answers quickly, not a backup drawer hiding in plain sight.
7. Cabinets Organized by Task Zone

Cabinets feel calmer when each one supports a task instead of a category that sounds tidy but makes you walk around. Put mugs near coffee, oils near cooking, containers near leftovers, plates near serving, and mixing bowls near prep.
A minimalist kitchen can still have full cabinets; the difference is that each cabinet answers one routine. If a shelf mixes baking, lunch boxes, candles, and spare mugs, split the jobs before buying another organizer. That way the cabinet layout follows the meal, not the other way around.
8. Pull-Out Shelves for Deep Cabinets

Pull-out shelves make deep cabinets easier because the back stops becoming a hiding place. Use them for pots, small appliances, mixing bowls, pantry backstock, or cleaning supplies that are heavy enough to be annoying when stacked.
Measure around hinges, pipes, and shelf lips before choosing hardware. A pull-out that almost fits wastes more space than it saves, while one sturdy shelf can make a lower cabinet feel twice as usable. Use the heaviest items on the lowest pull-out so the cabinet still feels steady.
9. Turntables for Oils and Condiments
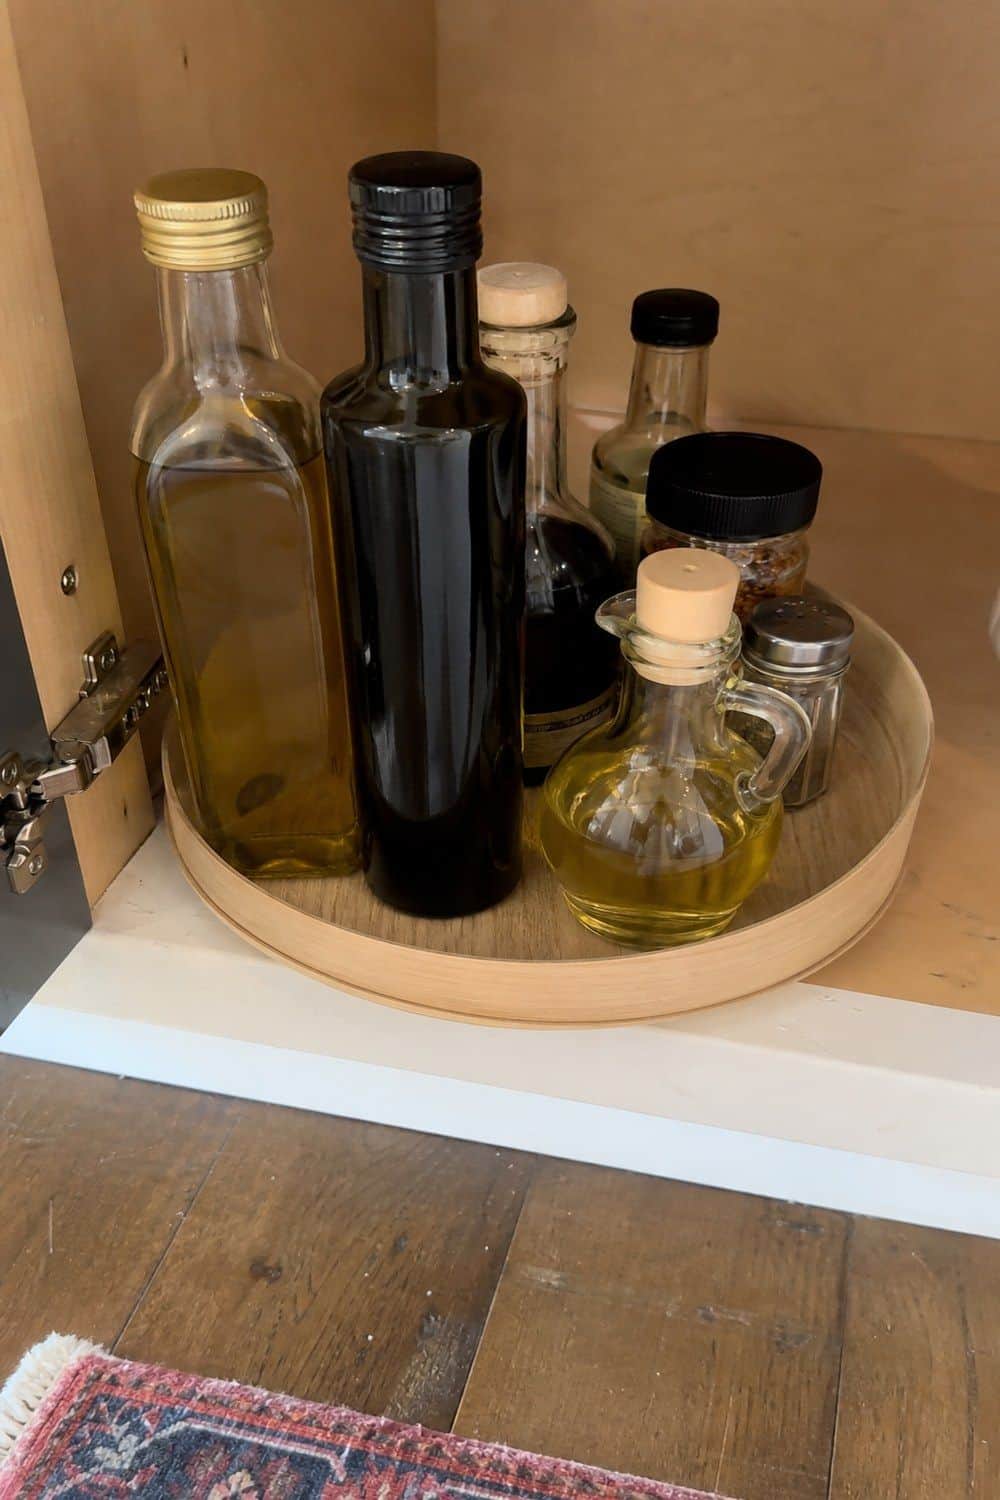
Turntables are helpful for small bottles that multiply: oils, vinegars, sauces, extracts, vitamins, or condiments. The spin keeps labels visible, so you notice what is almost empty before buying another duplicate. Use one turntable per job and resist loading it like a lazy junk drawer. If bottles wobble, leak, or block each other, split the group or move the rarely used pieces to backstock. A shallow rim also keeps oily bottles from drifting into the rest of the shelf between weeknight dinners.
10. Pantry Categories You Can Scan

A minimalist pantry still needs categories, just fewer of them. Try breakfast, snacks, grains, cans, baking, dinner bases, and backstock before getting more detailed. Broad categories are easier to maintain after a rushed grocery trip.
Use clear bins where seeing the food helps and closed bins where packaging looks busy. The goal is not a perfect shelf photo; it is knowing what you have before you buy more pasta or crackers. If a category keeps overflowing, it probably needs less food or a bigger home.
11. Refill-Only Decanted Staples

Decant only the staples you refill often enough to justify the extra step. Flour, sugar, rice, oats, coffee, lentils, and pasta can make sense; random crackers and half-used novelty grains usually do not. Keep the original cooking time, expiration date, or allergen note somewhere discreet. Minimalist decanting should make the pantry easier to use, not turn every grocery item into a tiny admin project. A little restraint here keeps the pantry useful instead of precious on a normal shopping week.
12. Tiered Rows for Spice Jars

A tiered spice rack helps when the problem is visibility, not when the spice collection is already too big. Keep the everyday spices in the front row and move holiday or specialty jars somewhere less precious.
Check the height before buying, especially inside cabinets with adjustable shelves. The rack should let you read labels without pulling out ten jars, and it should leave room for your hand to grab the one you need. Group spicy, baking, and everyday seasonings separately if one rack has enough room.
13. Food Containers With Matched Lids

Food containers stay minimalist when lids and bases are stored as matched families. Keep one or two shapes that stack well, then recycle warped lids, stained bases, and lonely pieces that no longer seal. I like lids upright in a small divider and containers nested by size. If you have to fight the cabinet every time you pack leftovers, the collection is too large or too mixed. This is one of those quiet fixes you feel every time leftovers need a home.
14. Daily Dishes in a Smaller Set

A minimal dishware set should fit the household you actually feed, plus a small buffer. Everyday plates, bowls, glasses, and mugs deserve the easiest shelf; special occasion extras can live higher or somewhere else.
Choose enough dishes to avoid constant washing, but not so many that cabinets become a parking lot for stacks nobody touches. Matching is less important than being able to unload the dishwasher without rearranging everything. Open shelf space beside the stack is more useful than another set of rarely used bowls.
15. Vertical Storage for Cutting Boards and Sheet Pans

Vertical storage is ideal for cutting boards, sheet pans, cooling racks, muffin tins, and serving trays because flat stacks get heavy fast. A divider lets you slide out one piece without lifting the whole pile.
Place the divider near the oven or prep area, and keep only the pans that still bake evenly. Bent pans and duplicate boards steal prime space from the tools you actually use. The cabinet should let you grab one pan without starting a metal avalanche.
16. Under-Sink Storage With Fewer Products

Under-sink storage should hold active cleaning pieces, not every bottle that has ever entered the house. Keep dish soap, dishwasher tabs, sponges, cloths, trash bags, and one or two cleaners in a caddy or pullout.
Work around pipes before choosing bins, and leave the back visible enough to spot leaks. A calm sink cabinet is partly about access and partly about not hiding problems behind a wall of supplies. Keep a flashlight nearby if this cabinet also hides plumbing or shutoff valves.
17. Drying Rack Inside the Sink

An in-sink drying rack helps if dishes are occasional and the counter is short on space. Choose one that fits the sink well, drains cleanly, and can be removed when you need the full basin. If dishes dry there all day, the rack becomes constant visual clutter. Put dry pieces away before the next meal so the sink returns to being a cleaning zone instead of storage. A rack that disappears after dishes dry is usually the most minimalist version.
18. Mail and Keys Away From the Kitchen

Mail and keys make kitchens feel messy because they are not kitchen items. Give them a landing spot near the door, hallway, or entry console so the counter stops collecting envelopes, receipts, sunglasses, and loose change.
If the kitchen is truly the only drop zone, use one small tray and empty it daily. Minimalism here is less about a perfect entry system and more about protecting food prep space. The kitchen should not have to solve every household landing-zone problem.
19. A Small Coffee Station Behind Doors

A coffee station behind doors keeps mugs, filters, beans, tea, sweeteners, and backup pods from spreading across the counter. It feels easiest when the door opens fully and the machine has safe clearance.
Keep the station small enough to reset while the coffee brews. A few favorite mugs, one container for refills, and a wipeable tray are usually better than turning the cabinet into a cafe display. If mugs start multiplying here, choose the favorites and move the extras before the cabinet feels crowded again.
20. A Tray for Daily Counter Pieces

One daily-use tray can hold the few things that truly need to stay out: salt, oil, pepper, a small utensil crock, or coffee tools. The tray gives those pieces a boundary and makes wiping easier. Choose a tray that is easy to lift with one hand. If mail, vitamins, keys, and random lids keep joining it, the tray is telling you the kitchen needs another drop zone. The boundary works only when everything on it has a daily reason to be there.
21. The One-In One-Out Kitchen Rule

A one-in one-out rule keeps minimalist storage from slowly filling back up. When a new mug, water bottle, gadget, pan, or container comes in, choose what leaves before the new item joins the cabinet. This helps most in categories that already tend to multiply. It is not about being strict for sport; it is about keeping drawers and shelves from becoming crowded again by default. It also makes shopping slower in the best way, because every purchase has to answer for itself.
22. The 20/20 Rule for Just-in-Case Items

The 20/20 rule is useful for just-in-case kitchen items that cost under $20 and could be replaced in about 20 minutes. Extra peelers, duplicate measuring cups, novelty tools, and spare mugs often fall into this category. Use the rule gently, not recklessly. Keep safety tools, sentimental pieces, and anything genuinely hard to replace, but question the cheap backups that crowd the best drawers for years. That permission can free up a surprising amount of prime drawer space at home.
23. Baking Supplies in One Quiet Zone

A minimalist baking zone should gather flour, sugar, baking powder, vanilla, chocolate chips, measuring cups, parchment, and mixing bowls in one place. Occasional baking feels easier when the pieces are together instead of scattered.
Keep refills lower and daily baking tools at hand height. If you bake only twice a year, the zone can be small; it does not need the same prime storage as weekday cooking tools. The zone should make baking easier, not promote supplies to everyday status.
24. A Weekly Fridge and Pantry Reset

A weekly fridge and pantry check keeps minimalist organization from becoming a one-day project. Pull forward food that needs using, wipe one sticky shelf, toss unsafe leftovers, and note what you actually need before shopping.
Do the check before groceries arrive, not after. Empty space in the fridge or pantry is helpful because it gives new food a place to land without burying what is already there. Five quiet minutes here can prevent a much larger pantry cleanout later in the week.
25. Empty Space That Has a Job
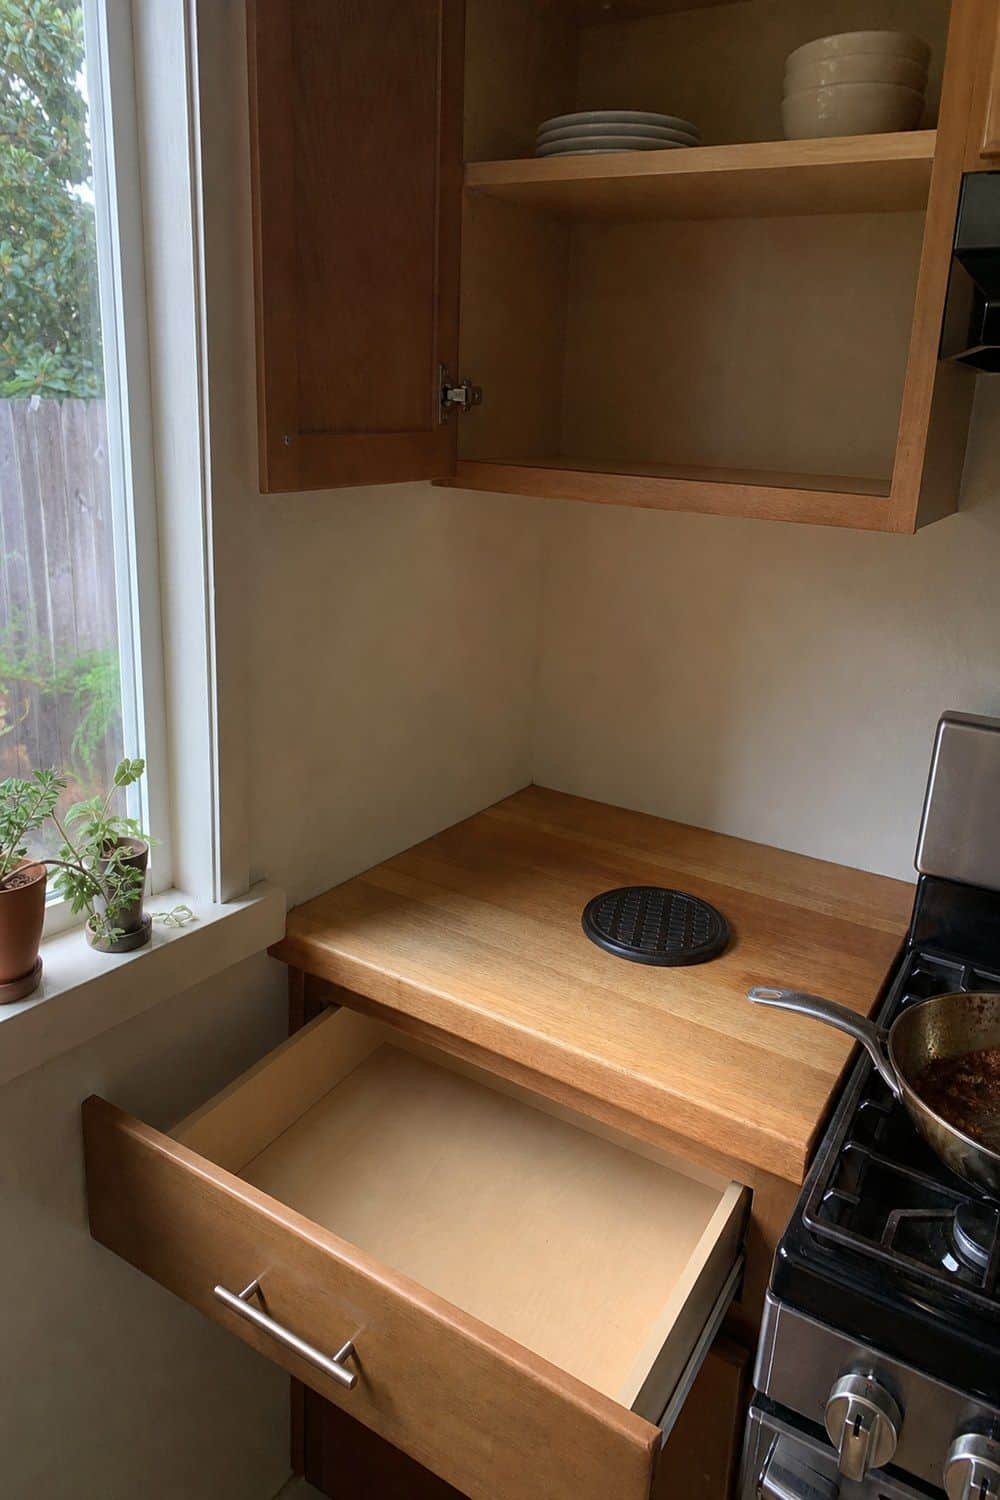
Leaving empty space on purpose is the part of minimalist kitchen organization that feels strange at first. A shelf, drawer, or counter does not have to be filled just because it has room.
That open space makes it easier to unload groceries, set down a hot pan, put away dishes, or notice when a category is growing again. In a working kitchen, the gap is not wasted; it is what lets the system keep breathing. Once you get used to the space, filling it again starts to feel unnecessary.
How to Start Without Overbuying Organizers
Minimalist kitchen organization starts most cleanly with one counter, one drawer, then one cabinet. Remove the pieces that do not belong, give daily tools the shortest route back home, and buy organizers only after the remaining items prove they need a divider, shelf, or bin.
FAQ About Minimalist Kitchen Organization
How do you organize a minimalist kitchen?
Start by decluttering duplicates, unused gadgets, and non-kitchen items. Clear the counters, group items by task zone, and use simple organizers only where they solve access problems. A minimalist kitchen should make cooking, cleanup, and restocking easier rather than simply hiding clutter behind cabinet doors.
What should be on minimalist kitchen counters?
Keep counters mostly clear, with only truly daily items, one contained tray, or one functional decor piece. A coffee maker, oil tray, fruit bowl, or utensil crock can stay if it earns its place. Papers, extra appliances, keys, and random bottles usually need homes elsewhere.
How do I declutter kitchen cabinets?
Remove everything from one cabinet at a time, purge unused or duplicate items, group what remains by use, and place daily items in easy reach. Use pullouts, dividers, or shelf risers only for hard-to-access zones. Rarely used pieces can move higher, lower, or outside the kitchen.
What pantry containers are best for a minimalist kitchen?
Clear bins are useful for categories like snacks, baking, breakfast, and dinner staples. Airtight containers suit staples you refill often, such as flour, rice, oats, pasta, or cereal. You do not need to decant everything. Original packaging can be simpler for items that change often.
How do I keep kitchen drawers organized?
Measure drawers first, declutter tools, then use dividers or trays to give each category a section. Keep everyday cooking tools within a clear boundary, such as one drawer. If the drawer cannot close or tools pile on top of each other, duplicates and rarely used items need to move.
How can I make a limited kitchen feel minimalist?
Remove non-kitchen items, limit counter appliances, use vertical storage, reduce duplicates, and keep only high-use items in prime zones. When storage is limited, every drawer and cabinet matters. The fastest improvement is usually clearing counters and relocating items that do not support cooking.
What kitchen items should minimalists get rid of?
Common items to remove include duplicate utensils, unused gadgets, mismatched containers, orphaned lids, expired food, excessive mugs, broken tools, and rarely used appliances kept on counters. Keep what supports your real cooking habits, not what feels useful in theory.
Is decanting necessary for minimalist pantry organization?
No. Decant only staples you use and refill often. For rotating snacks, specialty ingredients, or items with important cooking instructions, original packaging may be easier. Minimalist pantry organization should reduce work, not create a shelf of anonymous containers.
Final Thoughts
Minimalist kitchen organization should start with sorting, not shopping. Clear the counters, reduce duplicates, build task zones, and choose only the storage tools that make daily cooking easier and calmer.
Last update on 2026-09-17 / Affiliate links / Images from Amazon Product Advertising API