
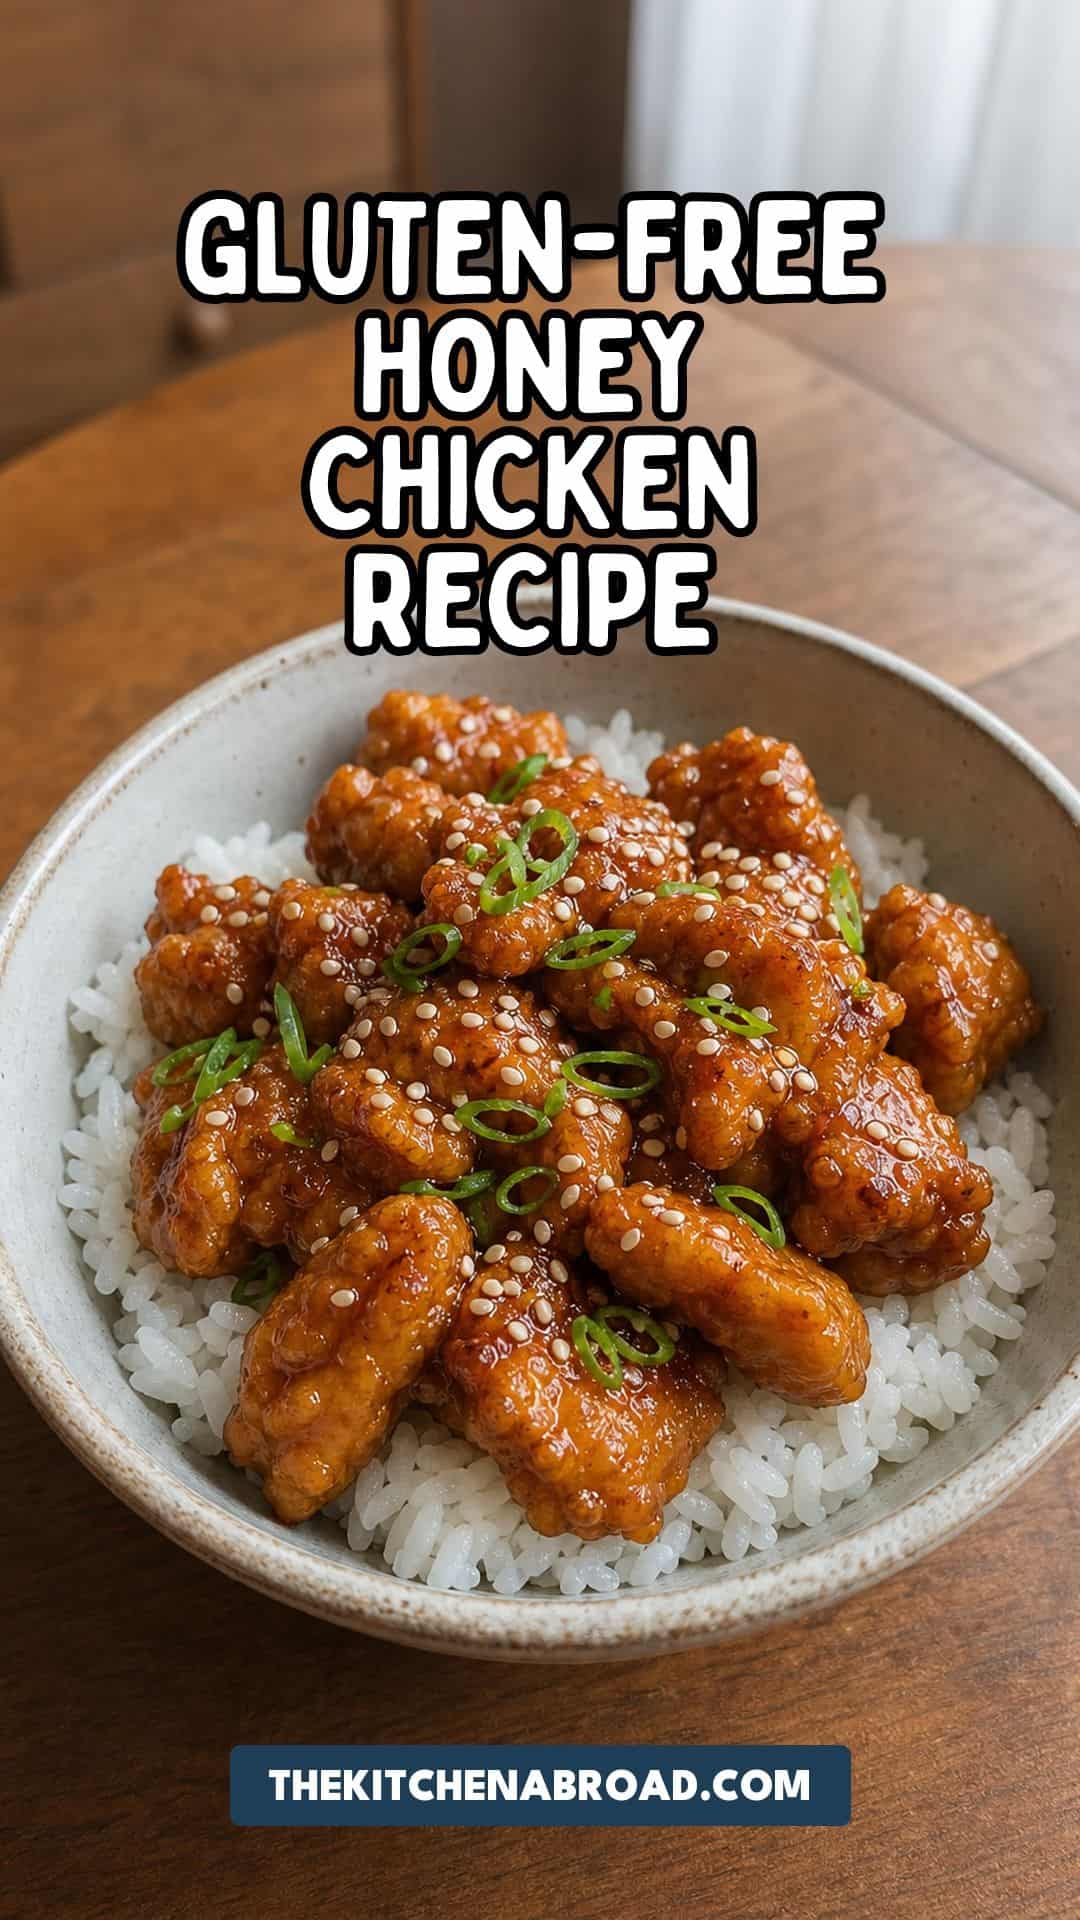
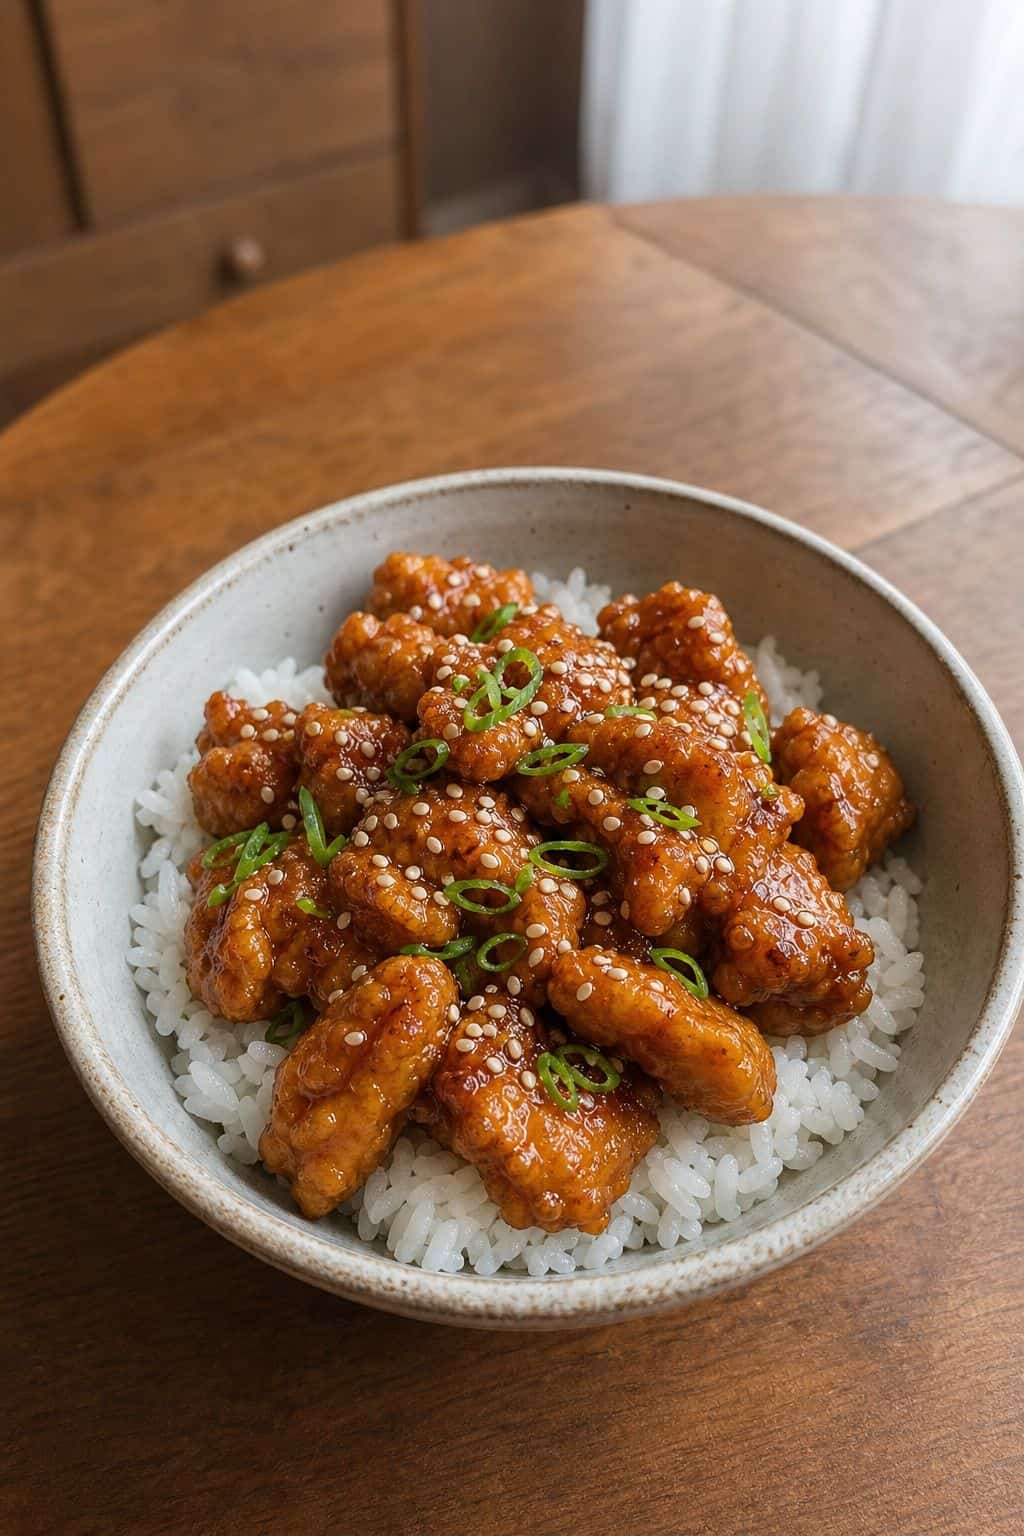
This gluten-free crispy honey chicken recipe delivers golden, crunchy chicken coated in a sticky, sweet-savory honey garlic sauce, all without a speck of wheat. The secret is rice flour for coating and tamari in the sauce. It comes together in 35 minutes and tastes better than takeout.
Crispy honey chicken is one of those dishes that sounds like it should be a restaurant-only thing. Takeout containers, oil-slicked boxes, the specific satisfaction of biting through a crackly coating into tender, juicy chicken. But here is what nobody tells you: it is genuinely easy to make at home, and the gluten-free version is just as crispy as the original. This gluten-free crispy honey chicken recipe has been on my regular weekly rotation for years now.
The swap that makes it work is rice flour instead of all-purpose. Rice flour fries up lighter and crispier than wheat flour. No graininess, no gumminess. Just a thin, shattery coat that holds up even once the honey sauce goes on. The sauce uses tamari instead of soy sauce, which is naturally gluten-free and has the same depth of flavor.
Cooking on a budget and tracking your grocery spend?
The Ultimate Budget Planner keeps your food spending organized, week by week. Get it here →
Recommended Kitchen Tools for This Recipe


Why Gluten-Free Crispy Honey Chicken Actually Works
The reason most gluten-free fried chicken fails is the coating. Wheat flour has gluten strands that puff and set into a rigid shell when fried. Gluten-free alternatives don’t behave the same way, which is why so many recipes produce chicken that is either dense, cakey, or just not crispy. Rice flour is different. It is fine, starchy, and fries up ultra-light, which is why it is the standard coating for tempura and a lot of East Asian fried chicken.
Add a small amount of baking soda to the marinade and you get a two-for-one: the baking soda tenderizes the meat by raising its pH, making the proteins relax, and it also helps the coating brown faster. The result is chicken that is genuinely tender inside and properly crunchy outside. It stays crispy for long enough to get the sauce on and plate it without everything turning soggy.
For more gluten-free cooking inspiration, this Chinese Tomato and Egg Recipe is another quick weeknight dish that is naturally wheat-free and takes under 20 minutes.
Tips for the Crispiest Gluten-Free Honey Chicken
Batch-fry without crowding. This is the most important rule. If you pile the chicken in, the temperature of the oil drops and the chicken steams instead of fries. Steam is the enemy of crispiness. Cook in two or three batches, leaving space between each piece. The extra minute it takes is absolutely worth it. Your patience is what separates genuinely crispy chicken from a soggy disappointment.
Dry the chicken thoroughly after rinsing off the baking soda. Pat with paper towels until the surface is completely dry. Any moisture on the surface of the chicken turns to steam in the pan, softening the coating from the inside. Dry chicken, crispy coating. Wet chicken, disappointingly soft result. Take an extra 30 seconds with the paper towels and you will taste the difference immediately.
Variations: add chili flakes to the honey sauce for heat, swap honey for maple syrup if you prefer a milder sweetness, or stir in a spoonful of Dijon mustard for a sharper flavor. You can also toss in steamed broccoli or snap peas when you add the chicken back into the sauce for a complete one-pan meal. For another dish that pairs well with steamed vegetables, this Garlic Lemon Parmesan Broccolini Pasta makes a great side on pasta nights.
For reheating: an air fryer at 375F for 4 to 5 minutes brings back the crispiness better than a microwave ever will. The microwave makes the coating soft. The air fryer makes it crackly again. Always worth the extra step.
Recipe: Gluten-Free Crispy Honey Chicken
Prep Time: 15 minutes | Cook Time: 20 minutes | Total Time: 35 minutes | Servings: 4
Ingredients
For the chicken:
- 500g (about 1 lb) chicken thighs or breast, cut into bite-sized pieces
- 1/4 tsp baking soda
- 1/2 cup rice flour (or tapioca starch)
- 1/2 tsp garlic powder
- 1/2 tsp salt
- 1/4 tsp black pepper
- 3 tbsp neutral oil for frying
For the honey sauce:
- 3 tbsp honey
- 2 tbsp tamari (gluten-free soy sauce)
- 1 tbsp rice vinegar
- 3 cloves garlic, minced
- 1 tsp fresh ginger, grated
- 1 tsp sesame oil
- 1 tsp cornstarch or tapioca starch
- 2 tbsp water
To serve:
- Sesame seeds for garnish
- 2 scallions, thinly sliced
- Steamed rice
Instructions
- Toss chicken pieces with baking soda. Let rest 15 minutes, then rinse thoroughly under cold water. Pat completely dry with paper towels.
- Mix rice flour, garlic powder, salt, and pepper in a shallow bowl. Add chicken pieces and toss until evenly coated. Shake off any excess.
- Heat 2 tbsp oil in a wok or large skillet over medium-high. Fry chicken in batches, leaving space between pieces. Cook 4 to 5 minutes per side until deeply golden and cooked through. Transfer to a wire rack or paper towels. Repeat with remaining chicken, adding more oil as needed.
- Whisk together honey, tamari, rice vinegar, garlic, ginger, sesame oil, cornstarch, and water in a small bowl.
- Wipe the pan clean, reduce heat to medium. Pour in the sauce. Simmer 1 to 2 minutes, stirring, until thickened and glossy.
- Add all the fried chicken back to the pan. Toss quickly to coat every piece. Remove from heat immediately so the coating stays crispy.
- Top with sesame seeds and scallions. Serve at once over steamed rice.
Notes
- Chicken thighs vs breast: Thighs stay juicier and more flavorful when fried. Breast works fine but watch the timing, it overcooks faster.
- Tapioca starch: Gives a slightly crispier, more translucent coat than rice flour. Both work well.
- Storage: Keep in an airtight container in the fridge for up to 4 days.
- Reheating: Air fryer at 375F for 4 to 5 minutes restores crispiness. Microwave makes it soft.
- Sweetness level: Reduce honey to 2 tbsp for a less sweet, more savory sauce.
Frequently Asked Questions
What flour makes gluten-free fried chicken crispy?
Rice flour is the best option. It fries up lighter and crispier than most gluten-free blends. Tapioca starch also works and gives a slightly shinier, more translucent coating. Avoid almond flour or oat flour for this recipe as they don’t give the same crunch.
Is tamari the same as soy sauce?
Tamari is a Japanese soy sauce made with little to no wheat, which makes it naturally gluten-free. The flavor is slightly richer and less salty than regular soy sauce. It is a direct substitute in this recipe. Coconut aminos work too for a soy-free version, though the flavor is slightly milder and sweeter overall.
Can I bake this instead of frying?
You can, though it won’t get as crispy. If baking, coat the chicken in rice flour, spray lightly with oil, and bake at 425F for 20 to 25 minutes, flipping halfway. Broil for the last 2 minutes for more color. Add the sauce in the last 5 minutes of baking or toss after.
How do I keep the chicken crispy after adding the sauce?
Work fast. Add the chicken to the sauce just before serving and toss quickly. The longer chicken sits in sauce, the softer the coating gets. If you’re meal prepping, store the fried chicken and sauce separately, then toss just before eating and reheat in an air fryer.
Can I make this recipe dairy-free too?
This recipe is already dairy-free. There is no butter or cream in the ingredients. It is also naturally egg-free if you skip any egg wash variations. This makes it a great option for serving people with multiple dietary restrictions alongside this simple pasta option for the cheese-lovers at the table.
Key Takeaways
- Rice flour or tapioca starch is the key to genuinely crispy gluten-free chicken.
- Baking soda tenderizes the meat and helps the coating brown faster.
- Batch-fry without crowding the pan or the coating will steam, not crisp.
- Tamari replaces soy sauce for a wheat-free sauce with the same depth.
- Toss chicken in sauce right before serving to keep the coating crispy.
- Leftovers reheat best in an air fryer, not a microwave.
Final Thoughts
Gluten-free crispy honey chicken is one of those recipes that proves you don’t have to give anything up. The coating is genuinely crispy. The sauce is properly sticky and bright. The whole thing takes 35 minutes from fridge to table. Once you figure out the rice flour trick and stop crowding the pan, this recipe becomes something you’ll make on repeat. Pair it with steamed rice and whatever vegetables you have around, and you’ve got a complete, satisfying dinner that beats takeout on every count. If you love easy egg-based weeknight dishes, try the Gluten-Free Crispy Honey Chicken alongside the Deviled Eggs with Smoked Paprika for a crowd-pleasing spread.
Gluten-Free Crispy Honey Chicken
This gluten-free crispy honey chicken recipe delivers golden, crunchy chicken coated in a sticky, sweet-savory honey garlic sauce, all without a speck of wheat. The secret is rice flour for coating and tamari in the sauce.
Ingredients
- 500g (about 1 lb) chicken thighs or breast, cut into bite-sized pieces
- 1/4 tsp baking soda
- 1/2 cup rice flour (or tapioca starch)
- 1/2 tsp garlic powder
- 1/2 tsp salt
- 1/4 tsp black pepper
- 3 tbsp neutral oil for frying
- 3 tbsp honey
- 2 tbsp tamari (gluten-free soy sauce)
- 1 tbsp rice vinegar
- 3 cloves garlic, minced
- 1 tsp fresh ginger, grated
- 1 tsp sesame oil
- 1 tsp cornstarch or tapioca starch
- 2 tbsp water
- Sesame seeds for garnish
- 2 scallions, thinly sliced
- Steamed rice
Instructions
- Toss chicken pieces with baking soda. Let rest 15 minutes, then rinse thoroughly under cold water. Pat completely dry with paper towels.
- Mix rice flour, garlic powder, salt, and pepper in a shallow bowl. Add chicken pieces and toss until evenly coated. Shake off any excess.
- Heat 2 tbsp oil in a wok or large skillet over medium-high. Fry chicken in batches, leaving space between pieces. Cook 4 to 5 minutes per side until deeply golden and cooked through. Transfer to a wire rack or paper towels.
- Whisk together honey, tamari, rice vinegar, garlic, ginger, sesame oil, cornstarch, and water in a small bowl.
- Wipe the pan clean, reduce heat to medium. Pour in the sauce. Simmer 1 to 2 minutes, stirring, until thickened and glossy.
- Add all the fried chicken back to the pan. Toss quickly to coat every piece. Remove from heat immediately so the coating stays crispy.
- Top with sesame seeds and scallions. Serve at once over steamed rice.
Notes
Chicken thighs vs breast: Thighs stay juicier and more flavorful when fried. Breast works fine but watch the timing, it overcooks faster.
Tapioca starch: Gives a slightly crispier, more translucent coat than rice flour. Both work well.
Last update on 2026-08-08 / Affiliate links / Images from Amazon Product Advertising API