
Learning how to make cashew butter at home comes down to one stubborn rule: the cashews are not done when they look done. Roasted unsalted cashews pass through four distinct stages in a 14-cup food processor , crumbs at minute two, paste by minute six, a dense dry ball around minute eight, and finally smooth pourable butter somewhere between minute twelve and fourteen. Most cooks quit at the ball stage thinking the machine broke. It didn’t. Two cups of cashews, no added oil, a pinch of flaky salt at the end. About fourteen minutes of patience between you and a jar of cashew butter that costs a third of the store-bought version.
Most cashew butter recipes stop at minute eight or nine, exactly where the cashews collect into a single dry-looking ball against the side of the processor bowl and look completely broken. That isn’t done. That is stage three of four , the false summit, the patience point, the place where almost every first-timer pulls the plug and adds oil to fix what isn’t actually wrong. The move is to keep the processor running. Somewhere between minute twelve and fourteen, the cashews finally release their natural oils and the whole thing turns smooth and pourable. Roasted unsalted cashews, two cups minimum, one machine, no added oil, a pinch of flaky salt at the end.
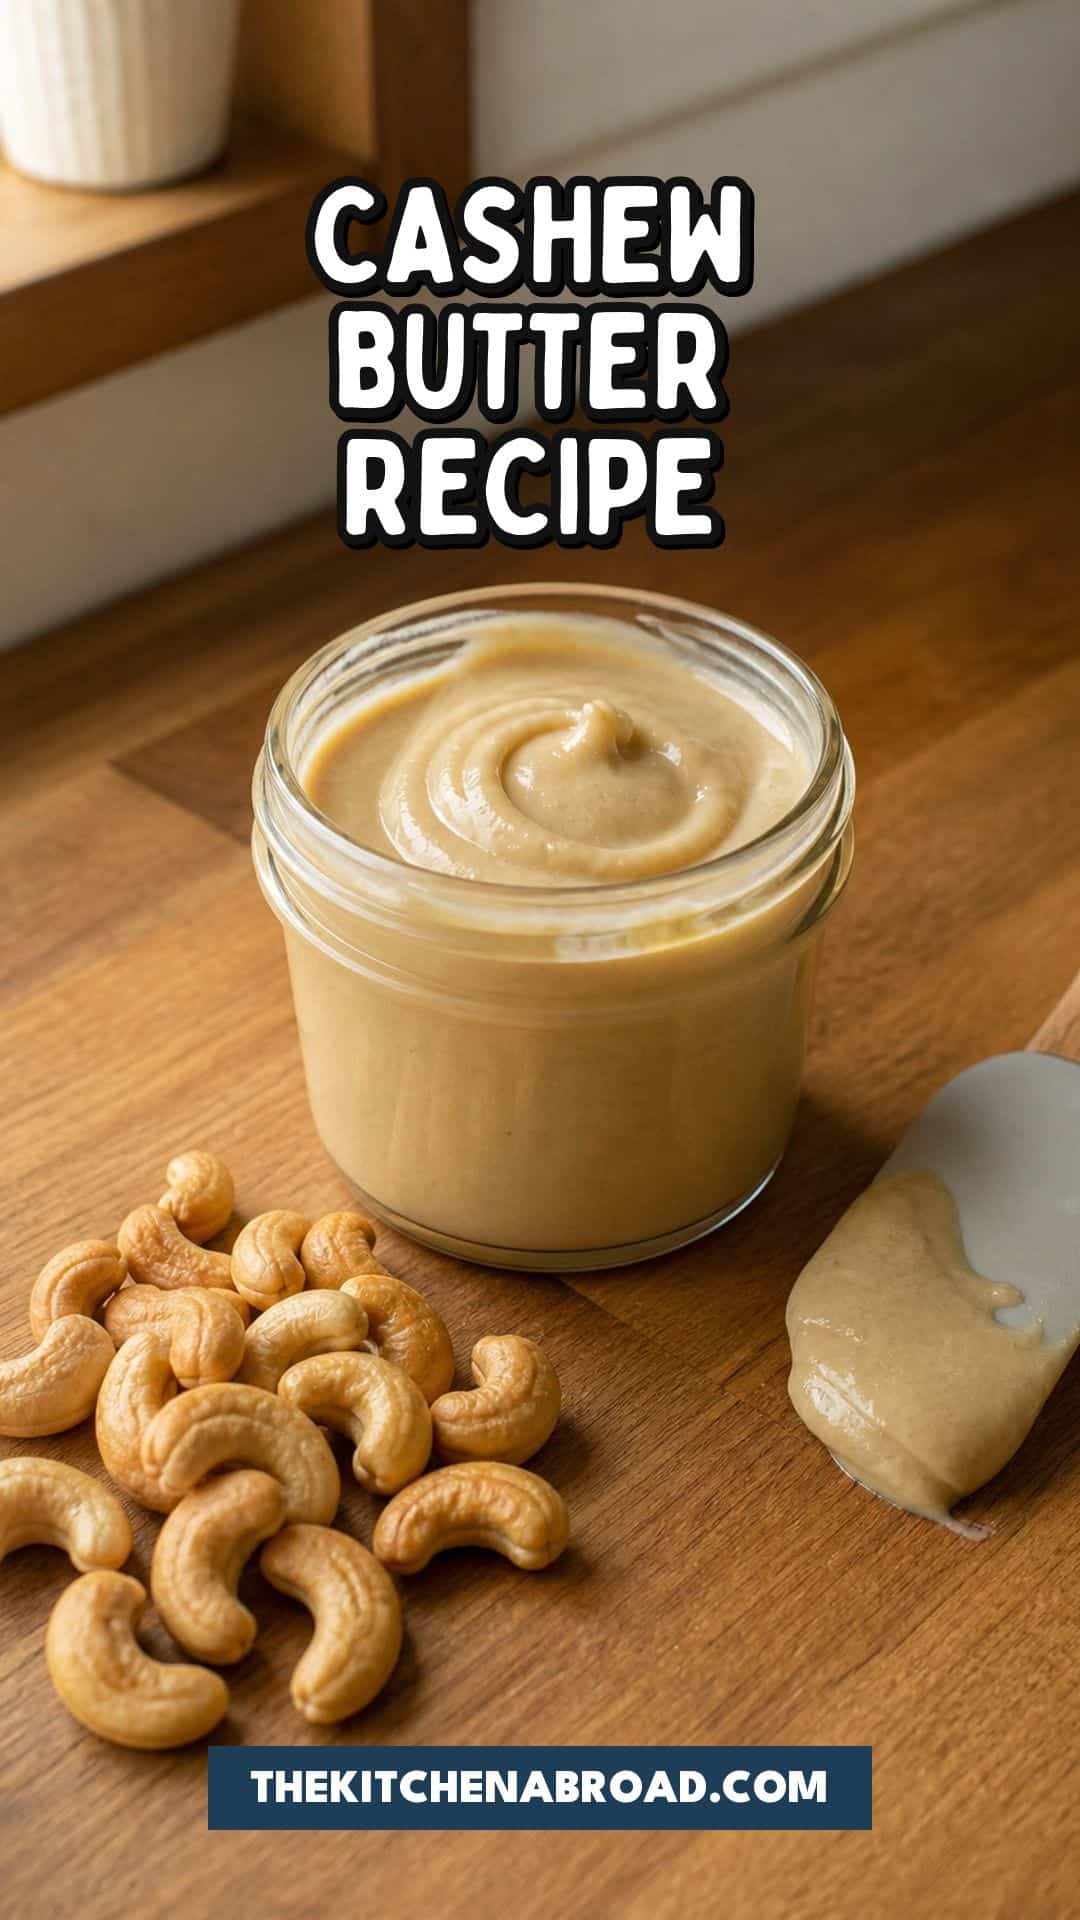
What You’ll Need
A 14-cup food processor for the 2-cup minimum batch volume, a heat-resistant silicone spatula for scraping down the bowl every 2 to 3 minutes, a half-sheet aluminum pan if you are roasting raw cashews first, a glass storage jar with a tight lid for the finished butter, and a small tin of flaky finishing sea salt to season at the end.


Recommended Reads
- Almond Buttermilk Recipe (Dairy-Free)
- How to Boil Chickpeas
- Air Fryer Chickpeas Recipe
- How to Cook Celeriac
- Buttermilk Biscuits Recipe
Why Homemade Cashew Butter Earns the Effort
Cashew butter is a modern American invention, almost entirely a product of the 2010s clean-eating wave. The wider nut-butter category exploded alongside the Whole30 and paleo movements that took hold between 2012 and 2015, with cashew butter riding the second wave behind almond butter for being naturally sweet, neutral enough for sweet and savory uses, and Whole30-compliant out of the jar. (Trivia line: Thomas Jefferson grew cashew trees at Monticello in the early 1800s, but cashew butter as a spreadable food is a contemporary kitchen story, not a heritage one.) Until that decade, almost nobody made it at home.
The cost wedge is the other half of the case. A 10-ounce jar of brand-name cashew butter runs around $12 to $16 at most grocery stores. Two cups of roasted unsalted cashews , about 11 ounces of raw weight, yielding roughly the same finished volume , runs $5 to $7 from a bulk-bin grocery or warehouse club. Homemade is half the price, comes with a freshness wedge the jar can’t touch (no rancidity from months on a shelf, no separation crust), and the only specialized equipment is a food processor most kitchens already own. Fifteen minutes of machine time, a jar that lasts three weeks in the fridge, and a flavor that tastes like the cashews themselves instead of a stabilized commercial product.
A Few Notes on the Ingredients
- Roasted unsalted cashews: Use roasted, not raw. Roasted nuts give deeper, toasted flavor and break down faster in the processor because the roast has already started releasing the natural oils that the blade then frees. Raw cashews stay pale, taste vaguely bitter, and take a noticeably longer pass to butter.
- If you only have raw cashews: Dry-roast on a half-sheet pan at 350°F (175°C) for 8 to 10 minutes, until fragrant and a shade darker. Let them cool for five minutes before they go into the processor. Warm nuts release oil faster than cold ones; hot ones turn pasty without ever pulling smooth.
- Batch size: Two cups per batch is the non-negotiable minimum. Any less and the blade spins under the nuts instead of through them, with not enough mass moving against the bowl wall to generate the friction that breaks the cell walls down. Three cups is the sweet spot for a 14-cup machine.
- No added oil: Cashews are oil-rich enough to butter on their own once you push past the dense-ball stage. Adding oil short-circuits the process and produces a thinner, less stable spread that separates faster in the jar.
- Fine sea salt: Add a pinch of flaky sea salt at the very end, after the cashews have loosened into pourable silk. Salt added earlier dissolves into the dry crumbs and the seasoning reads flat instead of bright.
- Optional maple syrup or honey: One to two teaspoons of pure maple syrup or honey turns the butter from neutral pantry staple into a sweet spread for toast and oatmeal. Skip the sweetener if you plan to use the butter in satay sauces, dressings, or anything savory.
- Optional vanilla extract: A half teaspoon of pure vanilla rounds out the sweet version and pairs well with the maple. Stir it in at the end, off the heat of the processor bowl, so the alcohol does not flash off against the warm cashews.
Recipe: Homemade Cashew Butter
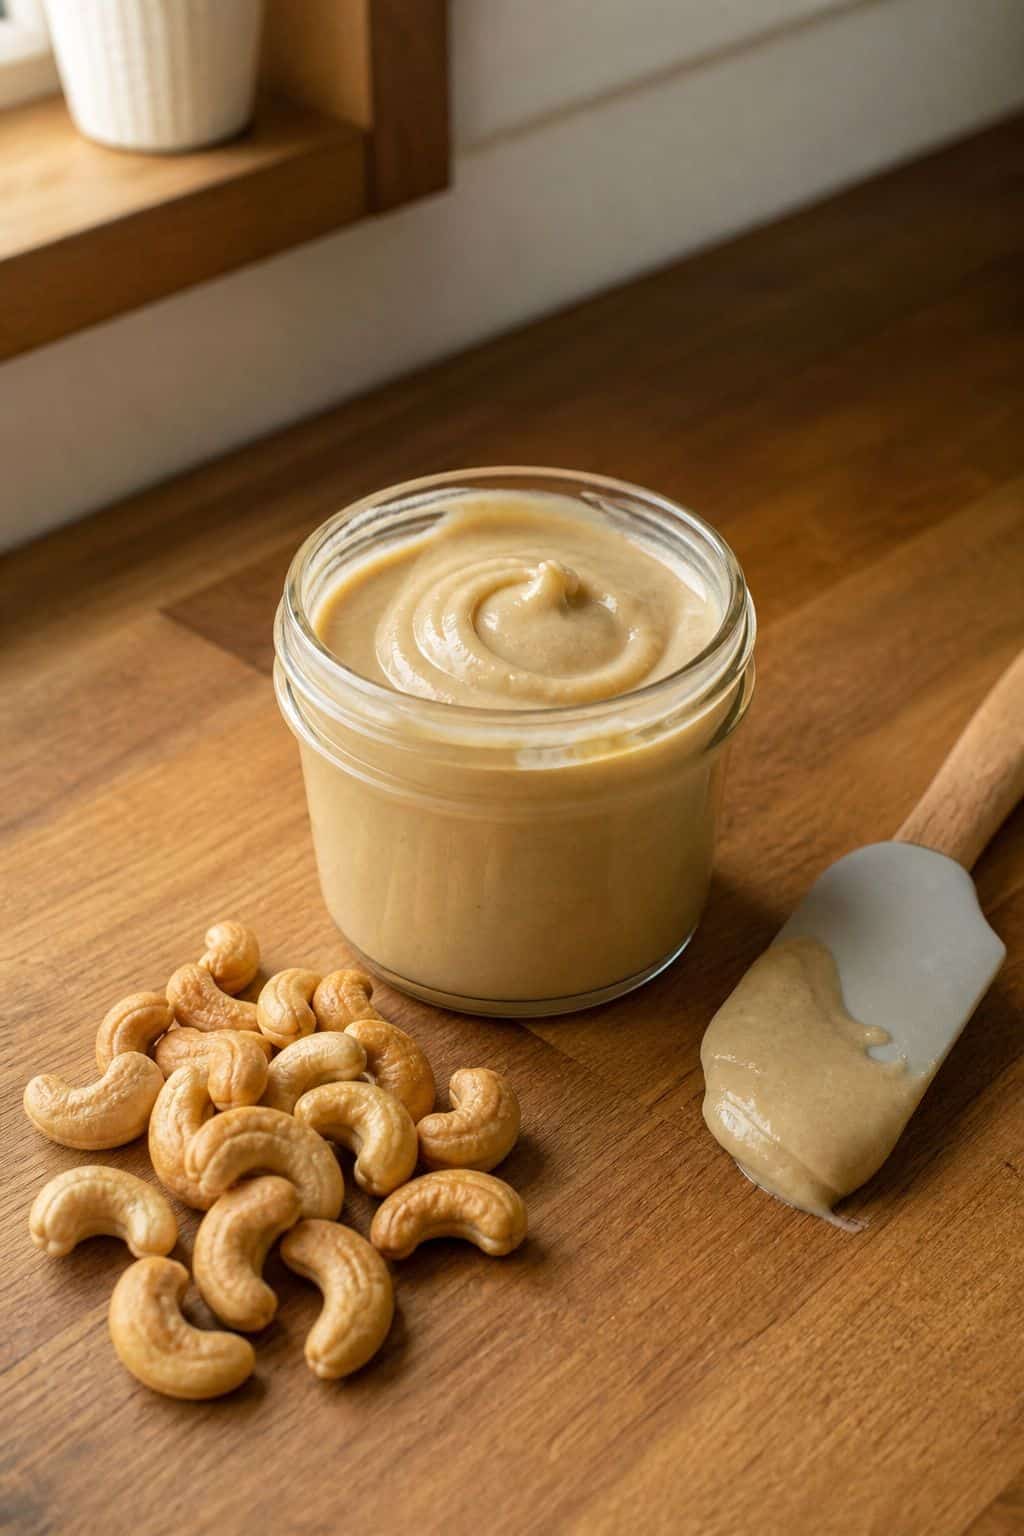
Prep time: 5 minutes | Process time: 14 minutes | Total time: 19 minutes | Makes: about 1 1/2 cups
Ingredients
- 3 cups (450 g) roasted unsalted cashews
- 1/2 tsp fine sea salt, to taste
- 1 to 2 tsp pure maple syrup or honey, optional
- 1/2 tsp vanilla extract, optional
Instructions
- If your cashews are raw, spread them on a half-sheet pan and roast at 350°F (175°C) for 8 to 10 minutes, until fragrant and just golden. Let them cool on the pan for 5 minutes before processing , warm, not hot.
- Pour the cashews into a 14-cup food processor fitted with the metal blade. Secure the lid.
- Process on high, stopping every 2 to 3 minutes to scrape down the sides of the bowl with a heat-resistant silicone spatula. The cashews will move through four distinct stages.
- At minute 4 you will have coarse crumbs that look like nut meal. Keep going.
- At minute 6 to 7 the crumbs collapse into a sticky paste that starts to gather against the bowl wall. Scrape down and keep going.
- At minute 8 to 9 the paste forms a single dense dry ball that rolls around the blade. This looks broken. It is not broken. This is the stage where most cooks quit one minute too early. Keep the processor running.
- At minute 10 to 11 the ball breaks apart as the cashew oils begin to release. The mixture loosens. Scrape down one more time.
- At minute 12 to 14 the cashews finally turn into smooth-smooth, pourable butter. Run the processor continuously for the final stretch.
- With the processor running, add the salt and the optional maple syrup or honey and vanilla through the feed tube. Process for 30 seconds to fully incorporate.
- Transfer the warm cashew butter to a clean glass jar with a tight-fitting lid using a silicone spatula. Let cool fully on the counter before sealing and refrigerating.
Notes
The ball stage at minute 8 to 9 is the entire patience point of this recipe. The cashews look dry, the processor sounds like it is laboring, and nothing visible suggests that another four minutes will turn a dense lump into pourable butter. It will. Set a timer for fourteen minutes total, scrape every two to three minutes, and trust the process.
Store the finished butter in a sealed glass jar in the refrigerator for up to 3 weeks, or at room temperature in a cool cupboard for up to 2 weeks. Refrigeration tightens the butter into a firmer scoopable texture; counter storage keeps it softer and more spreadable.
Natural oil separation is normal and expected after a few days in the jar , a thin layer of cashew oil rises to the top. Stir it back in with a clean butter knife or spoon, then reseal and store as usual. If the butter ever feels too firm out of the fridge, leave the jar on the counter for 20 minutes before scooping.
Tips and Variations
Why Roasted Cashews Beat Raw
Roasted cashews are the right call for three reasons, in this order. One, flavor: the roast develops the toasty, slightly caramelized notes that define what cashew butter should taste like. Raw cashews stay flat and grassy. Two, processing speed: roasting begins the work of breaking down the cell walls and warming the oils, which means roasted cashews hit the butter stage three to four minutes faster than raw. Three, bitterness: raw cashews carry a faint bitter edge that the roast strips out. If you only have raw, the fix is simple , 8 to 10 minutes on a sheet pan at 350°F, until fragrant and a shade darker. Cool to warm before processing. Skip salted roasted cashews; you want to control the salt yourself at the end.
The Four Stages of Processing You Need to Recognize
Crumbs, paste, ball, butter. That is the entire arc. Crumbs at minutes zero to two: dry, grainy, almost like nut meal. Paste at minutes three to six: clumpy and sticky, gathering against the bowl wall, looking promising. The dense ball at minutes seven to nine: a single mass that rolls around the blade, dry-looking, totally non-pourable, the place where the recipe seems to have failed. And butter at minutes ten to fourteen: the ball collapses, oil pools, and the mixture loosens into pourable silk. Knowing the four stages by name is the difference between a finished jar of cashew butter and a Tupperware of unfinished cashew paste that ends up in a smoothie.
Push Past the Ball Stage (Where Most People Stop)
The ball stage is the single biggest reason home cooks add oil to cashew butter they don’t need to. At minute 8 or 9, the cashews look done in the worst way , dry, clumpy, stuck against the bowl wall, like the recipe failed. Most first-timers add a tablespoon of coconut or neutral oil here to loosen things up and call it finished. That is not a fix. That is a workaround for under-processing. Cashews carry enough of their own oil to butter themselves; you just have to keep the processor running another three to five minutes. Push past the ball. Scrape down once. Let the machine work. The oil will come.
Storage and Oil Separation (How to Fix)
Homemade cashew butter has no stabilizers, so a thin pool of cashew oil rising to the top of the jar after a few days is normal and expected , exactly the same way natural peanut butter behaves. Stir it back in with a clean butter knife, reseal the jar, and refrigerate. Two to three weeks in the fridge is the practical shelf life; the freshness wedge over a store-bought jar is real, but only because there are no preservatives doing the work. If the butter ever firms up too much for spreading, leave the jar on the counter for 15 to 20 minutes before scooping, or warm a spoonful in a small ramekin in 5-second microwave bursts.
Spiced Variations (Maple-Vanilla, Cinnamon-Honey, Chocolate)
The neutral base recipe is the workhorse, but three spiced variations earn their place in the rotation. Maple-vanilla: stir in 2 tsp pure maple syrup and 1/2 tsp vanilla extract at the end of processing, for a breakfast-toast spread that pairs with banana and flaky salt. Cinnamon-honey: 1 tsp ground cinnamon and 1 tbsp honey, for stirring into warm oatmeal or spreading on dates. Chocolate: 2 tbsp cocoa powder and 2 tbsp maple syrup, processed in at the end, for a homemade Nutella-style spread that holds up against the Italian original. Add any of these only after the cashews reach the butter stage; adding them earlier interferes with the oil release.
What to Use It For
Toast, first and most. Sourdough or banana bread with cashew butter, sliced banana, and a pinch of flaky salt is the breakfast default. A spoonful blended into smoothies adds body and richness without dairy. Stirred into warm oatmeal with honey and cinnamon. Whisked with lime, fish sauce, ginger, and water for a five-minute Thai-style satay sauce or salad dressing. Folded into cookies, energy balls, and no-bake bars for baking. Served with apple slices, dates, and celery for the snack defaults. The neutral base recipe (no sweetener) works for everything; the maple-vanilla variation is sweets-only.
FAQ
Should I use raw or roasted cashews for cashew butter?
Roasted. Roasted cashews give deeper, toasted flavor, process three to four minutes faster, and carry none of the faint bitterness that raw cashews bring. If raw is all you have, dry-roast them on a half-sheet pan at 350°F (175°C) for 8 to 10 minutes until fragrant and a shade darker, then let them cool to warm before processing. Skip salted roasted cashews , you want to control the salt yourself at the end.
Why isn’t my homemade cashew butter smooth?
You stopped too early. Almost every “not smooth” cashew butter comes from quitting at the ball stage around minute 8 or 9, where the cashews collect into a dry-looking mass against the bowl and seem finished but aren’t. Keep the processor running another three to five minutes, scraping down once. The cashew oil releases between minutes 12 and 14, and that release is what turns the dry ball into pourable silk. Patience is the recipe.
Do I need to add oil to cashew butter?
No. Cashews are oil-rich enough to butter themselves if you process long enough. Adding oil is a workaround for under-processing, not a fix. It also dilutes the cashew flavor and shortens the fridge life of the finished jar. The only exception is if your processor genuinely cannot get the cashews moving , at that point, you have too small a batch, not too little oil. Add another half cup of cashews instead.
How do I store homemade cashew butter?
A sealed glass jar with a tight lid. Up to 3 weeks in the refrigerator (firmer, scoopable texture) or up to 2 weeks at room temperature in a cool cupboard (softer, more spreadable). Stir back in any natural oil separation that rises to the top after a few days. Skip plastic containers, which can absorb the cashew oil over time.
Do I have to add salt to cashew butter?
No, but a pinch of flaky sea salt at the end sharpens the cashew flavor noticeably and is the default in this recipe. Skip the salt only if you plan to use the butter in a recipe that is already heavily salted, like a satay sauce, or in baking where you control the salt separately. The standard ratio is 1/2 tsp fine sea salt per 3 cups of cashews, added at the end with the processor running.
Can I make cashew butter in a blender instead of a food processor?
A high-powered blender with a tamper (Vitamix or Blendtec) works, but a 14-cup food processor is the easier, more forgiving tool. Blenders need the tamper used almost constantly to keep the cashews moving against the blades, and the blade speed generates more heat, which can scorch the bottom layer if you are not paying attention. A processor lets you walk away for two-minute stretches between scrape-downs. If a Vitamix is all you have, use the tamper, the lowest speed that keeps the nuts moving, and check the bottom for scorching every minute.
Key Takeaways
- Use roasted unsalted cashews , deeper flavor and faster processing than raw.
- Two cups per batch is the non-negotiable minimum; three cups is the sweet spot for a 14-cup food processor.
- The four stages: crumbs (0-2 min), paste (3-6 min), ball (7-9 min), butter (10-14 min).
- The ball stage at minute 8-9 looks broken but isn’t , push past it and the oil will release.
- No added oil needed; cashews are oil-rich enough to butter themselves.
- Store in a sealed glass jar for up to 3 weeks refrigerated; stir back in any natural oil separation.
Final Thoughts
Cashew butter is a recipe that lives or dies on a single decision: whether to trust the machine for another four minutes after the cashews look finished. Almost every other variable , roasted versus raw, two cups versus three, salt at the end, optional sweetener , is forgiving. The ball stage is not. Quit there and you get cashew paste. Push past it and you get a jar of butter that beats anything on the grocery shelf for a third of the price.
The reward is roughly a cup and a half of smooth, pourable cashew butter from fifteen minutes of mostly hands-off machine time. Three weeks in the fridge, no preservatives, no stabilizers, no separation crust on the lid. A breakfast toast standby, a smoothie booster, a satay base, a baking ingredient , every one of those uses tastes more like cashews than the jar version does, because the jar version is a stabilized commercial product and yours is just cashews and salt.
Cashew butter is barely a decade old as a mainstream American kitchen staple, born out of the Whole30 and paleo movements that rewrote how the country thought about nut butters in the early 2010s. Making it at home is the quiet way to opt out of the markup, the stabilizers, and the months-on-a-shelf rancidity that the jar inherits by default. Fourteen minutes, one machine, one ingredient, one pinch of salt. That is the whole story.
Homemade Cashew Butter
Learning how to make cashew butter at home comes down to one stubborn rule: the cashews are not done when they look done.
Ingredients
- 3 cups (450 g) roasted unsalted cashews
- 1/2 tsp fine sea salt, to taste
- 1 to 2 tsp pure maple syrup or honey, optional
- 1/2 tsp vanilla extract, optional
Instructions
- If your cashews are raw, spread them on a half-sheet pan and roast at 350°F (175°C) for 8 to 10 minutes, until fragrant and just golden. Let them cool on the pan for 5 minutes before processing , warm, not hot.
- Pour the cashews into a 14-cup food processor fitted with the metal blade. Secure the lid.
- Process on high, stopping every 2 to 3 minutes to scrape down the sides of the bowl with a heat-resistant silicone spatula. The cashews will move through four distinct stages.
- At minute 4 you will have coarse crumbs that look like nut meal. Keep going.
- At minute 6 to 7 the crumbs collapse into a sticky paste that starts to gather against the bowl wall. Scrape down and keep going.
- At minute 8 to 9 the paste forms a single dense dry ball that rolls around the blade. This looks broken. It is not broken. This is the stage where most cooks quit one minute too early. Keep the processor running.
- At minute 10 to 11 the ball breaks apart as the cashew oils begin to release. The mixture loosens. Scrape down one more time.
- At minute 12 to 14 the cashews finally turn into smooth-smooth, pourable butter. Run the processor continuously for the final stretch.
- With the processor running, add the salt and the optional maple syrup or honey and vanilla through the feed tube. Process for 30 seconds to fully incorporate.
- Transfer the warm cashew butter to a clean glass jar with a tight-fitting lid using a silicone spatula. Let cool fully on the counter before sealing and refrigerating.
Notes
The ball stage at minute 8 to 9 is the entire patience point of this recipe. The cashews look dry, the processor sounds like it is laboring, and nothing visible suggests that another four minutes will turn a dense lump into pourable butter. It will. Set a timer for fourteen minutes total, scrape every two to three minutes, and trust the process.
Store the finished butter in a sealed glass jar in the refrigerator for up to 3 weeks, or at room temperature in a cool cupboard for up to 2 weeks. Refrigeration tightens the butter into a firmer scoopable texture; counter storage keeps it softer and more spreadable.
Last update on 2026-08-08 / Affiliate links / Images from Amazon Product Advertising API