

The best spring kitchen organization checklist ideas start with expired food and stale pantry items, then move through the fridge, freezer, containers, drawers, cabinets, appliances, under-sink supplies, and spring hosting pieces. Work in that order so you clear space before buying organizers or moving things around. A good spring reset should make the kitchen ready for lighter meals, brunches, picnics, fresh produce, and warmer-weather routines.
A spring kitchen reset works better when it feels like a sequence, not a vague promise to get organized someday. The pantry needs old food removed before bins make sense. The fridge needs a food-safety check before new produce comes home. Drawers, cabinets, appliances, and cleaning supplies all need a small decision before they need a new product.
Use these spring kitchen organization checklist ideas as a zone-by-zone plan: plan first, then pantry, fridge and freezer, containers, beverage zones, spices, drawers, cabinets, appliances, under-sink storage, spring hosting supplies, and one maintenance habit that keeps the reset from disappearing by May.
Top Recommended Products


You Might Also Like These Blog Posts
- 25 Kitchen Organization Ideas That Actually Work
- 25 Pantry Organization Ideas That Actually Work
- 25 Fridge Organization Ideas That Actually Work
- 25 Freezer Organization Ideas That Actually Work
- 25 Spring Brunch Ideas for Easy Hosting
1. Write a Weekend Kitchen Reset Plan

Begin with a short written plan before pulling everything out. Divide the kitchen into pantry, fridge, freezer, containers, drawers, cabinets, appliances, sink area, cleaning supplies, and spring hosting. This keeps the checklist from turning into one giant mess on the counter. If you have a weekend, assign the food zones to the first day and the storage zones to the second. If you only have small windows, pick one or two areas per session. A spring cleaning kitchen checklist should feel doable enough that you actually finish it.
Write down donate, toss, clean, refill, and repair tasks as you go. The notes stop you from trying to remember every missing label, empty spice jar, or broken lid later.
2. Clear Expired Pantry Food First

Pantry spring clean tasks should start with food safety, not containers. Check expiration and best-by dates on baking mixes, sauces, snacks, grains, canned goods, oils, nuts, and half-used specialty ingredients left from winter. Use your senses carefully.
Oils and nuts can turn rancid, crackers can go stale, and decanted goods with no label can become mystery food quickly. Damaged cans, leaking packages, and anything with pests or moisture should leave the kitchen immediately. Unopened food that is still safe and realistic for someone else to use can go into a donation bag. Clearing these items first creates real shelf space before you decide what needs bins or risers.
3. Sort Open Pantry Packages Into Use-First Groups

Once expired food is gone, gather the open pantry packages that should be used soon. Cereal, crackers, pasta, rice, nuts, dried fruit, granola, chips, and baking add-ins often hide behind newer groceries after a busy winter. Put these items in clear bins by meal use rather than by perfect category. One bin can be “snacks to finish,” another can be “spring salad toppings,” and another can hold grains for quick dinners. The goal is visibility, not a pantry that looks staged.
Before your next grocery trip, look at the use-first bins and plan a few meals around them. That turns spring organization into less food waste, which is more useful than simply decanting everything.
4. Refresh Baking Supplies After Winter
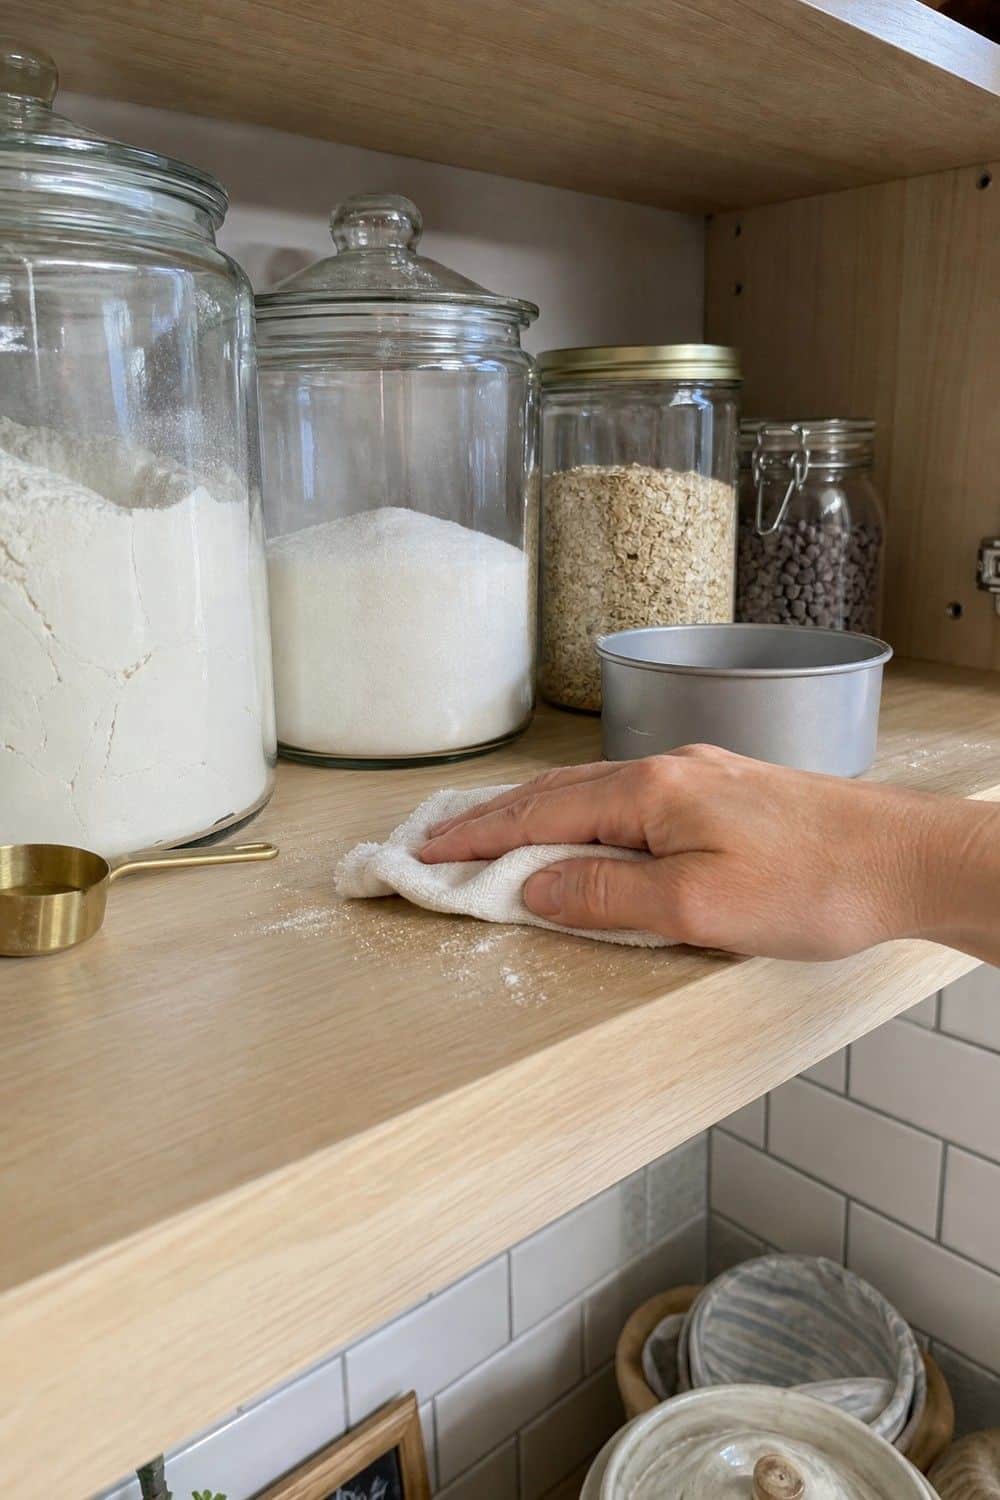
Winter baking leaves behind flour dust, half bags of sugar, tired leaveners, sprinkles, chocolate chips, cocoa, yeast, and holiday-specific extras. Spring is a good time to check what is still fresh before brunches, birthdays, Easter baking, or weekend muffins.
Look at baking powder, baking soda, yeast, nuts, and whole-grain flours with extra care because freshness affects results. If you decant flour or sugar, label the container with the ingredient and the date you opened the package. Keep the baking shelf tighter for spring. Daily flour, sugar, oats, and chocolate chips can stay easy to reach, while once-a-year holiday decorations can move to a labeled back bin.
5. Create a Spring Brunch Pantry Shelf

A spring brunch shelf gives seasonal hosting its own small landing spot. Use it for pancake mix, oats, jam, tea, coffee, napkins, shelf-stable baking staples, honey, syrups, and a few serving extras that make a casual morning meal easier.
Shelf risers can help when jars and boxes are short but the cabinet height is wasted. Keep the shelf focused on breakfast and brunch so it does not absorb every snack or dinner ingredient in the pantry. This is also a good place to notice what you do not need. If three pancake mixes are open, put the oldest one in front and skip buying another until it is used.
6. Empty and Wipe One Fridge Zone at a Time

A fridge spring clean is easier and safer when you work one shelf, drawer, or door section at a time. That way food does not sit out while you get distracted by another part of the kitchen.
Remove the items from one zone, toss spoiled food, wipe sticky jars, clean the shelf, and return only what belongs there. If the fridge is packed, use a cooler for dairy, meat, or anything that needs to stay cold while you clean. Do not reorganize around old leftovers. Once the unsafe or forgotten food is gone, you can see which shelf should hold lunches, fresh produce, drinks, and spring meal prep.
7. Reset Produce Drawers for Spring Greens
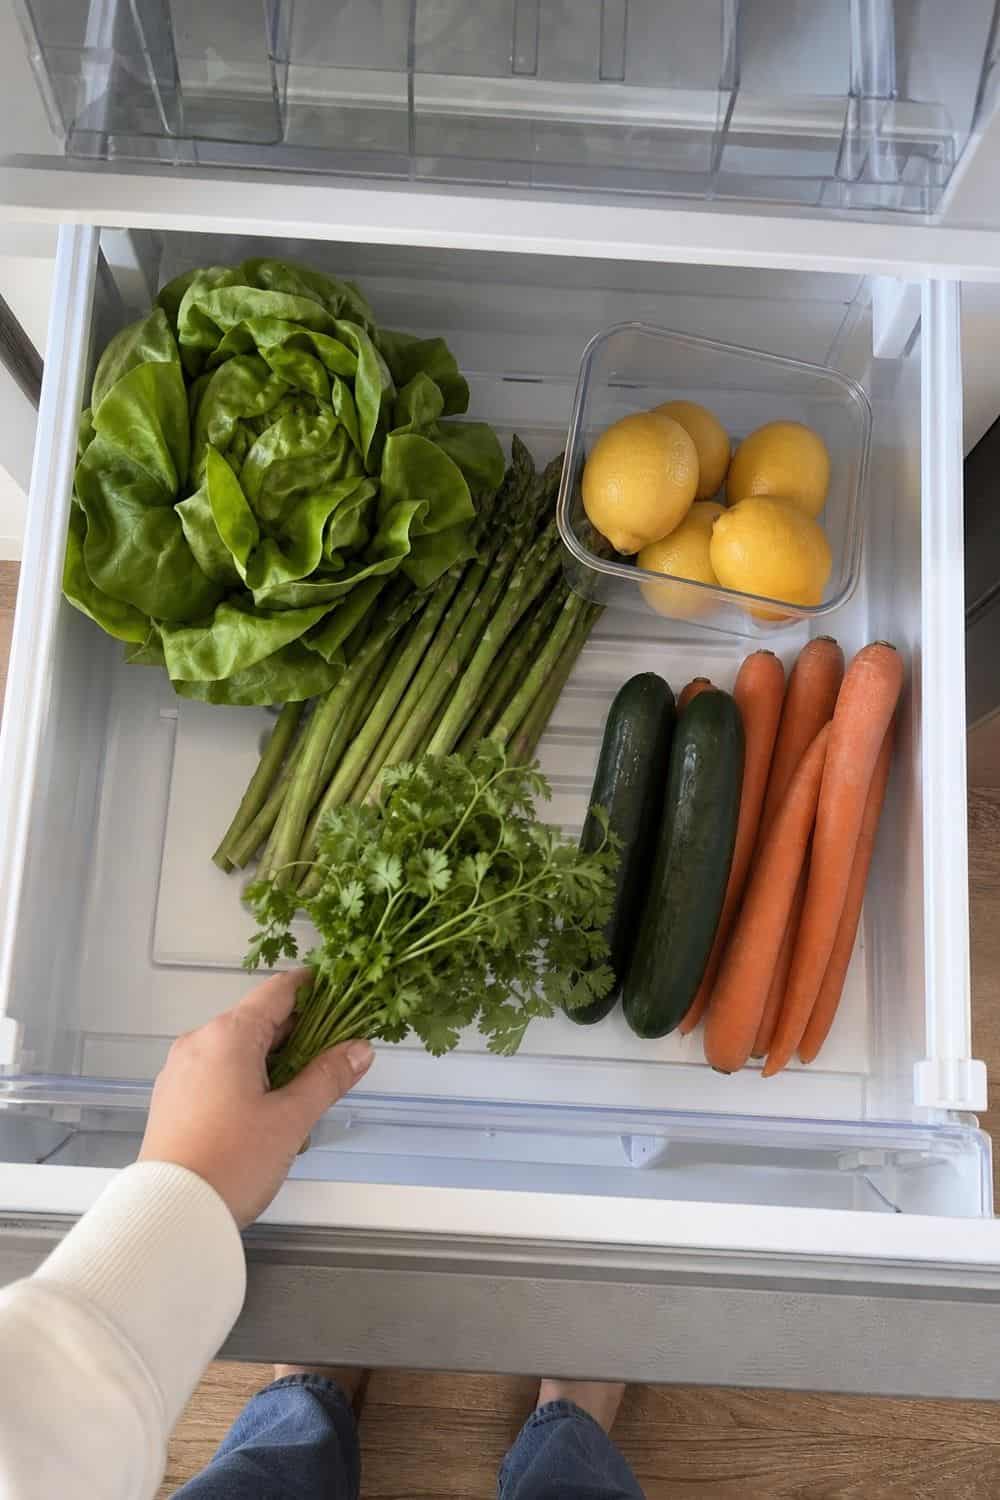
Spring cooking usually brings more herbs, greens, berries, cucumbers, asparagus, carrots, lemons, and salad ingredients into the kitchen. Empty the produce drawers, remove wilted items, and wipe out leaves, berry stains, and loose dirt before refilling them.
Check humidity settings if your drawers have them. Greens and herbs need different treatment than apples or citrus, and not every item benefits from being sealed tightly. Use produce keepers where they prevent crushing, moisture buildup, or forgotten ingredients. Give delicate items a front-row spot for a few days after shopping. Fresh spring produce is much easier to use when it is not buried under bags of sturdier vegetables.
8. Build an Eat-First Fridge Bin
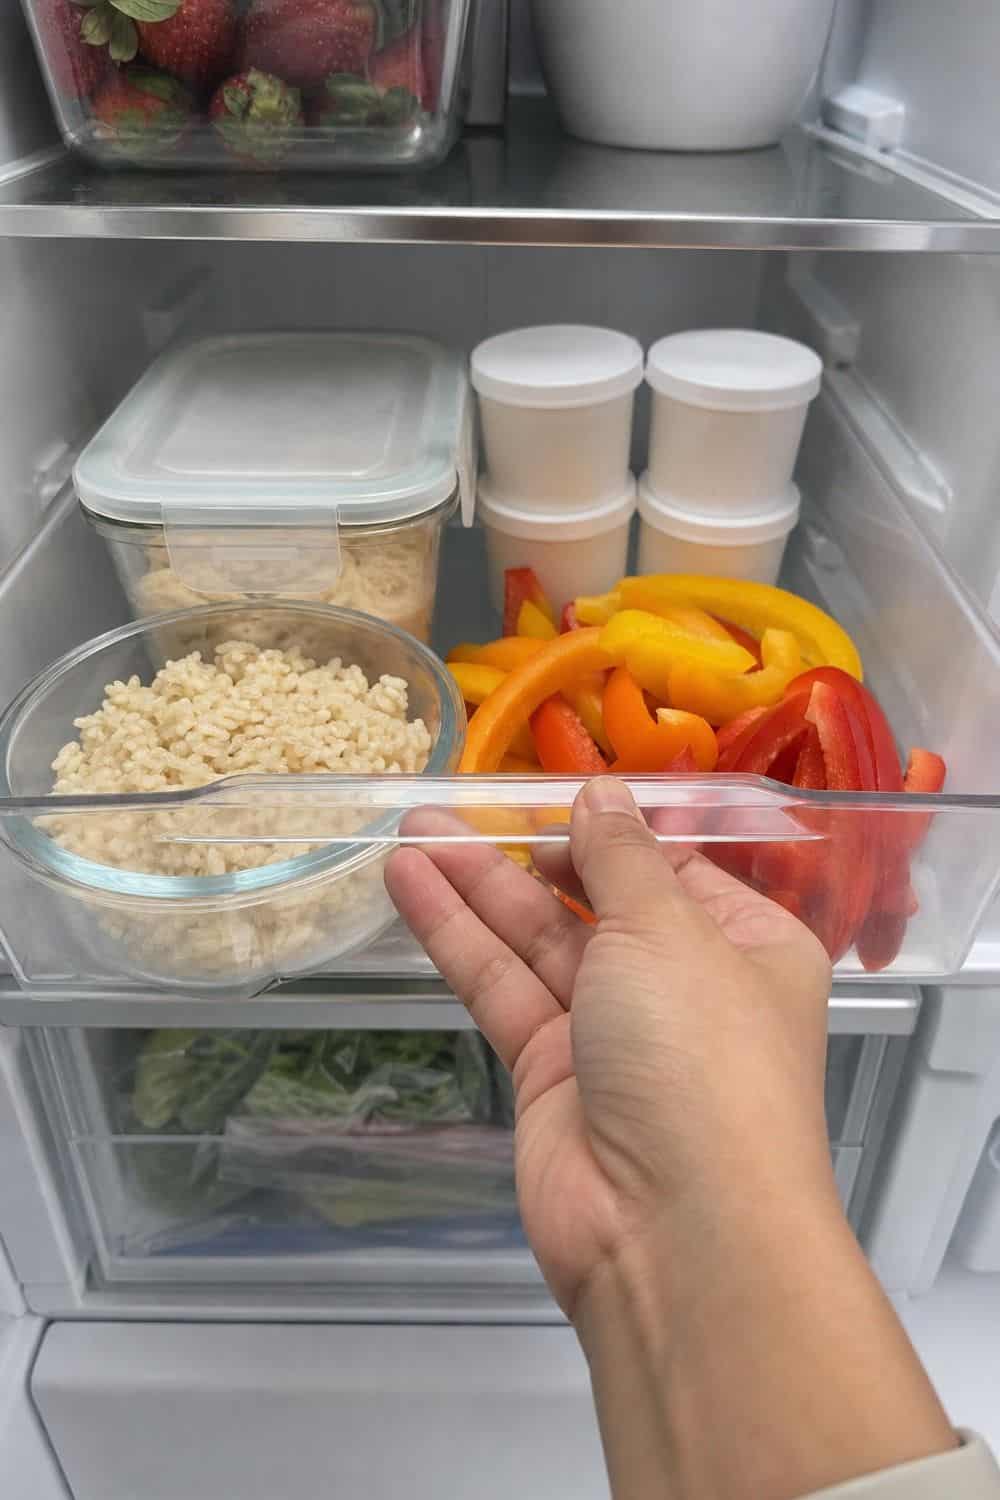
An eat-first bin catches the small things that often disappear behind condiments: cut produce, yogurt cups, half jars, leftover rice, cooked chicken, open dips, and ingredients that need to be used before the next grocery shop.
Place the bin on an eye-level shelf if possible. During a spring kitchen reset, this one change can help with quick lunches, salad toppings, snack plates, and weeknight dinners without creating another complicated system. Check the bin before meal planning and before shopping. If something is no longer safe, toss it. If it is still good, make it part of the next meal instead of letting it become a science project.
9. Check Condiment Dates on the Fridge Door

The fridge door collects dressings, sauces, jams, mustards, marinades, syrups, and half-used holiday condiments. Pull out one door shelf at a time and check dates, smell, texture, and duplicates.
Wipe sticky bottles before putting them back. Group salad dressings together for spring greens, grilling sauces together for warmer weather, and breakfast jars together if they are used with toast or brunch.
A door organizer can help bottles stay upright, but it will not fix too many duplicates. If the household has three open mustards and nobody likes one of them, the reset is the moment to make that decision.
10. Make a Freezer Inventory Before Picnic Season
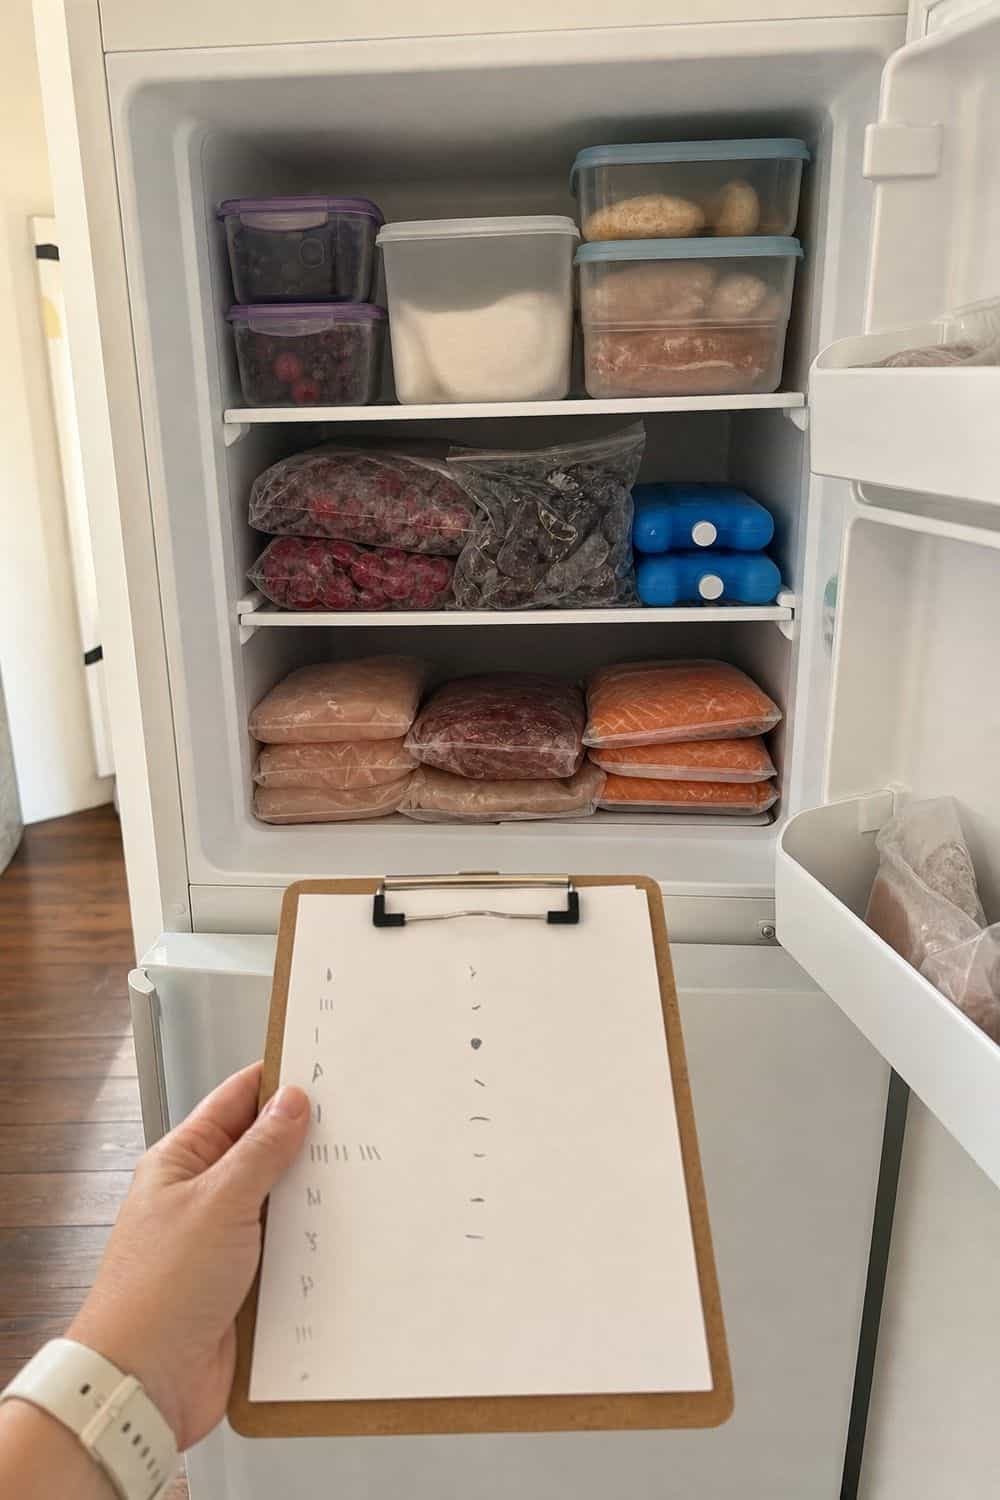
A freezer inventory checklist helps before picnic season, smoothie weather, and quick warm-weather dinners. List frozen proteins, bread, fruit, smoothie packs, vegetables, leftovers, ice packs, and frozen treats so you know what is already there.
Write the list by category and keep it near the freezer or on the kitchen checklist pad. Cross items off as you use them. Add new items when they go in, especially if they are packed in a solid container you cannot see through. This is also where you make room for spring routines. If winter soup containers are taking over, plan a few easy dinners before buying more frozen picnic or smoothie supplies.
11. Label Freezer Leftovers With Dates
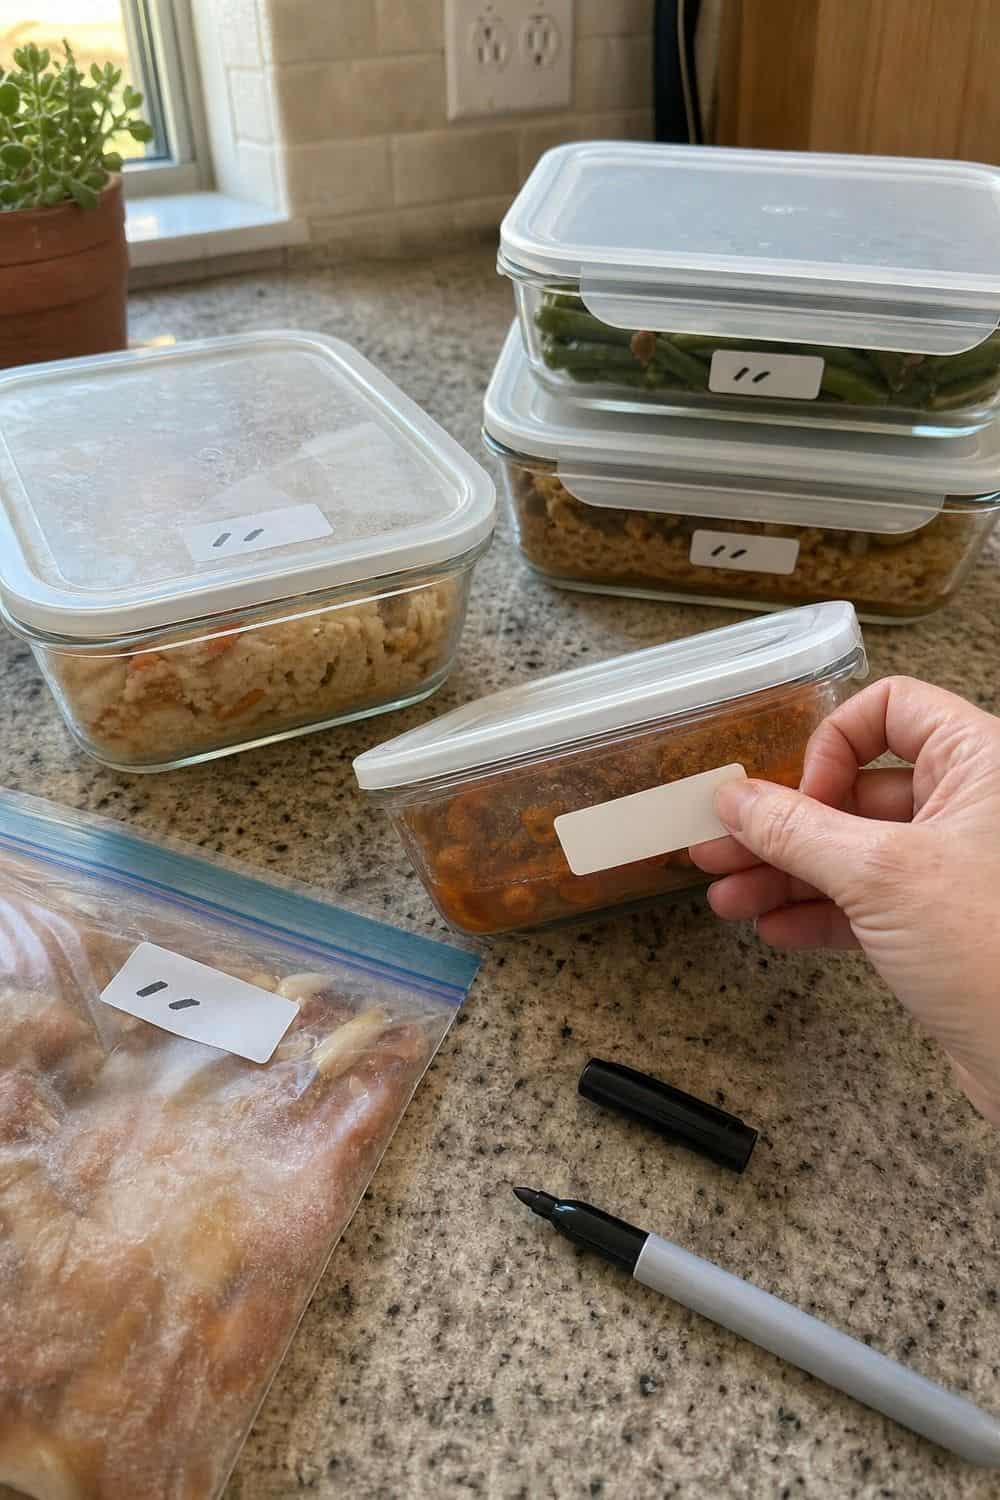
Freezer labels solve the container mystery problem. Soups, casseroles, cooked rice, sauces, chopped fruit, cooked beans, and meal-prep portions should have the item name and the date they were frozen.
If reheating instructions matter, add a small note. “Thaw overnight,” “add broth,” or “for tacos” can make the difference between using the food and ignoring it. Spring is a good time to label anything still safe but unclear. Going forward, keep labels and a marker near the freezer bags or containers. The easier the tool is to reach, the more likely the habit will stick.
12. Match Food Containers and Lids
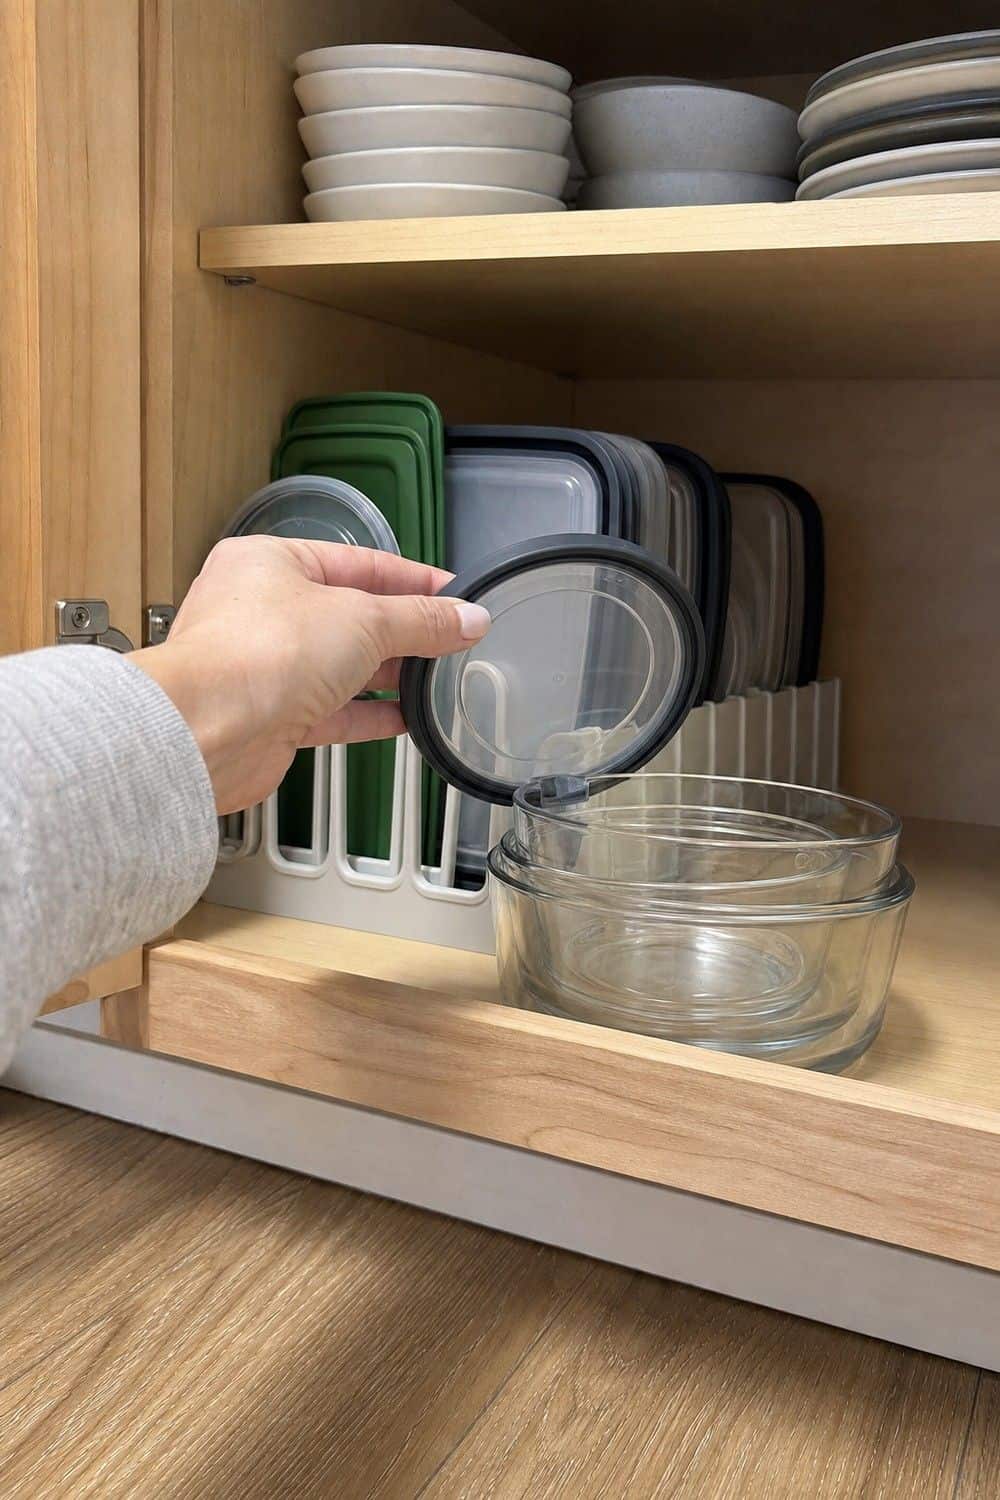
Spring leftovers, salads, picnic snacks, lunch prep, and cut produce all need containers that actually close. Pull out the whole container area and match every bottom with its lid before you rearrange the cabinet.
Toss or recycle warped pieces, badly stained containers, cracked lids, and orphan pieces that have survived too many resets. Keep the shapes that fit your real routines: flat containers for leftovers, small cups for sauces, and a few leak-resistant pieces for outings. A lid organizer helps after the audit. Sort lids by shape or size so packing spring lunches does not start with a noisy cabinet search.
13. Reset Lunch and Picnic Containers

Warm-weather routines usually mean more lunches outside the house, park snacks, school events, short road trips, and picnic-style meals. Gather bento boxes, snack boxes, reusable bags, sauce cups, and small ice packs into one packing zone.
Check that containers still close, dividers are not missing, and ice packs are not leaking. Store picnic pieces together so they do not take over the main food-storage cabinet every time you pack fruit, sandwiches, or cut vegetables.
If space is tight, use a single bin labeled for lunch and picnic supplies. Pull it down when needed and return it after washing everything.
14. Declutter Duplicate Mugs and Winter Drink Extras

By spring, the mug cabinet often holds more than the household needs. Pull out seasonal mugs, chipped mugs, duplicates, cocoa packets, marshmallows, flavored syrups, and winter drink toppings that are crowding daily coffee or tea supplies.
Keep the mugs people reach for every week and one small guest set if you host. Move true seasonal pieces to a labeled bin or let go of the ones that never leave the back of the shelf.
A rack can help if mugs are used daily, but it should not become a reason to keep every mug. Spring beverage storage should feel lighter and easier to use.
15. Refresh the Coffee and Tea Area for Lighter Drinks

The coffee and tea area changes as the weather warms. Bring forward iced coffee supplies, tea bags, matcha, sweeteners, filters, pods, travel cups, and drink bottles that support spring routines.
Move winter extras backward if they are still good, or toss stale packets and sticky toppings that will not be used. Keep daily supplies close to the machine or kettle so the morning routine does not sprawl across the counter.
If you use pods, sort only the flavors people actually drink. A compact organizer should make choices easier, not preserve old flavors nobody wants. Leave enough counter space for filling glasses, adding ice, or setting down a travel cup during the morning rush.
16. Clean Out the Spice Cabinet for Spring Cooking
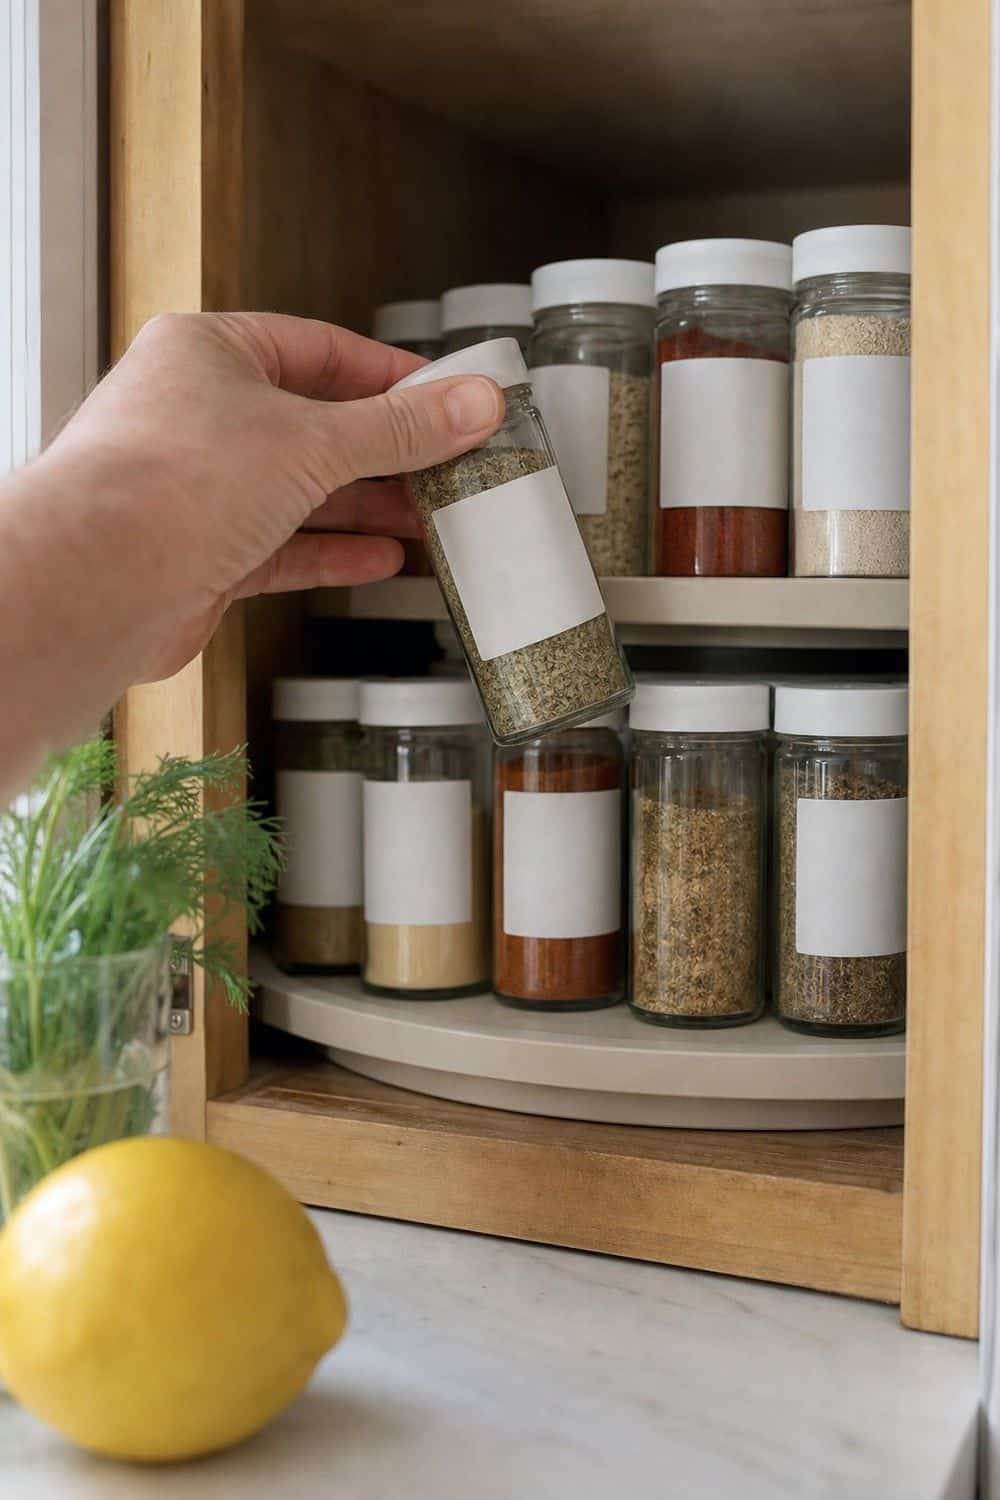
Spring recipes often use herbs, citrus, salads, grilled food, and lighter sauces, so the spice cabinet deserves a quick audit. Open old jars and smell them. If a spice has little scent left, it may not add much flavor.
Wipe sticky bottles, check for duplicates, and only combine spices when you know they are the same age and type. Move the seasonings you use for spring cooking toward the front: dill, oregano, basil, pepper, chili flakes, cumin, and blends you actually use.
A tiered rack helps in a cabinet because short jars stop hiding behind taller ones. Keep it easy to remove so you can wipe the shelf again later.
17. Rework One Tool Drawer for Daily Prep
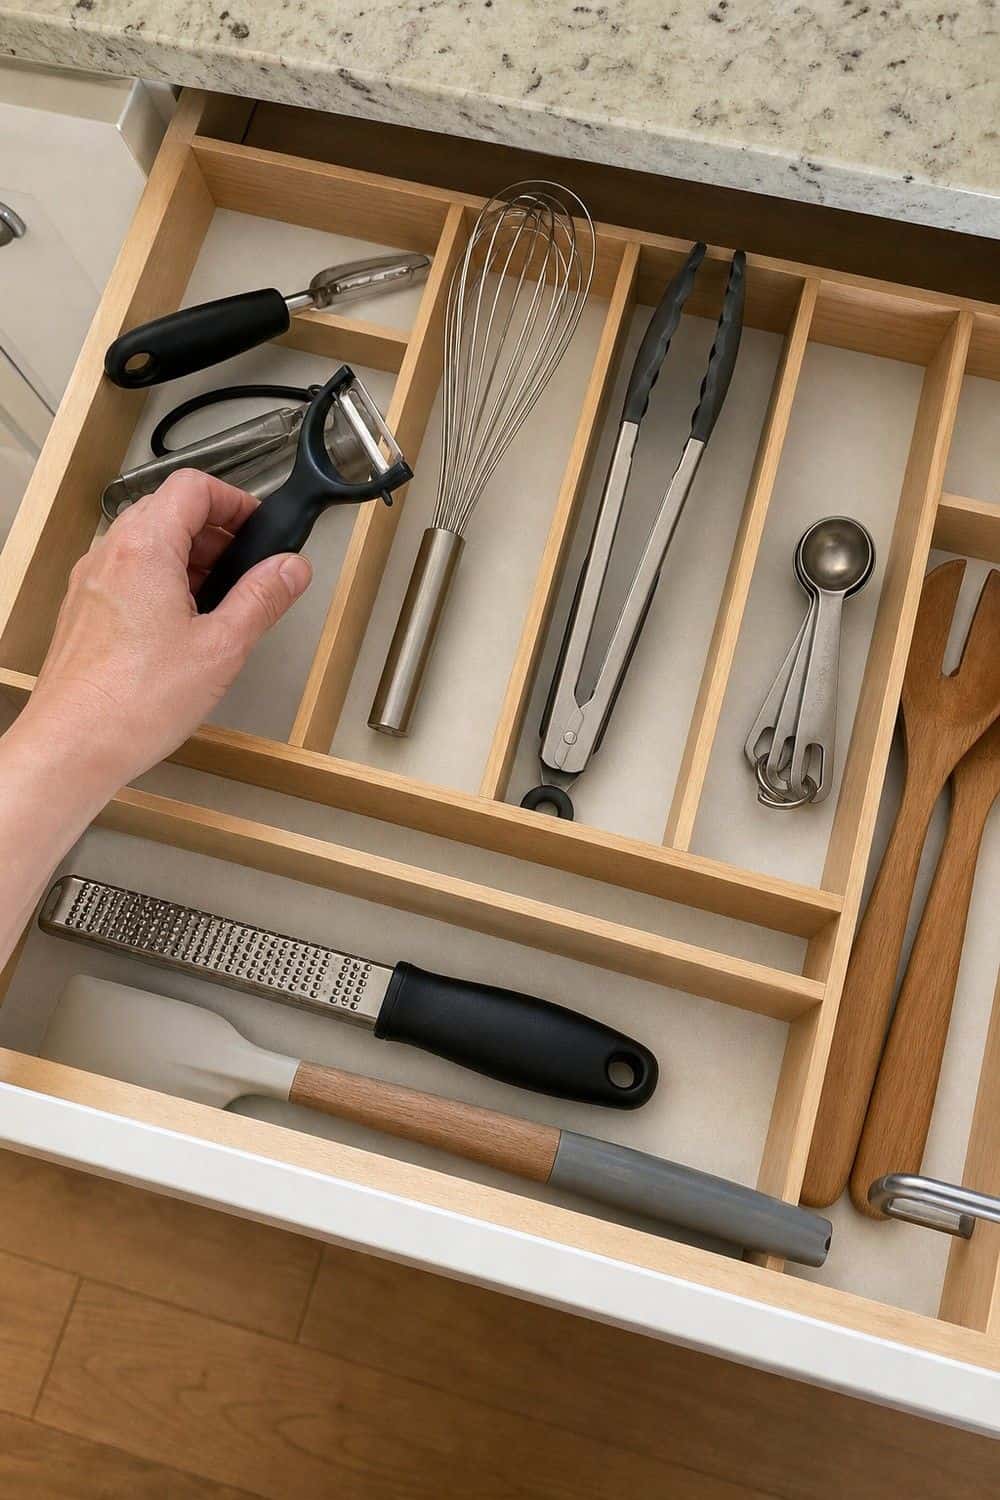
Choose one prep drawer instead of trying to fix every utensil at once. Pull out peelers, whisks, tongs, measuring spoons, zesters, spatulas, salad servers, and small tools used for spring produce and quick meals.
Remove broken tools, uncomfortable duplicates, and winter-only pieces that do not need prime drawer space. Put daily prep tools where your hand naturally reaches during salad making, breakfast prep, and weeknight cooking.
Drawer dividers help most when categories are obvious: measuring, stirring, turning, peeling, and serving. If the drawer still feels crowded, the problem is too many tools, not too few dividers.
18. Wipe Cabinet Interiors Before Re-Binning

Before adding bins or moving items around, clean the cabinet itself. Pick one category, remove everything, vacuum crumbs, wipe dust, and check for sticky rings, spilled flour, or forgotten bits of packaging.
Then return only what belongs in that cabinet. Baking tools, lunch containers, serving pieces, and pantry overflow should not all share a shelf unless there is a clear reason. Shelf liner can help in cabinets that hold oils, syrups, snacks, or anything crumb-prone.
This is the step that makes the reset feel finished. Clean surfaces make every organizer work better and reveal leaks or damage before they become bigger problems.
19. Set Up a Small Appliance Check
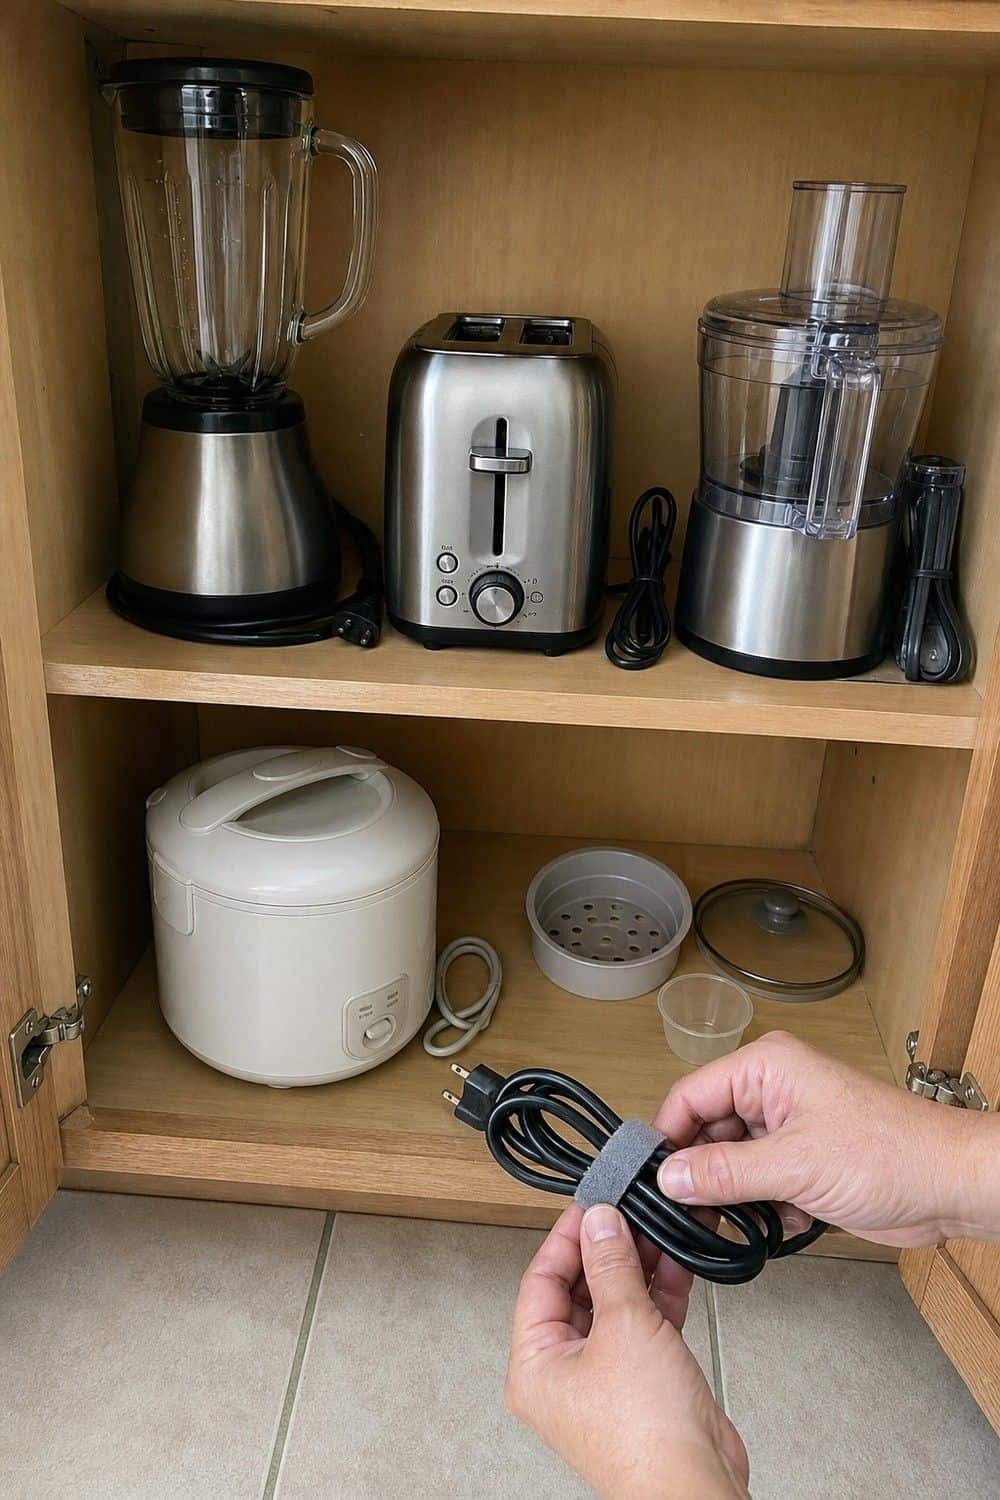
Small appliances can quietly take over cabinets and counters. Check the blender, toaster, mixer, food processor, rice cooker, slow cooker, waffle maker, and any appliance that moved in during winter cooking.
Ask three questions: does it work, where is it used, and are the cord and attachments stored with it? Spring smoothies, brunch prep, and lighter dinners may bring some tools forward, while heavy winter appliances can move to less convenient storage if they are not used often.
Wrap cords neatly and keep blades, lids, beaters, and manuals near the appliance. A tool you cannot assemble quickly is less useful than it looks on the shelf.
20. Deep-Clean the Microwave and Toaster Area

The microwave and toaster area collects crumbs, splatters, fingerprints, wrappers, and small dishes faster than most people notice. Clean the microwave turntable, wipe the interior, empty the toaster crumb tray, and clean the counter or cabinet around both appliances.
This is a compact task, but it changes the feeling of the kitchen quickly. It also helps you see whether plates, paper towels, breakfast supplies, or snacks are crowding the appliance zone.
After cleaning, return only what belongs nearby. If the toaster sits beside lunch containers, unopened mail, and five mugs, the area will feel messy again within a week.
21. Rebuild the Under-Sink Cleaning Station
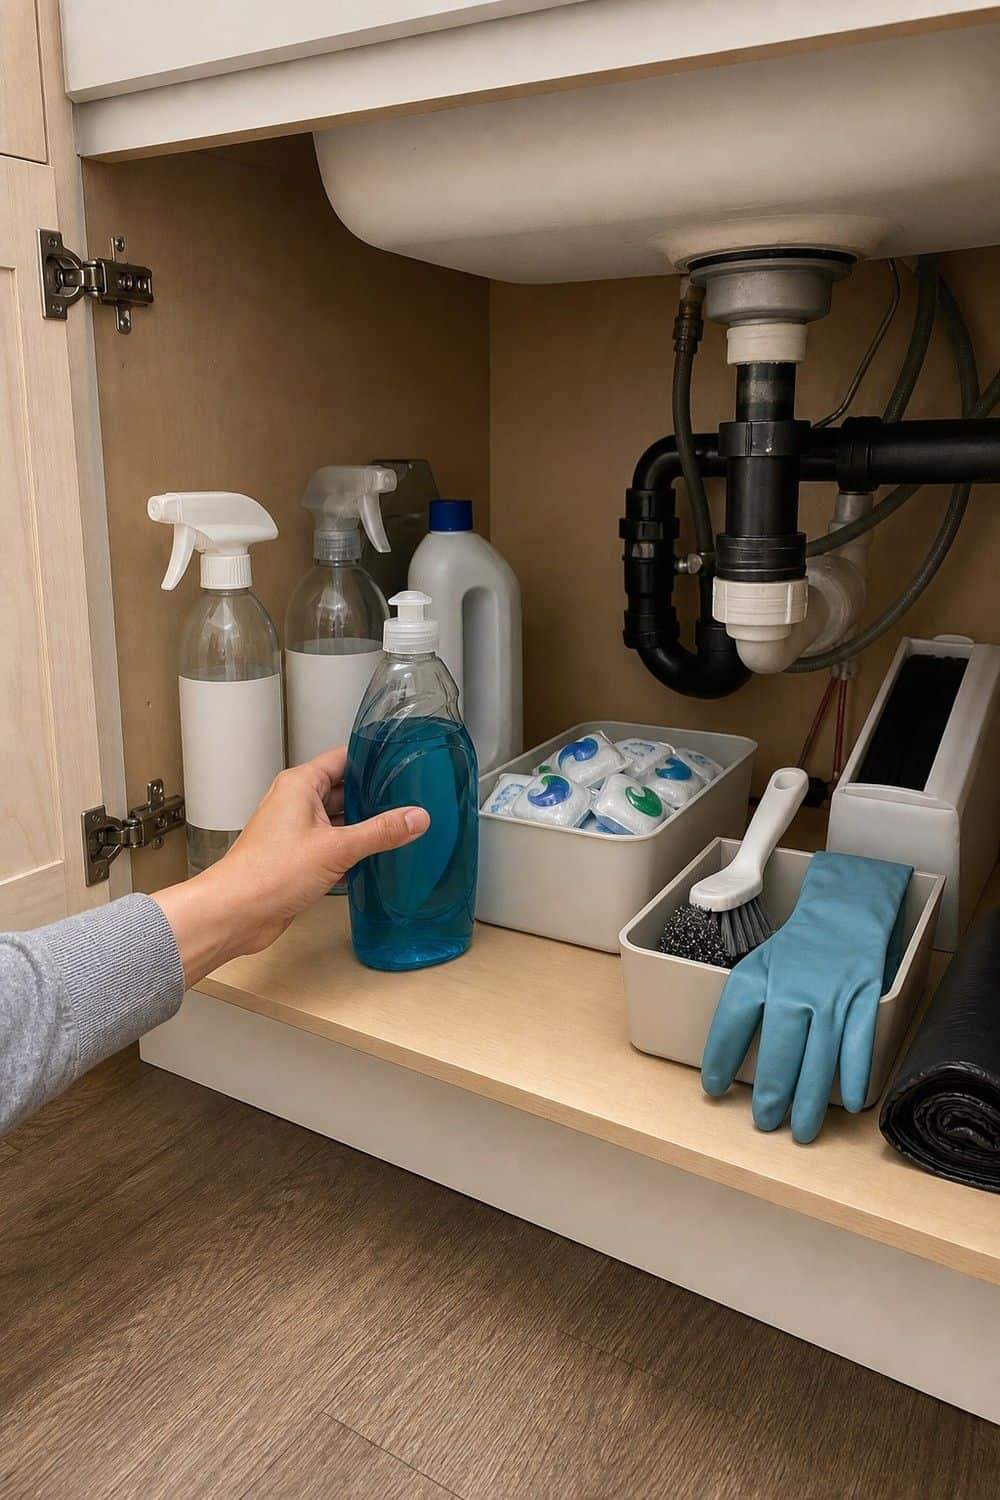
Empty the under-sink cabinet completely before organizing it. Check for leaks, warped cabinet flooring, old grocery bags, duplicate sprays, empty bottles, and products that do not belong near kitchen cleanup.
Group dish soap, dishwasher tabs, gloves, scrubbers, kitchen trash supplies, and everyday sprays so the items you use most are in front. Keep harsh products contained, upright, and away from food storage zones.
An under sink kitchen reset should improve safety as much as access. If something is expired, unlabeled, leaking, or not meant for the kitchen, remove it instead of giving it a prettier spot.
22. Replace Worn Sponges and Dish Brushes

This small checklist item makes the sink area feel fresher immediately. Check sponges, scrubbers, bottle brushes, dish brushes, sink mats, and dish towels for smell, fraying, stains, trapped food, or worn bristles.
Keep only the tools that still clean well. If you save a few backups, store them dry and separate from used brushes. A spring reset is a good moment to stop letting tired sponges linger because they technically still exist.
Pair this step with a quick sink wipe and drain check. Clean tools work better when the sink area itself is not sticky or cluttered.
23. Create a Portable Spring Cleaning Caddy

A portable caddy helps if you are cleaning the kitchen in small sessions. Fill it with cloths, kitchen-safe spray, gloves, a scrub brush, baking soda, labels, a marker, and small trash bags so each zone does not require a supply hunt.
Keep this caddy kitchen-focused. It does not need every whole-house cleaning product. The point is to move from pantry shelves to fridge drawers to cabinet interiors with the few tools you actually need.
When the reset is finished, restock the caddy or return the supplies to the under-sink station. That closes the loop instead of leaving cleaning products on the counter for days.
24. Bring Brunch and Outdoor Serveware Forward

Spring hosting brings out different pieces than winter holidays. Pull forward platters, bowls, pitchers, picnic plates, serving spoons, cake stands, napkins, and outdoor-friendly serveware for brunches, Easter, garden meals, and casual food outside.
Move heavy winter holiday pieces to a less convenient shelf if they are no longer needed. Keep the spring items near the dining area, pantry, or kitchen cabinet where food is plated and carried out.
Use vertical storage for large platters if stacking makes them hard to grab. The easier these pieces are to reach, the more likely you are to use them for simple seasonal meals.
25. Schedule a 20-Minute Monthly Kitchen Mini Reset
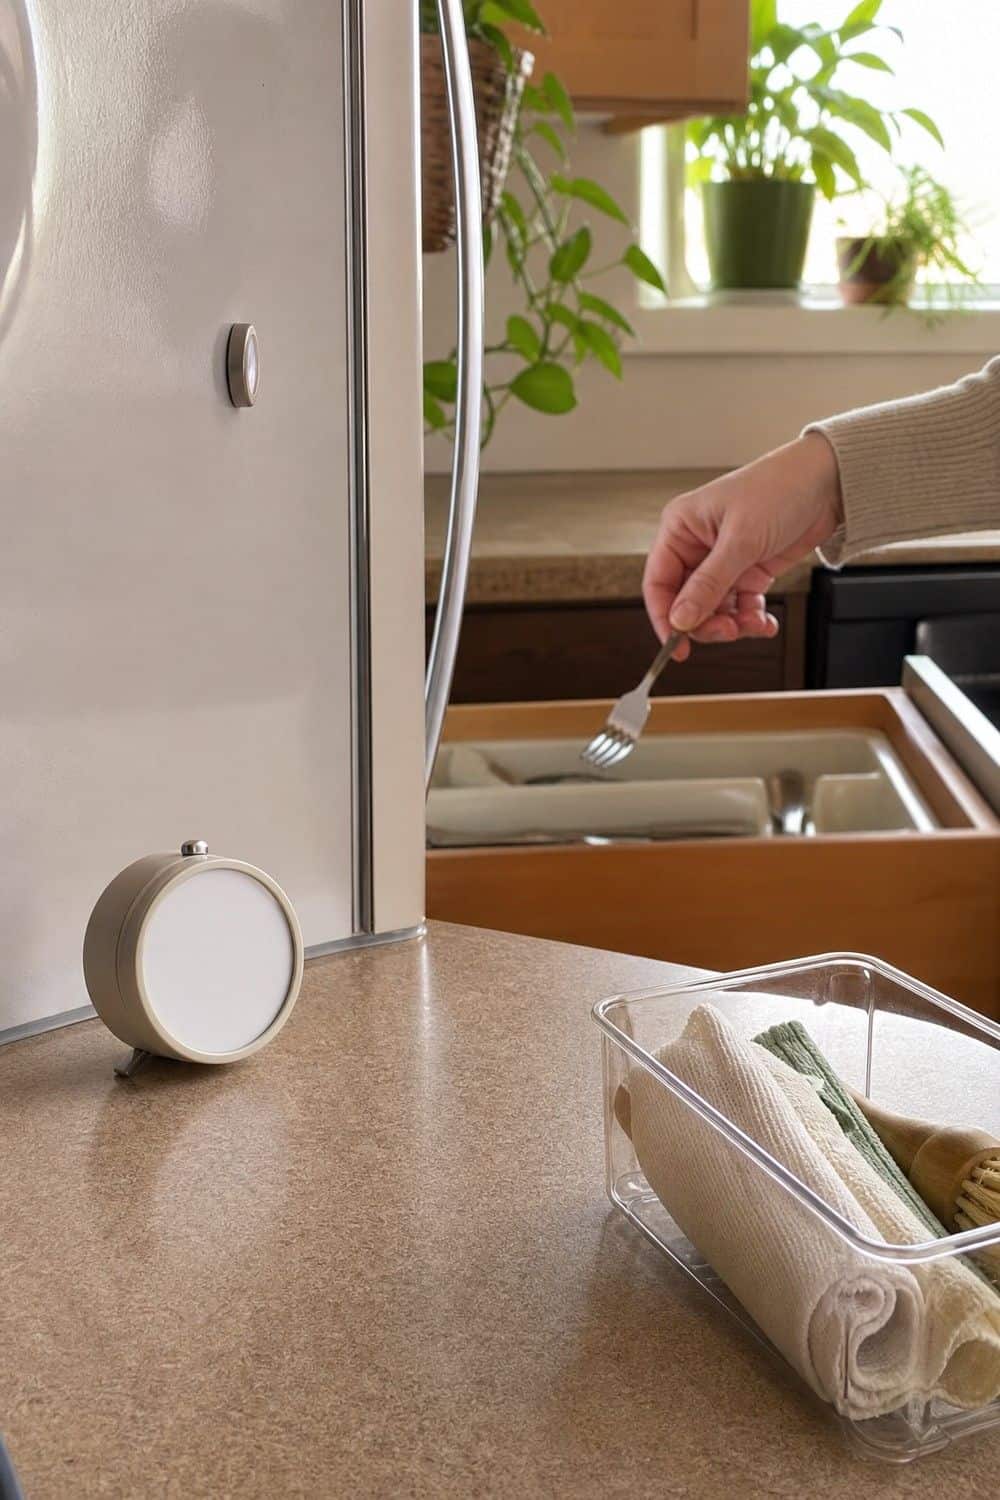
Finish the checklist by scheduling a small monthly reset for the rest of spring and summer. Twenty minutes is enough to check the fridge, pantry, freezer inventory, sink cabinet, and one drawer if you stay focused.
Use that time to update the freezer list, move eat-first foods forward, toss unsafe leftovers, replace worn cleaning supplies, return picnic containers, and put spring hosting pieces back in their zones. This keeps the big reset from becoming a once-a-year rescue mission.
A kitchen reset checklist becomes useful when it turns into a rhythm. Short maintenance is less dramatic than a full weekend cleanout, but it is much easier to repeat.
A Quick Time Budget for Spring Kitchen Organization
If you have 15 minutes, choose one food-safety task: expired pantry food, one fridge shelf, condiment dates, or freezer labels. If you have one hour, do a full pantry shelf, one fridge zone, and the food container cabinet. If you have a weekend, follow the checklist in order from planning and pantry to under-sink storage, hosting supplies, and the mini reset.
Donate only unopened, safe pantry food your household will not use. Toss expired food, stale snacks, rancid oils or nuts, damaged cans, mystery freezer containers, worn sponges, leaking cleaners, and broken appliances. Spring organization should leave the kitchen safer, clearer, and easier to cook in, not just rearranged.
Frequently Asked Questions
What should be on a spring kitchen organization checklist?
A spring kitchen organization checklist should include pantry food, fridge shelves, produce drawers, freezer inventory, food containers, drawers, cabinets, small appliances, under-sink supplies, cleaning tools, and spring hosting items. It should also include food-safety checks, donation decisions, and a maintenance routine so the kitchen stays organized after the first reset.
Where should I start when organizing my kitchen for spring?
Start with expired pantry and fridge food because it frees space and removes safety questions before you organize anything else. Once old food, stale snacks, suspicious leftovers, and duplicate condiments are gone, it is much easier to see what storage systems the kitchen actually needs.
How long does a spring kitchen organization reset take?
A light spring kitchen reset can take about an hour if you focus on one or two zones. A full kitchen reset checklist is usually easier over a weekend or several short sessions. Pantry, fridge, freezer, containers, appliances, and under-sink storage each need enough time for cleaning and decisions.
What pantry items should I toss during spring cleaning?
Toss expired food, stale snacks, rancid oils or nuts, damaged cans, mystery decanted goods, pest-damaged packages, and anything the household will not safely use. Unopened food that is still safe may be better donated if it meets local donation guidelines and has not passed its date.
How do I organize my fridge for spring?
Organize the fridge by wiping one zone at a time, checking leftovers, resetting produce drawers, reviewing condiment dates, and creating an eat-first bin for food that should be used soon. Spring is also a good time to make room for greens, berries, herbs, picnic ingredients, and lighter meal prep.
What should I organize for spring hosting?
For spring hosting, organize brunch serveware, platters, pitchers, picnic containers, napkins, lighter linens, beverage supplies, cake stands, outdoor-friendly plates, and serving utensils. Move winter holiday pieces back so the items you need for brunches, garden meals, and casual gatherings are easier to reach.
How do I keep the kitchen organized after spring cleaning?
Keep the kitchen organized with a 20-minute monthly mini reset. Check the fridge, pantry, freezer inventory, sink cabinet, and one drawer. Use that time to move eat-first food forward, toss unsafe leftovers, replace worn cleaning tools, and return picnic or hosting supplies to their zones.
What kitchen cleaning supplies should I replace in spring?
Replace worn sponges, old dish brushes, stained sink mats, frayed dish towels, expired cleaners, duplicate sprays, leaking bottles, and broken tools. Spring is also a good time to check gloves, scrubbers, bottle brushes, dishwasher tabs, and cleaning cloths so the sink area feels fresh and usable.
Final Thoughts on Spring Kitchen Organization Checklist Ideas
The most useful spring kitchen organization checklist ideas put the kitchen back into a workable order for the season ahead. Clear unsafe food first, reset the fridge and freezer, match containers, clean the busiest cabinets, refresh under-sink supplies, and bring spring hosting pieces forward so lighter meals and warm-weather routines feel easier.
Last update on 2026-10-04 / Affiliate links / Images from Amazon Product Advertising API
