
Budget kitchen organization ideas work best when you declutter first, measure one problem area, reuse what already fits, and buy only a few targeted helpers. Pick the drawer, shelf, cabinet, fridge zone, or under-sink area that slows you down most, then fix that one spot before shopping for another organizer. A tidy budget kitchen is built from small decisions that reduce waste, stop duplicate buying, and make daily cooking easier.
A kitchen does not need matching containers on every shelf to work better. In fact, the cheapest fix is often removing what you do not use, measuring the awkward space, and choosing one organizer that solves the exact problem.
That is the heart of smart budget kitchen organization ideas: spend less by buying fewer, better-fitting helpers. The goal is not a perfect pantry photo. It is a kitchen where drawers open easily, food gets used before it expires, counters stay calmer, and storage choices match how you actually cook.

Top Recommended Products


You Might Also Like These Blog Posts
- Kitchen Cabinet Organization
- Pantry Organization Ideas
- Kitchen Drawer Organization
- Under Sink Kitchen Organization
- Compact Kitchen Organization
1. One Problem Area Measured Before Buying
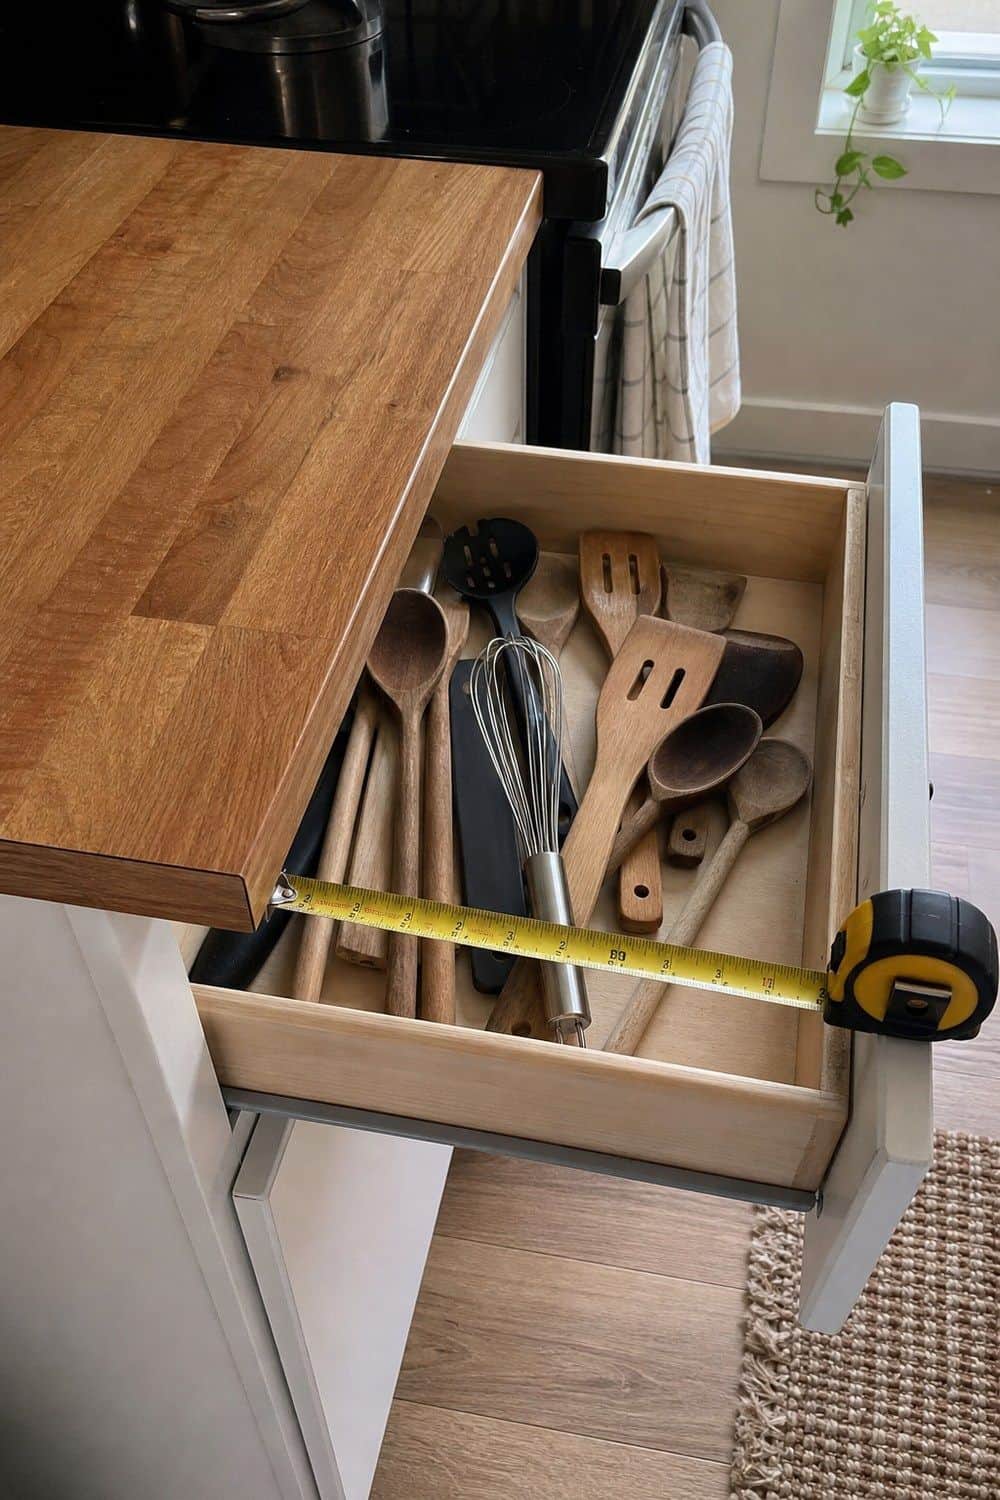
Measure the one spot that slows you down before you buy anything. A pantry shelf, utensil drawer, under-sink cabinet, or fridge shelf can look easy to fix online, then reject the organizer by half an inch once it is home. Write down width, depth, height, door swing, pipe placement, and shelf clearance.
That tiny pause saves money because you are shopping for a real problem, not a fantasy cabinet. Fix one area first, live with it for a few days, then decide whether the next shelf needs the same organizer or a completely different answer.
2. Donation Box for Quick Decluttering
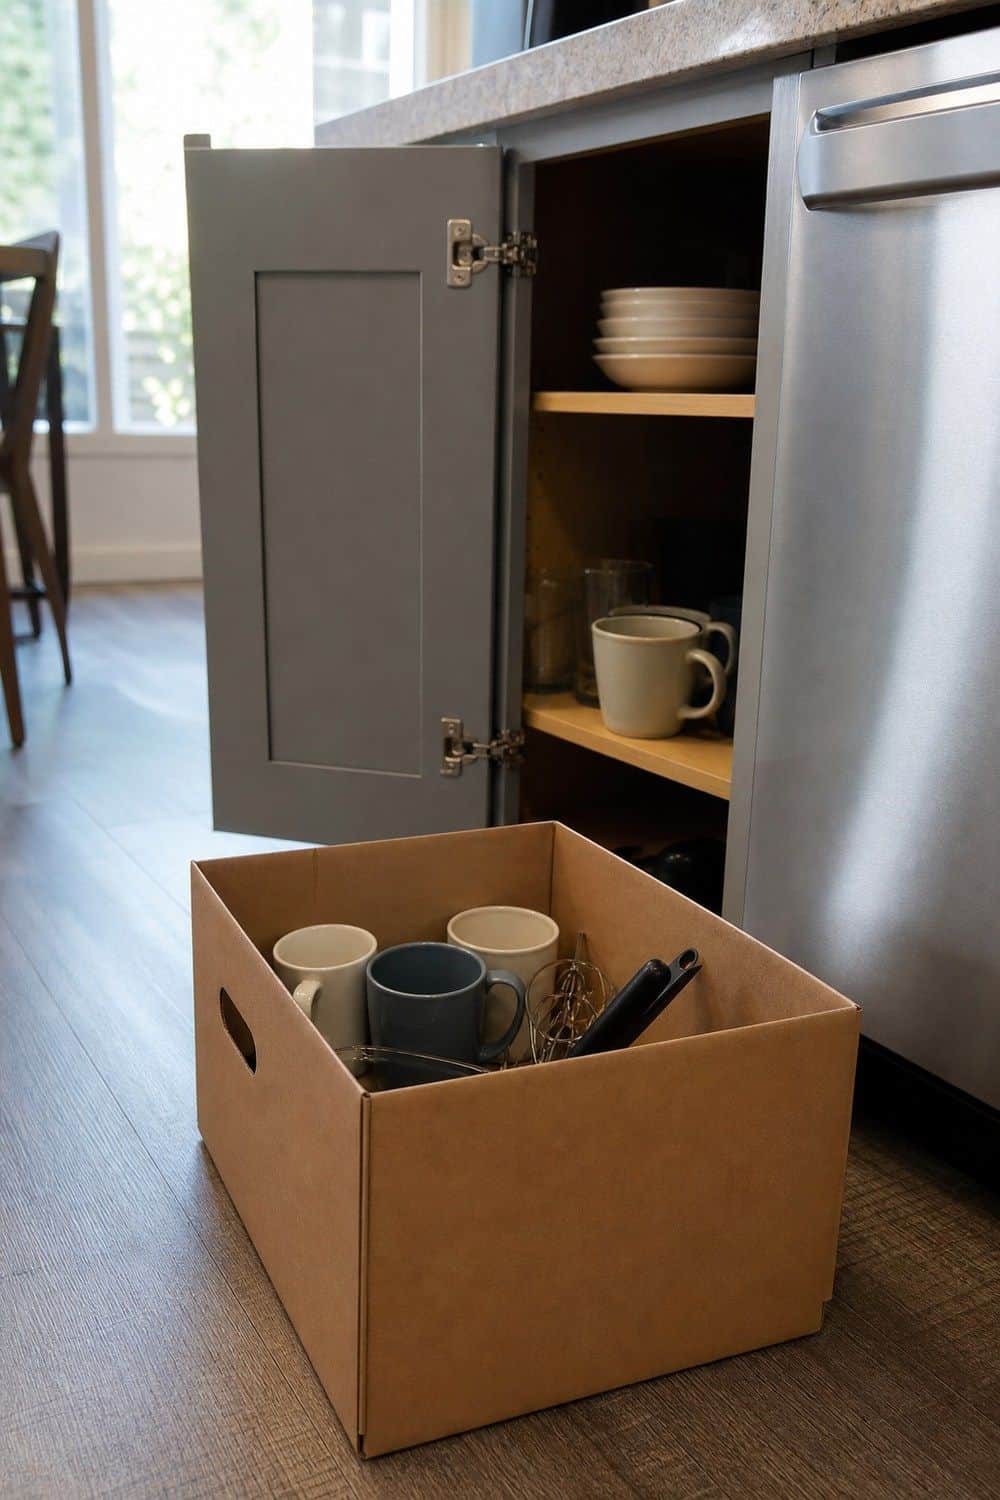
A small donation box is the cheapest organizer in the kitchen because it creates room before you spend. Keep it nearby for duplicate mugs, extra spatulas, warped lids, chipped plates, unused water bottles, mystery gadgets, and anything that survives only because it has always been there. Add the obvious extras as you cook, unload the dishwasher, or pack lunches, then move the box out once it is full. The space you gain often makes the drawer, shelf, or cabinet work with organizers you already own.
3. Matching Clear Bins One Shelf at a Time
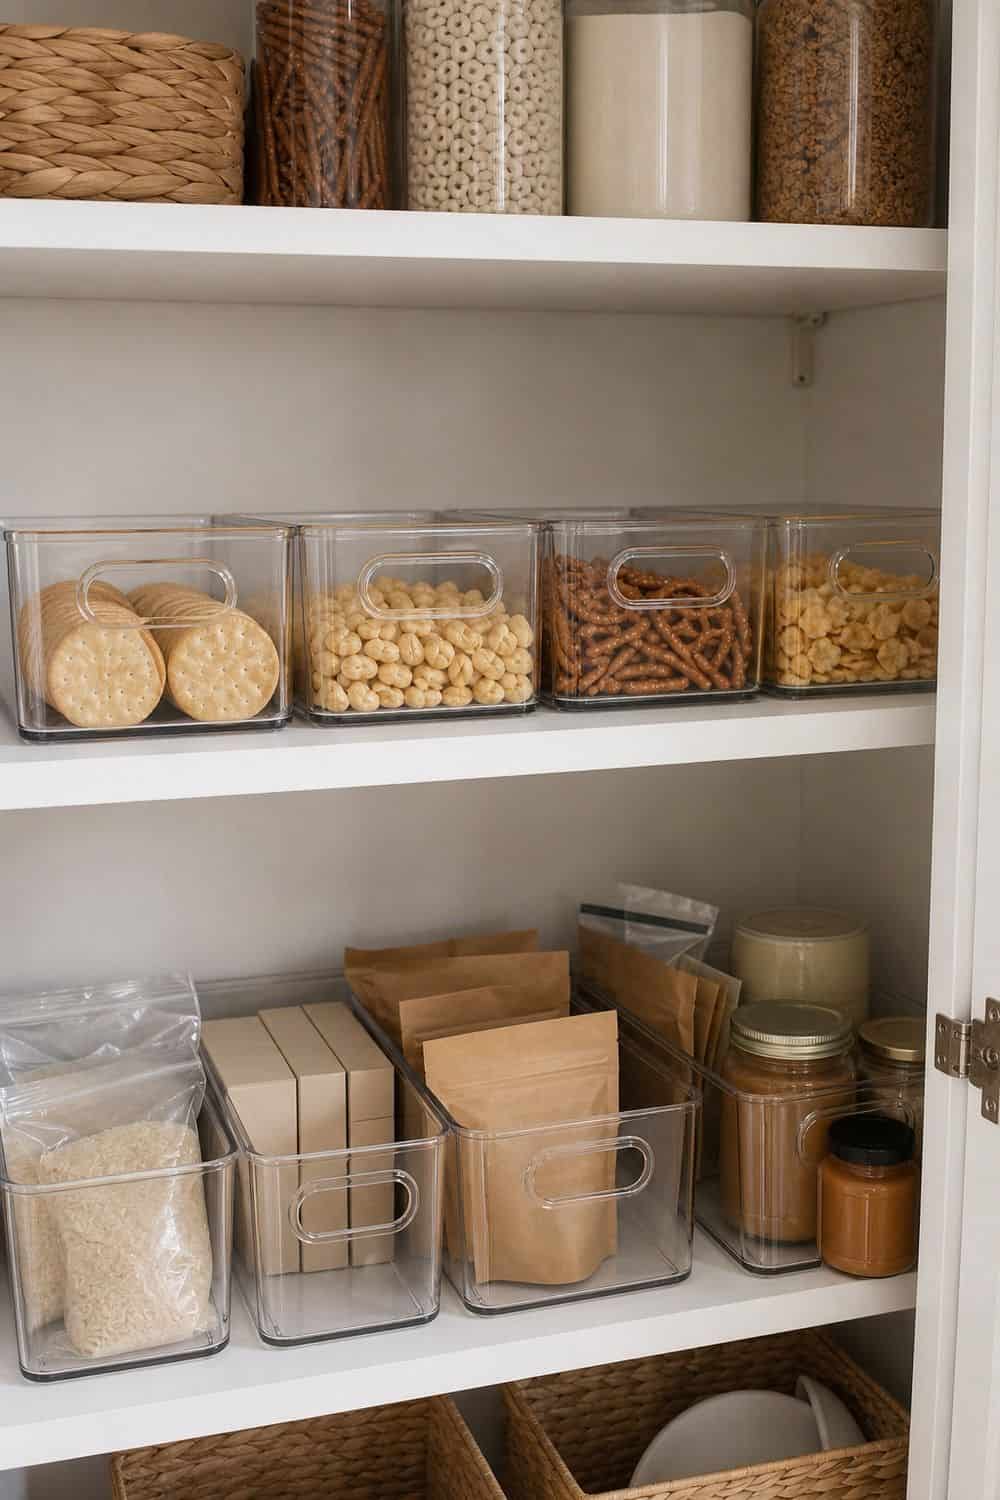
Clear bins are worth buying one shelf at a time, not as a huge matching set. Choose the pantry shelf that loses snacks, breakfast packets, baking extras, lunch pieces, or small cans, then buy two or three bins that match that shelf’s actual depth.
Leave a little room in each bin so groceries can land without turning the shelf into a puzzle. If the first shelf works, repeat the size elsewhere. If it does not, you have made a small correction instead of owning a stack of wrong containers.
4. Tiered Risers for Cans and Spices
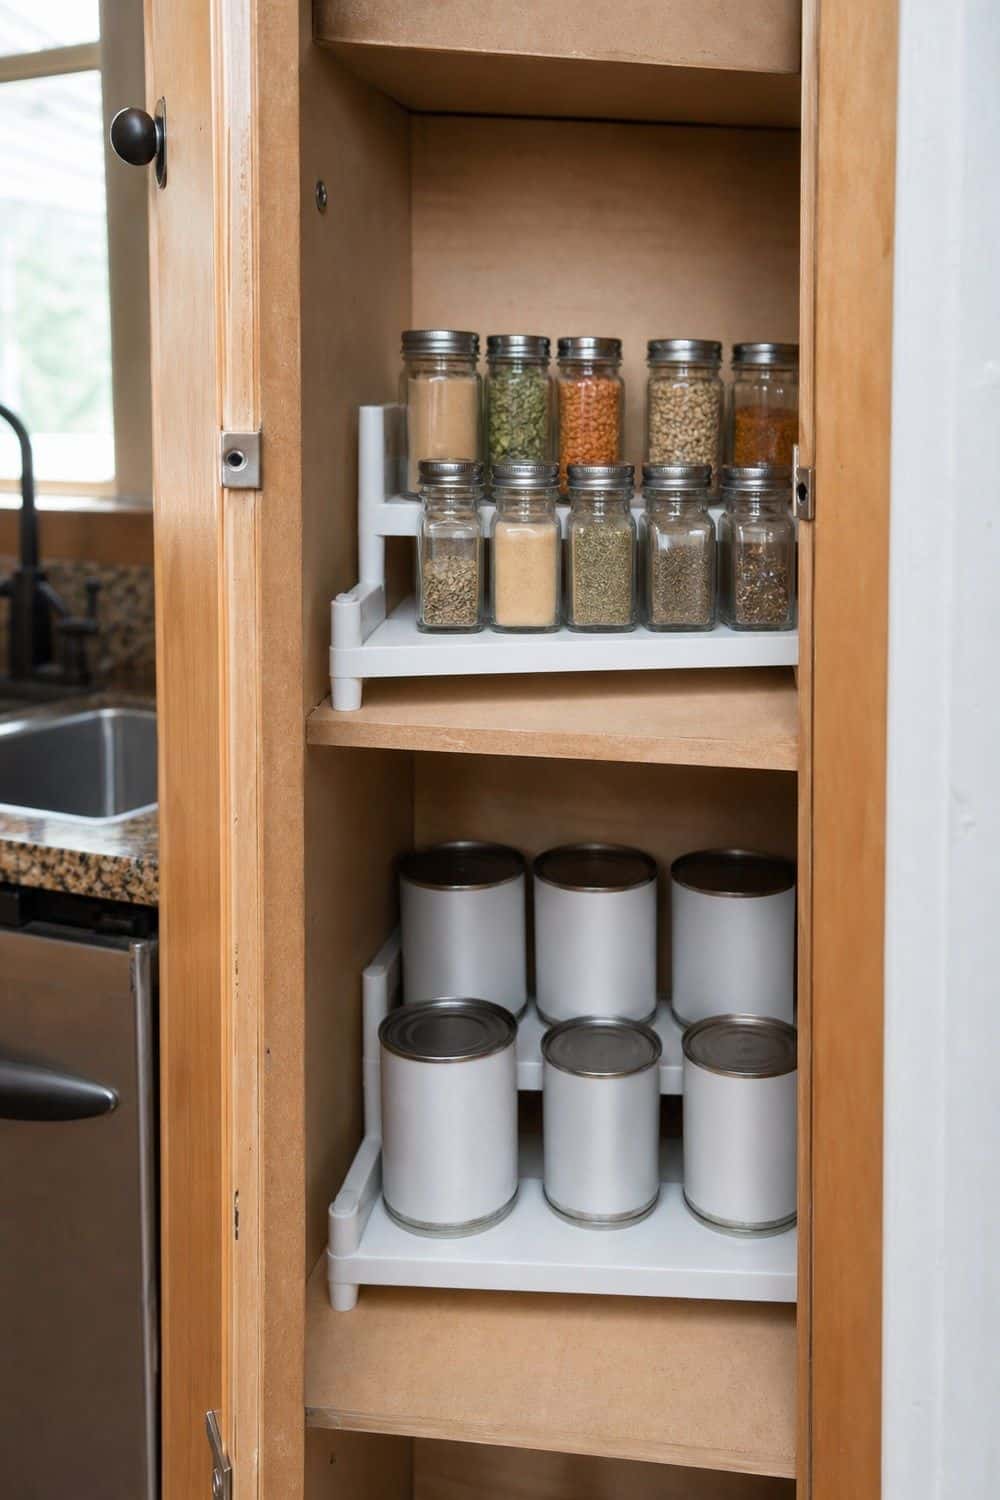
Tiered risers are best for short items that disappear in rows: spice jars, tuna cans, tomato paste, extracts, sprinkles, small condiments, and medicine-cabinet-style pantry pieces. They give the back row a little stage without asking you to pour everything into matching jars.
Check cabinet height before buying, because taller cans can crash into the shelf above. Put everyday items in front and occasional backups on the higher row. The point is seeing what you already bought before another duplicate lands in the cart.
5. Oils and Condiments on a Turntable
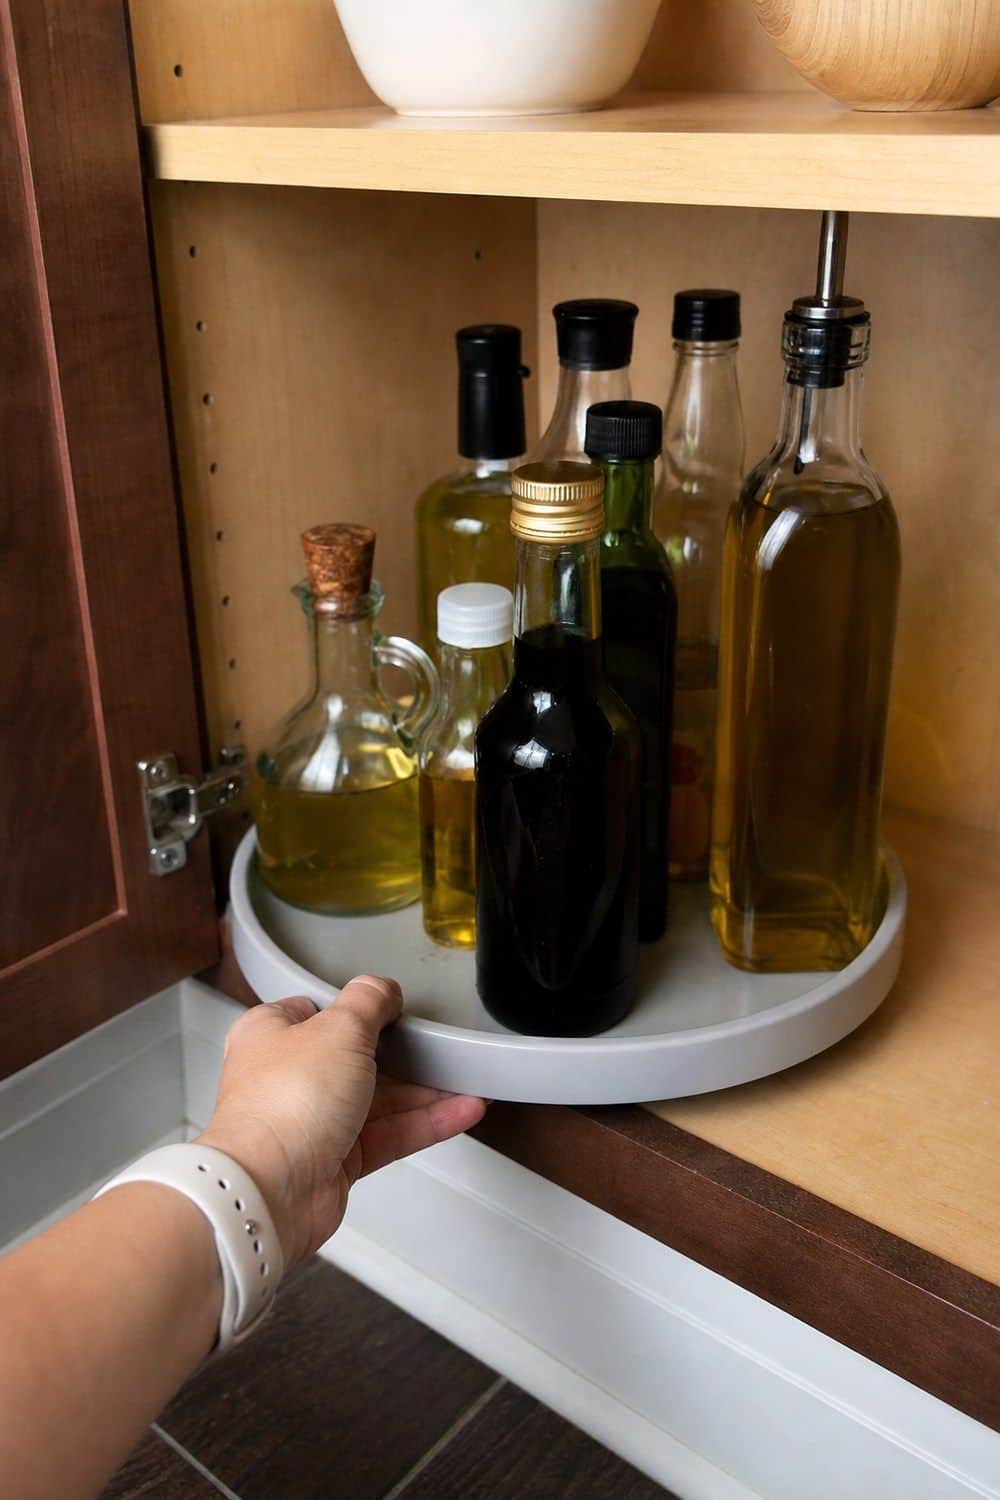
A turntable can rescue a deep corner where bottles keep blocking each other. Use it for oils, vinegars, sauces, baking extracts, nut butters, breakfast spreads, or condiments that belong together but need to rotate forward. Keep the category tight and the bottle heights fairly similar so nothing wobbles when it spins. If you have tall glass bottles, choose a turntable with a rim and enough diameter for one-handed use during cooking. Put sticky bottles on a small washable liner so the shelf does not become grimy underneath.
6. Modular Trays for Small Tools
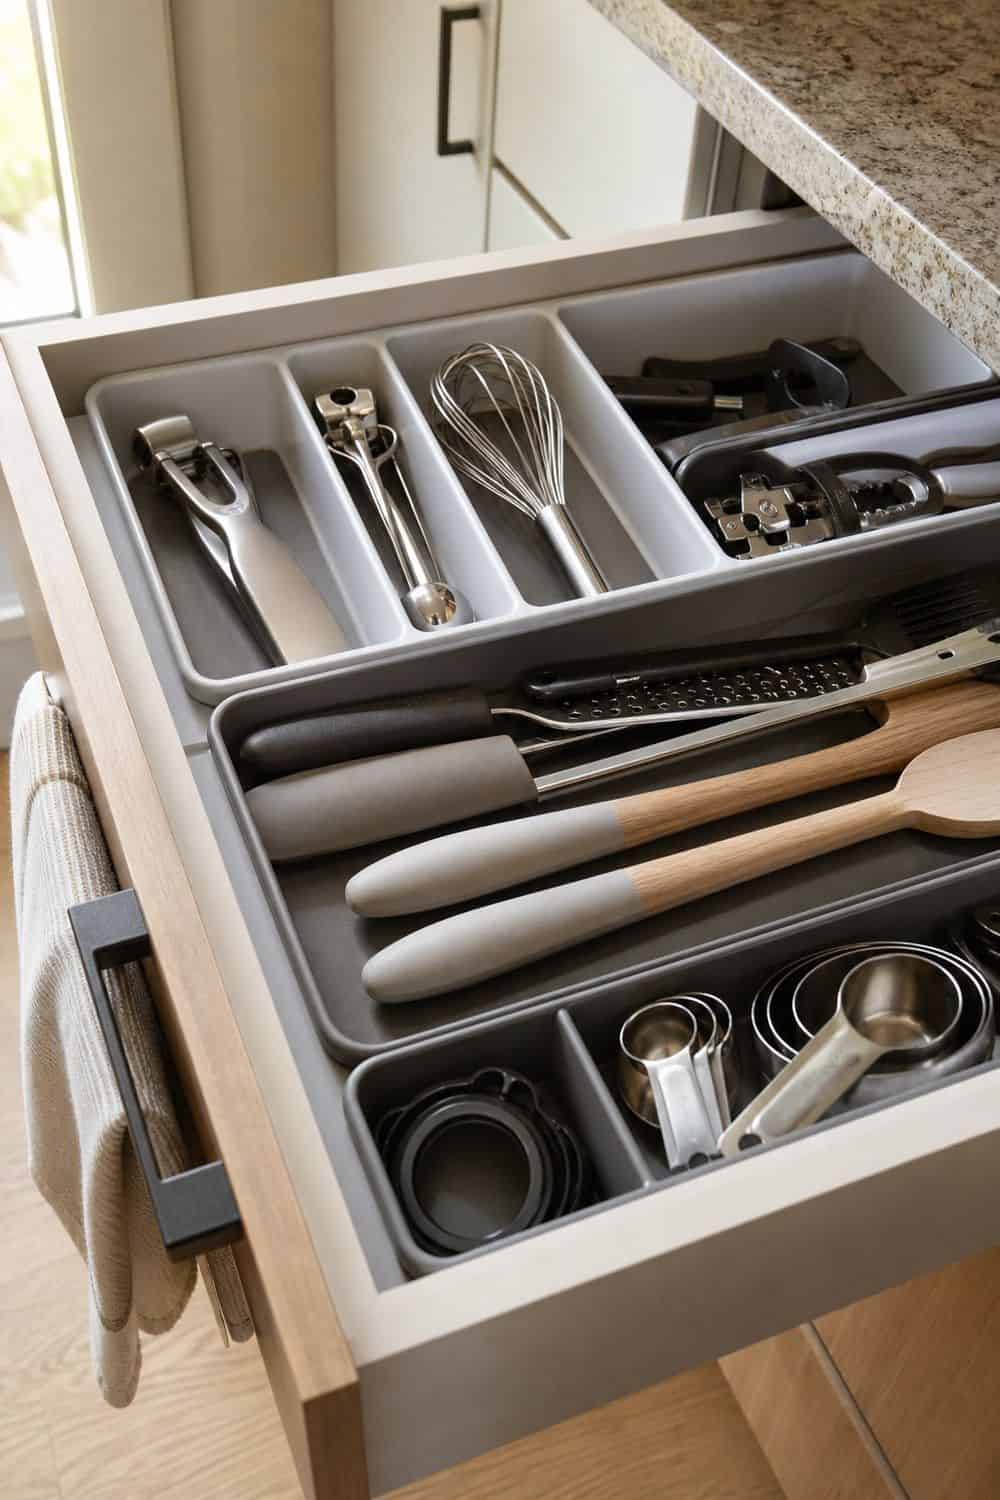
Modular drawer trays are kinder to a budget than one perfect-looking insert when your tools are mixed or the drawer is an odd size. Use small trays for peelers, bag clips, measuring spoons, thermometers, openers, straws, rubber bands, and tiny pieces that vanish under spatulas.
Empty the drawer first so the trays are not organizing clutter. A few movable pieces let you change the layout as cooking habits change, and they can shift to another drawer later if the first plan turns out to be almost right.
7. Expandable Dividers for Long Utensils
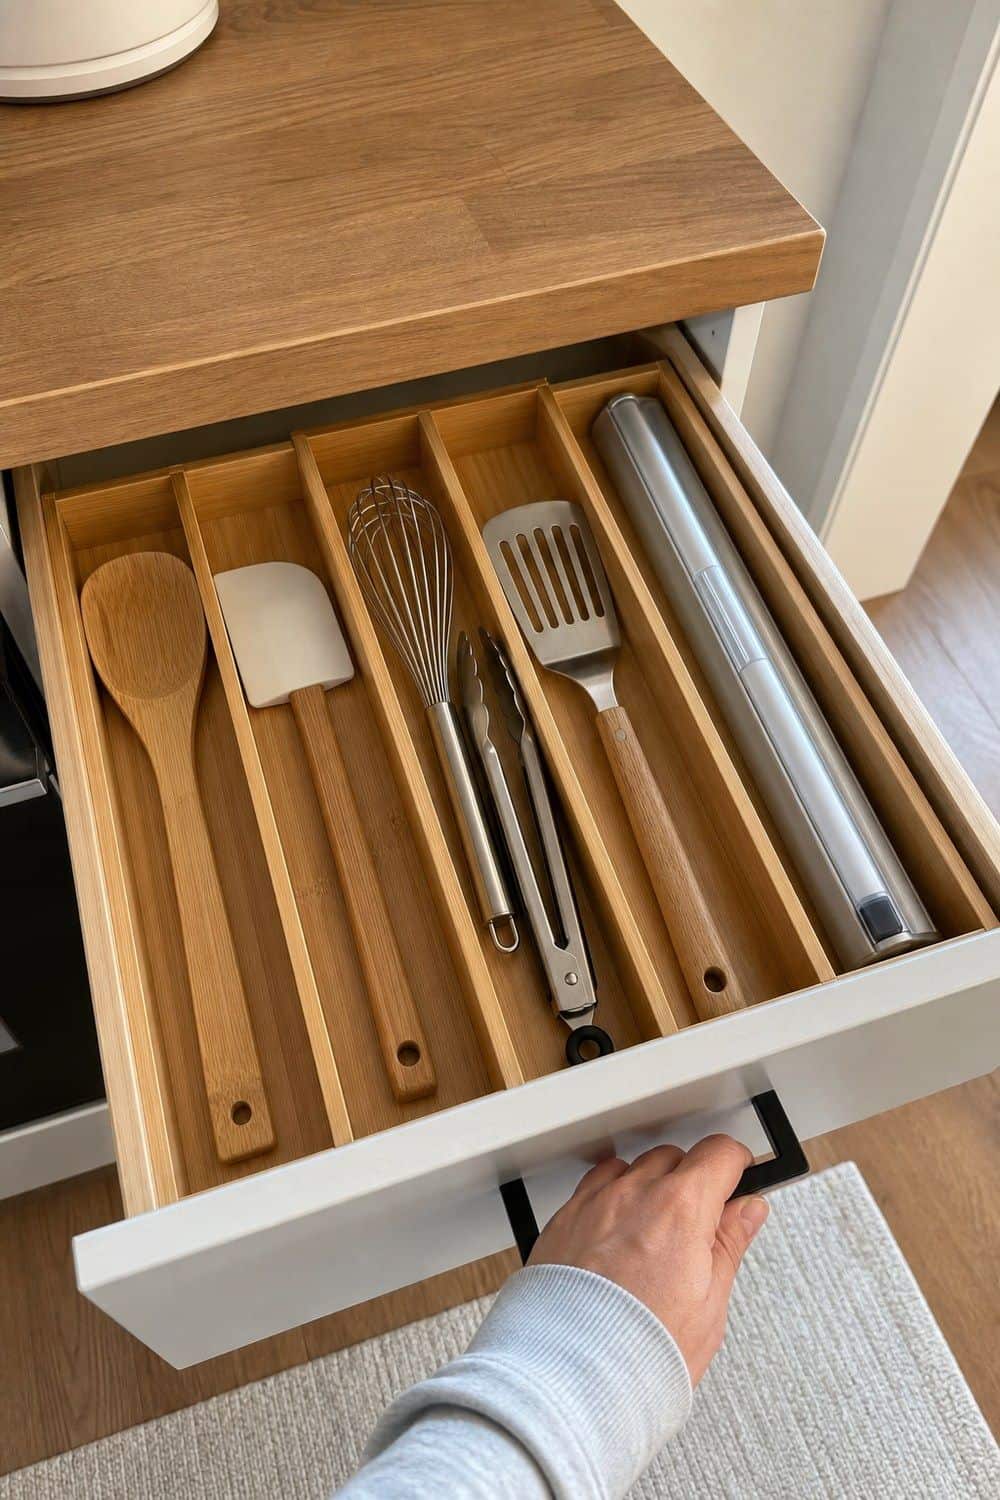
Long utensils need lanes, not a jumble beside the flatware. Expandable dividers can separate spatulas, tongs, whisks, ladles, wooden spoons, and serving pieces while still using the full width of the drawer.
Before buying, check the drawer depth and the tallest handle so everything closes without scraping. Keep the daily tools in the easiest lane and move duplicates, holiday pieces, or rarely used gadgets somewhere less prime. A good divider makes dinner faster, not just prettier, especially when you can grab tongs without lifting half the drawer.
8. Wooden Clothespins for Open Bags
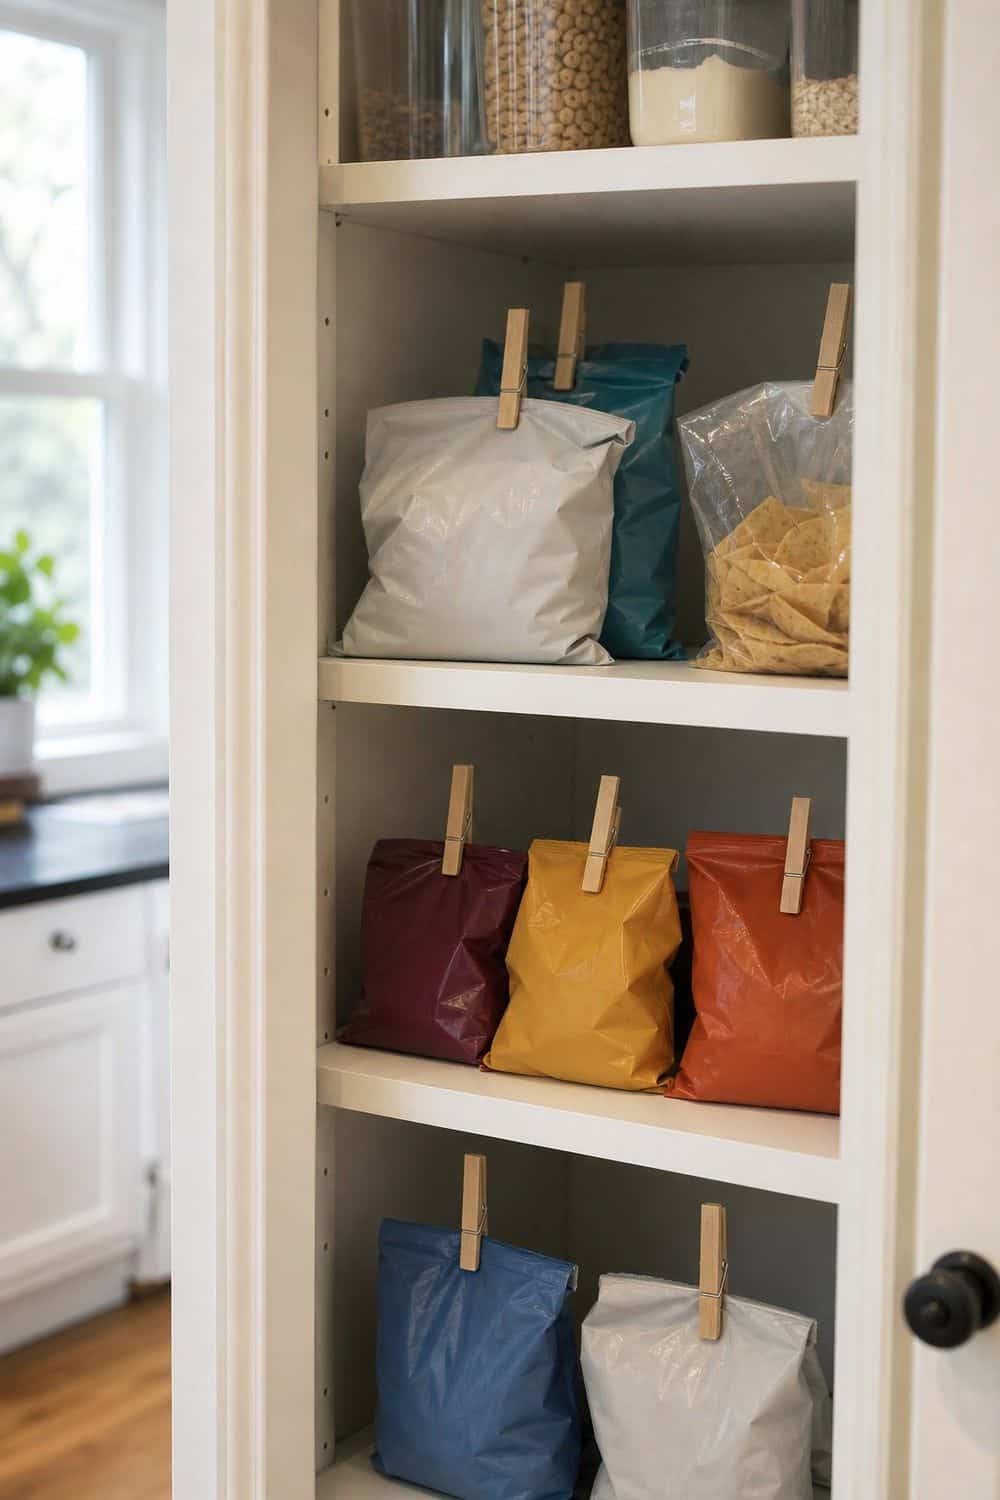
Wooden clothespins are humble, but they solve a real pantry problem for almost no money. Use them on chips, cereal liners, frozen vegetables, rice bags, flour bags, snack pouches, and open packets that would otherwise spill or go stale.
Store a small handful in a cup or tray near the pantry so they are ready when a bag is opened. They are not airtight for everything, but they are perfect for the everyday packages that need a quick close without buying a different clip for every size.
9. Reused Glass Jars for Refilled Dry Goods
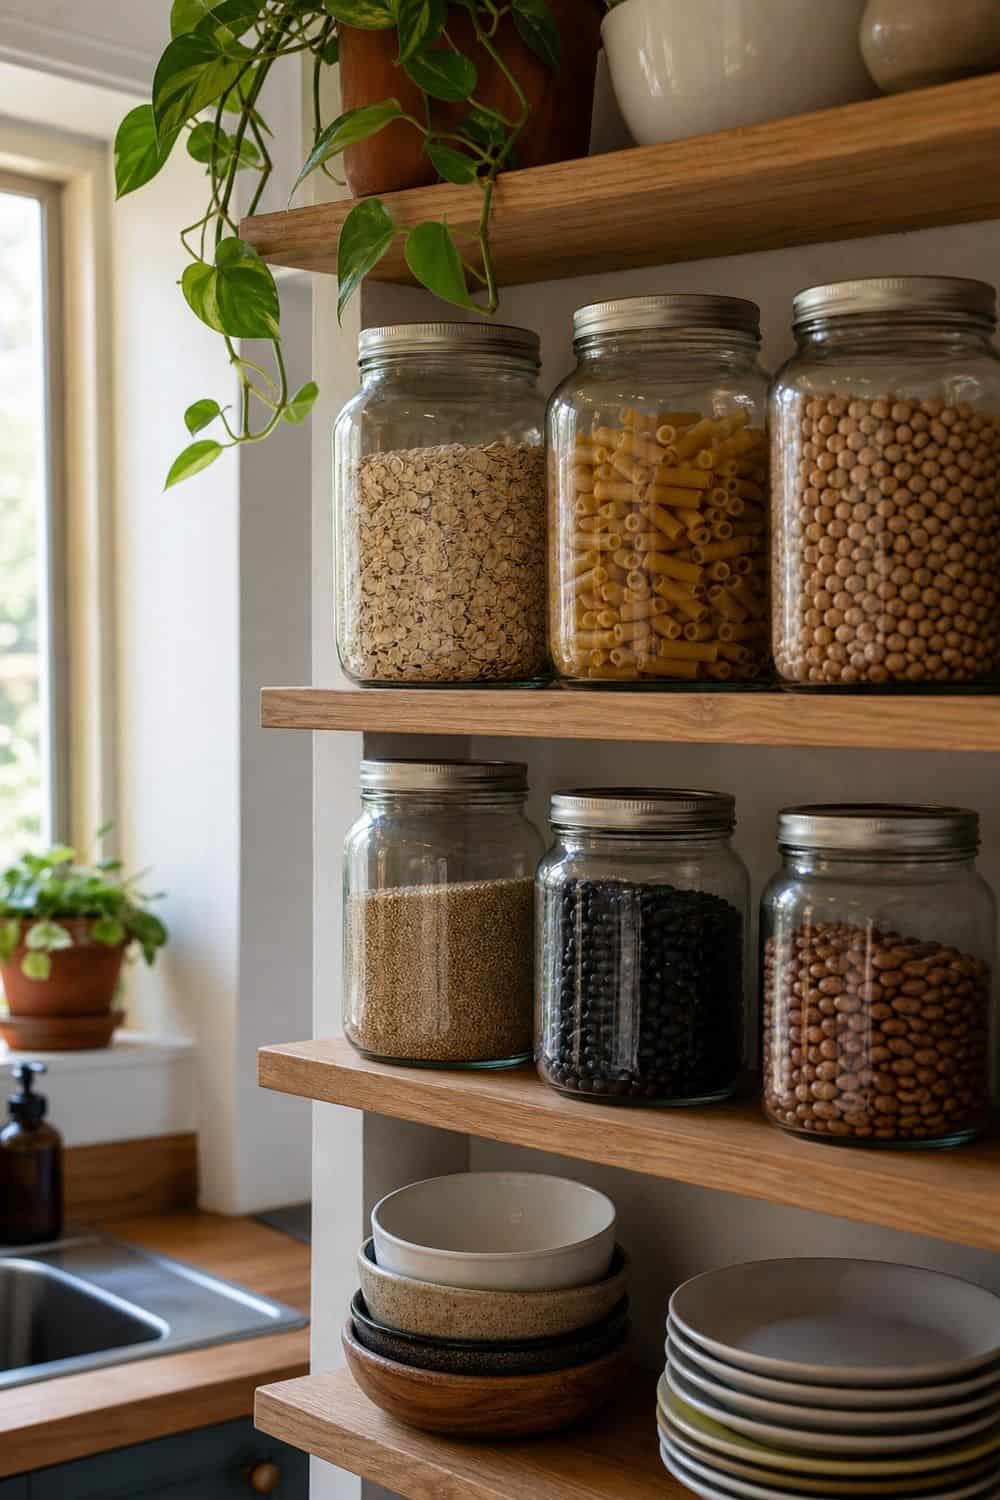
Saved glass jars are useful when they hold foods you refill often and can identify quickly. Oats, rice, lentils, coffee, tea, dried fruit, pasta, and baking add-ins make sense if the jar is wide enough to scoop from and easy to wash. Skip jars for mystery leftovers, rarely used powders, or ingredients that need cooking directions from the original package. Free storage should still make the shelf easier to use, so add a small date or ingredient label when two dry goods look similar.
10. Measuring Cups Inside a Cabinet Door

The inside of a cabinet door can hold light tools that always clutter the drawer. Adhesive hooks work for measuring cups, measuring spoons, bottle brushes, oven mitts, or a tiny brush near the sink, as long as the door still closes cleanly.
Test the placement with the shelf full before sticking anything down. Hinges, jars, and stacked bowls need clearance. This is a budget fix I like because it uses dead space, but it only works when the tool can be grabbed without knocking into everything behind the door.
11. Pantry Door Packet Storage
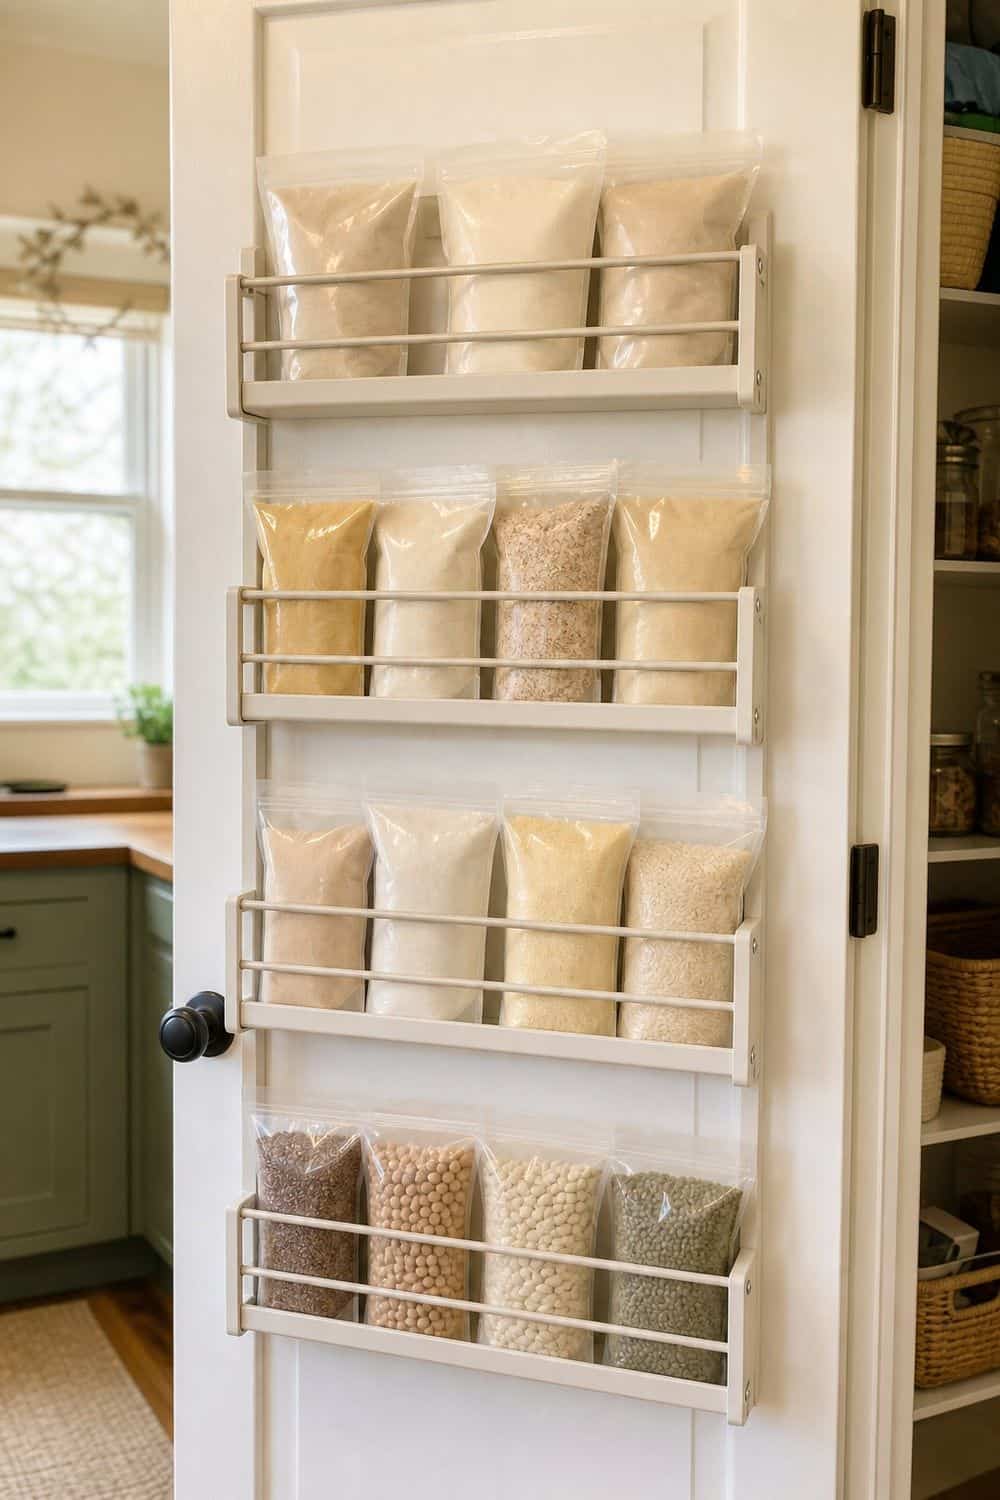
An over-door pantry organizer earns its keep when small packages keep sliding behind bigger food. Use the pockets for oatmeal, seasoning packets, snack bars, foil boxes, drink mixes, wraps, sauce packets, or lightweight backstock that needs a front-facing home.
Keep heavy jars and glass bottles off the door so the hinges are not doing extra work. Group packets by meal type or routine, not by brand, and leave one pocket partly open for the new item that always appears after grocery day.
12. Sheet Pans in a Vertical Rack

Sheet pans and cutting boards are much easier to live with when they stand like files. A cheap vertical rack can hold sheet pans, cooling racks, muffin tins, slim lids, cutting mats, and lightweight trays so you can pull one piece without lifting a heavy stack.
Place the tallest pan in first and check that the cabinet door closes. If a rack slides around, add a liner underneath or tuck it against one cabinet wall. This fix is small, but it saves that noisy metal shuffle before baking or roasting.
13. Pot Lids in a Door Rack

Pot lids deserve their own little parking spot because they turn a cabinet messy fast. A door rack works when the lids are light enough for the door and the handles do not hit shelves, pipes, or the pans inside.
Keep only the lids you use often in the rack, with the largest or heaviest pieces somewhere sturdier. Match lids to pots before installing anything; stray lids without a pan are just paid-for clutter wearing a handle. If the door rattles after loading, remove one lid instead of forcing the hinge to carry more weight.
14. Tension Rod for Wrap Boxes
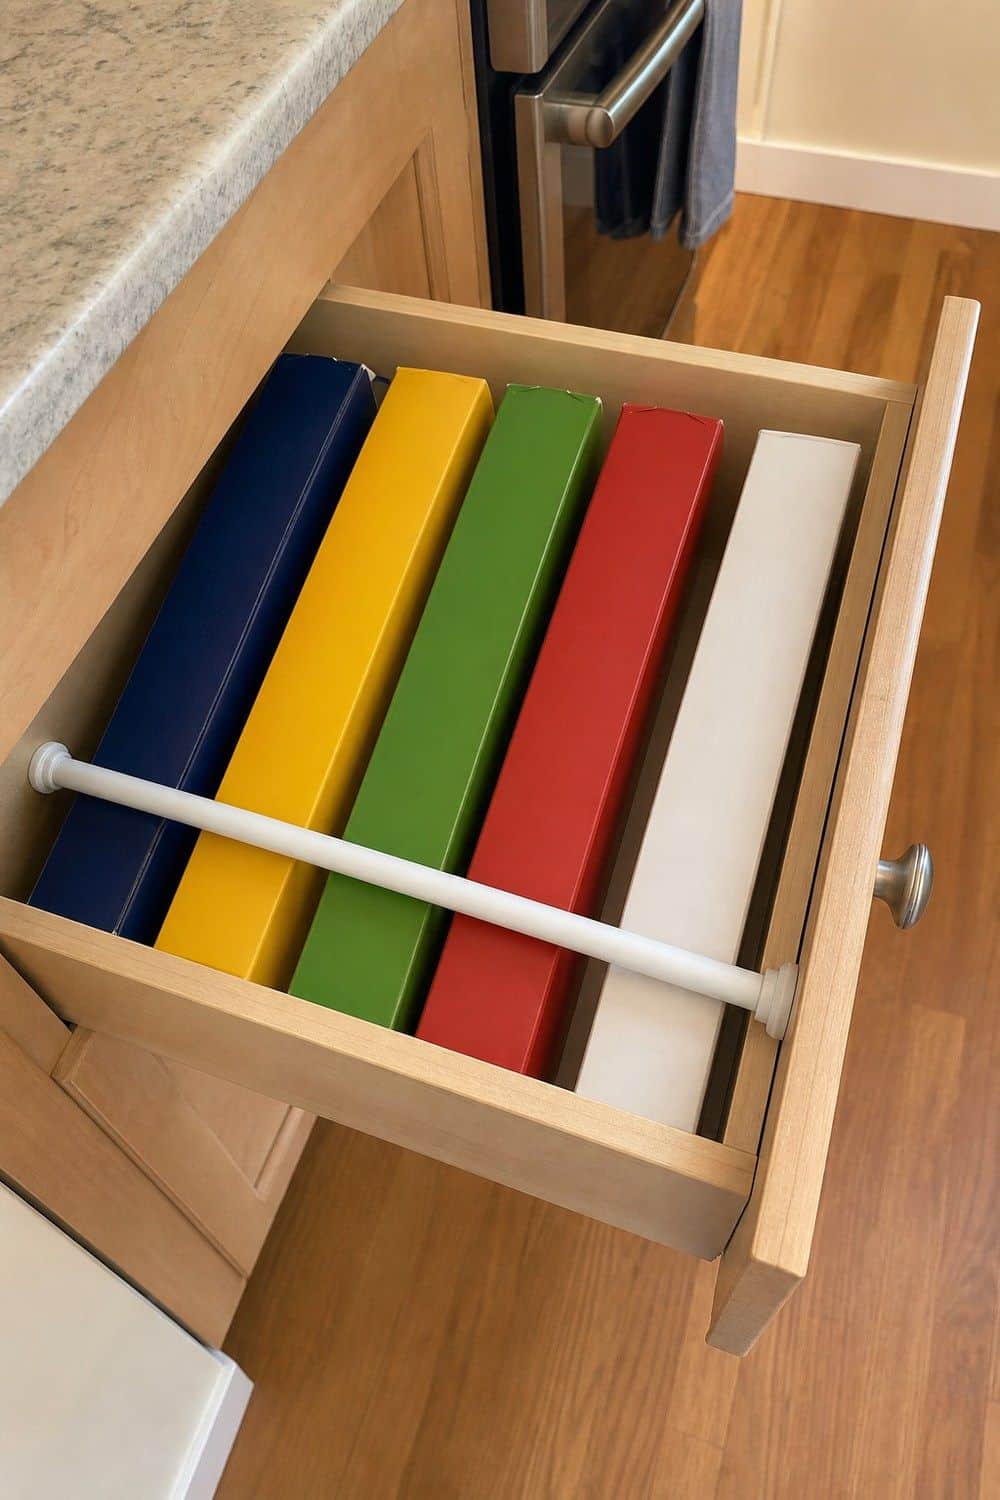
Wrap boxes need a skinny lane more than a fancy organizer. A tension rod, file divider, or narrow bin can stand foil, parchment, plastic wrap, wax paper, freezer bags, and sandwich bags upright inside a cabinet or pantry shelf.
Put the roll you use most toward the front and keep backup boxes behind it. Measure the box length first, because oversized rolls can block the door. A cheap divider works beautifully when the category stays narrow instead of becoming a catchall for every flat package.
15. Eat-First Fridge Bin
An eat-first bin saves money by making the food with a deadline impossible to miss. Use one clear handled bin for leftovers, ripe fruit, opened dips, cut vegetables, half-used ingredients, yogurt cups, or anything that should be chosen before a new package is opened.
Place it at eye level if you can. The label can be plain, even painter’s tape, because the job matters more than the look.
Check it before shopping and before cooking dinner. If the bin is overflowing, plan one meal around it instead of buying more food for the same shelf.
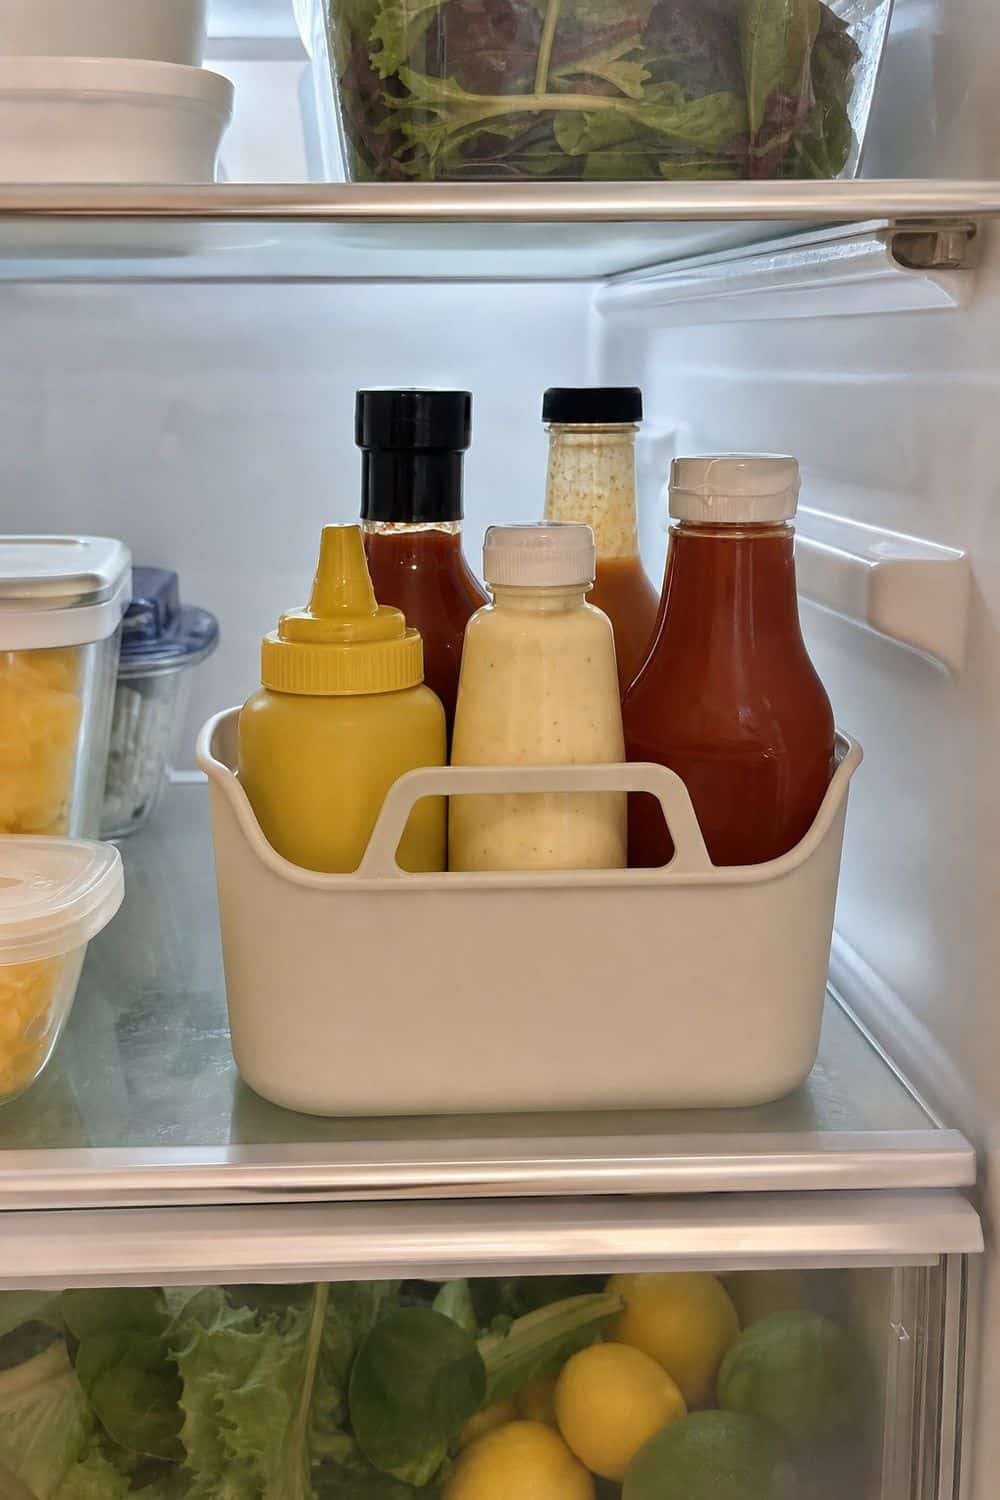
16. Condiments in a Fridge Caddy
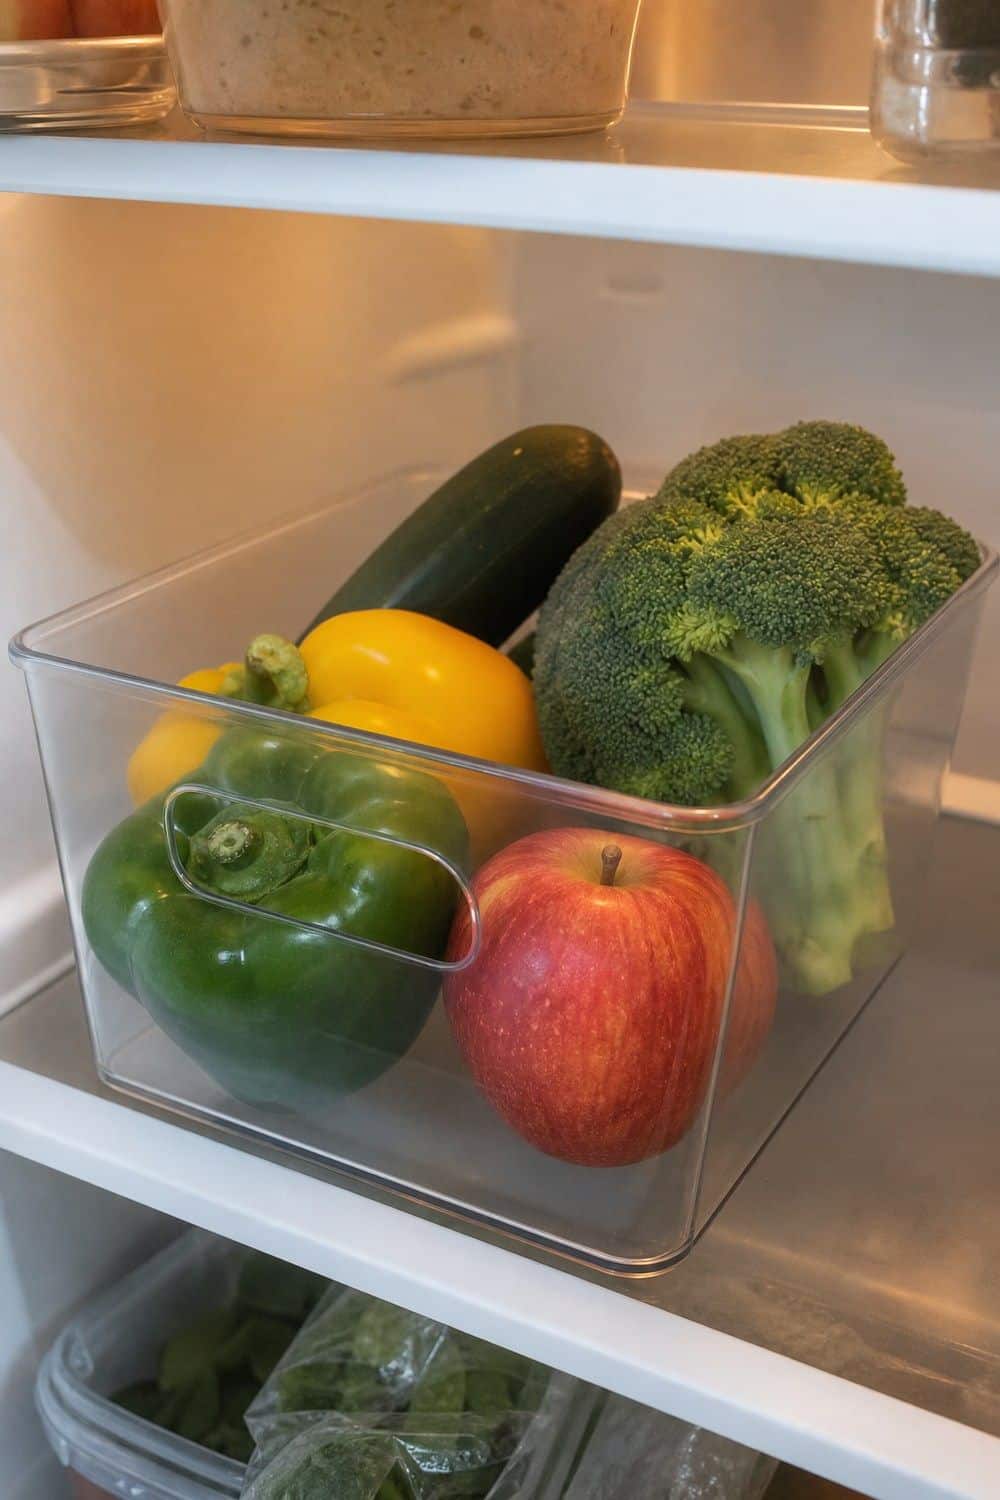
A fridge caddy helps when sauces travel from shelf to table and never quite return. Group the condiments that belong to one meal routine, such as salad dressings, breakfast spreads, hot sauces, burger toppings, or marinades.
Choose a caddy with a handle and sides tall enough for the bottles you actually use. Do not put every condiment in it. One focused caddy makes meals easier, while a huge mixed bin becomes another cold drawer everyone has to dig through. Check expiration dates as you load it so old sauces do not win a permanent seat.
17. Flat-Frozen Soup and Sauces
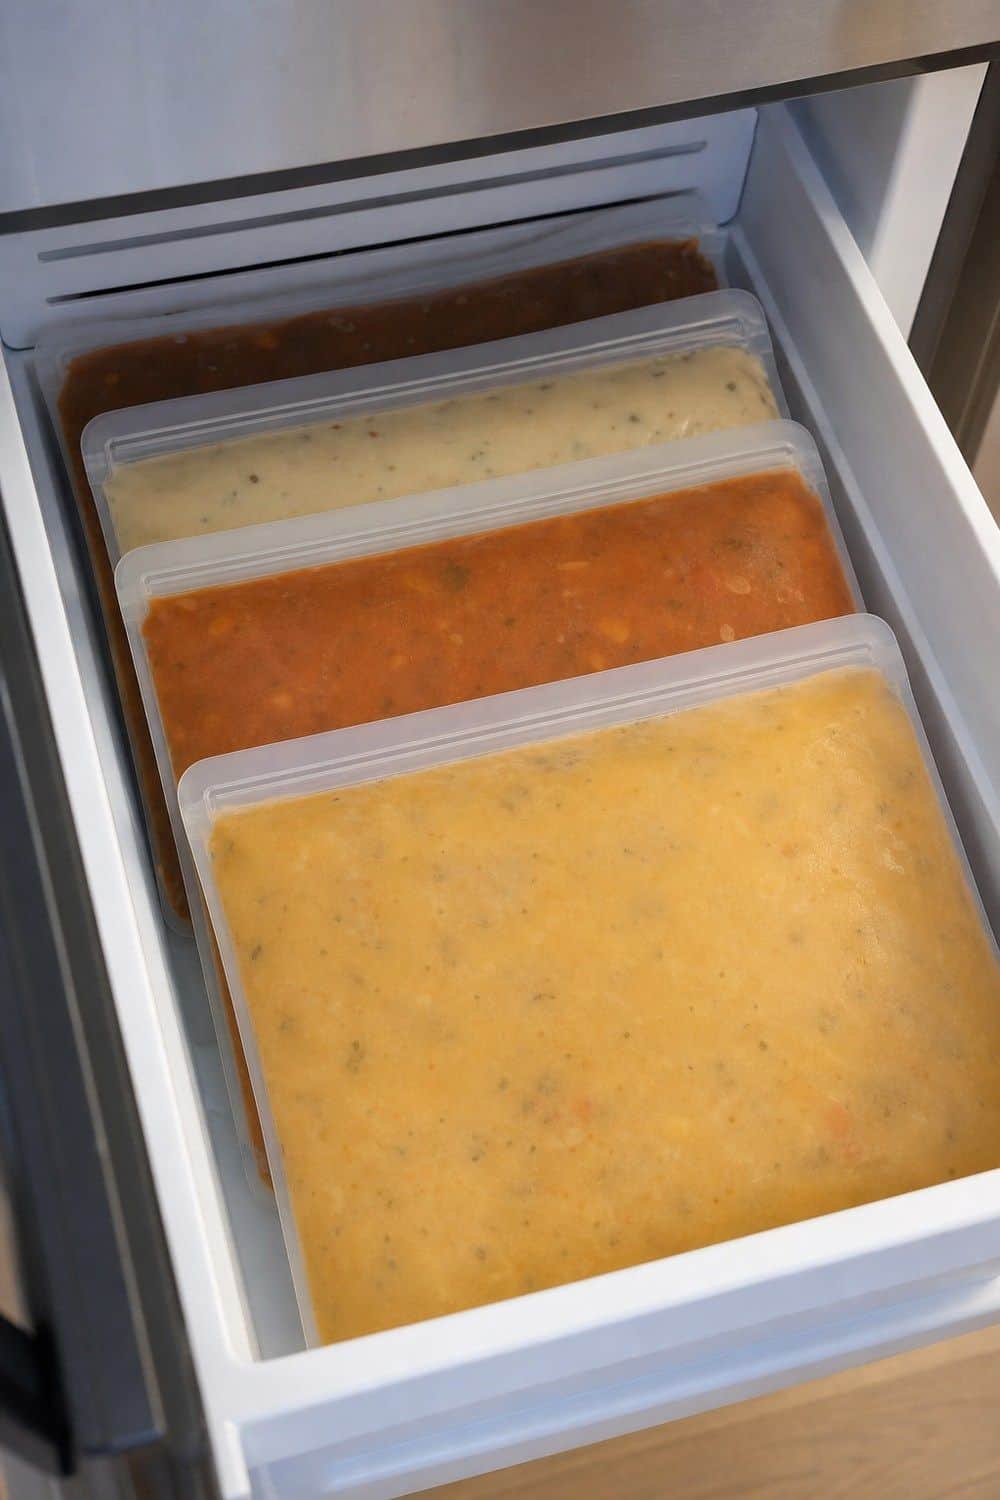
Freezing soup, broth, beans, sauce, and cooked grains flat can make a crowded freezer behave without buying a new set of containers. Cool the food first, portion it into freezer bags, press out extra air, and freeze the bags flat on a tray. Once firm, they can stand upright like slim files. Label the flavor, portion size, and date before the bag gets frosty, because a neat freezer still fails when every flat packet becomes a mystery. Keep one small basket for the flat packs so they do not slide everywhere.
18. Shoebox Packet Bin
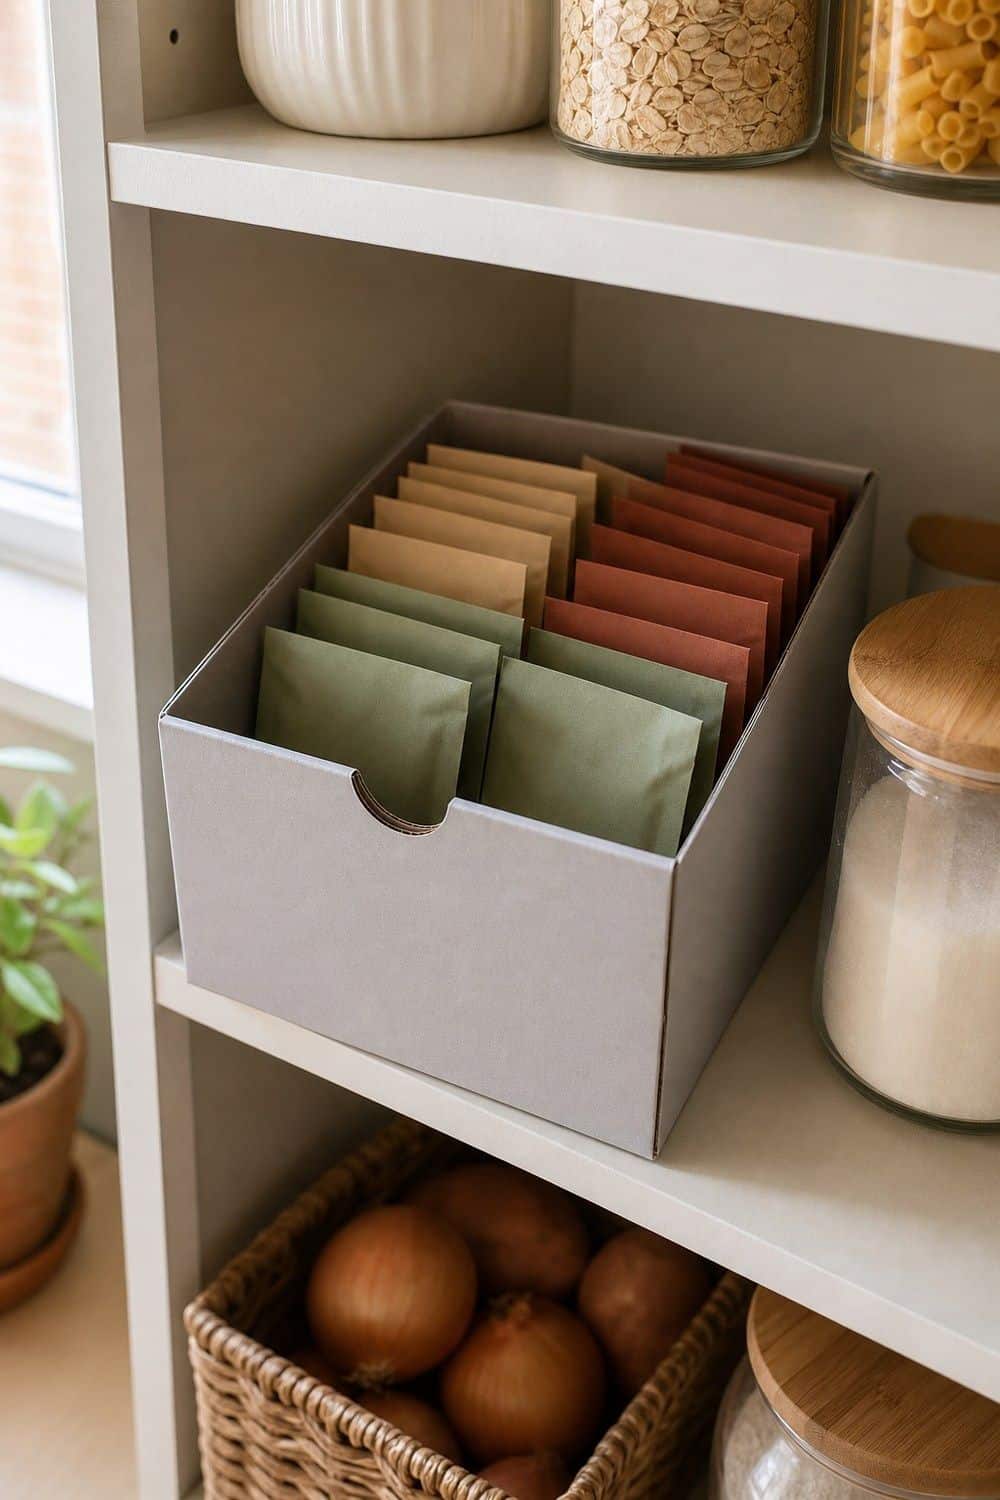
A clean shoebox can be a perfectly good packet bin if it fits the shelf. Use it for taco seasoning, bouillon, cocoa, tea, drink mixes, sauce packets, instant oatmeal, or small baking envelopes that usually scatter across the pantry.
Trim the box if it is too tall, cover it only if you enjoy that kind of project, and label the short end. If the shoebox solves the problem for free, there is no need to upgrade until it gets soggy, torn, or too small.
19. Cleaning Bottles in a Portable Caddy

A portable cleaning caddy makes the under-sink cabinet easier because the whole kit can slide out around pipes. Use it for sprays, gloves, brushes, sponges, microfiber cloths, dishwasher tabs, and the one or two cleaners you reach for all the time.
Keep heavy bottles low and skip the supplies you rarely use. A caddy should make spills and drips easier to spot, not hide a row of half-empty cleaners behind the trash bags. Washable plastic is usually the budget-friendly choice here.
20. Under-Sink Waterproof Mat
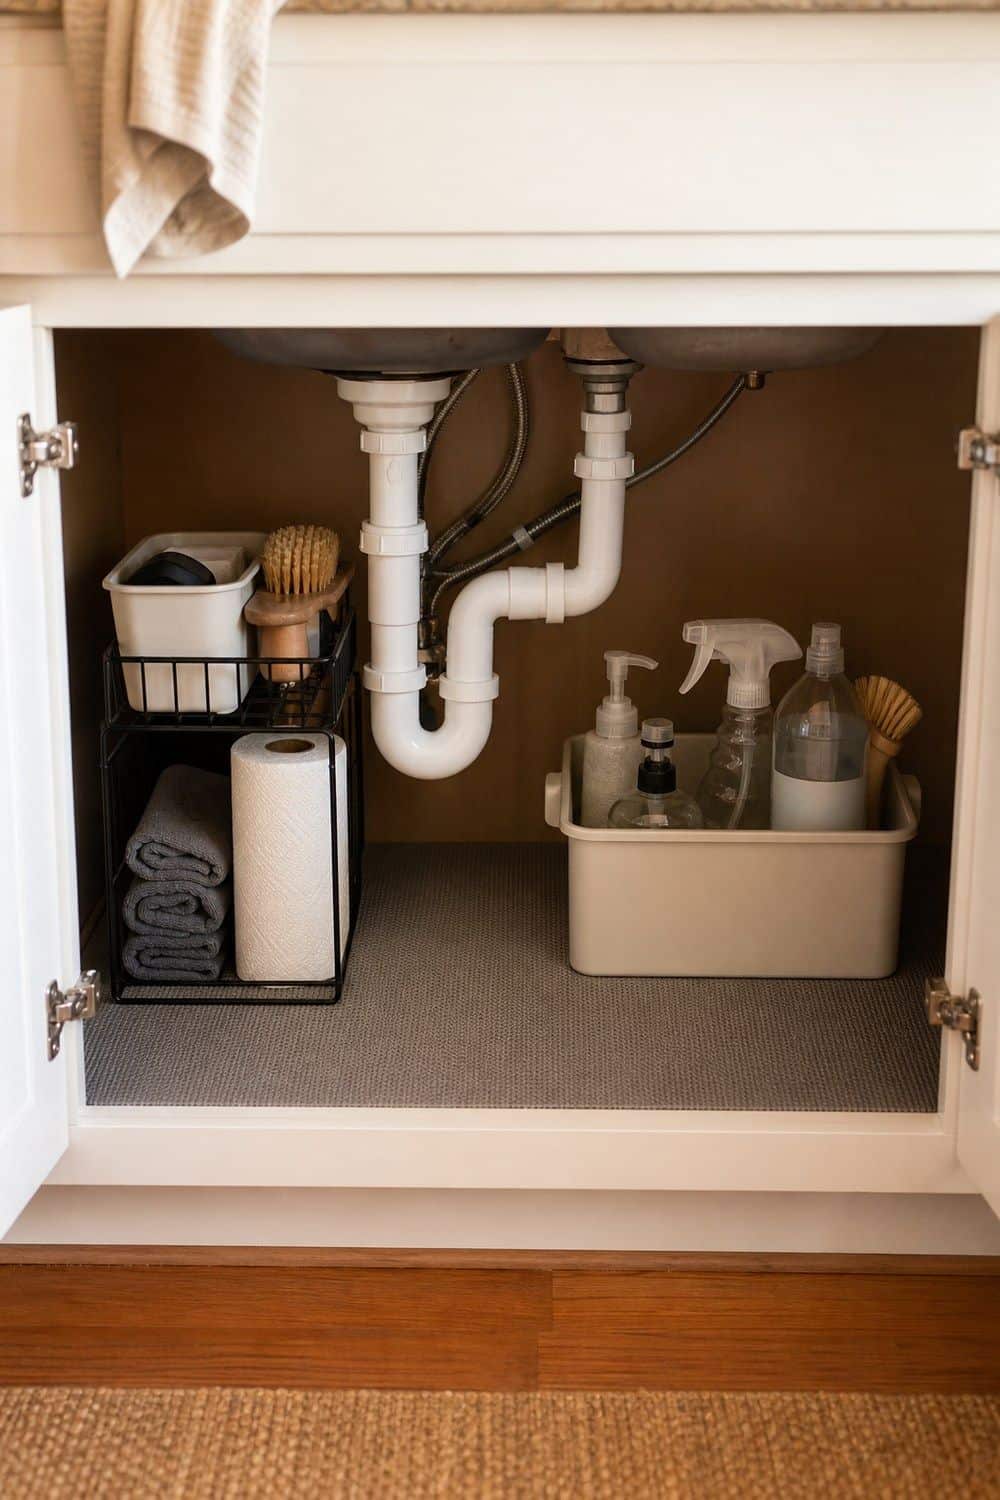
A waterproof mat under the sink is one of those unglamorous buys that can save the cabinet floor. Measure around pipes, disposal parts, corners, and door hinges before ordering so the mat sits flat instead of buckling.
Use it with a small caddy or bin, not as permission to pack the cabinet full. Leave enough open space to see a leak quickly. If bottles have already left sticky rings, wipe the shelf before the mat goes down so you are protecting a clean surface.
21. Slim Cart for Overflow With a Job
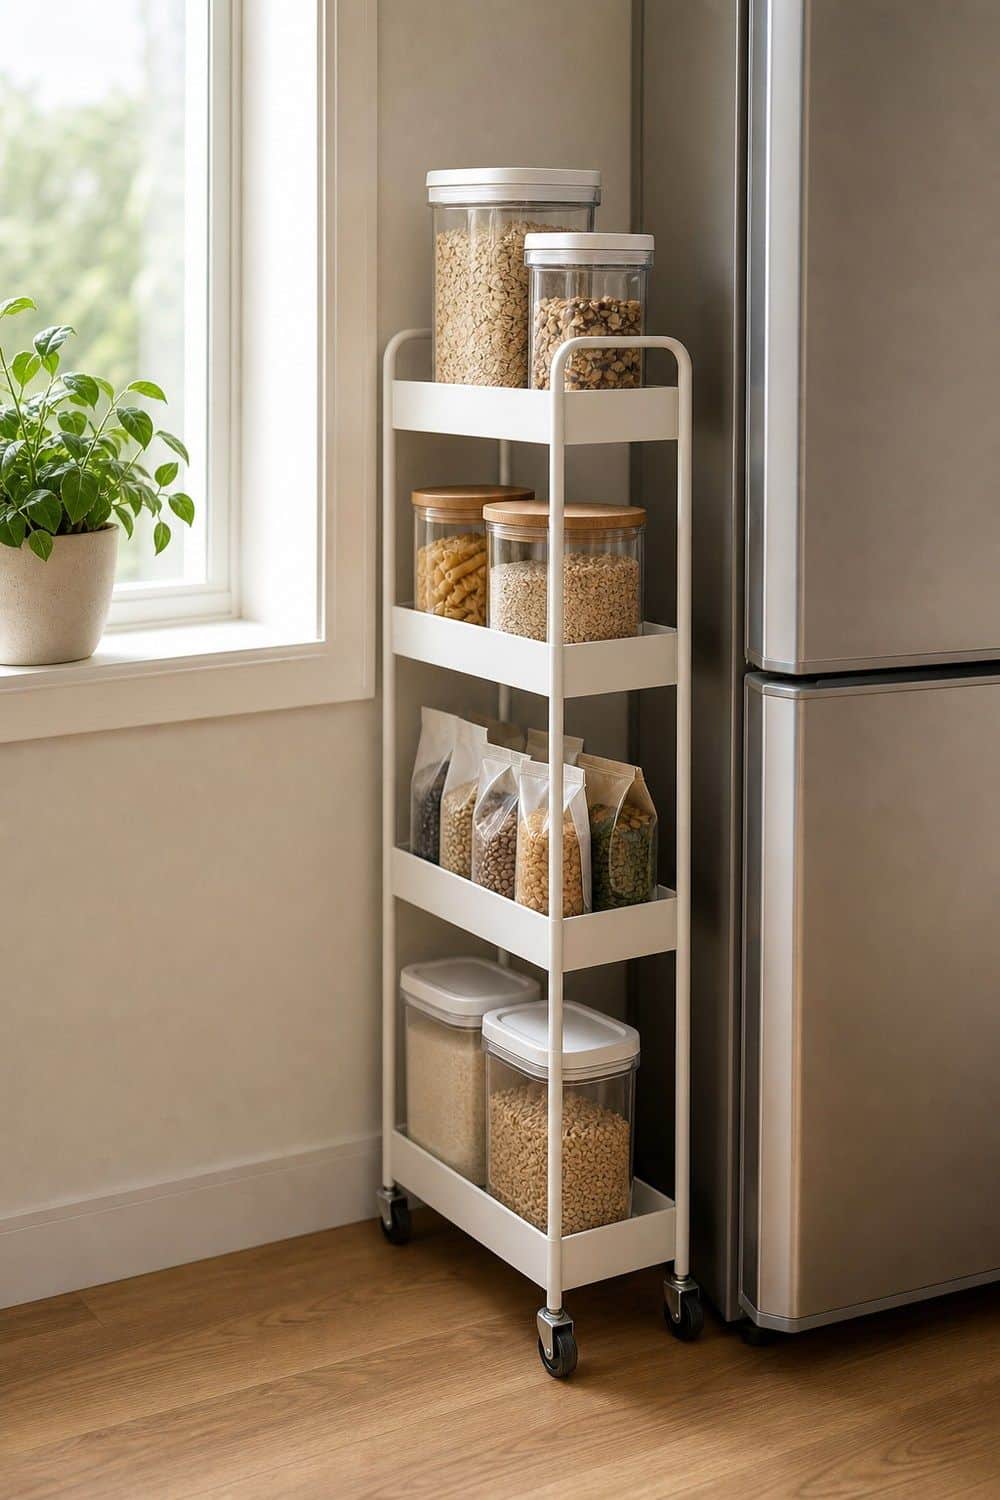
A slim cart is worth considering only when it has one job and one parking spot. It can hold breakfast supplies, lunch-packing pieces, baking extras, coffee refills, onions and potatoes, or pantry overflow that genuinely has nowhere better to go. Measure the walkway, wheel clearance, and appliance doors before buying, then choose shelves that wipe clean. If the cart blocks the dishwasher or becomes a rolling drop zone, it is not budget organization anymore; it is furniture with clutter on wheels.
22. Daily Counter Items on One Tray
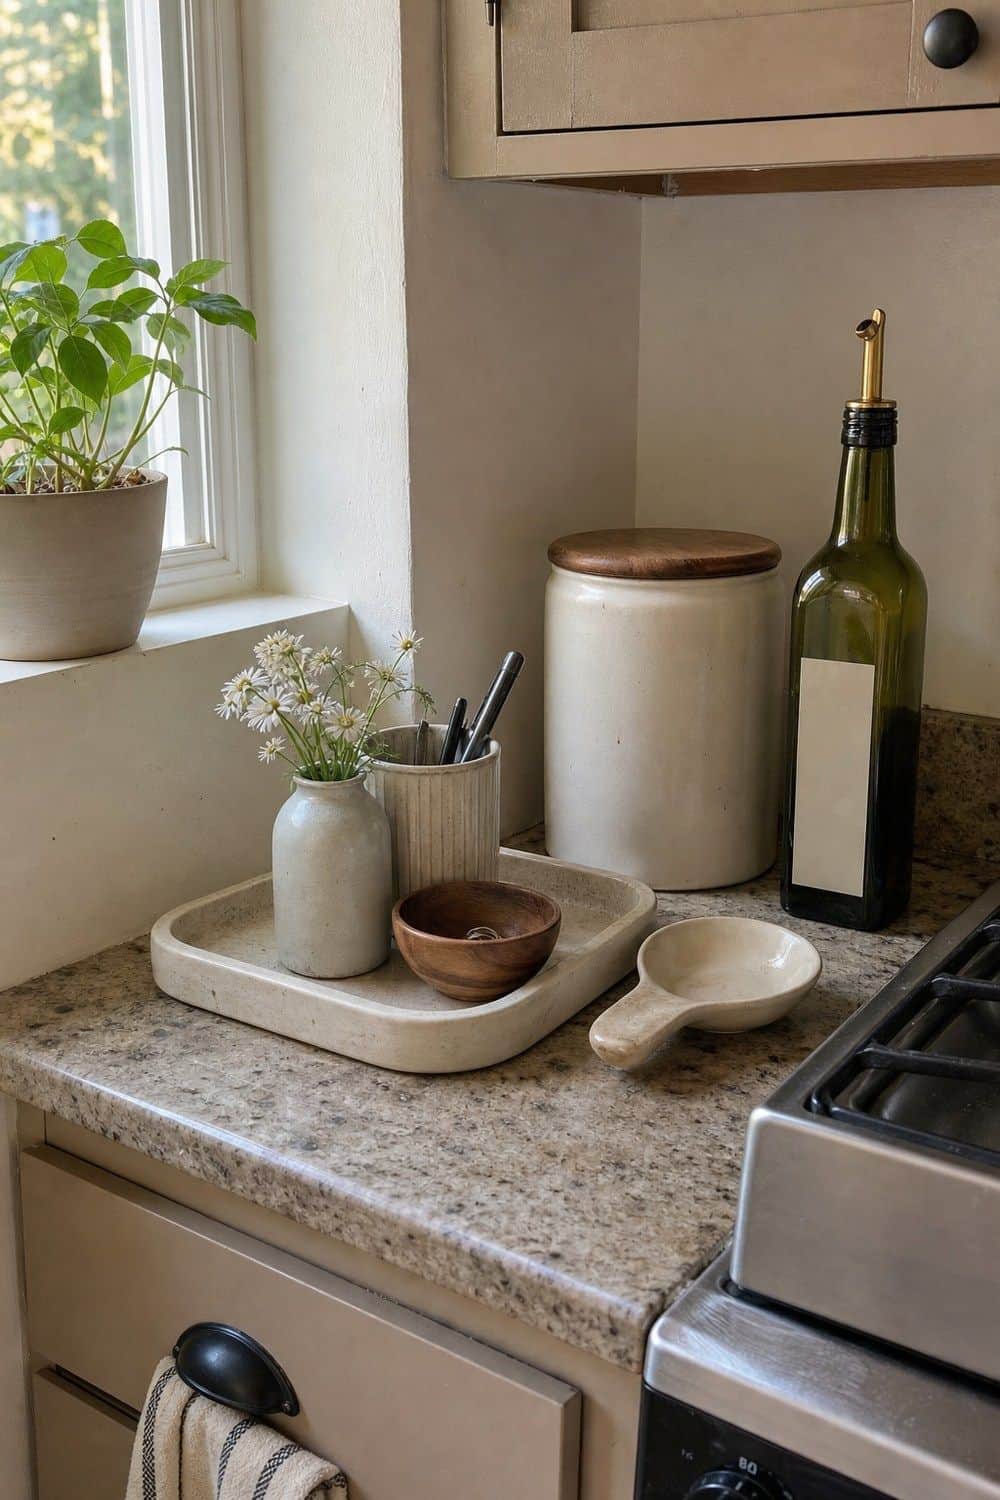
A counter tray gives daily items a boundary without buying several small organizers. Use it for oil and salt by the stove, coffee pieces near the machine, vitamins near breakfast, or dish soap and a brush by the sink.
Keep the tray small enough that it forces a choice. The counter should still have room for a cutting board and groceries. If the tray starts collecting mail, receipts, and random caps, clear it back to the routine it was meant to support.
23. Labels Only Where Decisions Are Needed

Labels should earn their space by answering a real question. Use them for bins that other people mix up, freezer dates, backstock, baking, snacks, lunch supplies, breakfast, or anything that needs a return home after groceries are unloaded. Skip labels for clear jars of obvious food or containers that change every week. Too many labels can make a budget setup feel fussy, while a few plain ones keep the kitchen easier for everyone to maintain. Painter’s tape is fine for changing categories.
24. Tiny Backstock Basket
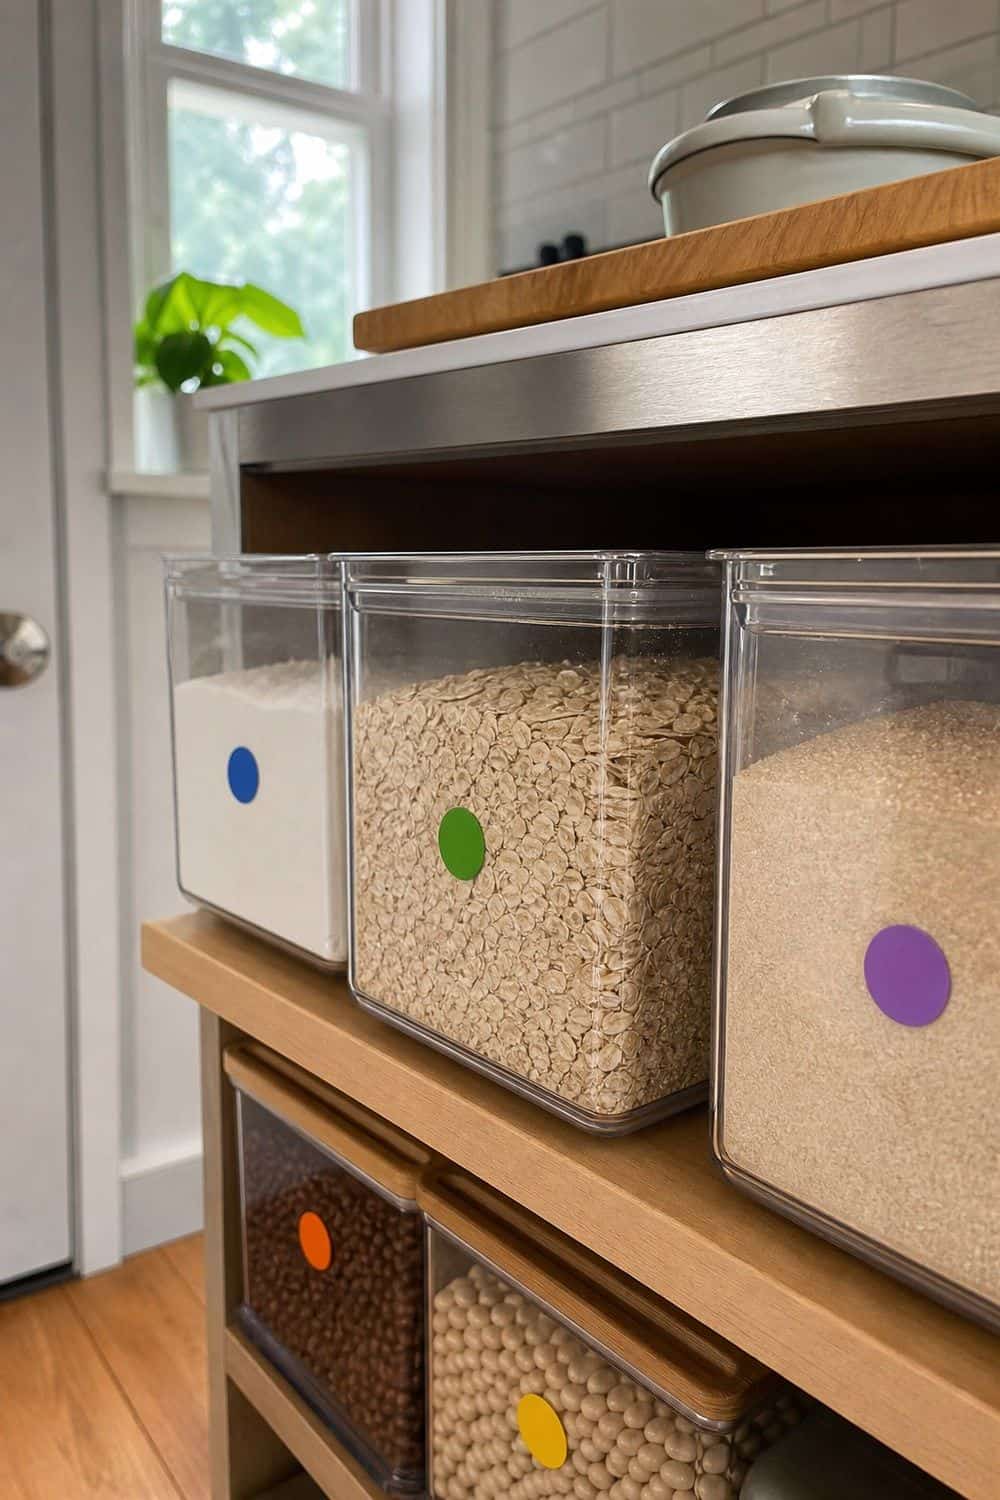
A tiny backstock basket keeps bulk buying from taking over the kitchen. Use one small bin for backup pasta, broth, coffee, soap, snack boxes, foil, or the pantry staples you truly replace often.
The basket is also a limit. If the backups no longer fit, use something before buying more. Keep it on a lower shelf or pantry floor where it can be checked before shopping, not hidden so well that the same item gets bought twice. A smaller basket is better than a bargain haul that crowds dinner ingredients.
25. Grocery-Day Ten-Minute Reset

A ten-minute grocery-day reset keeps budget organization from depending on a big weekend project. Before new food goes in, toss expired items, pull eat-first food forward, wipe one sticky shelf, return loose tools, and check whether any bin is holding things nobody used.
Keep the reset short enough to repeat. You are not reorganizing the whole kitchen; you are making room for the groceries you just paid for.
Write one small note before you finish, such as no more pasta, use tortillas first, or skip snack refills. That note is where the budget savings really show up next time.
Frequently Asked Questions
How can I organize my kitchen on a budget?
Start by decluttering, measuring one problem area, reusing containers, grouping like items, and buying only low-cost organizers that solve a specific storage problem. Work one zone at a time so you do not overspend on products that do not fit.
What are the cheapest kitchen organizers that actually help?
Clear bins, drawer trays, shelf risers, lazy Susans, adhesive hooks, over-door racks, reusable freezer bags, and portable cleaning caddies are affordable kitchen organizers that often help. They work best when matched to a specific drawer, shelf, door, or cabinet problem.
How do I organize kitchen cabinets without spending much?
Remove duplicates first, then add shelf risers, door racks, vertical bakeware storage, and lid holders only where needed. Keep daily items at the easiest height and move rarely used tools to less convenient spaces.
How do I organize a compact kitchen on a budget?
Use vertical doors and walls, slim carts, one-deep pantry storage, drawer trays, hooks, and a clear counter boundary. A compact kitchen needs visible, flexible storage more than decorative containers.
Are clear bins worth it for kitchen organization?
Clear bins are worth it when they fit the shelf and hold a real category, such as snacks, breakfast items, baking extras, or fridge leftovers. They are not worth buying in random sets before measuring.
What should I not buy for kitchen organization?
Avoid oversized basket sets, fixed drawer organizers that do not fit, bulk food without storage room, and single-use gadgets. Skip any organizer that does not solve a problem you can clearly name.
How do I organize my pantry cheaply?
Group food by meal or category, use a few matching bins, add a riser for cans and spices, reuse jars selectively, and label only confusing categories. Keep shelves one layer deep where possible so food does not disappear in the back.
How do I keep budget kitchen organization from falling apart?
Do a grocery-day reset, keep an eat-first bin, limit backstock, return containers to the same spots, and adjust one zone at a time. Maintenance matters more than buying more organizers.
Final Thoughts
The best budget kitchen organization ideas make the kitchen easier to use without turning storage into another expensive project. Declutter first, measure carefully, reuse what already works, and buy targeted helpers only when they solve a daily frustration.
A tidier kitchen does not come from filling every shelf with products. It comes from fewer duplicates, better-fitting storage, visible food, clear counters, and small reset habits that keep the system from sliding back into clutter.
Last update on 2026-09-17 / Affiliate links / Images from Amazon Product Advertising API